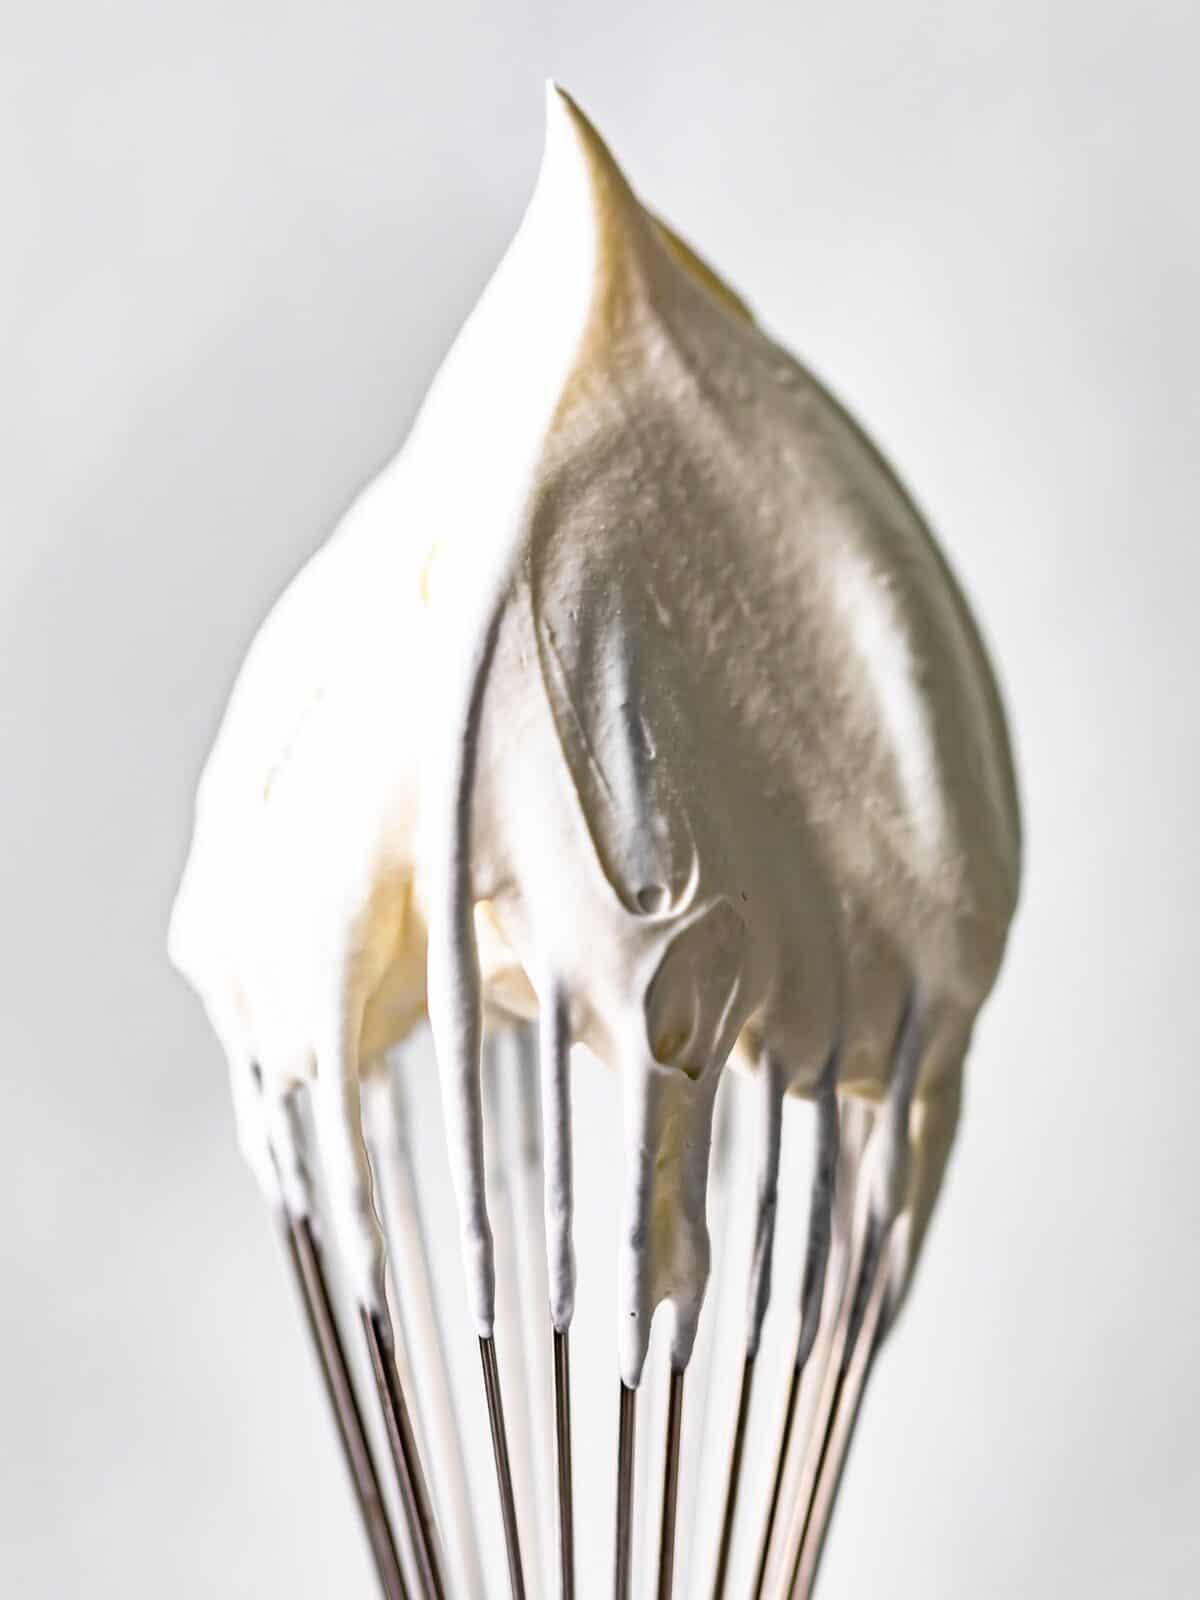
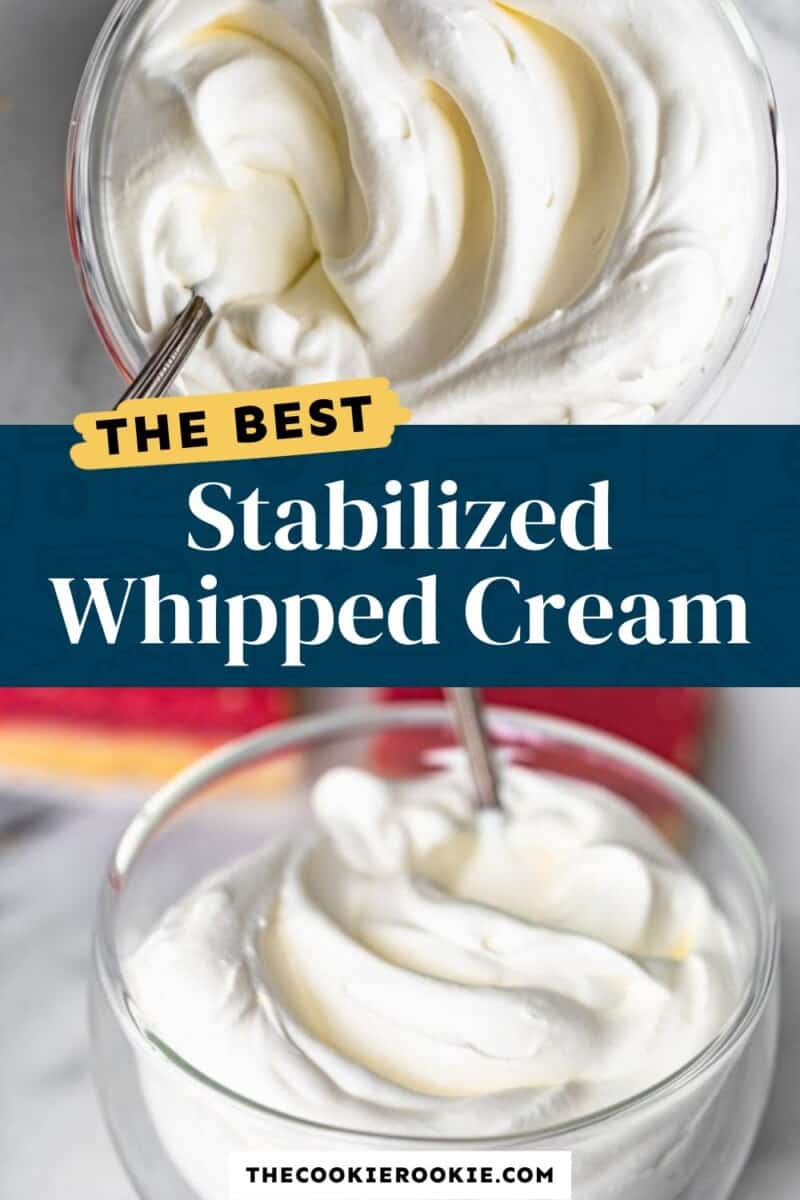
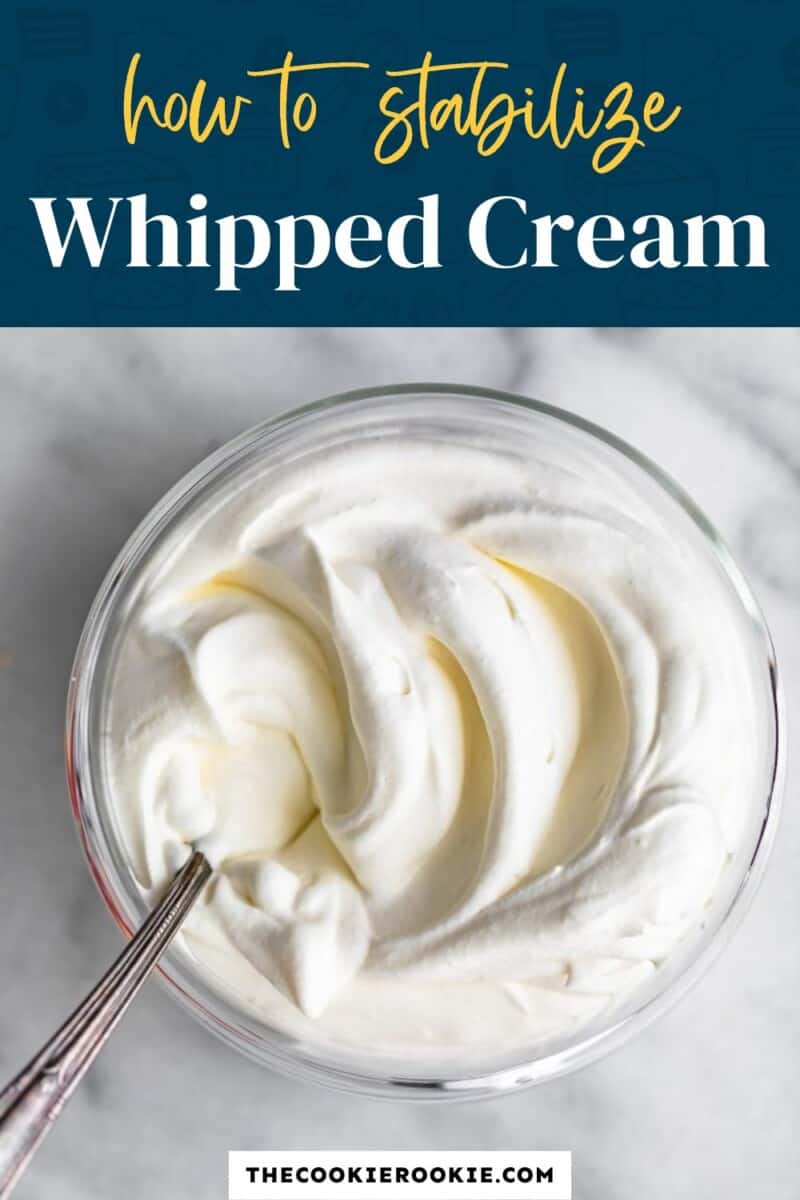
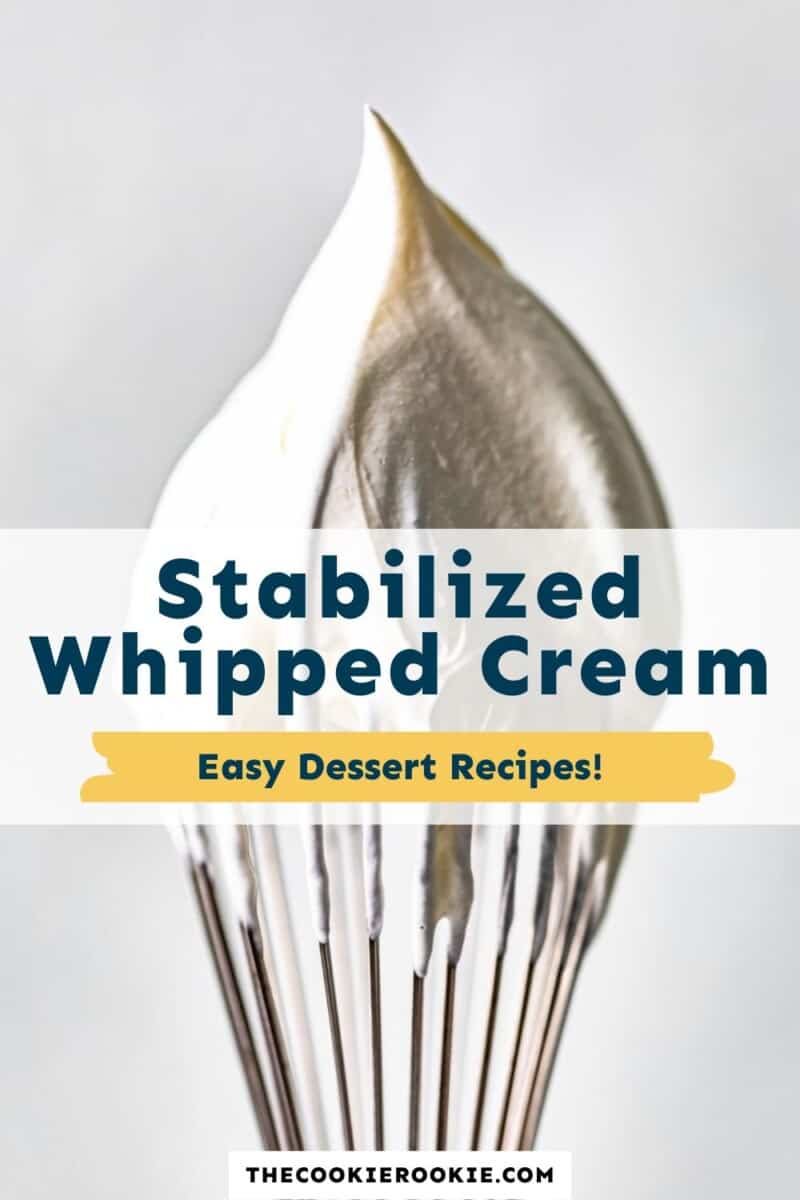
Stabilized Whipped Cream comes in handy when making desserts, and it’s actually really easy to make! Use this Homemade Cool Whip as a replacement for the store-bought whipped topping. Read on to learn how to stabilize whipped cream!
This post may include affiliate links that earn us a small commission from your purchases at no extra cost to you.
What’s in Homemade Cool Whip?
Homemade whipped cream tends to deflate and get watery pretty quickly. But this recipe solves that problem! It will stay fluffy and beautiful and delicious, so you can make it in advance and have it ready for your desserts.
- Water: Hydrates the powdered gelatin and activates its thickening properties.
- Unflavored Powdered Gelatin: Acts as a stabilizer in whipped cream by helping it hold its shape for longer periods of time. When hydrated with water, gelatin forms a gel-like substance that helps to thicken and stabilize the whipped cream.
- Heavy Cream: The base ingredient of whipped cream and provides the rich, creamy texture. It also contains a high percentage of fat, which is important for achieving the desired whipped consistency.
- Powdered Sugar: Sweetens the whipped cream and helps stabilize it by absorbing any excess moisture.
- Vanilla Extract: Enhances the flavor of the whipped cream.
Pro Tip: Make sure that the gelatin is fully dissolved and mixed with the cream before whipping. This will help ensure that the stabilizer is evenly distributed throughout the whipped cream, resulting in a smooth and consistent texture.
How to Stabilize Whipped Cream
This is only one of several methods for stabilizing whipped cream. You can also use starches like cornstarch, powdered sugar, milk powder, or instant pudding mix.
- Cornstarch: Mix 2 tablespoons cornstarch and 4 tablespoons powdered sugar with the heavy cream and whip to firm peaks.
- Powdered Sugar: Mix 6 tablespoons powdered sugar with the heavy cream and whip to firm peaks.
- Milk Powder: Mix 6 tablespoons of cornstarch and 4 tablespoons of powdered sugar with the whipped cream and whip to firm peaks.
- Instant Pudding Mix: Mix 1 tablespoon of dry instant pudding mix and ⅓ cup powdered sugar with the whipping cream and whip to firm peaks.
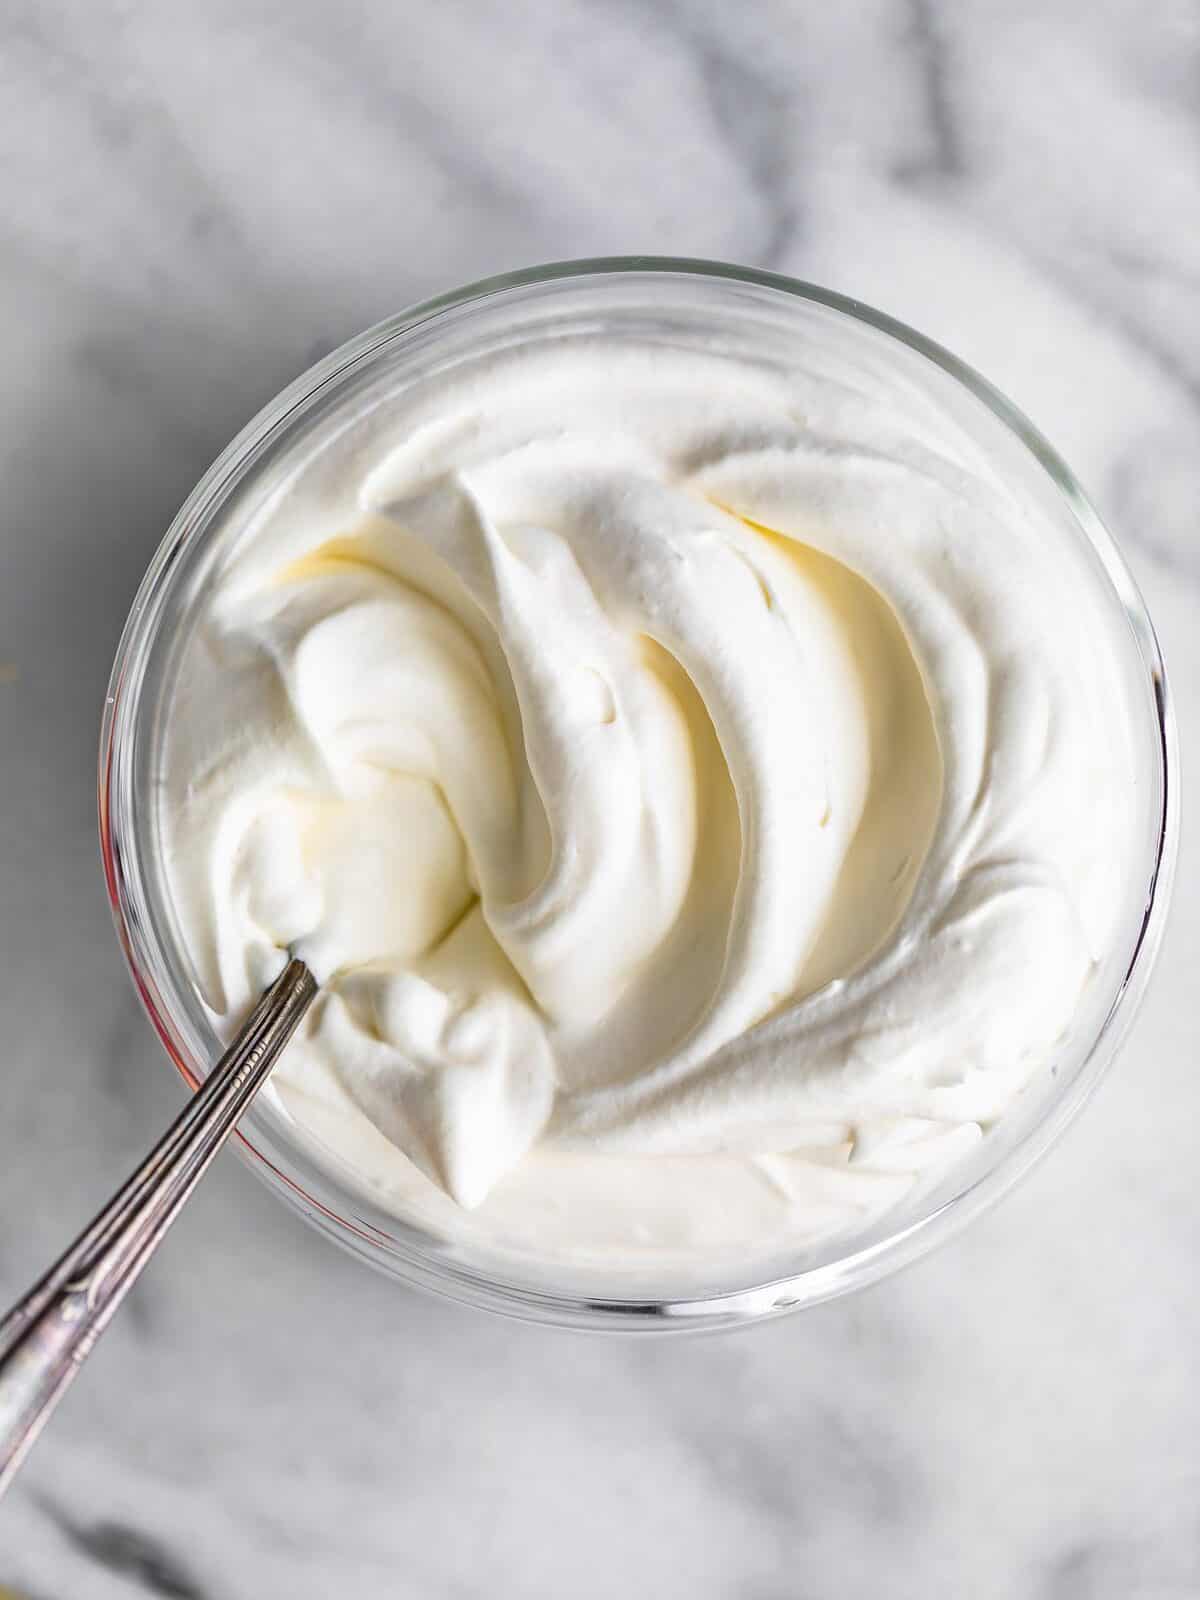
Stabilized whipped cream is whipped cream with additional ingredients added that help it hold its shape (in this case, gelatin powder). It is essentially the same as Cool Whip!
If you’re planning to make whipped cream ahead of time to use on desserts, then this is a must! Unfortunately, regular whipped cream doesn’t hold up very well. You’ve probably noticed how it starts to basically fall apart after just a few hours. Everything separates, leaving you with flat, watery cream. Definitely not what you want to be using on your desserts! This whipped cream will stay fluffy and hold up well for up to 24 hours, so you can prepare it before you start baking or making your desserts!
Stabilized whipped cream, like regular whipped cream, needs to be extremely cold in order to whip to stiff peaks. Be sure to adequately chill the bowl and beaters, and use heavy cream straight from the refrigerator. Do not bring the heavy cream to room temperature! If you find it is not whipping after several minutes, place the bowl in the refrigerator to chill for about 10 minutes, then try again.
Yes, you can! However, I do not recommend covering a whipped cream frosted cake with fondant, as the whipped cream will not support the weight of the fondant.
How to Store
The stabilized whipped cream should be stored in an airtight container, in the refrigerator. It will keep (stay stable) for up to 24 hours.
How to Freeze
I do not recommend freezing stabilized whipped cream on its own, as it can become difficult to spread/pipe once frozen. However, it can be frozen after it has been piped/spread onto a dessert, and it will keep well for up to 3 months.
Serving Suggestions
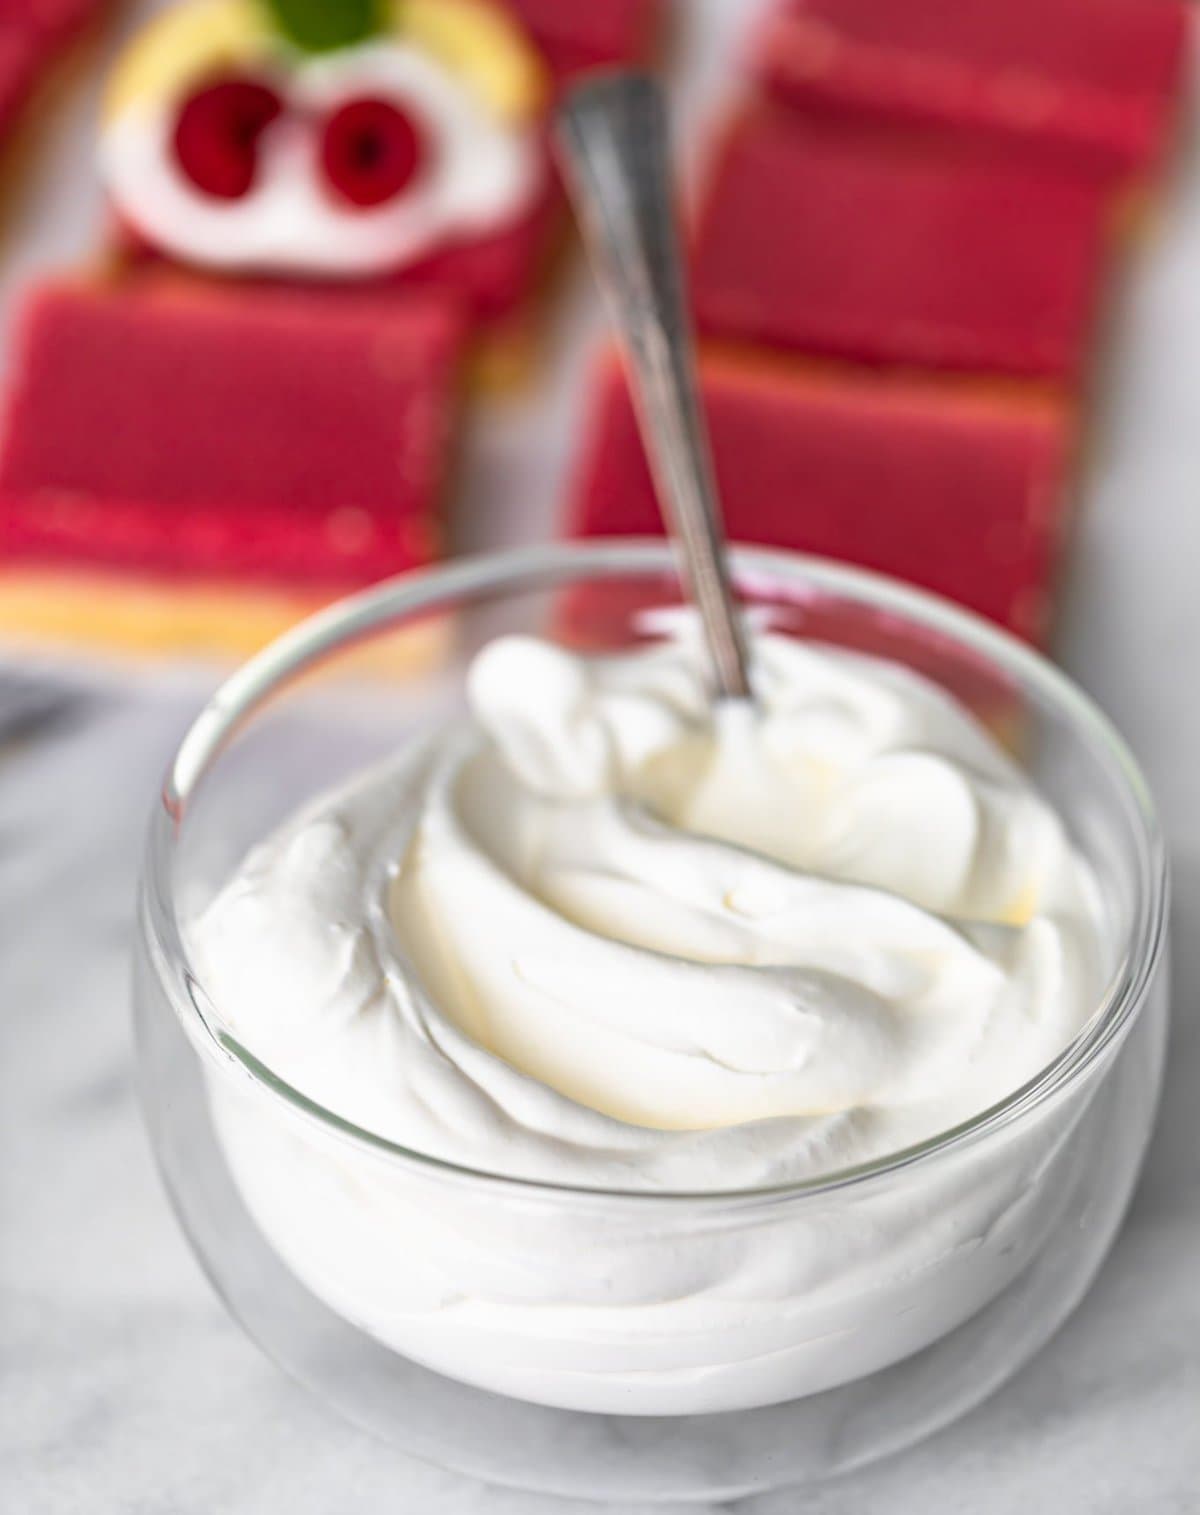
I’ll be the first to admit that eating whipped topping with a spoon is a pretty tasty treat, but if you’re making this recipe, you’re probably hoping to use it as a topping for other delicious desserts. I love it piled high on top of Easy Key Lime Pie, Lemon Raspberry Bars, Homemade Pumpkin Pie, Peach Cobbler, Strawberry Pretzel Salad, French Silk Pie, or an Easy Raspberry Tart.
You can also use it in just about any recipe that calls for Cool Whip, like Jello Salad, Pumpkin Pie Dessert Lasagna, Strawberry Lemonade Pie, or Funfetti Cake Batter Dip.
Stabilized Whipped Cream Recipe
Equipment
- Kitchen Scale (optional)
- Stand Mixer
Ingredients
- 1½ teaspoons water 7 grams
- ½ teaspoon unflavored powdered gelatin
- 1½ cups heavy cream 341 grams, cold
- 2 teaspoons powdered sugar 5 grams
- ½ teaspoon pure vanilla extract 2 grams, optional
Instructions
- Add the water to a microwave-safe bowl and sprinkle the gelatin on top. Give it a few stirs and let it stand 3 minutes. After 3 minutes, stir gently and microwave on high 5 seconds. Stir and microwave another 5 seconds. The gelatin should be dissolved and liquefied – if not, microwave an additional 3-5 seconds. Set aside to cool.1½ teaspoons water, ½ teaspoon unflavored powdered gelatin
- In the bowl of a stand mixer fitted with the whisk attachment, whip the heavy cream, sugar, and vanilla on low speed until small bubbles appear.1½ cups heavy cream, 2 teaspoons powdered sugar, ½ teaspoon pure vanilla extract
- Increase the speed to medium, and when the mixture visibly thickens and begins leaving a trail in the cream, slowly add the gelatin water.
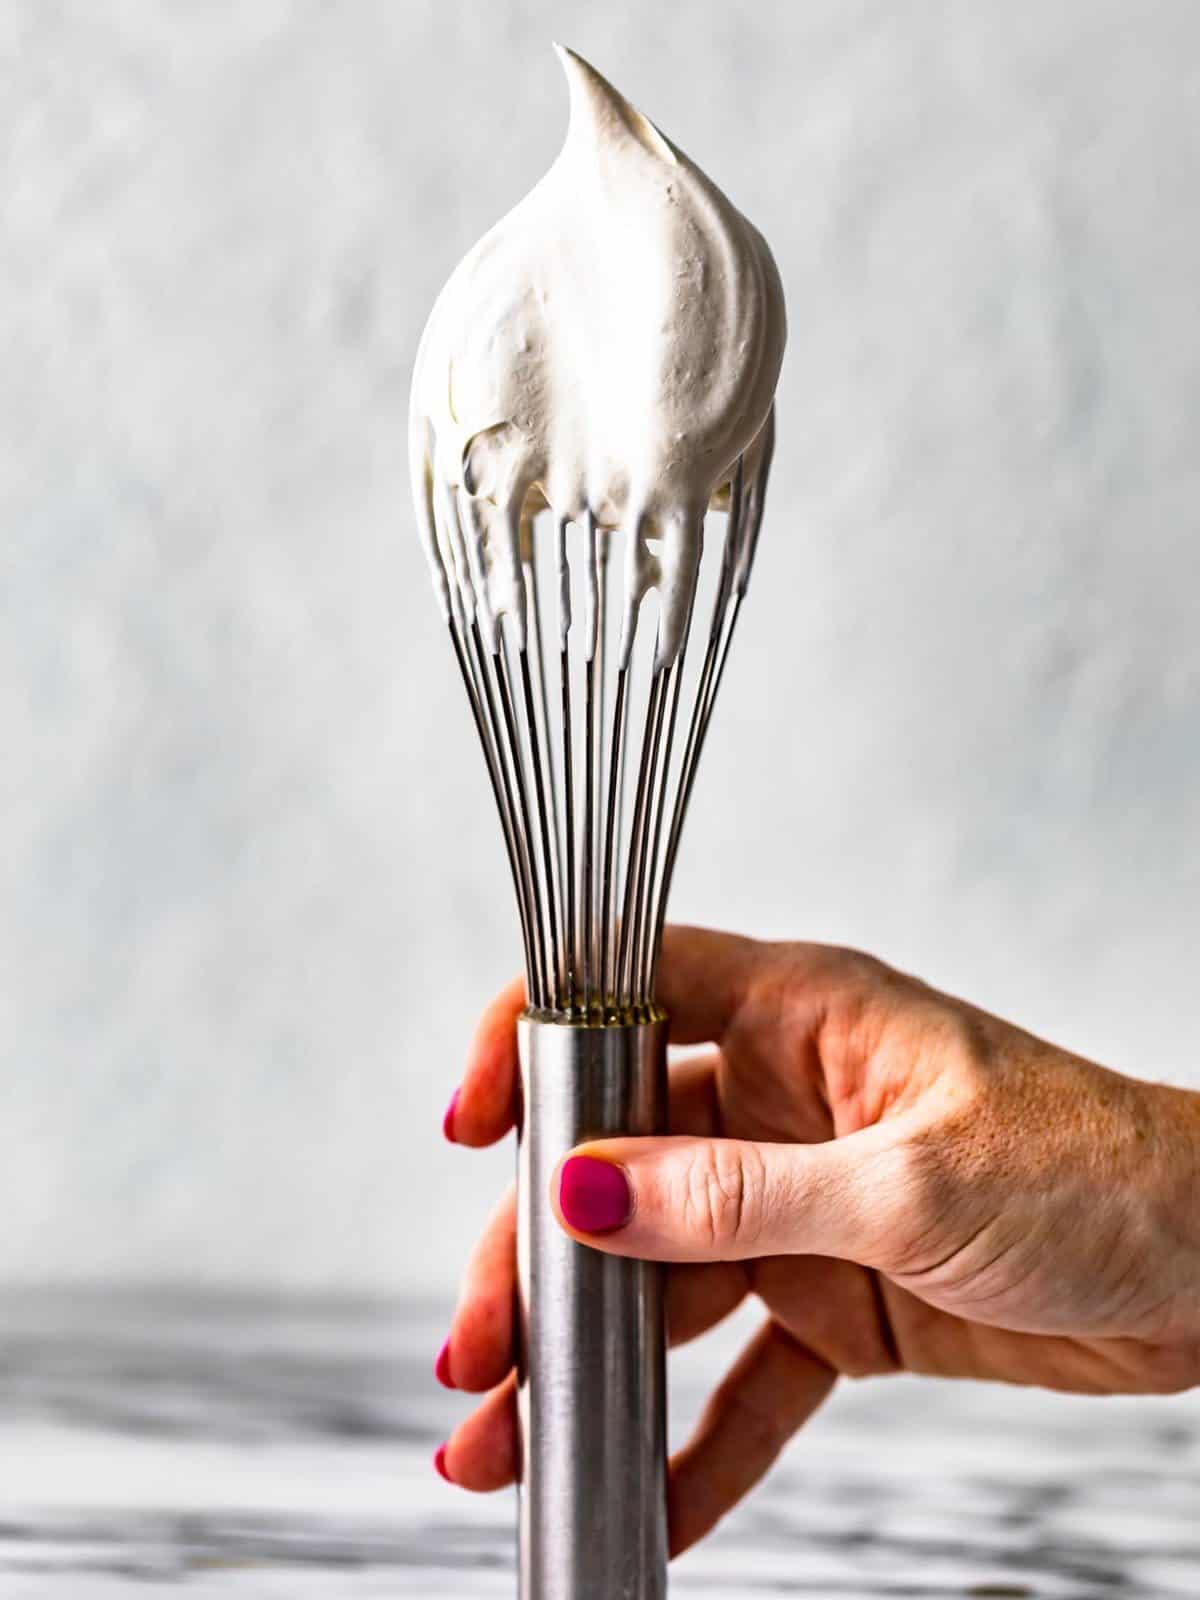
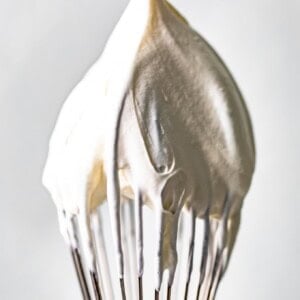
- Increase the speed to high and beat until medium peaks form.
- Keep the whipped cream refrigerated and in an airtight container until ready to use.
Video
Becky’s Tips
- Make sure both the mixing bowl and the beaters are extremely cold!
- If you live in a hot/humid climate, you may wish to place a bowl of ice water under the bowl of whipping cream to help keep it cold.
- If your whipped cream is not coming to stiff peaks, chill it in the refrigerator for 10 minutes, then try again.
- Adding more gelatin will not stabilize the whipped cream more, and it will not taste good!
- Overwhipping the cream will lead to separation of the cream into buttermilk and butter.
- Do not leave stabilized whipped cream out at room temperature for more than 2 hours.
Nutrition information is automatically calculated, so should only be used as an approximation.


You gave great instructions and options, but for how much cream?
Hi, this recipe makes 4 cups of stabilized whipped cream.
But how much cream did you use?
As per the recipe card, we used 1½ cups.
I don’t yet know how it will turn out, but I thought you’d want to know that there seems to be a few important missing words. It took me getting to this page to find out 1-1/2 t of what. And how much the recipe suggests for heavy whipping cream. There may be more missing words, so look at the beginning here, a few pages back. Sorry, I really don’t want to be critical!
Thank you for letting us know!
This is probably a stupid question – but I came to this link for “homemade cool whip”. But what your recipe is – is problematic. Many use Cool-Whip because we are lactose intolerant and use it because it’s dairy free. Your recipe isn’t dairy free. Have you encountered another version anywhere that gives a dairy free version? (I would much prefer to use yours but even those lactose pills aren’t enough to allow me to consume dairy.)
I have not made a dairy-free version yet!
Can you make a flavored stabilized whipcream, like strawberry?
I haven’t tried this yet, but you can give it a shot with some extract flavoring!
I would suggest using the freeze dried strawberries (it’s a powder) found on Amazon. It will add flavor AND beautiful color! I have not used strawberry as my addiction is raspberry! Since I have not made this recipe, I can’t tell you an amount, but I would start with a teaspoon and taste test then add more if needed.
If you add a small strawberry yogurt along with the whipping cream when whip it will give you a yummy strawberry flavored cream:)
On this recipe will it stay in a watermelon jello pie?
You can definitely give it a try!
QUESTION: I want to use this recipe for my ice cream cake – will it stay in the freezer a few days?
Thank you
Yes, absolutely!!
Can this be used when making a layered pie? Would it hold up if made ahead?
Thank you
Trish
Yes!! To both :)
This was so fluffy and delicious! Held up very well and was so easy to make.
Thanks, Lindsay!
I don’t have a microwave. So how would I do the gelatin. It’s only 1-1/2 teaspoons. Can I do it on the stove top?
This has saved me so many times! I have seen people make whipped cream and they over mixed, and that’s never good. This makes it just right!