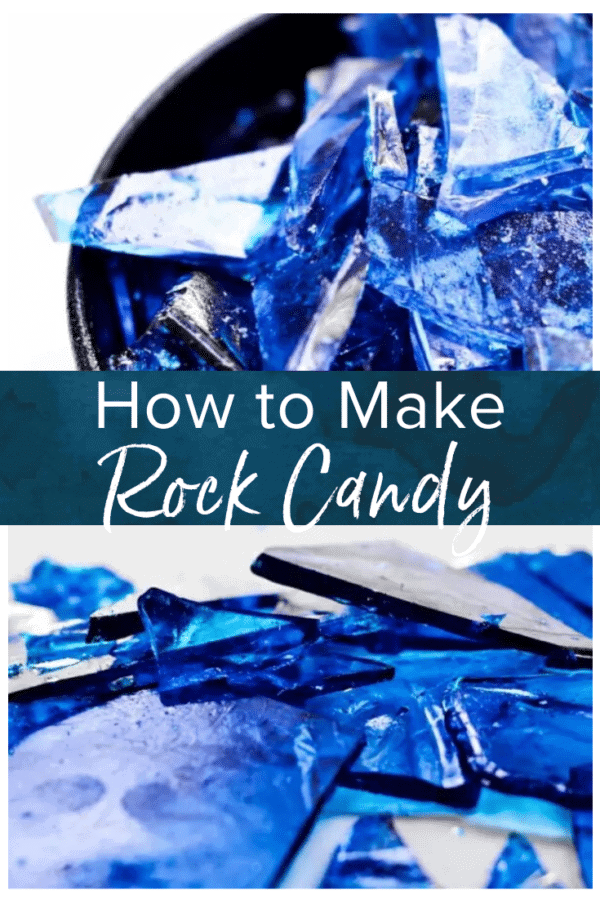
Learning how to make rock candy at home was a total game-changer for me. It’s such a fun and special treat to share with my friends and family on special occasions. I chose to make raspberry-flavored blue rock candy, but you can make any color or flavor you like with this quick and easy rock candy recipe!
 for something special you can make with the family. I chose to make a blue raspberry candy, but you can make any color or flavor you like with this easy homemade rock candy recipe!")
This post may include affiliate links that earn us a small commission from your purchases at no extra cost to you.
With my easy recipe, you’ll learn how to make rock candy sheets quickly and easily. It’s a fast way to make it, and you can make any color or flavor with this method. There’s no need to wait for days and days when you can make delicious blue rock candy in just 20 minutes!
What’s in This Rock Candy Recipe?
- Water: Helps to dissolve the sugar into solution.
- Light Corn Syrup: Helps prevent sugar crystallization. It contains glucose, which interferes with the formation of large sugar crystals, resulting in smoother and smaller sugar crystals that are characteristic of rock candy.
- Granulated Sugar: This is the main ingredient that will form the candy. As the sugar solution cools and evaporates, the sugar molecules come together and form crystals.
- Flavoring Extract: I used raspberry, but you can use just about any flavor!
- Food Coloring: I used blue, but feel free to choose any color or leave your candy plain. Both water and gel food coloring will work.
Tips for Success
- You can choose any color and flavor combination you like! Try green candy for St. Patty’s Day (with lime or sour flavor), orange and black for Halloween, or red with strawberry flavor for Valentine’s Day. The possibilities are endless!
- Temperature is super important! You’ll need to bring your sugar to the hard crack stage, which is 300°F; otherwise, it will not harden.
- If your candy doesn’t harden, even after sitting for a long time (it should only take 45 minutes, not much longer), it might be that your liquid never got hot enough. It’s important that the temperature reaches 300°F while cooking the syrup. And the best way to make sure it gets hot enough is to use a candy thermometer to check. This is not the time for guessing!
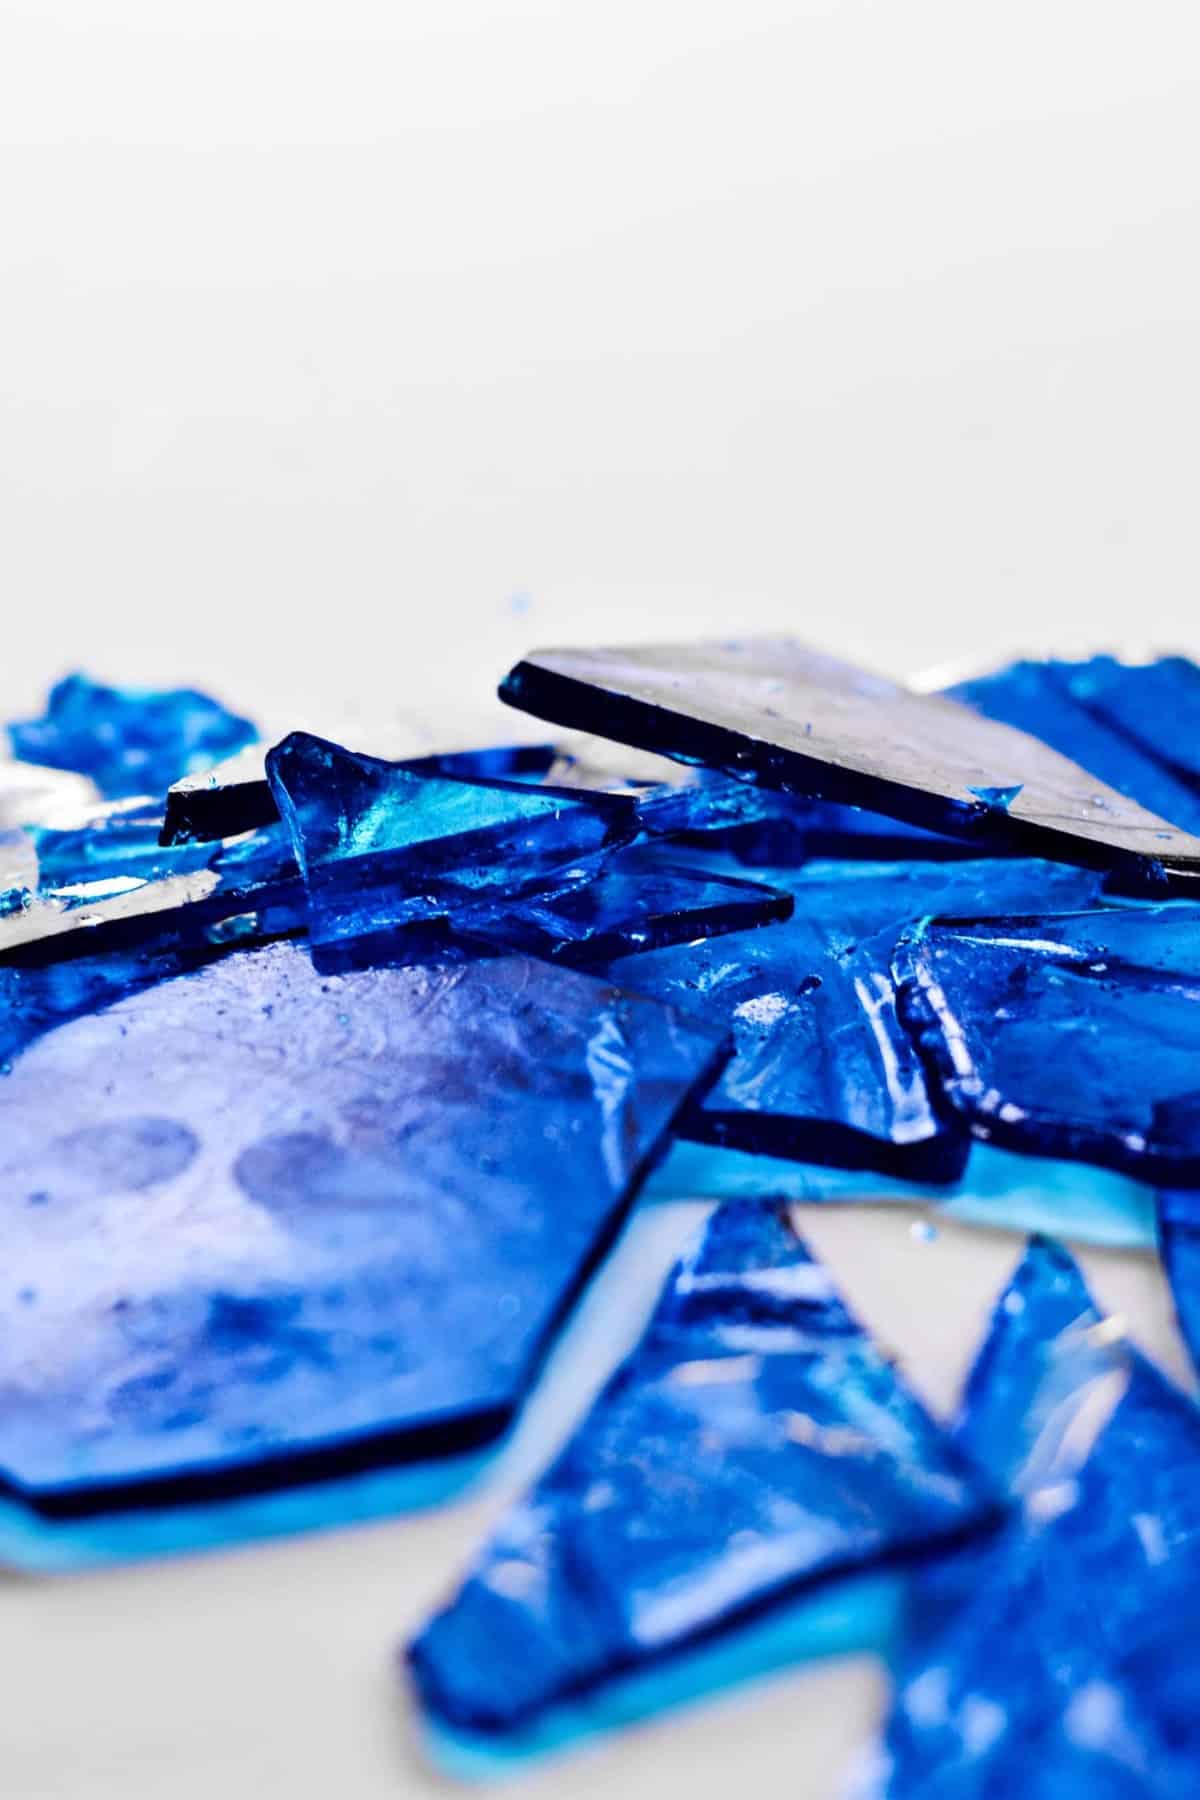
- To turn the sheet of candy into small pieces, it’s easiest to use a metal mallet (like a meat tenderizer). Just hit the sheet with it until it breaks into pieces. If you want to make it look more like rock candy, place those pieces into a bag, and use a rolling pin to crush them up even smaller.
How to Store
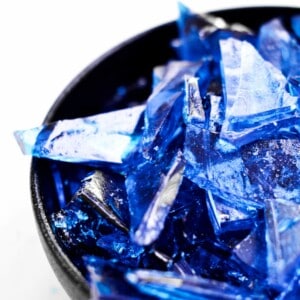
Store leftover rock candy in a Ziplock bag at room temperature for up to 1 month. Keep it in a cool, dry place. I had a reader comment that a great way to keep the pieces from sticking together is shaking them in powdered sugar before sealing them in an airtight container. Genius!
Serving Suggestions
Serve this tasty candy with a fun and colorful drink or cocktail, like lavender lemonade, cherry limeade, blue margaritas, a blue Hawaiian, or a cotton candy martini!
5-Star Review
“Just made this! And it is awesome and so easy! I will actually use this rock candy as the gems in my geode cake later this week! I used lemon extract in mine and it is delicious! Thank you!!” – Lauren
How to Make Rock Candy
Equipment
- Kitchen Scale (optional)
Ingredients
- ½ cup water 114 grams
- ¾ cup light corn syrup 234 grams
- 2 cups granulated sugar 400 grams
- 2 teaspoons flavoring extract 8 grams (I chose raspberry, but there are lots of flavors to choose from!)
- Food coloring optional (I used blue, but use any color!)
Instructions
- Mix all ingredients together in a medium saucepan set over medium heat.½ cup water, ¾ cup light corn syrup, 2 cups granulated sugar, 2 teaspoons flavoring extract, Food coloring
- Stir until boiling. Once the liquid begins to boil, do not stir until finished.
- While the candy comes to a boil, line a baking sheet with aluminum foil and spray the foil with nonstick spray. Set aside.
- Once boiling, place a candy thermometer in the liquid and monitor closely. when the liquid reaches 300°F, take off the heat and set aside.
- Allow the mixture to cool until the bubbles quit breaking at the surface of the liquid.
- Pour liquid onto the prepared baking sheet.
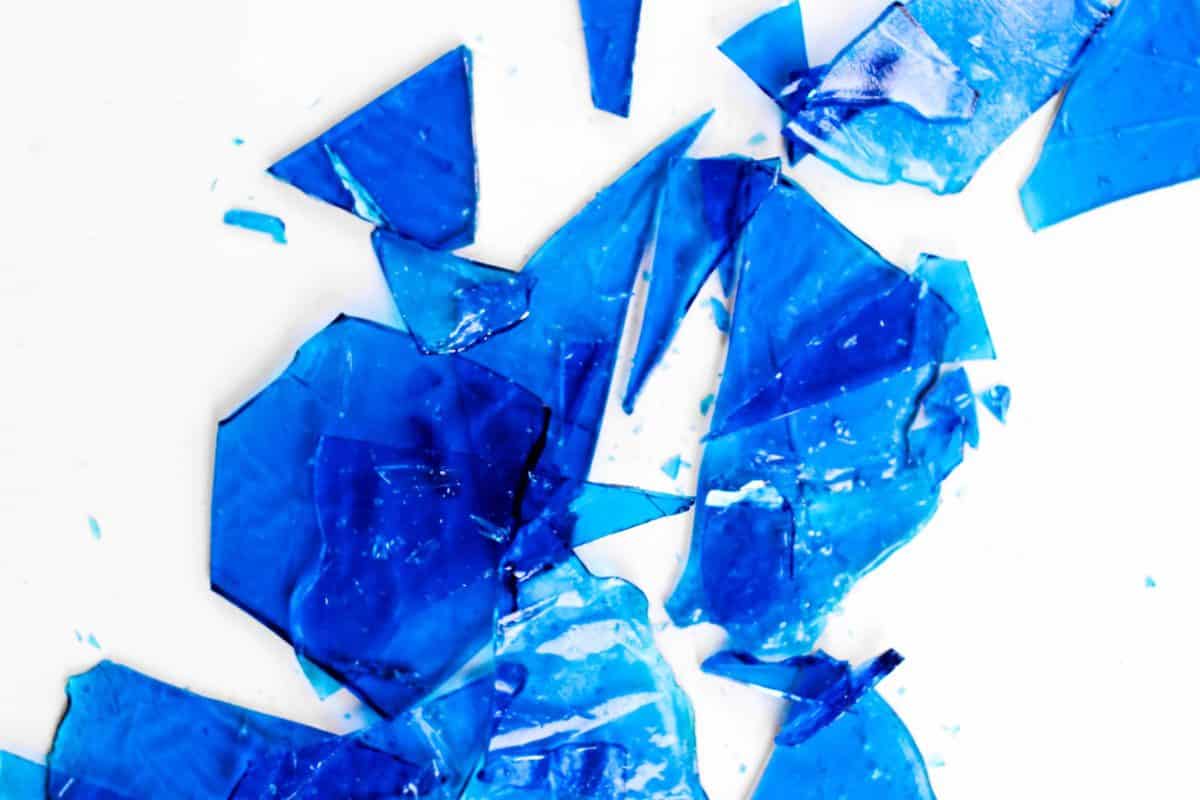
- Allow to cool until fully hardened. Then, break apart to the size desired.
Becky’s Tips
Nutrition information is automatically calculated, so should only be used as an approximation.


Tried this recipe using lemon and orange. Only had the slightest hint of flavor. IF I try it again, I will be doubling the flavor extract.
Hi Mrs. Adams, we’re sorry to hear this recipe didn’t work out as expected! What brand of flavoring did you use? We recommend something strong, like LorAnn, for the best flavor. You may have to adjust depending on your personal preference, though!
I love the way you wrote out the directions and thank you for the pictures. My question before I get going on this is what would happen if I stored it for longer than a month? I’ve heard other people say that it can be stored for up to a year. We’re heading into October and I’d like to get going on Christmas projects. So, would 3 months be too long to store this recipe?
Hi San, 1 month is our recommendation, but it will probably keep for longer so long as it’s kept in a cool, dry place.