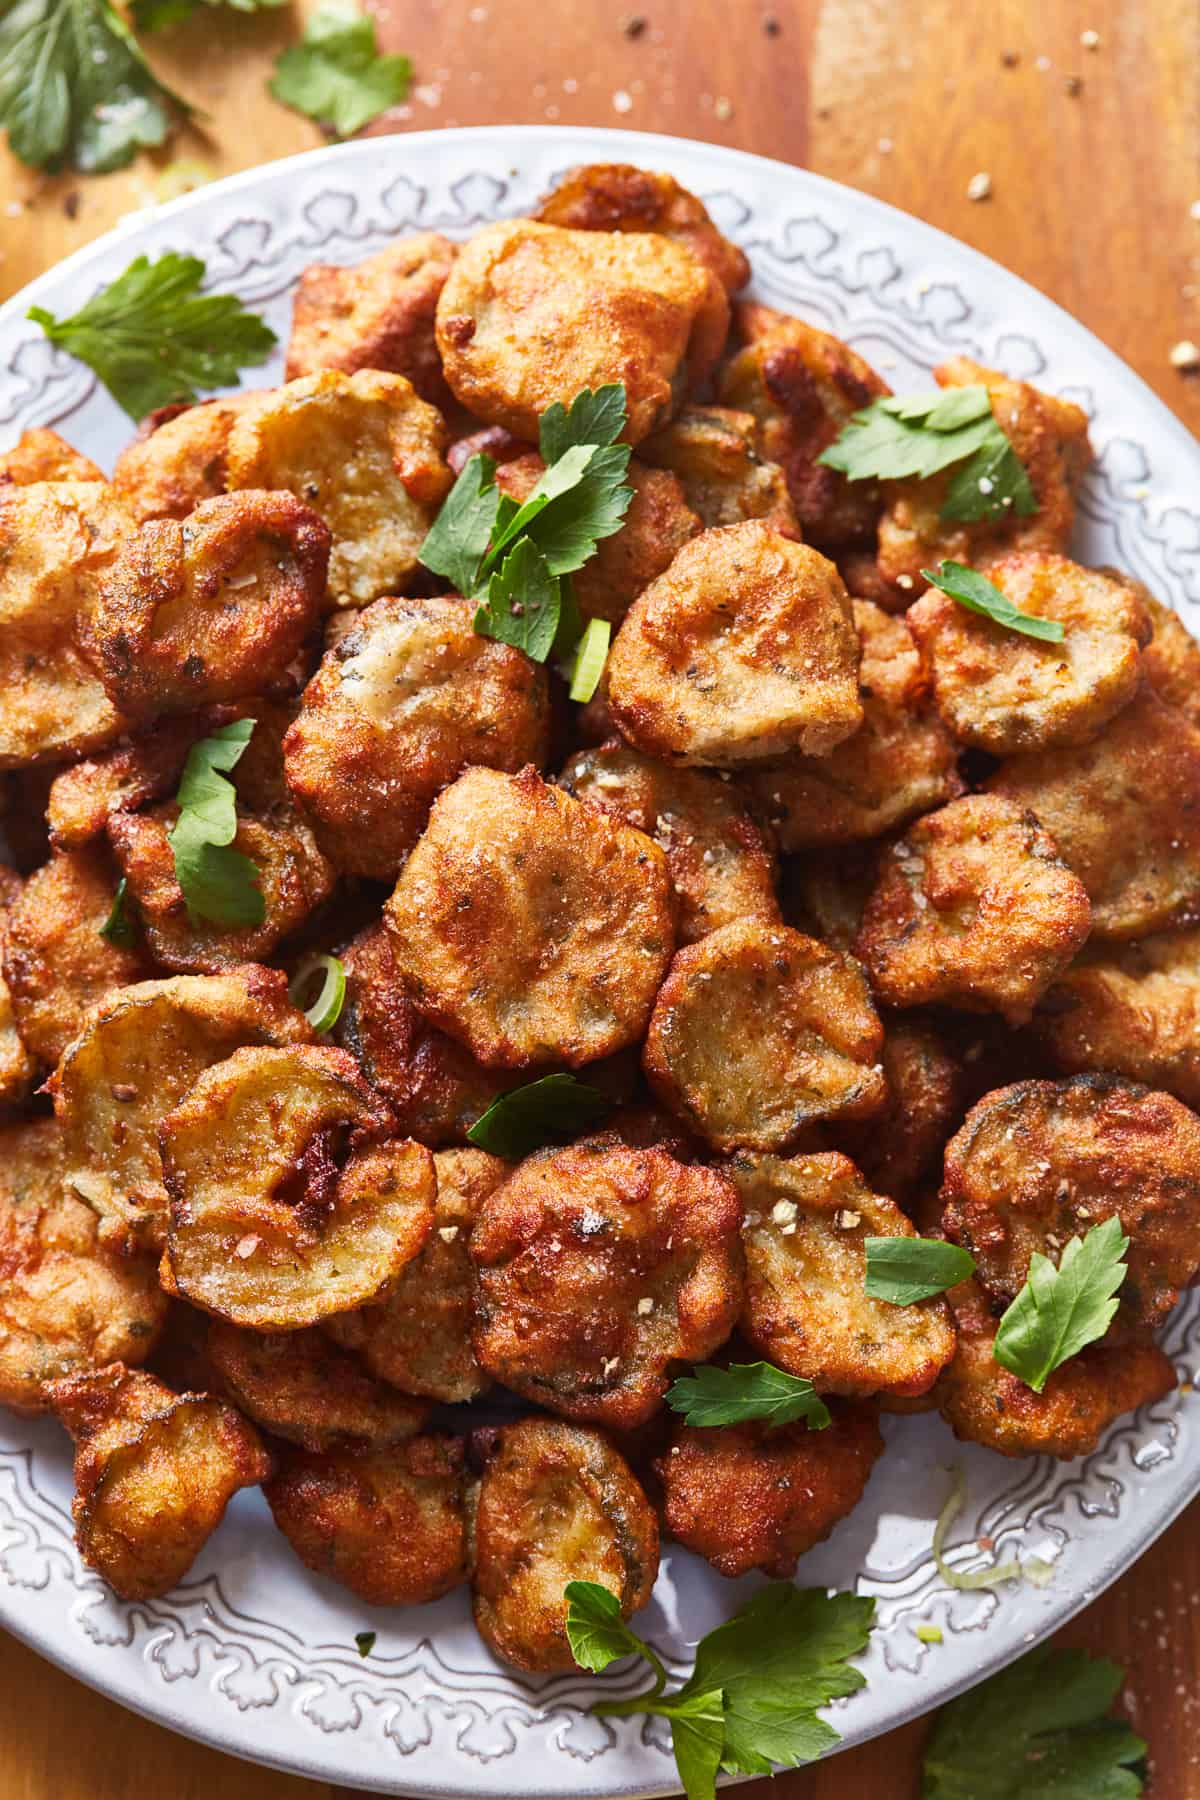
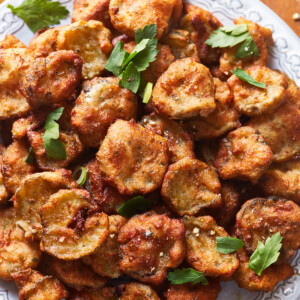
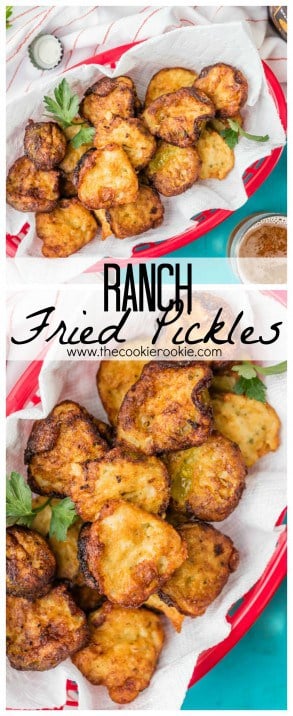
Fried Pickles are the perfect snack, appetizer, or sandwich topper. This easy ranch fried pickles recipe is crispy and crunchy, with a tangy ranch flavor. So addicting and great for game day!
This post may include affiliate links that earn us a small commission from your purchases at no extra cost to you.
What’s in this Ranch Pickles recipe?
Crispy fried pickles are the absolute best! This recipe takes simple pickles and kicks them up a notch by adding ranch right into the batter for a tangy flavor.
- Pickles: You can use any kind of pickles you like, but I recommend dill or bread and butter (if you like sweet) pickle chips.
- Pickle Juice: Use the juice from the pickle jar for the batter.
- Oil: Vegetable oil is best for frying.
- Flour: I used whole wheat flour for the batter but you can use another kind.
- Milk: I used skim milk.
- Ranch Seasoning: Buy a packet or make your own ranch seasoning. You can also use different seasonings if you prefer.
Variations on Deep Fried Pickles
I personally think the ranch flavor makes for the best fried pickles, but it’s easy to change up the flavor. When making the batter, just switch out the ranch seasoning for whichever spices you prefer.
Here are a few ideas:
- Make them spicy with chili powder, cayenne, and/or paprika.
- Use taco spices or fajita seasoning.
- Try them with Creole seasoning or a Chili Lime mix.
Unfortunately, this recipe for fried pickles is not vegan. However, if you swap the skim milk for plant-based milk, you can easily make them vegan!
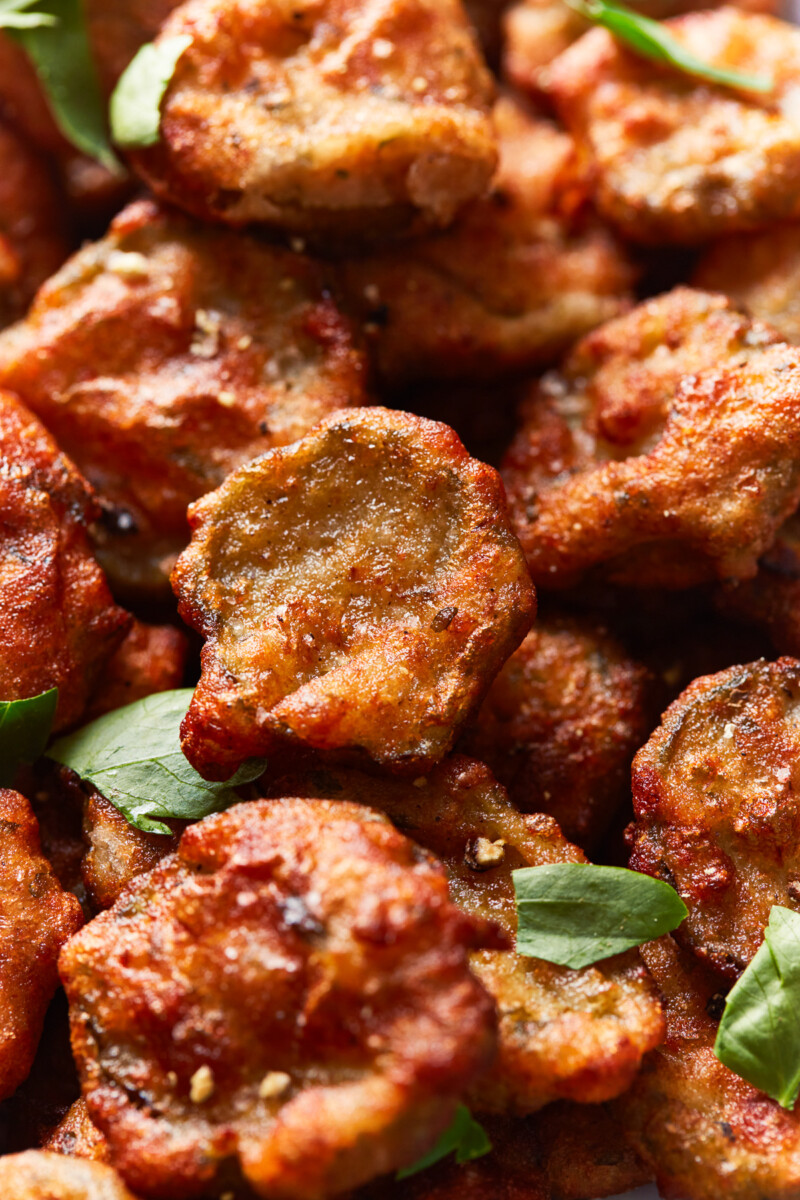
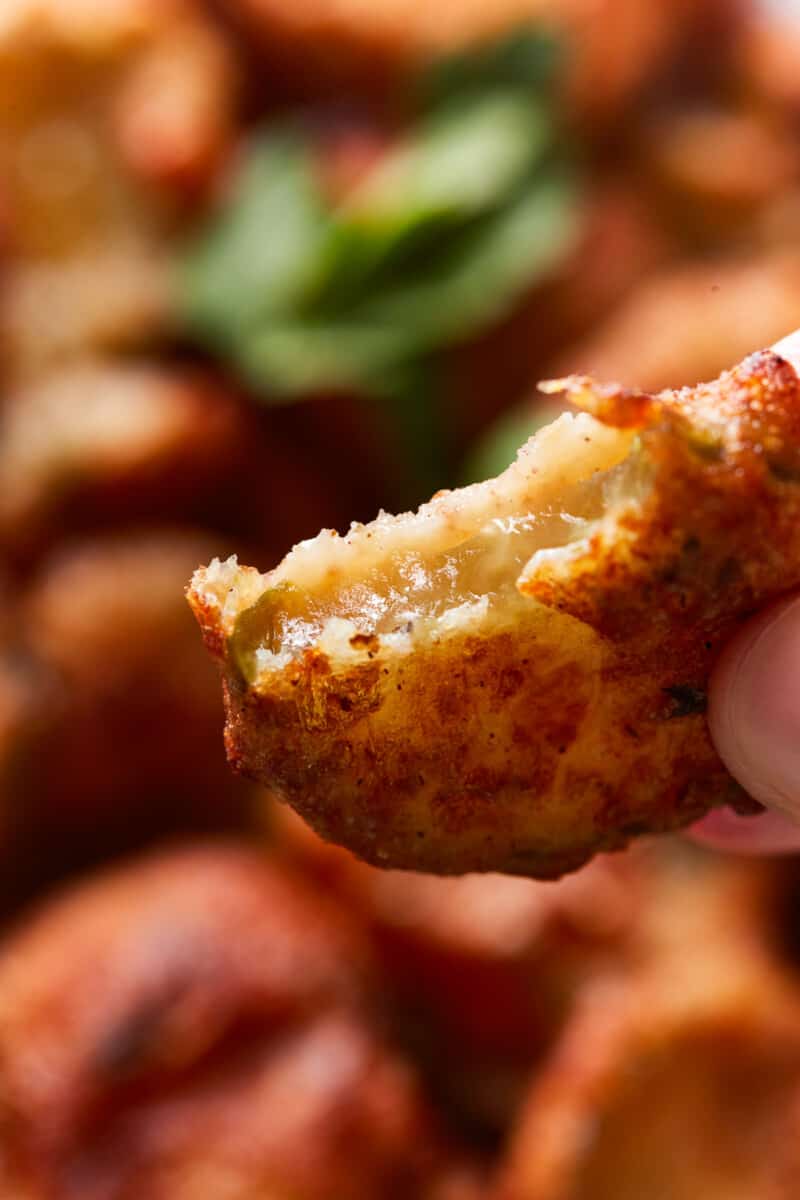
The trick to getting extra crispy pickles is to blot out any excess juice from the pickles with a paper towel. But the frying is what really does the trick. Guaranteed crispiness!
You can bake these instead of frying if you prefer. Follow the instructions below to make the batter and coat them. Then bake at 450°F until golden and crispy, about 15 minutes. Baking will be slightly healthier, but I still recommend frying for the crispiest, tastiest result.
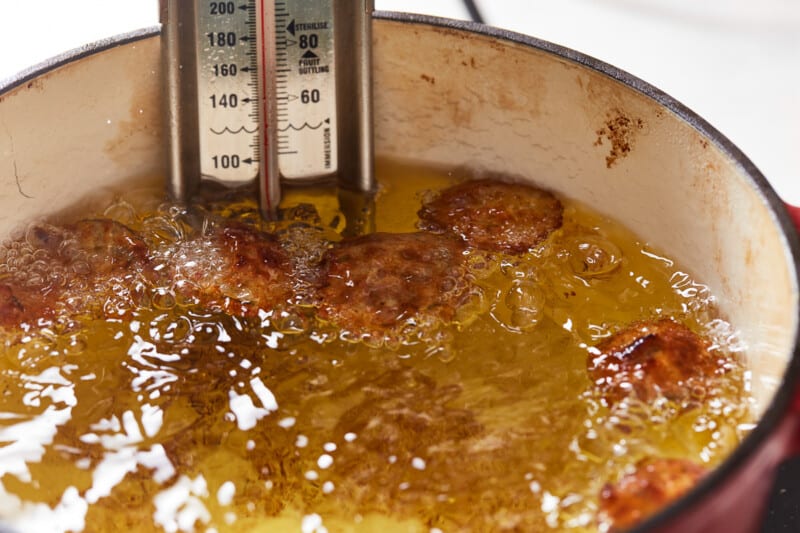
If your pickles are soggy, it’s likely that the oil is not hot enough. This could be due to not using a thermometer, or it could be due to overcrowding the pickles in the fryer, which can reduce the temperature of the oil. Make sure the oil stays around 350-375°F throughout the entire frying process.
The best way to reheat leftover fried pickles is to use the oven. This will give them their crispy texture back so they aren’t soggy. Place leftovers on a baking sheet and bake at 350°F until they’re hot and crispy.
How to Store and Reheat
Store leftover fried pickles in an airtight container in the refrigerator for up to 5 days. Reheat in a 350°F oven for 5-7 minutes, or until crispy and warmed through.
How to Freeze
Freeze fried pickles in a single layer on a lined baking sheet until solid, about 1-2 hours. This will prevent the pickles from sticking together once frozen. Transfer the pickles to an airtight container or Ziplock bag to store for up to 3 months. Let thaw overnight in the refrigerator before reheating.
What to Serve with Ranch Fried Pickles
Be sure to serve some dipping sauces along with these pickles! They go great with ranch, BBQ, honey mustard, aioli, or fry sauce. Or drizzle them with hot sauce! And of course, they’re perfect for eating with this Ranch Dill Pickle Dip. You can also use them as a topping on your favorite sandwiches, burgers, hot dogs, or salads. Try them with Crockpot Buffalo Chicken Sandwiches, Air Fryer Hamburgers, Egg Salad Sandwiches, or Turkey Burgers.
Fried Pickles Recipe
Equipment
- Dutch Oven
- Deep Frying Thermometer
Ingredients
- 1 ounce ranch seasoning (1 packet)
- 1 cup whole wheat flour or all-purpose flour
- 1 cup skim milk
- ¼ cup pickle juice from the jar
- 2 cups sliced dill pickles or bread and butter pickles
- Vegetable oil for frying
Instructions
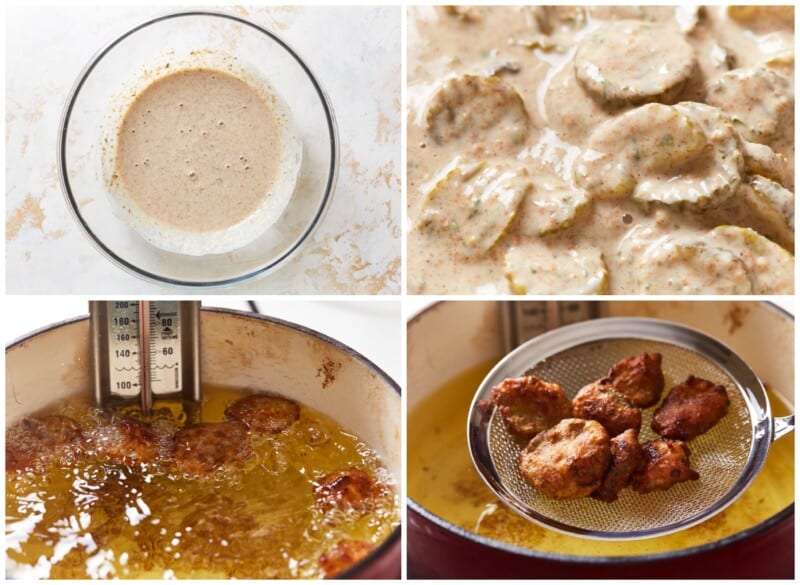
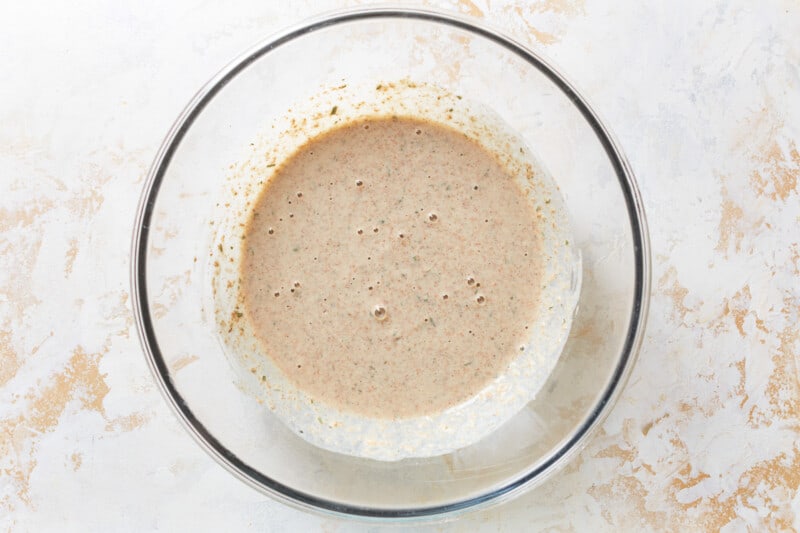
- In a shallow bowl whisk the ranch seasoning, flour, milk, and pickle juice together until a sticky batter forms.1 ounce ranch seasoning, 1 cup whole wheat flour, 1 cup skim milk, ¼ cup pickle juice
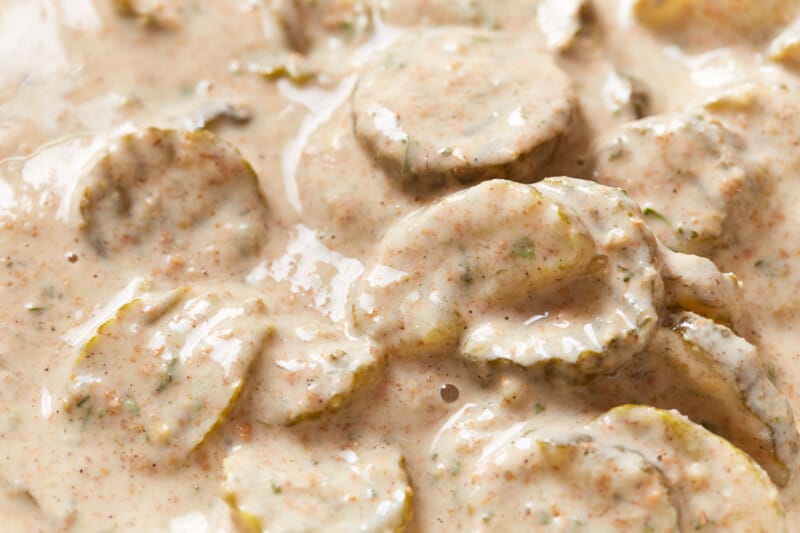
- Place pickles (you might work in batches) into batter and coat both sides.2 cups sliced dill pickles
- In a Dutch oven, heat 2 inches of oil over medium-high heat. Heat until 375°F.Vegetable oil
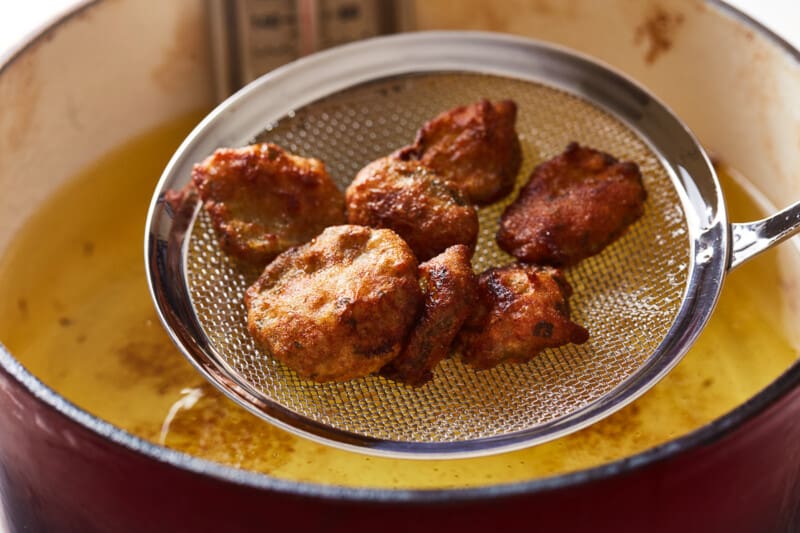
- Working in batches of 4-6, place the pickles in the batter and allow to fry until golden brown, about 1-2 minutes.
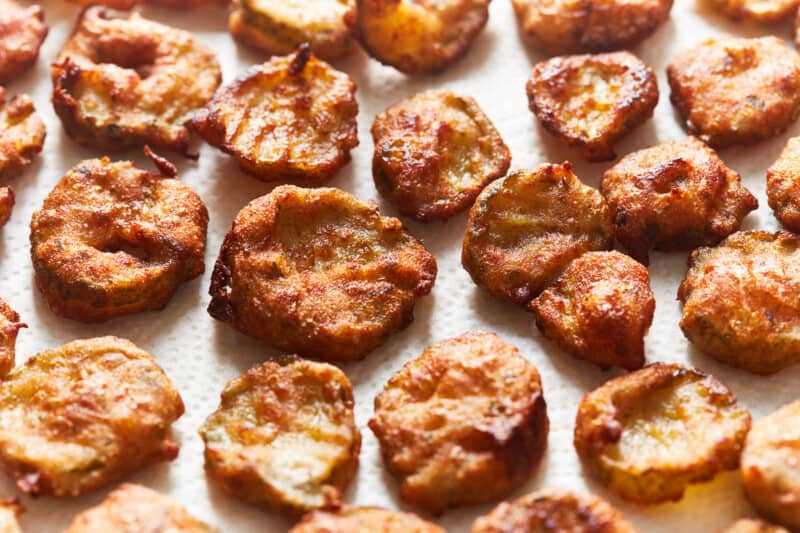
- Using a slotted spoon, remove pickles from the oil and place on a paper towel to drain.
- Allow to cool about 5-10 minutes before serving.
Video
Becky’s Tips
- I love these deep fried pickle chips but you can use pickle spears if you prefer. Just follow the same steps to fry them up!
- Work in batches when frying. I usually do about 4-6 pickles at a time.
- Make sure the oil is heated to 375°F before you start frying.
- Set up some paper towels next to the stove where you can place the pickles after frying. Give them 5-10 minutes to cool before serving.
Nutrition information is automatically calculated, so should only be used as an approximation.


Could this batter be used in my air fryer or is oil frying the beat method?
Wet batter does not work in air-fryers!
Guuuuuuuuuuuuuuuuurl these fried pickles look beyond delicious! The fact that you added ranch makes these a million times better….yum!
Thanks lady!!! Miss you!
I love fried pickles and ranch fried pickles sound even better! Your photos have me drooling over here. They look so crispy and golden!
Thank you so much Renee!
Oh my gosh – my husband is a pickle FANATIC! And fried? Even better! He would flip if I made these for him!
Ha!! Hope you guys love them Cathy!
You can never have too much ranch! Thanks for sharing, can’t wait to give these a try! :)
Thanks so much Kristyn!
Oh my goodness! This might be one of the best-fried pickle recipes I’ve ever seen! Loving the ranch flavor and that crispy coating!
Thanks so much Justine!!!
I’ve never had fried pickles, but whoa, these look incredible! I love anything ranch!
Thanks Michelle! Hope you love them!
These look incredibly good! I love ranch and anything fried! Totally loving these! :)
Thank you Andi!
If it was not 10:30 P.M. and the nearest open store is 45 miles one way I would be making these tonight!! First time in eons that we do not have a variety of pickles in the fridge!!
Best comment ever!! Ha thank you so much Judy!
I’m such a fan of fried pickles and these look absolutely divine! So wish I had a basket of them right now!
Thanks Melanie!!