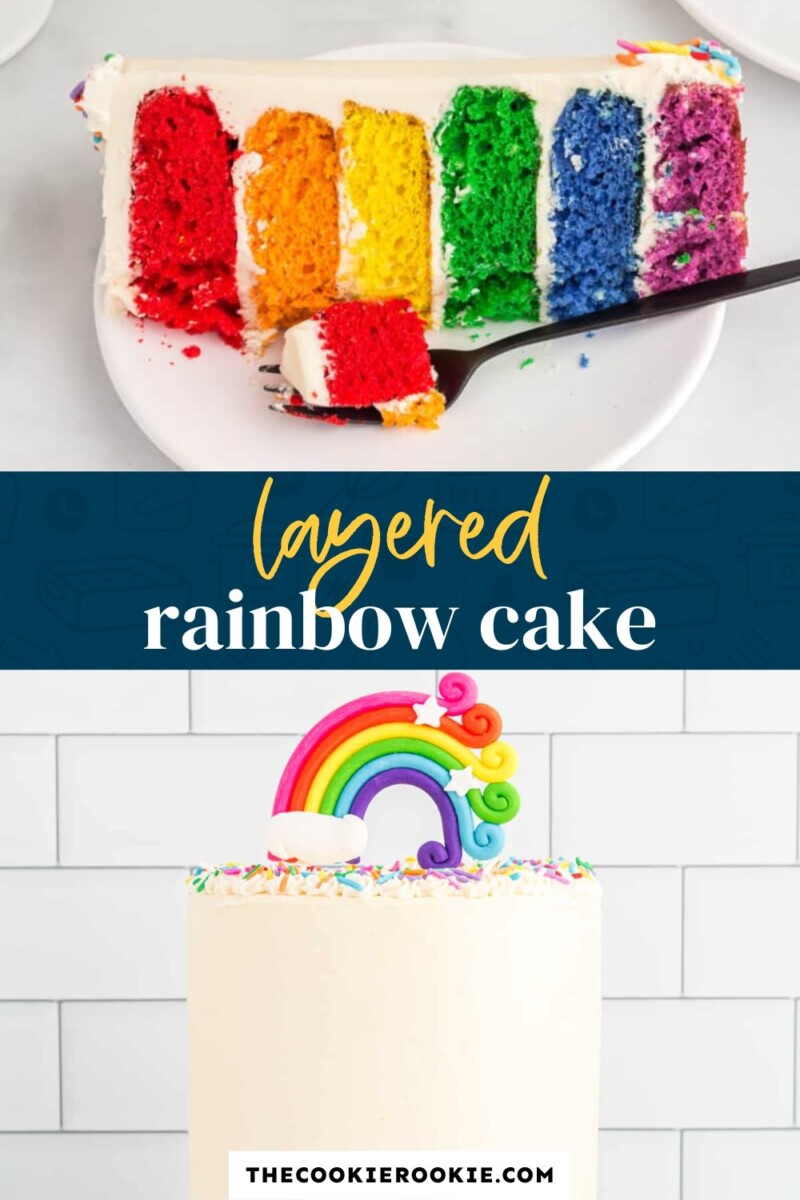
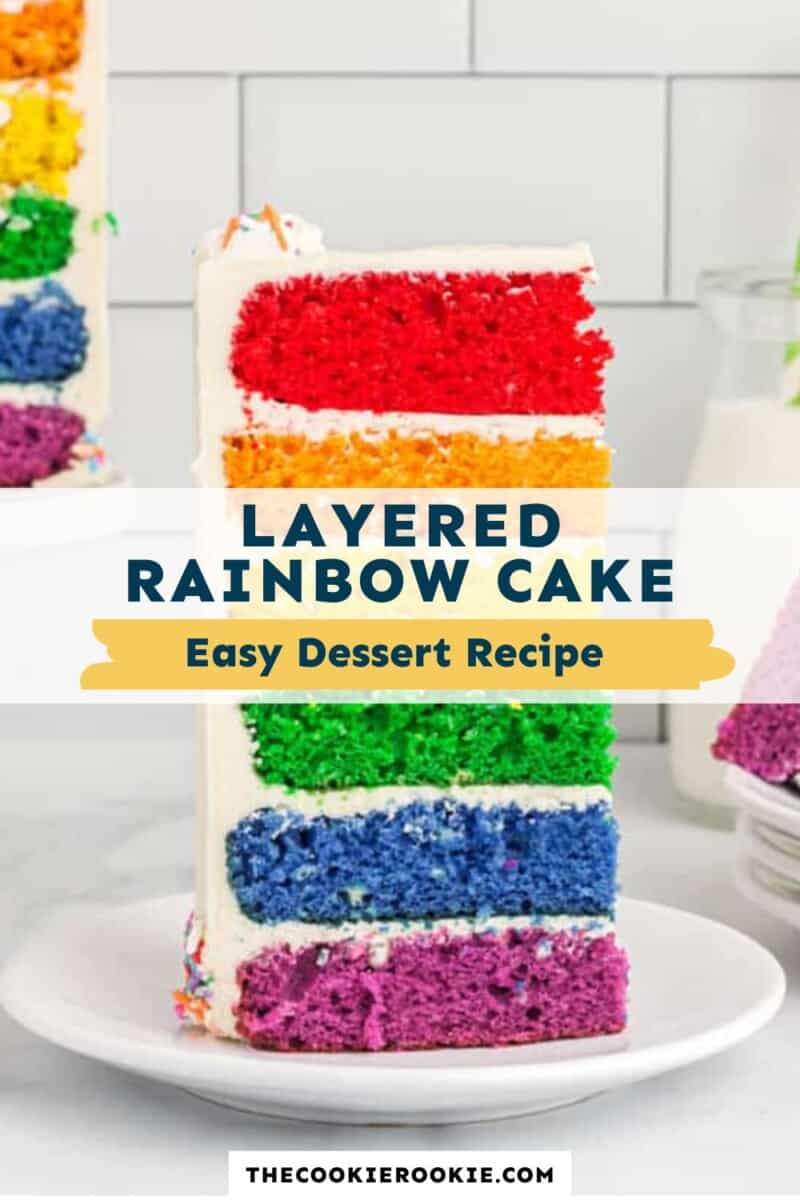
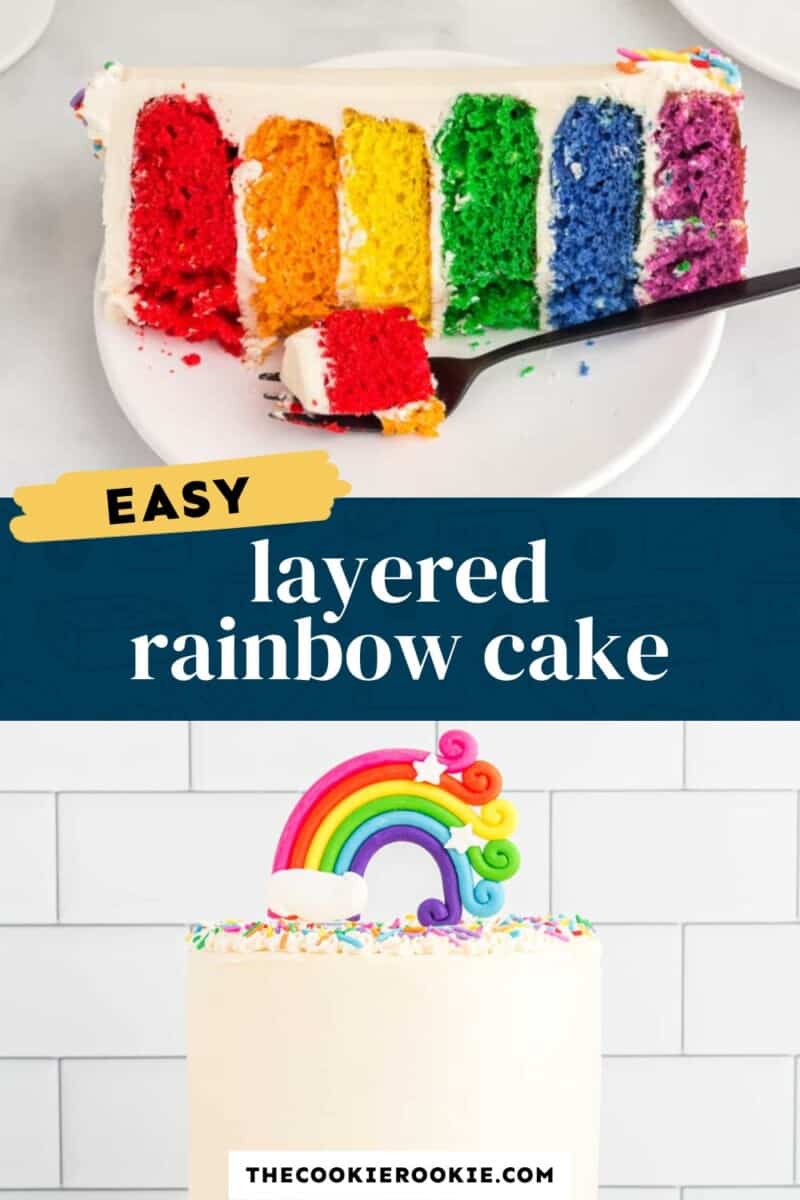
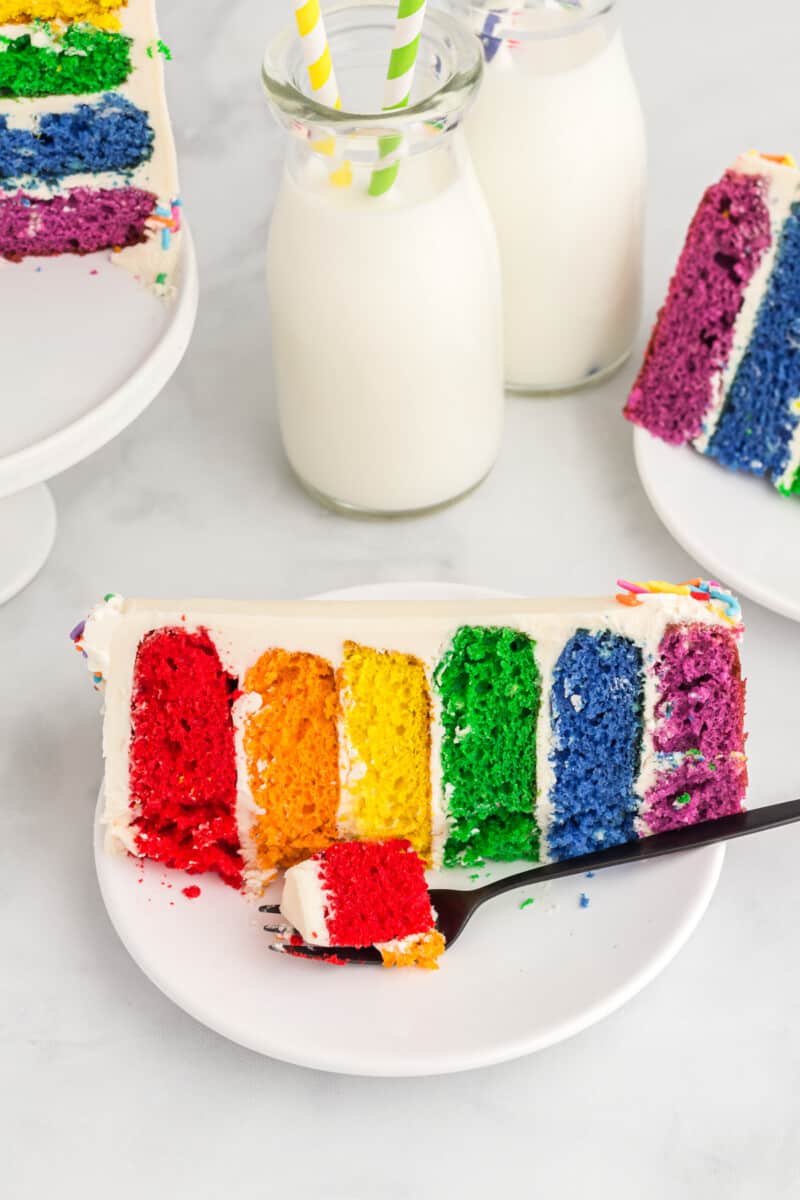
This colorful Rainbow Cake is a moist vanilla cake with creamy vanilla buttercream frosting that hides a surprise—there’s a rainbow inside! Layers of brightly-colored cake stack up to make a magical dessert. No need to go hunting, this birthday cake brings all that beauty right to your plate.
What’s in Rainbow Birthday Cake?
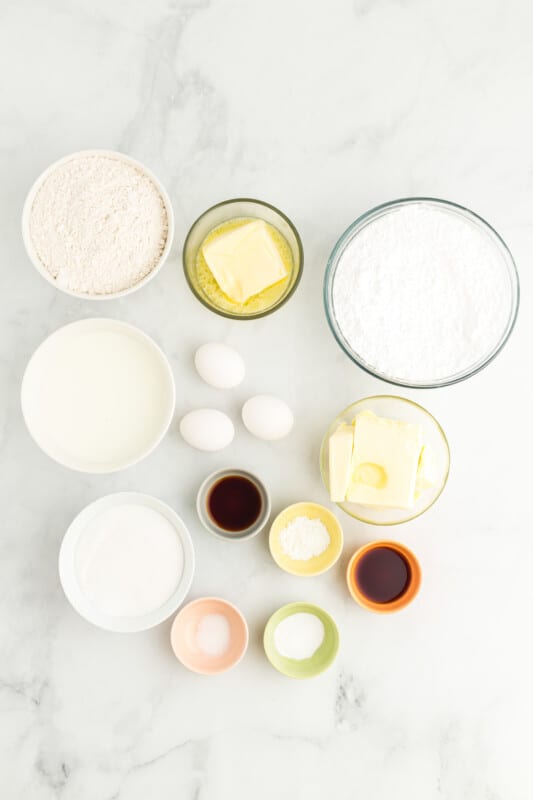
This Rainbow Cake is made with all the classics—butter, sugar, eggs, and your favorite vanilla extract. And the magic ingredient for those vibrant colors? Gel food coloring!
- Flour: All-purpose flour is best for this cake recipe.
- Sugar: Use granulate sugar to add sweetness.
- Leavening: Use both baking soda and baking powder to make this cake rise.
- Salt: Just a bit to balance the sweetness.
- Buttermilk: Let the buttermilk sit at room temperature, so it mixes well with the other ingredients. This creates an incredibly moist cake.
- Butter: Unsalted butter that’s just starting to melt is the sweet spot. Make sure you have enough for the vanilla frosting too!
- Eggs: Large eggs work best.
- Vanilla: Pure vanilla extract gives this white cake its classic flavor.
- Food Coloring: Those vibrant rainbow colors have to come from somewhere! Start with one or two drops, then add more to get your desired shade.
Pro Tip: No buttermilk? That’s okay! You can get that tangy flavor from a combo of common pantry ingredients. Try mixing a tablespoon of white vinegar (or lemon juice) with one cup of milk to create the perfect substitute.
Variations on Rainbow Layer Cake
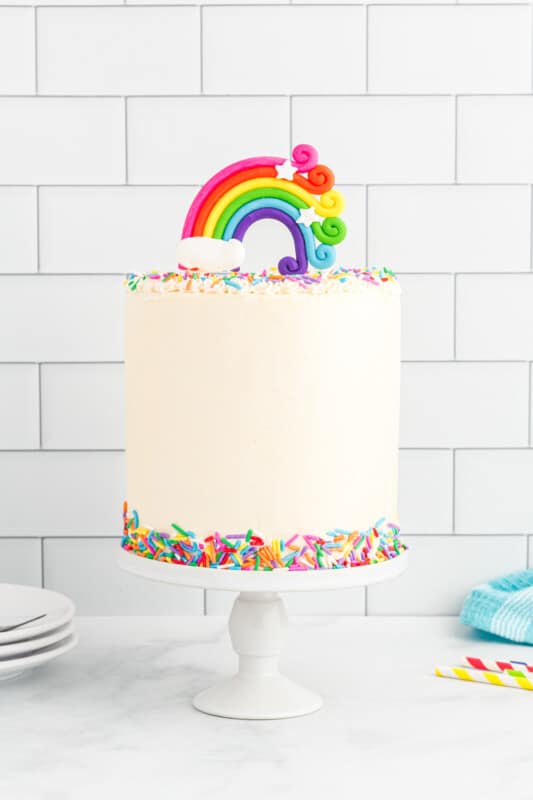
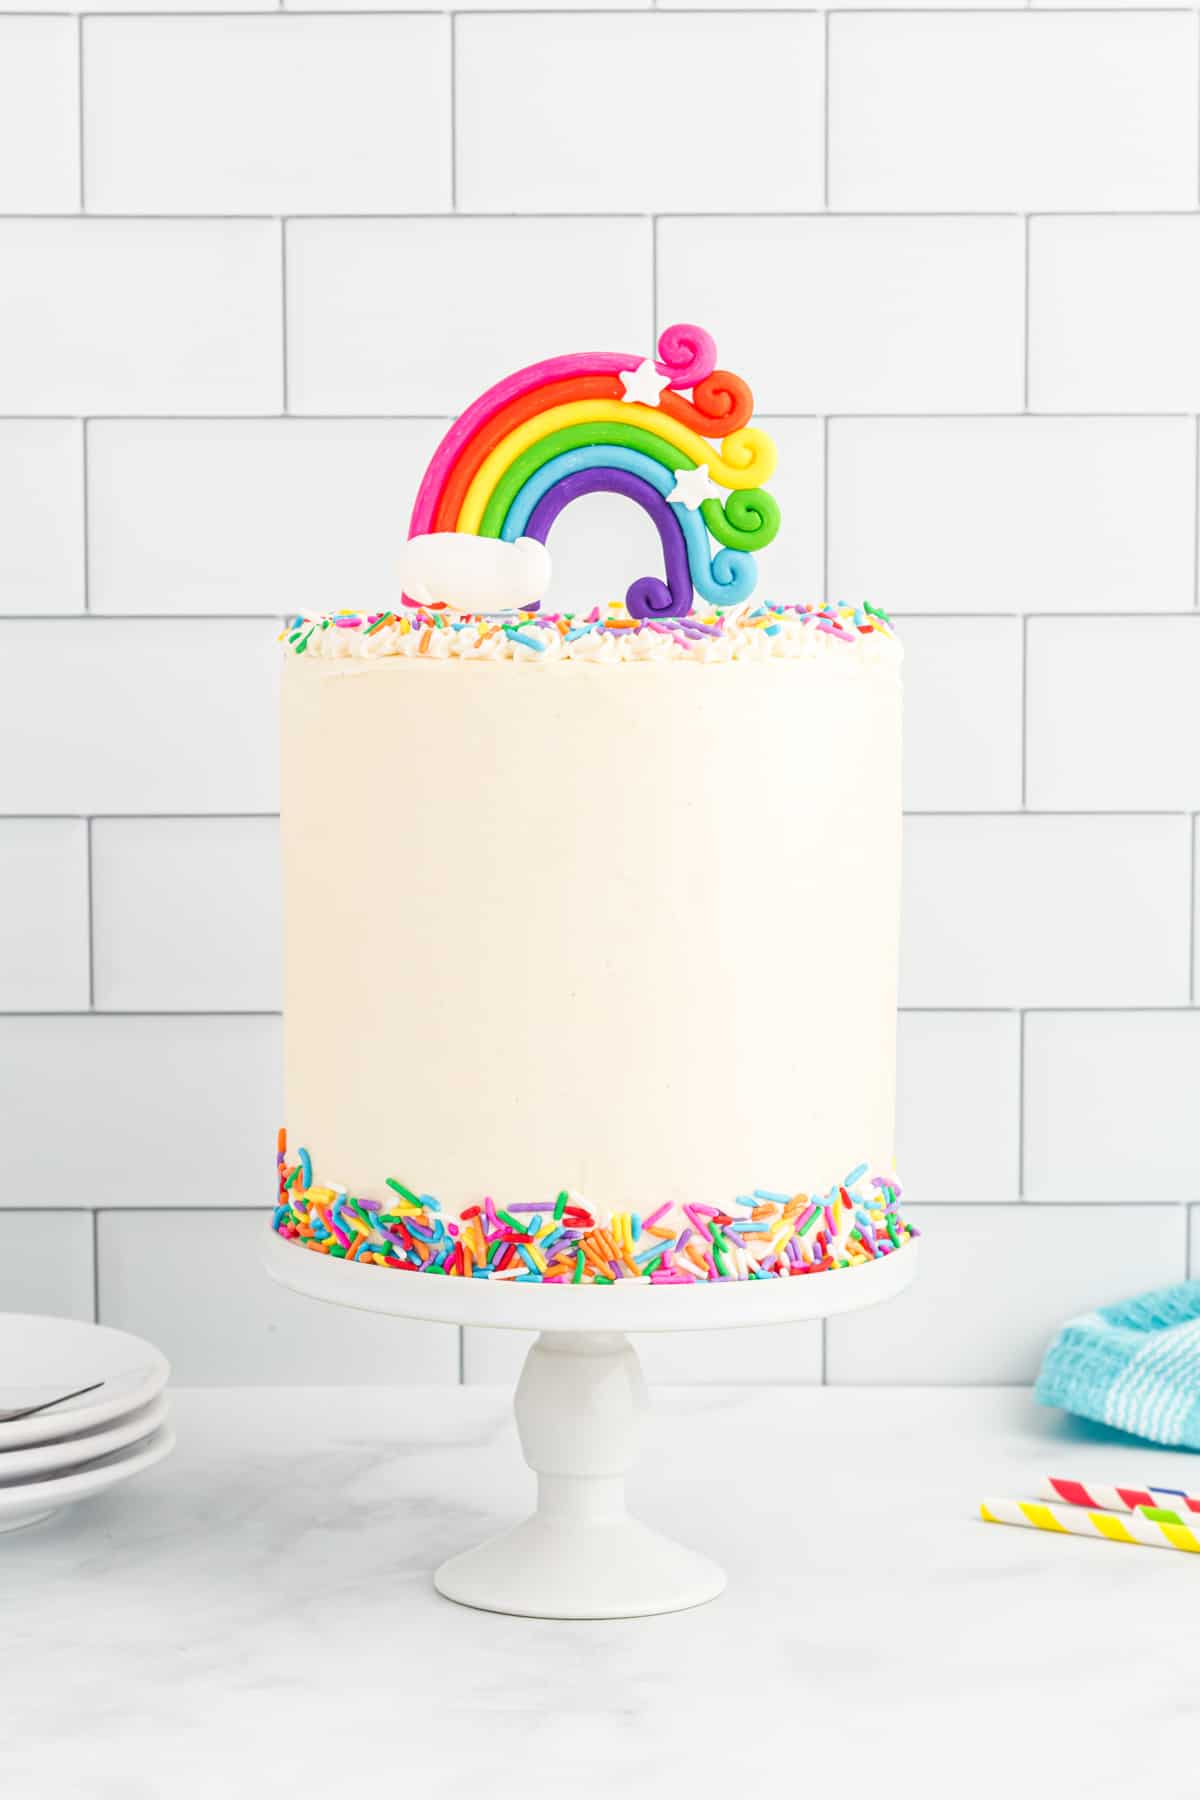
There are so many fun ways to decorate the outside and the top of the cake! I love the simple white frosting with rainbow sprinkles to hint at the surprise to come! You could also opt for an ombre effect, with each color corresponding to the colorful layers inside.
Garnish with rainbow sprinkles or make a crumb coat with the crumbled-up leftover cake pieces from leveling the cakes. Or have even more fun and swirl all of the frosting colors together for a tie-dye look!
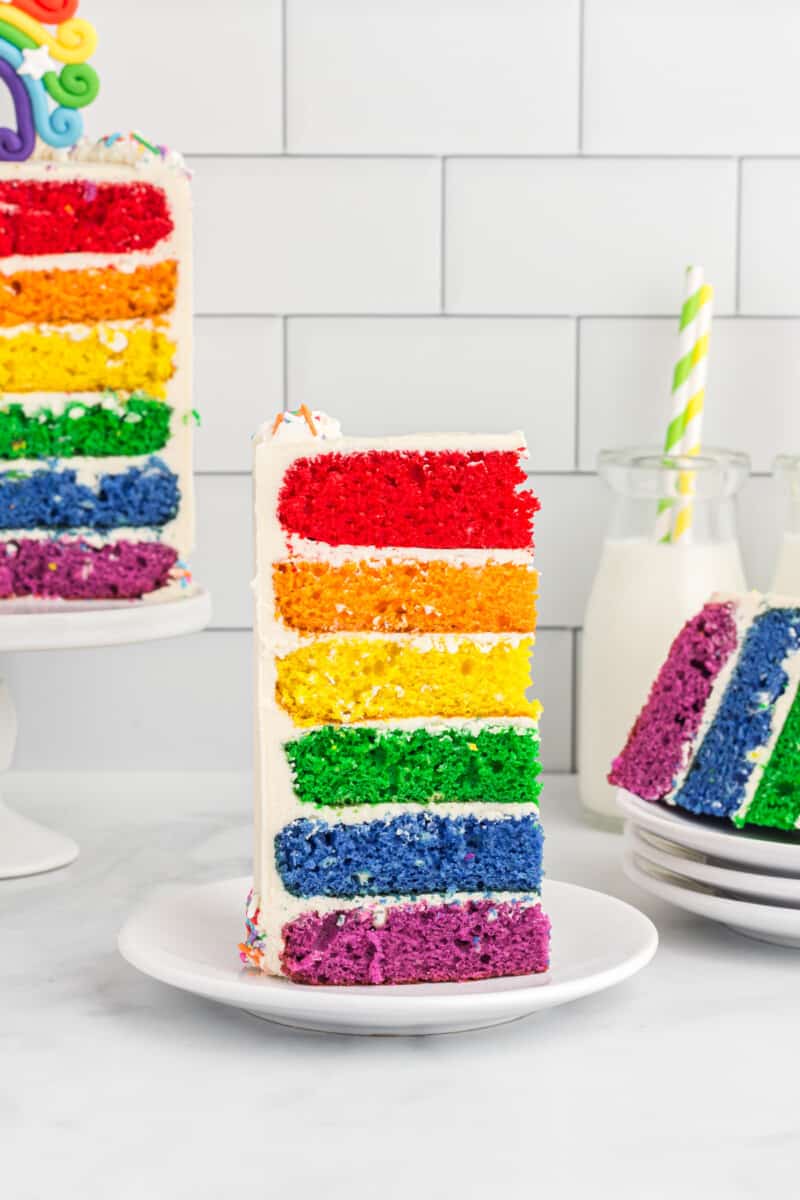
While the rainbow cake is a visual feast, it’s actually quite a simple cake. This cake is made with vanilla cake and vanilla buttercream frosting. You could certainly change up the flavor if you like, but I adore the simplicity.
Sure! Simply swap the cake recipe for a prepared 15.25-ounce box of white cake mix, then color with food coloring and assemble in the order of the rainbow. Follow the baking instructions on the box for the best results.
Nope! While 6 round cake pans would be ideal, you can do it with just 2 round cake pans. You’ll just need to bake 2 layers at a time and wipe out any cake remnants between each layer. I recommend starting with lighter colors first to avoid color bleeding.
The type of food coloring used is important. For these bright colors, I used the brand Chefmaster Liqua-gel in the colors: super red, neon brite orange, lemon yellow, leaf green, neon brite blue, and neon brite purple.
A dry cake can be caused by 2 things. You may have measured the ingredients incorrectly, or you might have overmixed the cake batter. It’s important to spoon and level your ingredients if you’re not using a kitchen scale, and it’s important to have a light hand when mixing the cake batter.
Yes! Prepare the cake batter and pour it into the wells of a cupcake tin, filling ¾ full, and bake for 15-20 minutes, or until a toothpick inserted in the center comes out clean. Frost and enjoy!
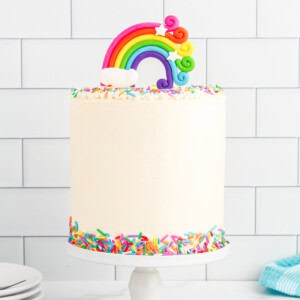
I got that cake topper on Amazon!
How to Make Ahead and Store Rainbow Theme Cake
The cake layers can be baked in advance, wrapped in plastic, and stored for up to 2 days at room temperature, or up to 3 months in the freezer. Let the cake layers defrost at room temperature.
The buttercream frosting can be stored in an airtight container in the refrigerator for up to 1 week. Let come to room temperature before coloring and using.
Store leftover slices of rainbow cake tightly wrapped in plastic wrap or covered with a cake dome at room temperature for up to 2 days or in the refrigerator for up to 4 days.
How to Freeze
Freeze the rainbow cake whole or cut it into individual slices tightly wrapped in plastic wrap for up to 1 month. Let thaw overnight in the refrigerator before enjoying.
Rainbow Cake Recipe
Equipment
- Kitchen Scale (optional)
- Six 6-inch Round Cake Pans
- Stand Mixer
- Piping Tip Set
Ingredients
For the Cake
- 2½ cups all-purpose flour 350 grams
- 1½ cups granulated sugar 300 grams
- 1 teaspoon baking soda 6 grams
- 1 teaspoon baking powder 4 grams
- ½ teaspoon kosher salt
- 1½ cups buttermilk 341 grams, room temperature
- ½ cup unsalted butter 115 grams, slightly melted
- 3 large eggs 150 grams, room temperature
- 2 teaspoons pure vanilla extract 8 grams
- Gel food coloring red, orange, yellow, green, blue, purple
For the Frosting
- 5 cups powdered sugar 600 grams
- 1½ cups unsalted butter 340 grams, slightly melted (3 sticks)
- 1 tablespoon pure vanilla extract 12 grams
Instructions
For the Cakes
- Preheat oven to 350°F. Spray six 6-inch round cake pans with nonstick spray and line the inside bottoms with parchment paper to prevent the cake from sticking. Set aside.
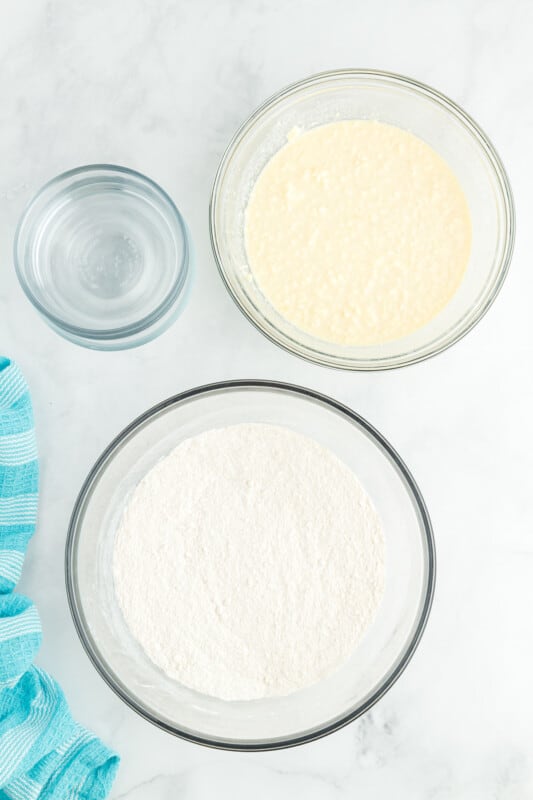
- In a large bowl, stir the flour, granulated sugar, baking soda, baking powder, and salt together. Stir well to mix. Set aside.2½ cups all-purpose flour, 1½ cups granulated sugar, 1 teaspoon baking soda, 1 teaspoon baking powder, ½ teaspoon kosher salt
- In the bowl of a stand mixer fitted with the paddle attachment, beat the buttermilk, slightly melted butter, eggs, and vanilla extract together on low until mixed. This mixture will look a bit chunky (small butter chunks) but that’s okay.1½ cups buttermilk, ½ cup unsalted butter, 3 large eggs, 2 teaspoons pure vanilla extract
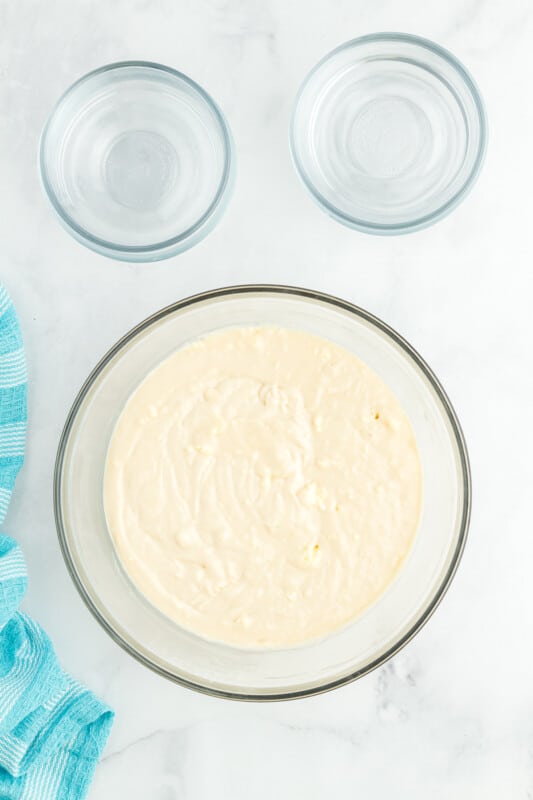
- Pour the wet ingredients into the dry ingredients and beat on low just until combined. Do not overmix. Mix just until you no longer see dry ingredients. Be sure to use a spatula to mix dry ingredients from side and bottom of bowl into the rest of the mixture. This mixture will still look chunky and that’s perfect because we still have to mix in the different colors. It’s important not to overmix this or you’ll end up with lots of crater holes in your cakes.
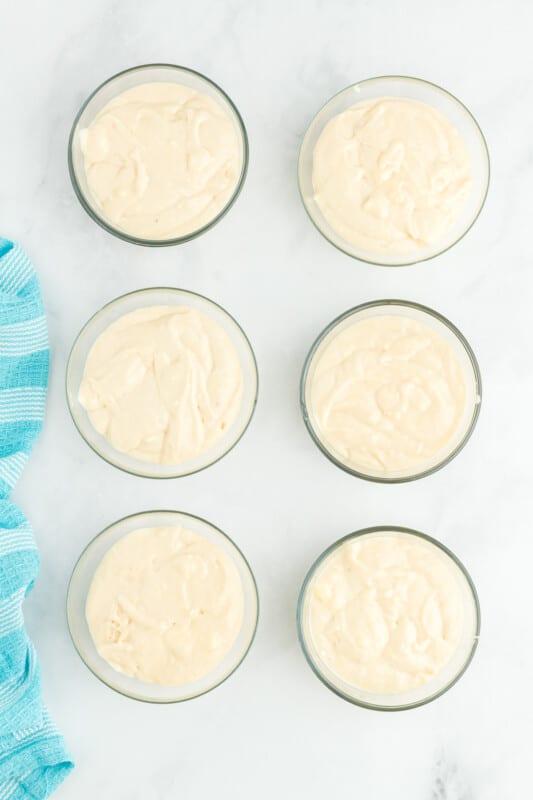
- Separate cake batter equally into 6 bowls. This works out to be around 210 grams of batter per bowl.
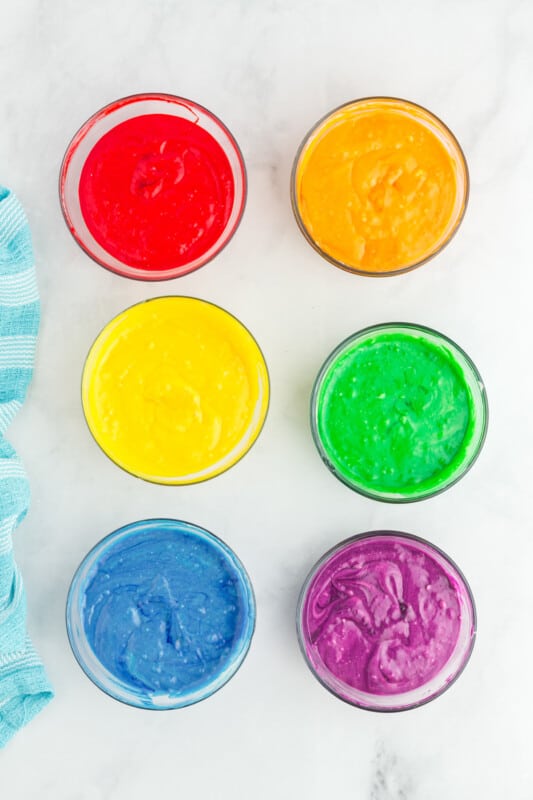
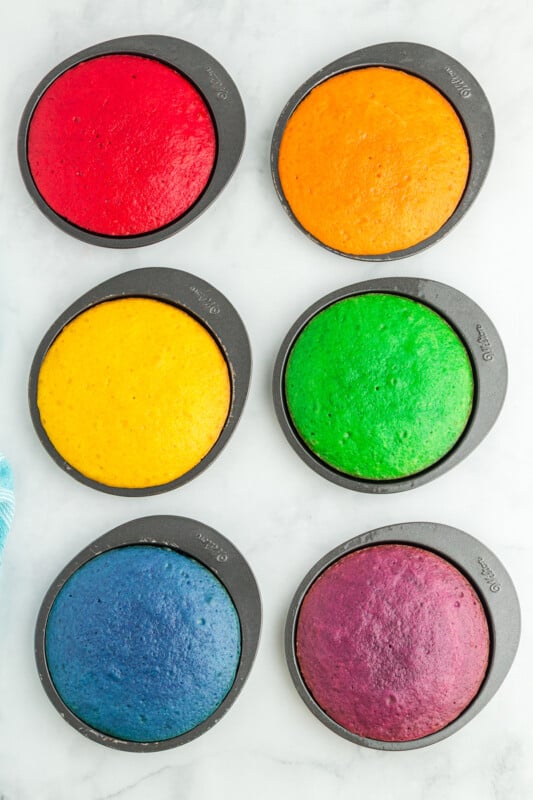
- Color one bowl of cake batter red, one orange, one yellow, one green, one blue and one purple. Again, be careful not to overmix. Stir just until the color is mixed in well.Gel food coloring
- Pour cake batter into prepared pans. One color cake batter per cake pan.
- Bake in the preheated oven for 20-22 minutes, or until a toothpick inserted in the middle of the cakes comes out clean.
- Let cakes cool in pans for 15 minutes before removing cakes from pans.
- Wrap cakes in food-safe plastic wrap (each cake wrapped separately so they don’t stick together) and place cakes in fridge for at least one hour (could also be left overnight if wrapped tightly in food-safe plastic wrap so they don’t dry out).
For the Frosting
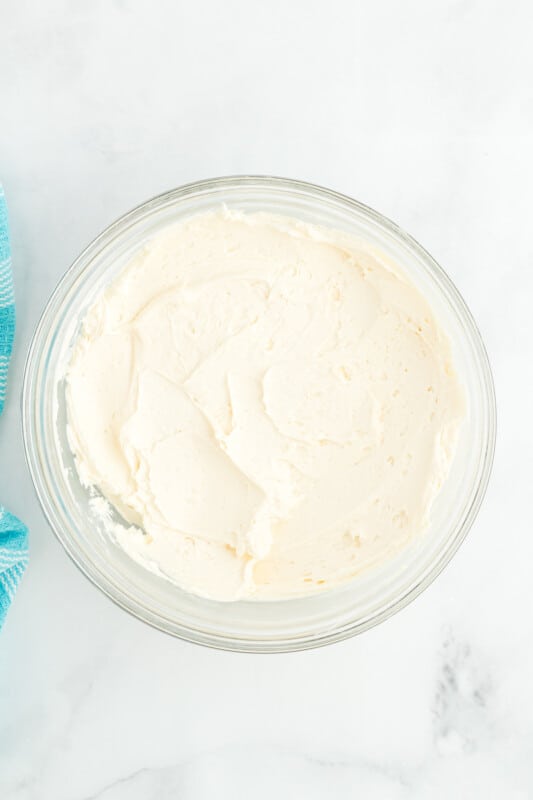
- In the bowl of a stand mixer fitted with the whisk attachment, beat the powdered sugar, slightly melted butter, and vanilla extract together on high until light and fluffy, about 5 minutes.5 cups powdered sugar, 1½ cups unsalted butter, 1 tablespoon pure vanilla extract
For Assembly
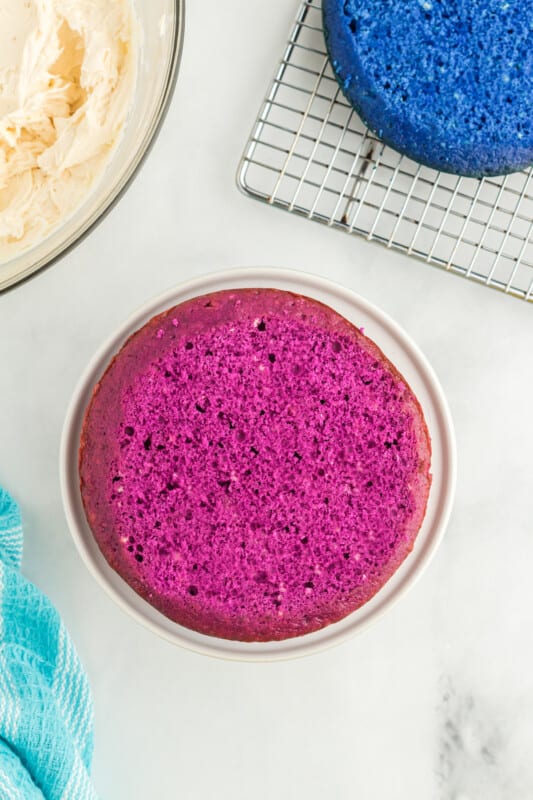
- Unwrap the chlled cakes and use a large serrated knife cut the top domes off of the cakes so each cake top is flat. You don’t need these cake domes for anything else so you can set these aside to snack on later.
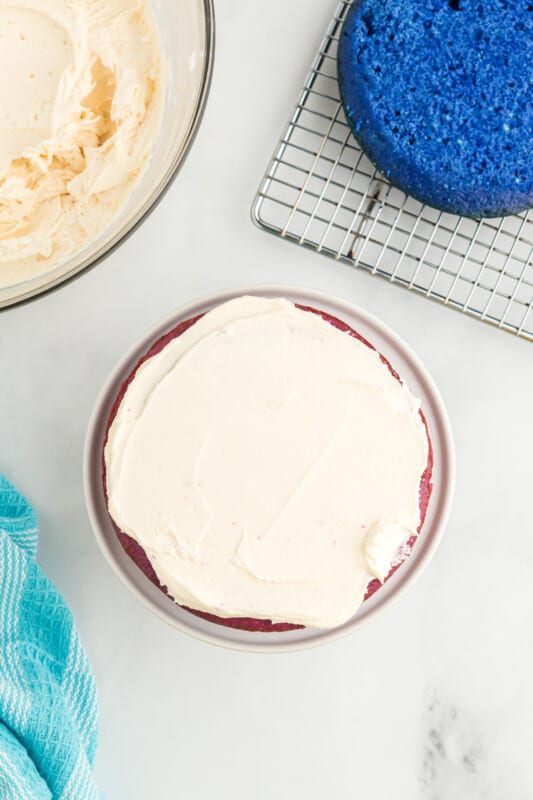
- Place a thin layer of frosting (about 2 tablespoons) in the middle of a cake board or cake plate then place the purple cake (cut side facing up) on top of that frosting. This small bit of frosting helps to secure the cake to the cake board so the cake doesn’t slide around during decorating.
- Add a generous layer of frosting on top of that purple layer of cake and use an angled icing spatula to smooth the icing out evenly. Then place the second layer of cake (blue, cut side facing up again) on top of the first layer of frosted purple cake.
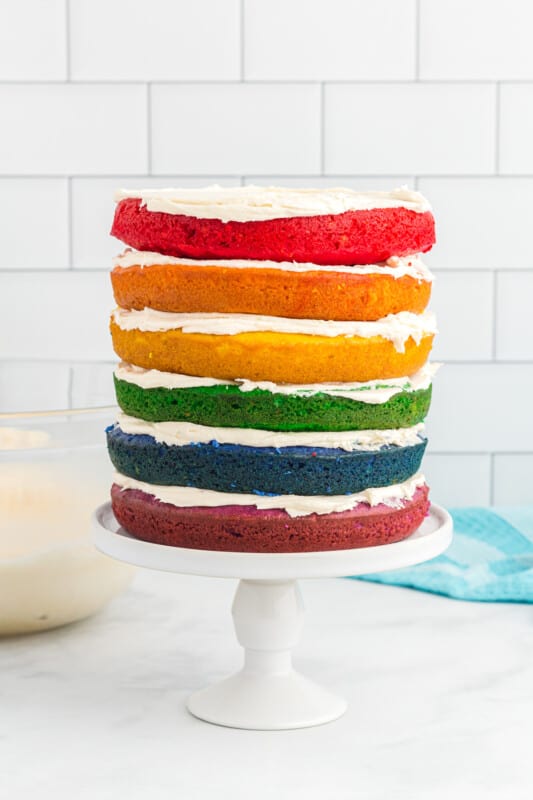
- Add a generous layer of frosting on top of that blue layer of cake then place the next layer of cake (green, cut side facing up again) on top of the blue layer of frosted cake. Repeat these steps with cake layers in this order starting at the bottom of the cake: purple, blue, green, yellow, orange and finishing with red layer on top but the red cake layer should be placed bottom up (cut side facing down).
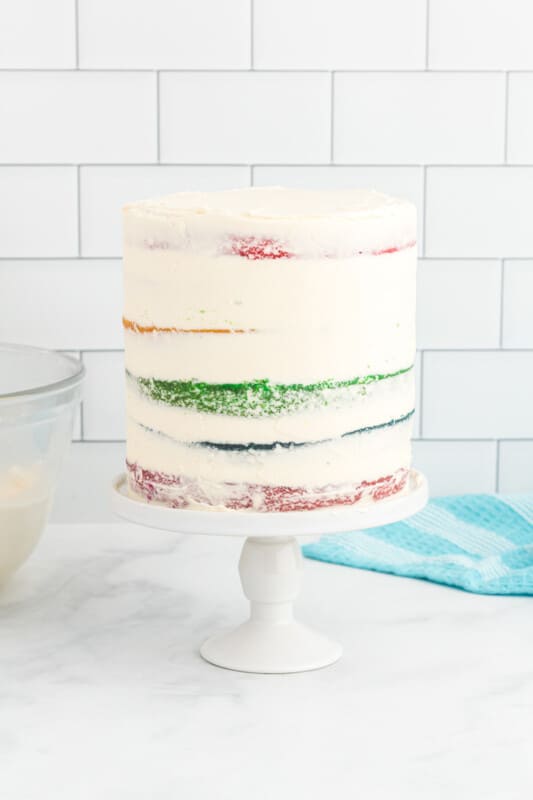
- Frost a thin layer of frosting around the top and sides of cake. This thin layer (called a crumb coat) is meant to secure all the crumbs to the cake. This is just a thin layer of frosting so it doesn’t have to be perfectly smooth and it’s okay if you can still see the cake through this first layer of frosting. Use a tool like a cake scraper to smooth the icing out.
- Place the lightly frosted cake in the freezer for 10 minutes so the first layer of frosting firms up a bit.
- Remove cake from freezer and apply the second layer of frosting. Spread this layer as smoothly as you can using the cake scraper tool.
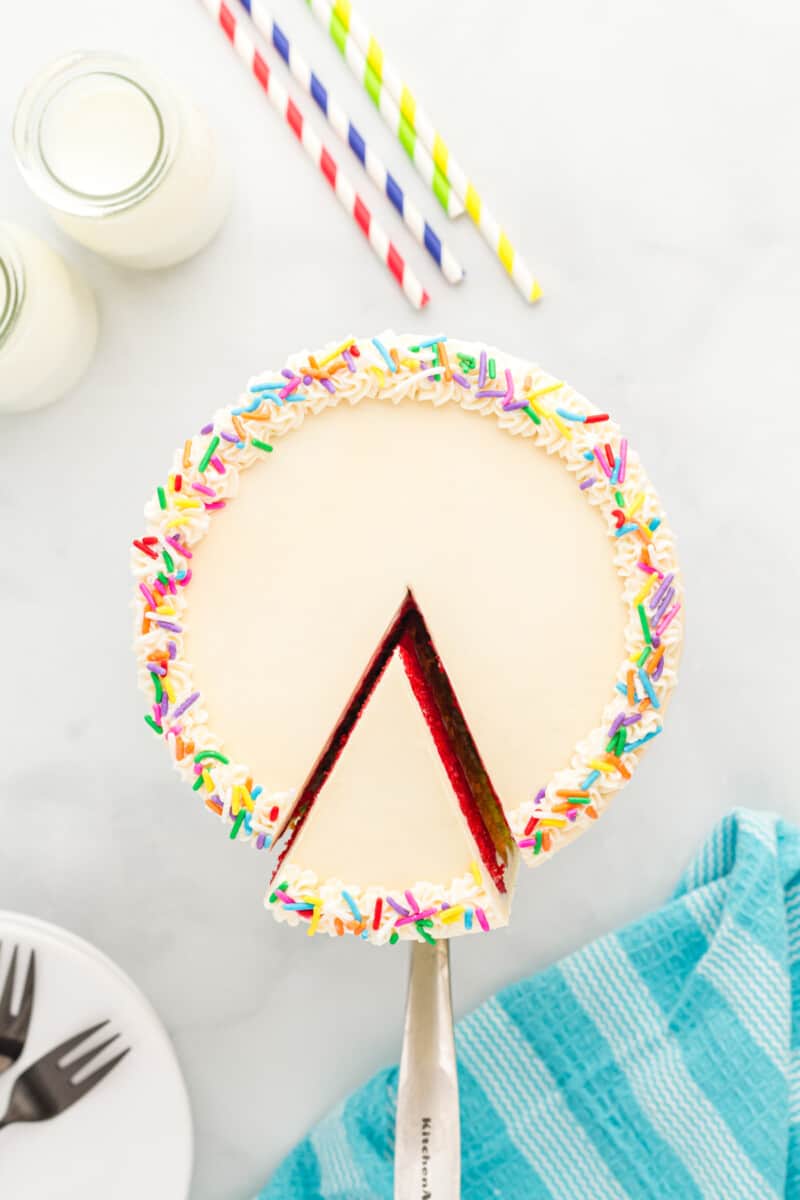
- Decorate the top of the cake as desired. I used a Wilton 21 icing tip on an icing bag to pipe swirls around the top then added sprinkles to those swirls. I also pressed sprinkles onto the bottom edge of the cake.
Becky’s Tips
- Use room temperature ingredients for the best results.
- Weigh the dry ingredients using a scale or the spoon-and-level method to prevent dense, dry layers.
- You can change up the flavor of this cake by swapping out the vanilla extract. Try almond, lemon, coconut, or cherry!
- For these vibrant colors, I used the brand Chefmaster Liqua-gel in the colors: super red, neon brite orange, lemon yellow, leaf green, neon brite blue and neon brite purple.
- Chill the cakes before frosting them, but make sure the frosting is at room temperature.
Nutrition information is automatically calculated, so should only be used as an approximation.
