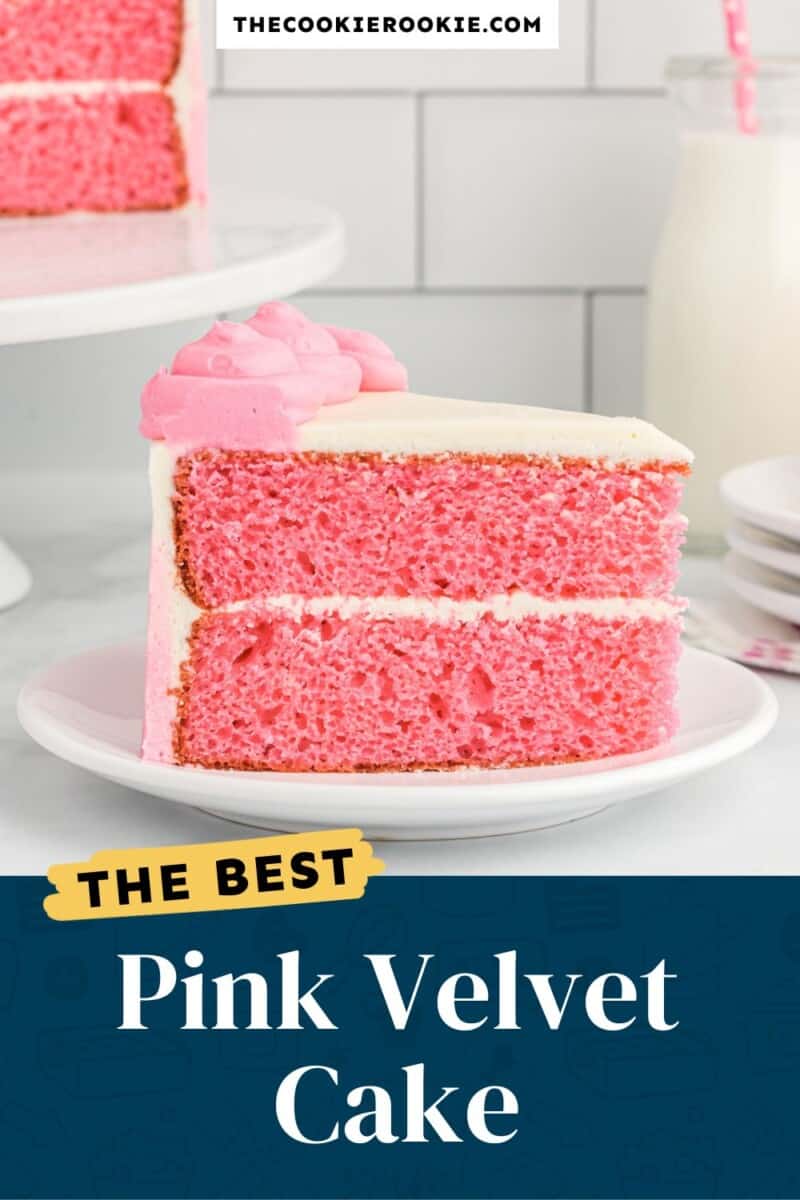
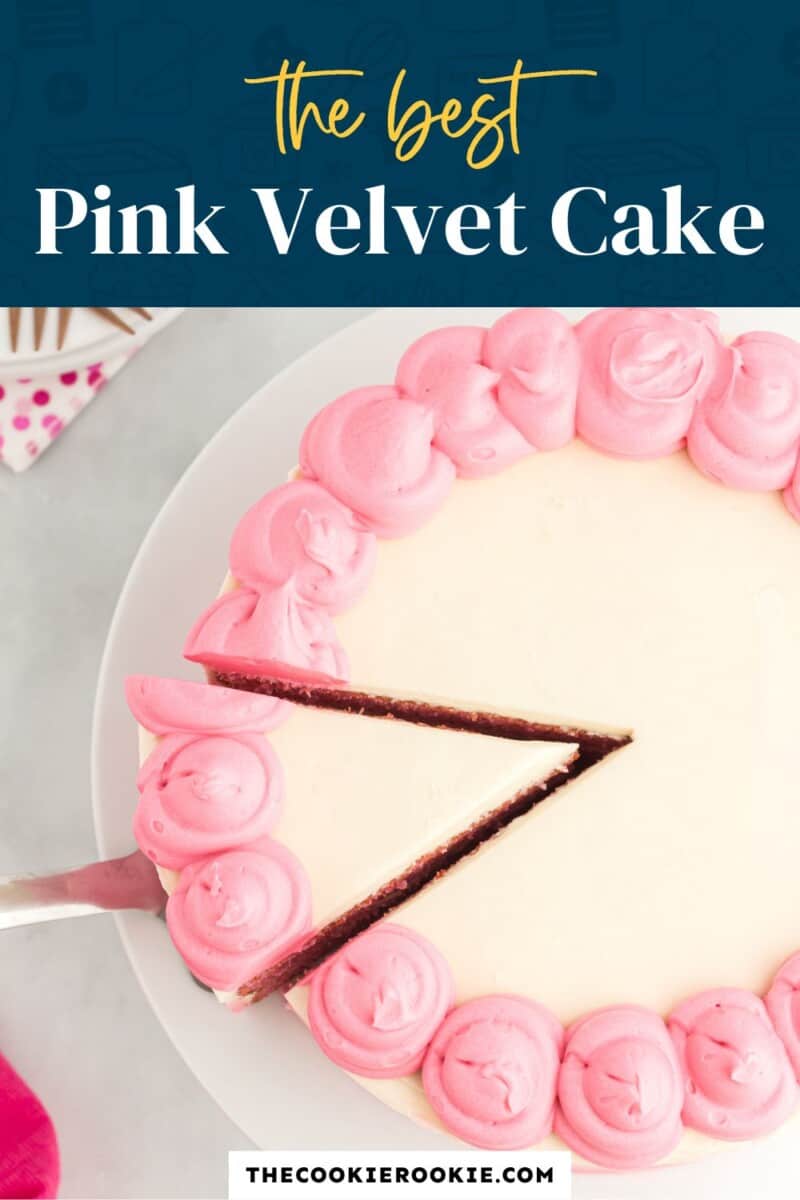
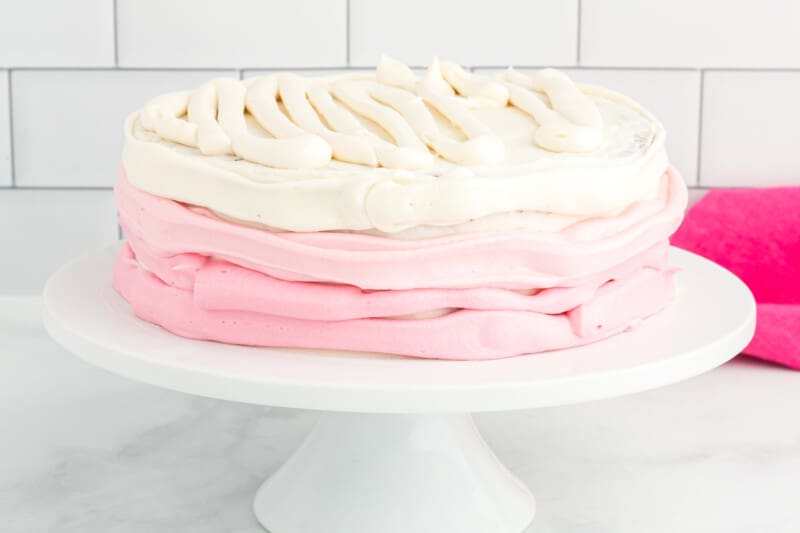
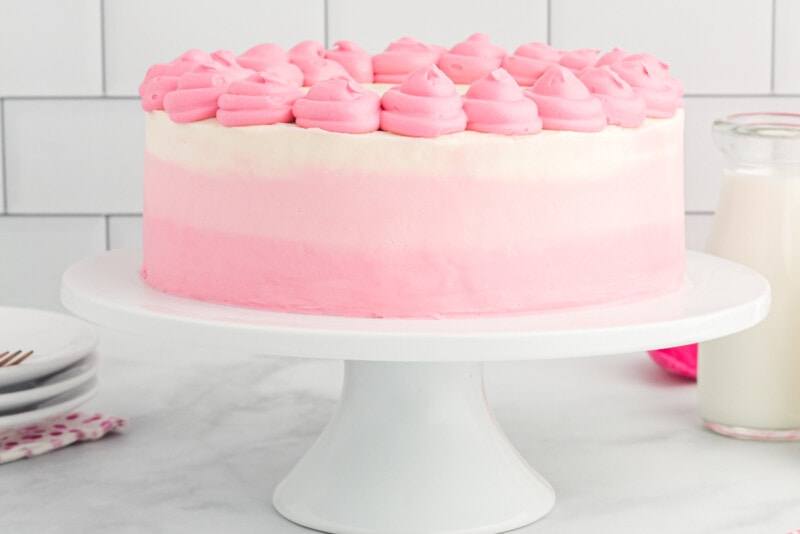
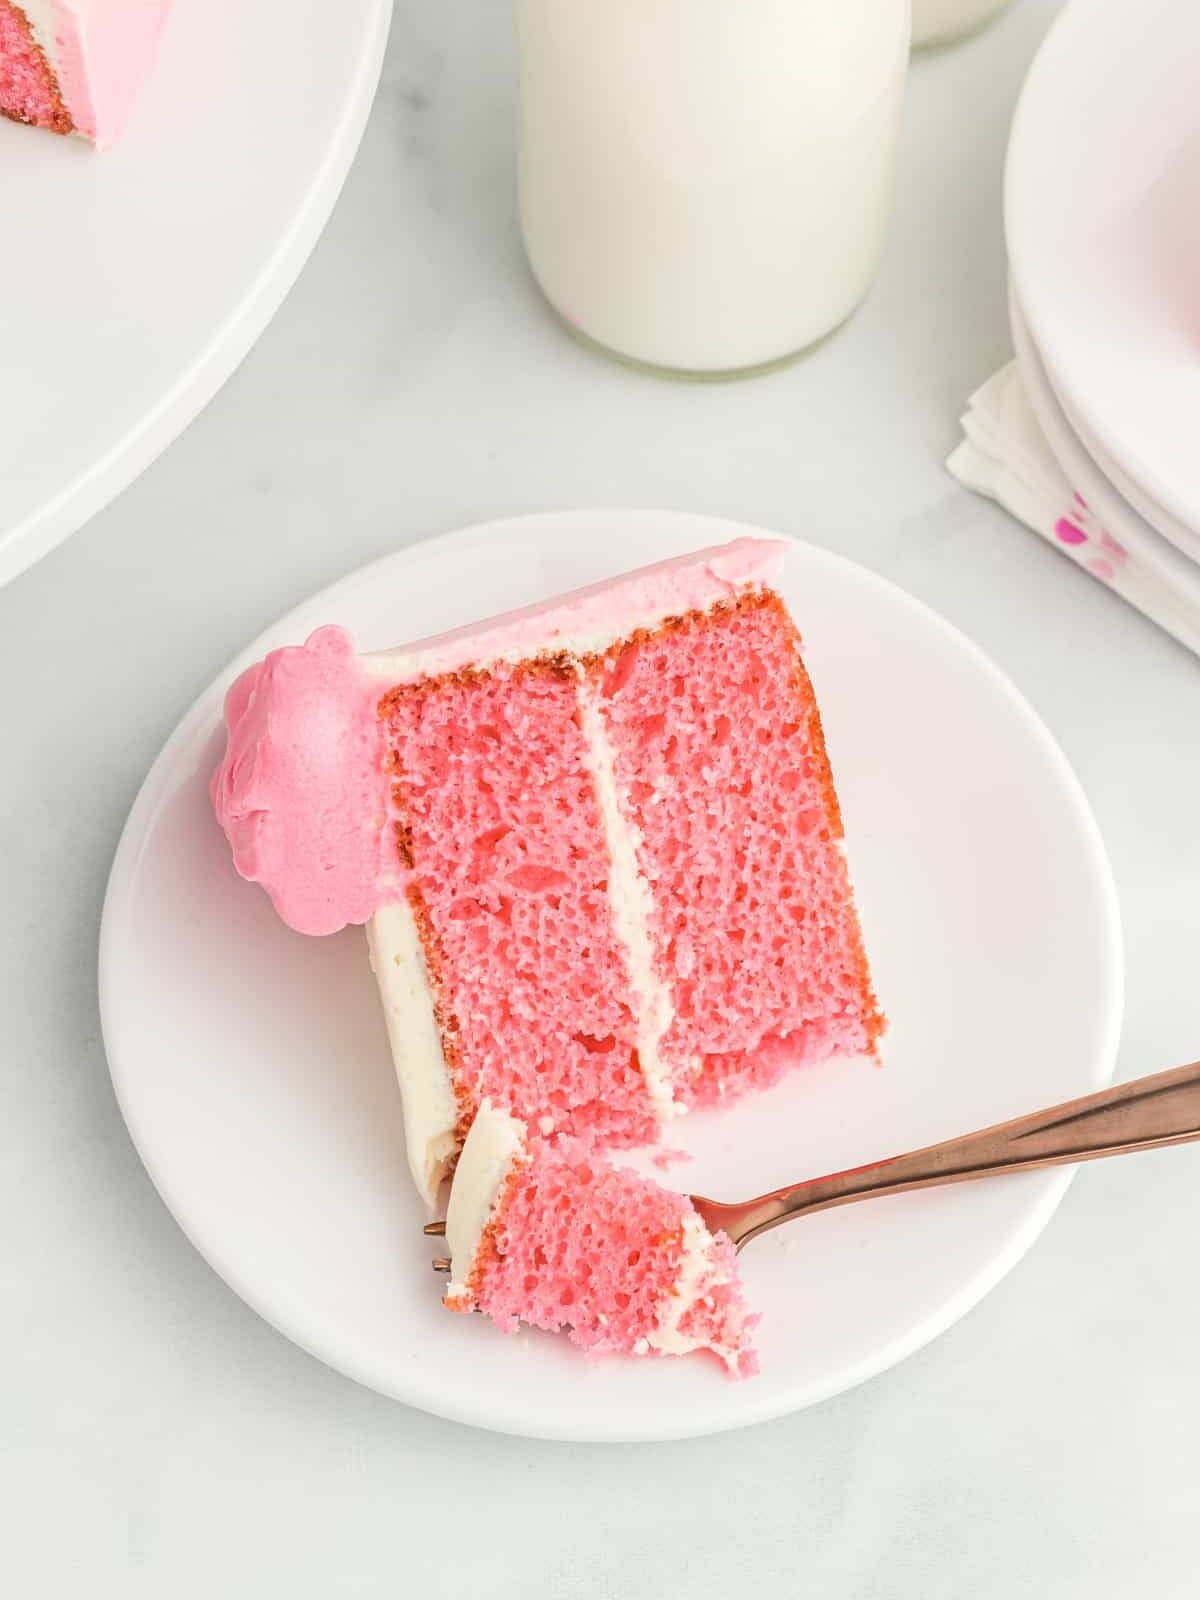
The sight of a classic Pink Velvet Cake always inspires indescribable feelings of happiness, joy, and love in me! Whenever I want to make something extra special for Valentine’s, a birthday, or a baby shower, this is my go-to layer cake. Assembling a layer cake can be intimidating if it’s your first time, but if you follow my tricks on the recipe card, you got this!
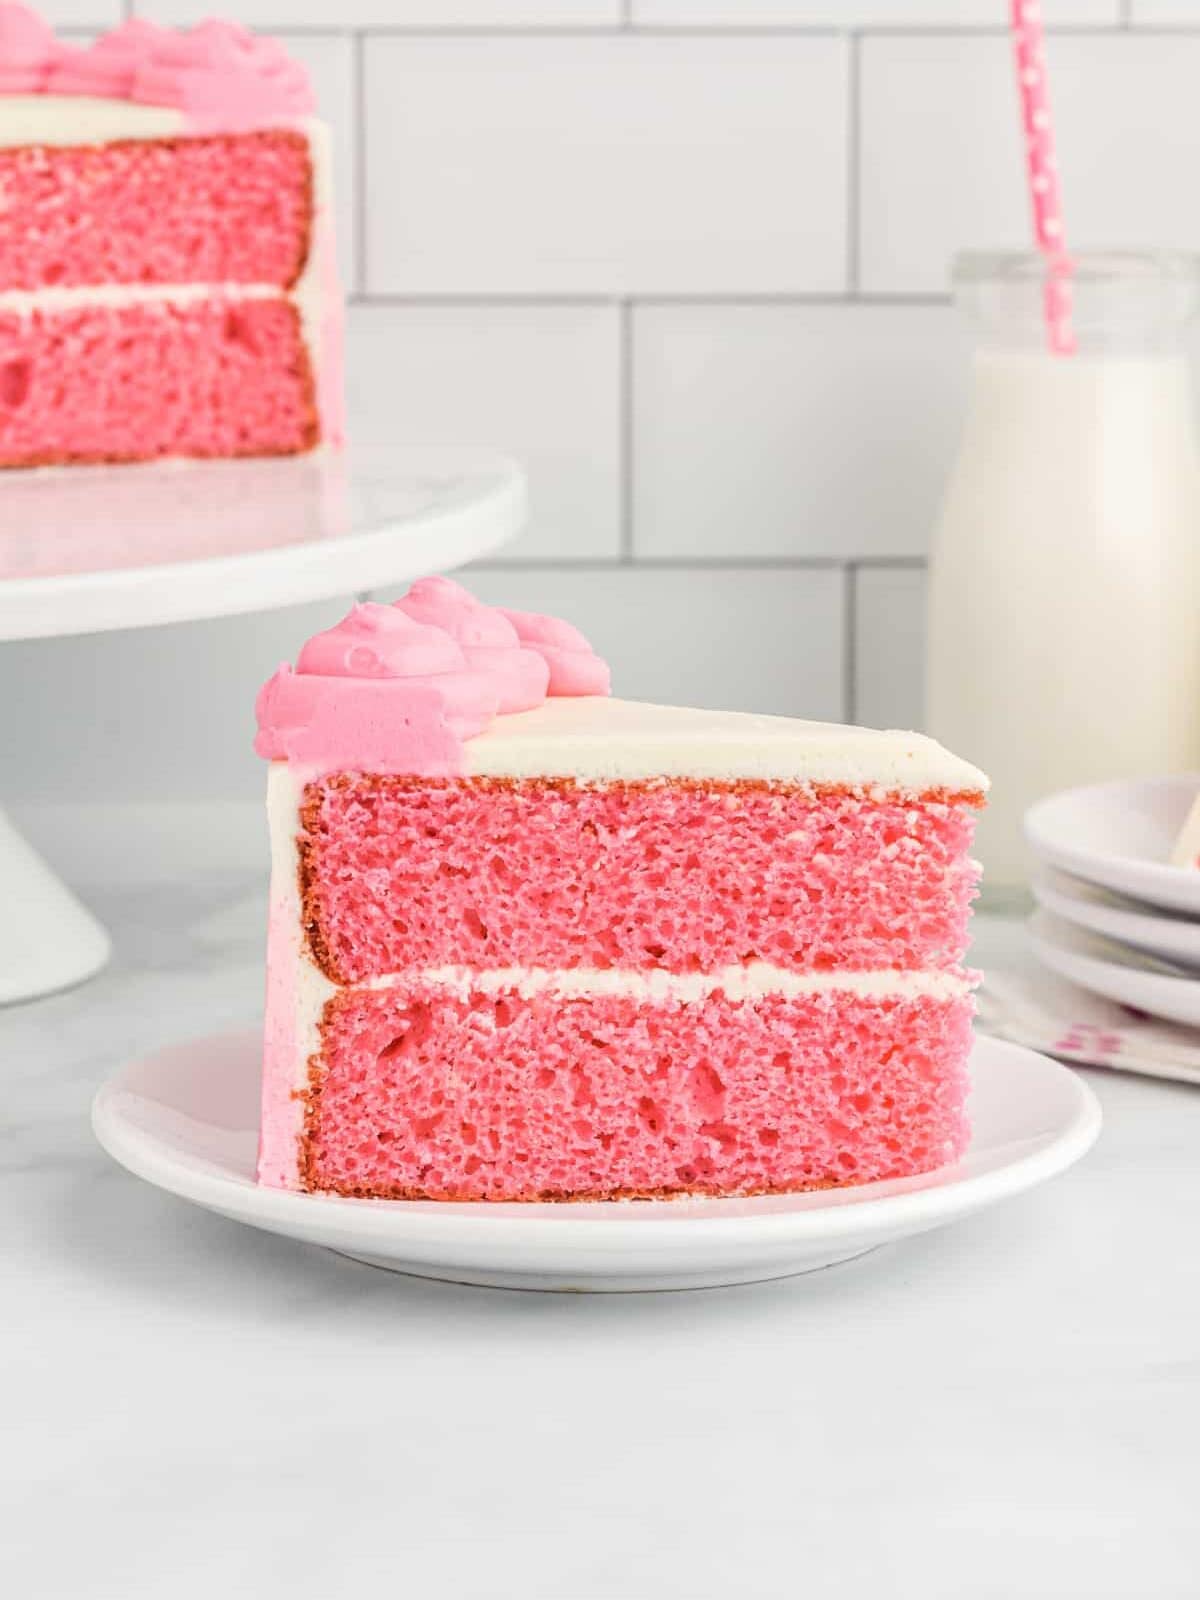
What’s in This Pink Velvet Cake Recipe?
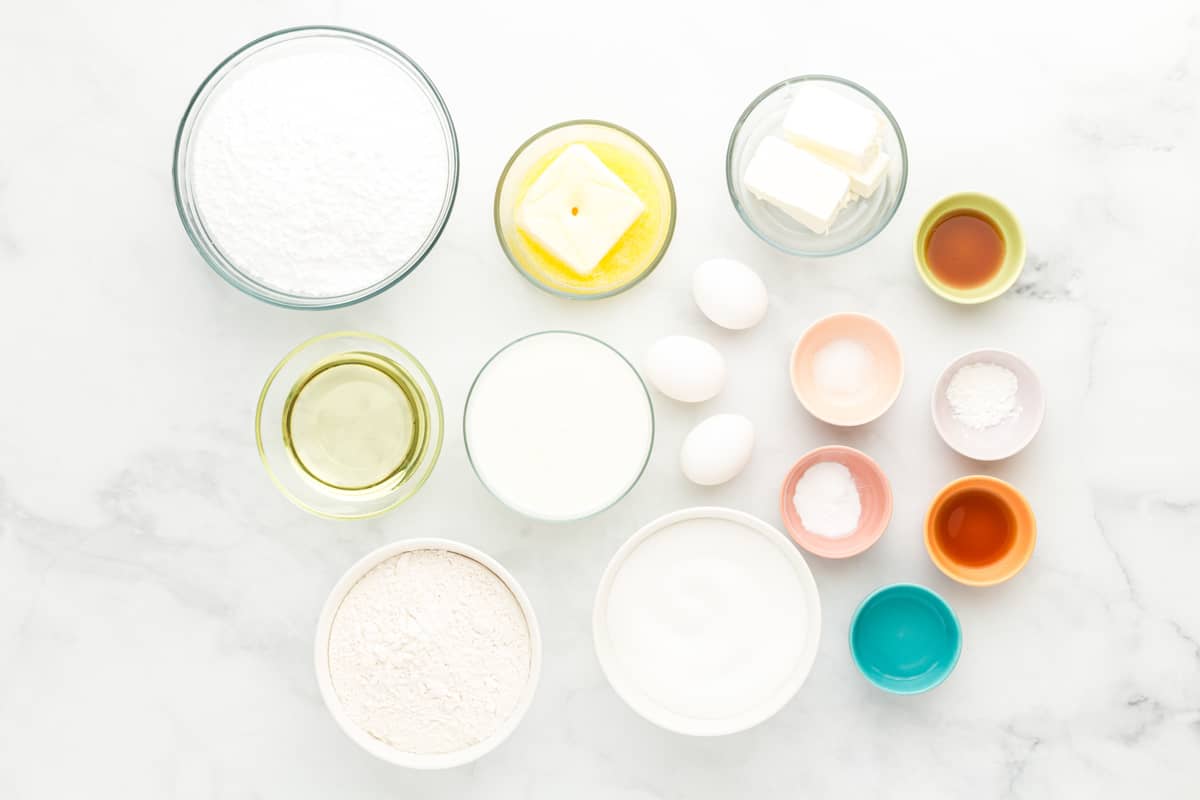
- Flour: All-purpose flour gives this cake structure.
- Sugar: Granulated sugar sweetens the cake, while powdered sugar sweetens the frosting.
- Leavening: Baking soda and baking powder combine to create a light and fluffy cake.
- Buttermilk: Adds moisture and a tangy flavor, creating a tender cake.
- Eggs: Help give the cake structure and richness.
- Oil: Vegetable oil adds moisture to the cake, helping it stay tender long after baking.
- Vinegar: The secret ingredient in velvet cake, white vinegar reacts with the baking soda to create an ultra-light cake.
- Vanilla: Pure vanilla extract adds a warm vanilla flavor to this cake.
- Food Coloring: Pink gel food coloring gives this cake and frosting its enticing pink color.
- Cream Cheese Frosting: Made from cream cheese, butter, vanilla, and powdered sugar, this frosting is tangy, sweet, and the perfect topping for this cake.
Notes from the Test Kitchen
Pink velvet cake is similar to a vanilla cake. The main difference lies in the color and texture. Pink food coloring gives it a fun and flirty color, while vinegar and buttermilk create an ultra-moist and tender texture. This cake is next-level good!
Variations on Pink Birthday Cake
Custom Color: This cake doesn’t have to be pink! No matter what your favorite color is, dye this vanilla-flavored cake with your choice of food coloring.
Smaller Cake: For a smaller, taller cake, divide the batter evenly between three 6-inch cake pans and bake for 25-30 minutes.
How to Make Ahead and Store
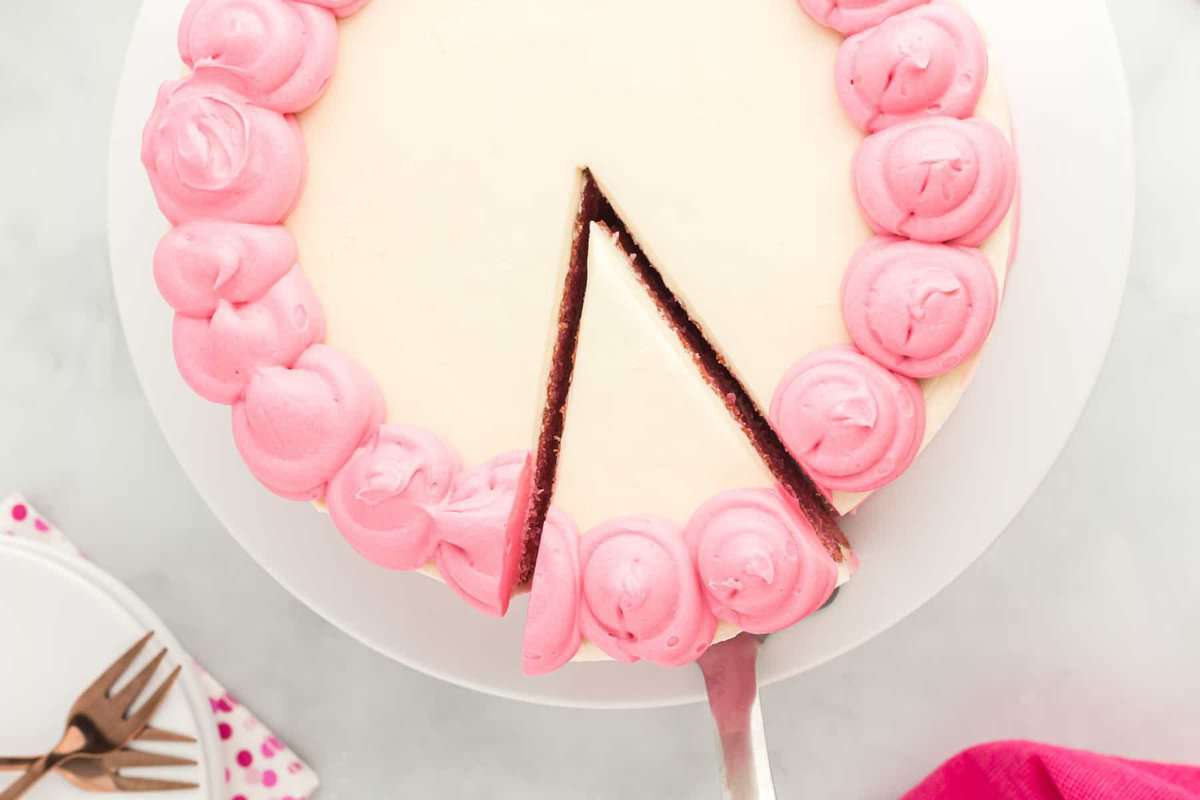
Store leftover pink velvet cake in an airtight container or cake dome in the refrigerator for up to 3 days. The cream cheese frosting can be made ahead and stored in an airtight container in the refrigerator for up to 2 days or in the freezer for up to 1 month. Let thaw before using.
How to Freeze
Freeze fully assembled pink velvet cake whole or in individual slices tightly wrapped in 2 layers of plastic wrap and 1 layer of aluminum foil for up to 3 months. Let thaw overnight in the refrigerator before enjoying.
Serving Suggestions
Everyone has their own preferences for what they love to eat alongside a slice of cake! Fresh strawberries and blueberries, scoops of your favorite ice cream, or even a hot cup of coffee can all be nice when enjoyed next to your pink velvet cake.
Pink Velvet Cake Recipe
Equipment
- Kitchen Scale (optional)
- 2 8-inch Round Cake Pan
- Stand Mixer
- Piping Tip Set
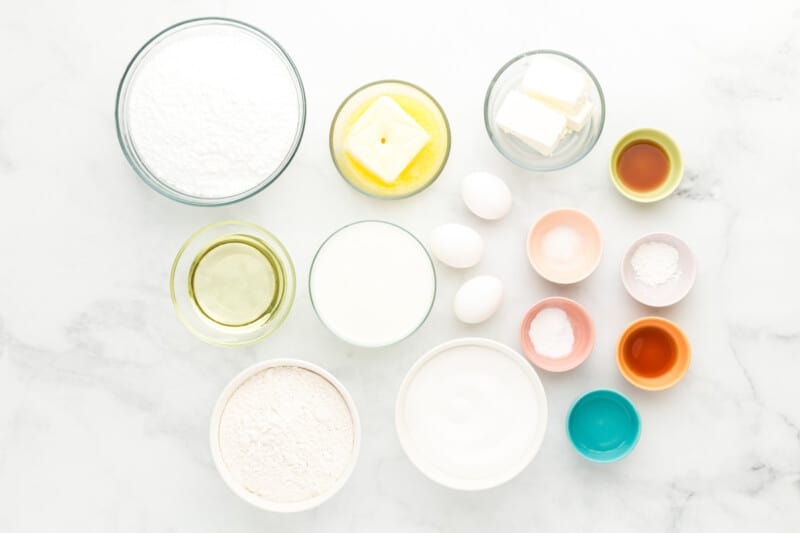
Ingredients
For the Cake
- 2½ cups all-purpose flour 350 grams
- 2 cups granulated sugar 400 grams
- 1 teaspoon baking soda 6 grams
- 1 teaspoon baking powder 4 grams
- ½ teaspoon kosher salt
- 1½ cups buttermilk 341 grams, room temperature (see note)
- 3 large eggs 150 grams, room temperature
- ½ cup vegetable oil 100 grams
- 1 tablespoon white vinegar 14 grams
- 2 teaspoons pure vanilla extract 8 grams
- Pink gel food coloring
For the Cream Cheese Frosting
- 8 ounces cream cheese 227 grams, room temperature (1 brick)
- ¾ cup unsalted butter 170 grams, slightly melted (1½ sticks)
- 1 tablespoon pure vanilla extract 12 grams
- 5 cups powdered sugar 600 grams
Instructions
For the Cake
- Preheat oven to 350°F. Spray two 8-inch round cake pans with nonstick spray and line the inside bottom of each pan with parchment paper. Set aside.
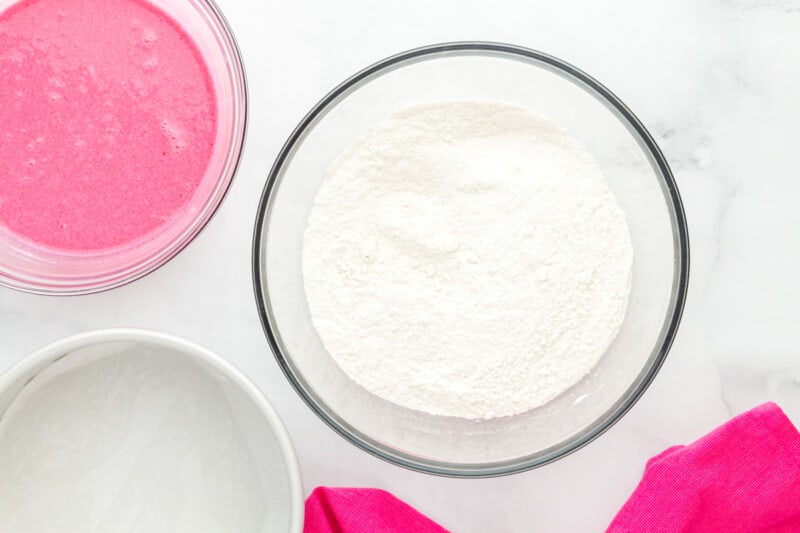
- In a large bowl, stir the flour, sugar, baking soda, baking powder, and salt together. Set aside.2½ cups all-purpose flour, 2 cups granulated sugar, 1 teaspoon baking soda, 1 teaspoon baking powder, ½ teaspoon kosher salt
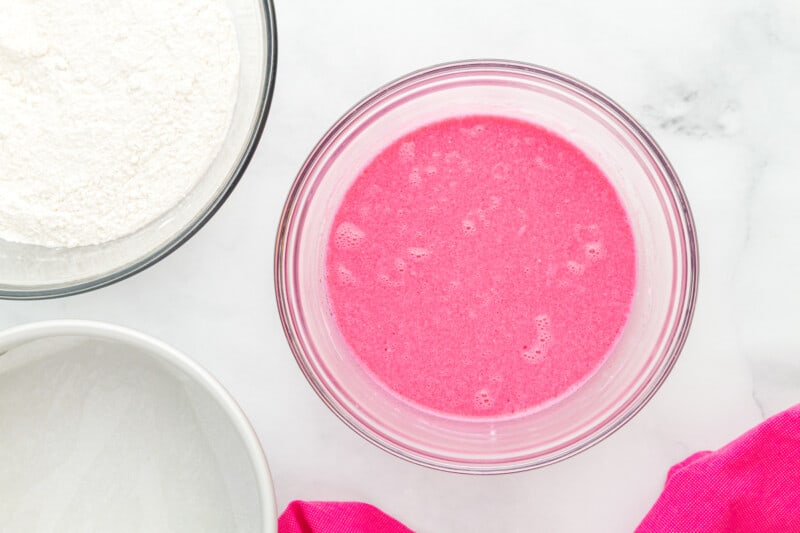
- In the bowl of a stand mixer fitted with the paddle attachment, beat the buttermilk, eggs, vegetable oil, white vinegar, vanilla extract, and pink gel food coloring together on low speed just until mixed. Add more food coloring until the desired shade of pink is reached.1½ cups buttermilk, 3 large eggs, ½ cup vegetable oil, 1 tablespoon white vinegar, 2 teaspoons pure vanilla extract, Pink gel food coloring
- Pour the wet mixture into the dry mixture and beat on a low speed just until mixed. Use a spatula to scrape down sides of bowl. Do not overmix.
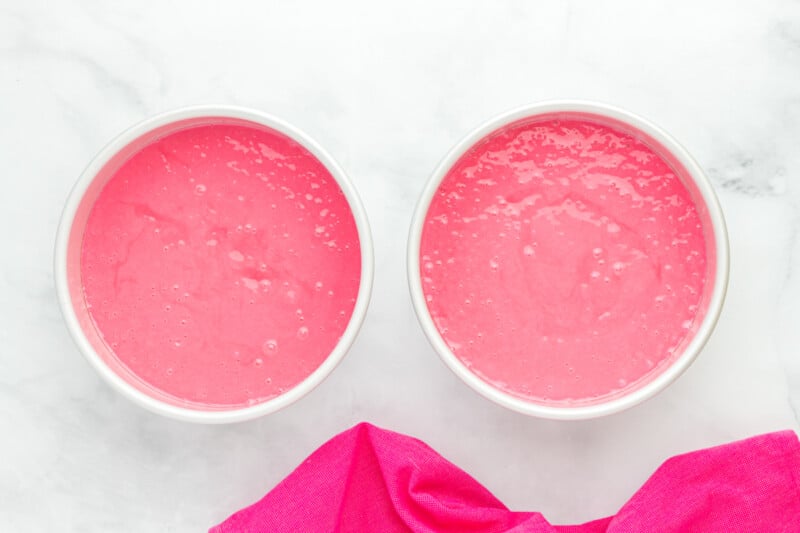
- Divide the cake batter evenly between both prepared cake pans (about 687 grams per pan). The same amount of batter should go in each pan so that the layers bake up to the same size.
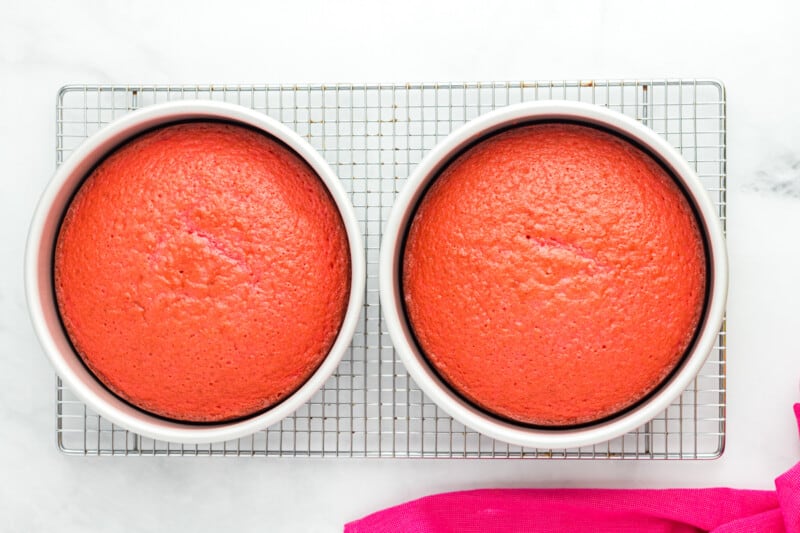
- Bake for 33-35 minutes, or until a toothpick inserted in middle comes out clean.
- Remove cakes from oven and let cakes cool in pans for 15 minutes before removing cakes from pans. Once removed from pans, place the cakes on wire racks to cool completely.
- Once the cakes have cooled to room temperature, wrap the cakes (wrap each layer separately so they don’t stick together) completely in food-safe plastic wrap and refrigerate for 2 hours. This is an important step so the cakes firm up a bit before adding frosting. Smoothing frosting onto a warm cake will result in a crumbled cake.
For the Cream Cheese Frosting
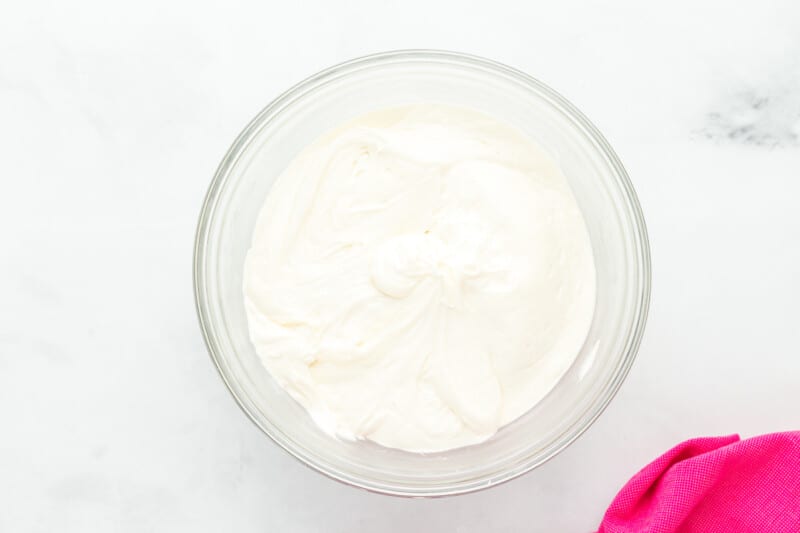
- While the cakes chill, make the frosting: In the bowl of a stand mixer fitted with the whisk attachment, beat the cream cheese, butter, and vanilla extract on high speed until smooth, about 2 minutes.8 ounces cream cheese, ¾ cup unsalted butter, 1 tablespoon pure vanilla extract
- Beat in the powdered sugar until smooth, an additional 2 minutes.5 cups powdered sugar
For Assembly
- Once the cakes have chilled, use a large serrated knife to cut the dome tops off both cakes so they both have a flat top. You don’t need these dome tops so these can be used for snacking.
- Place a thin layer of frosting (about 2 tablespoons) in the middle of a cake board or cake plate, then place one cake (cut side facing up) on top of that frosting. This small bit of frosting helps to secure the cake to the cake board so the cake doesn’t slide around during decorating.
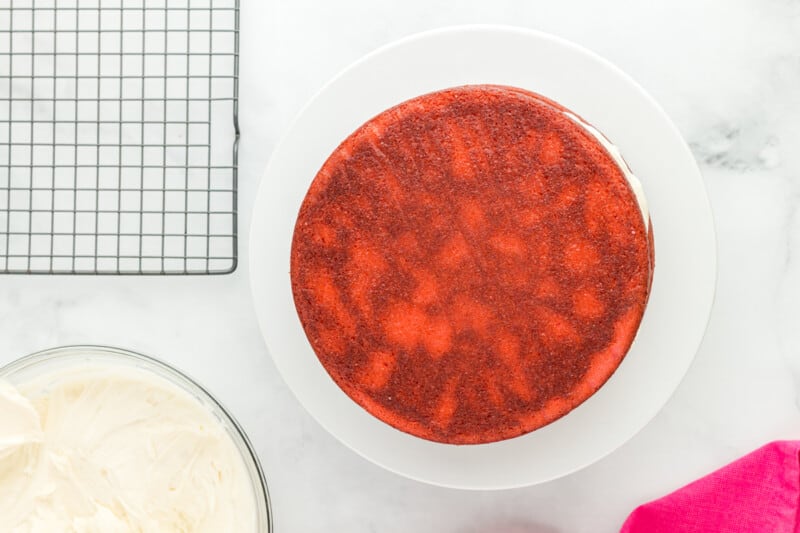
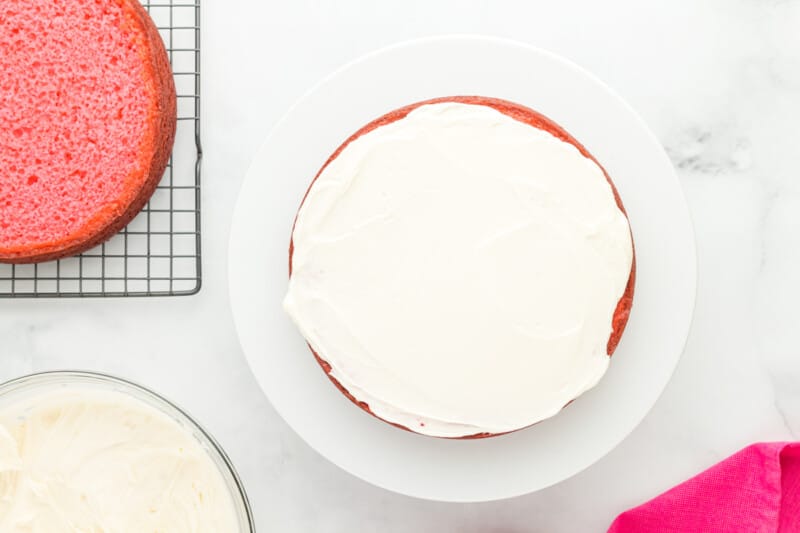
- Add a generous layer of frosting on top of that first layer of cake then place the second layer of cake(bottom facing up) on top of the first layer of cake.
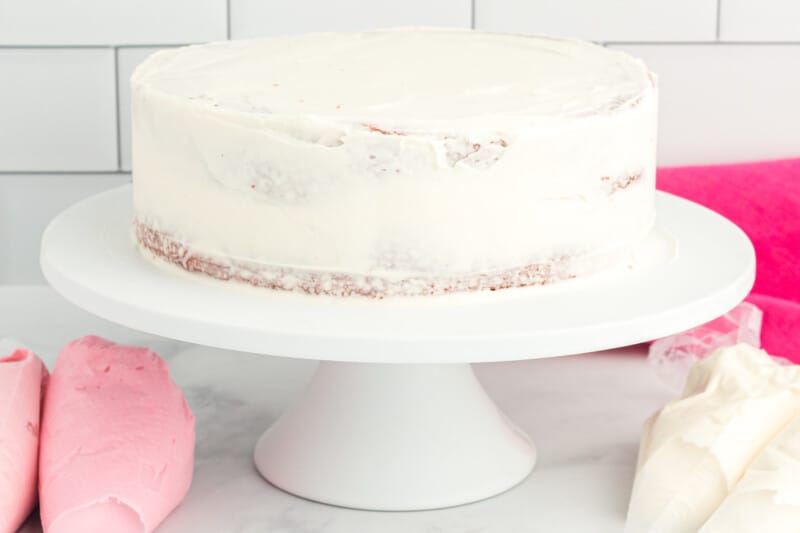
- Frost a thin layer of frosting around the top and sides of the cake. This thin layer (called a crumb coat) is meant to secure all the crumbs to the cake. This is just a thin layer of frosting so it doesn’t have to be perfectly smooth and it’s okay if you can still see the cake through this first layer of frosting. Use a tool like a cake scraper to smooth the frosting out.
- Place the lightly frosted cake in the freezer for 10 minutes so the first layer of frosting firms up a bit.
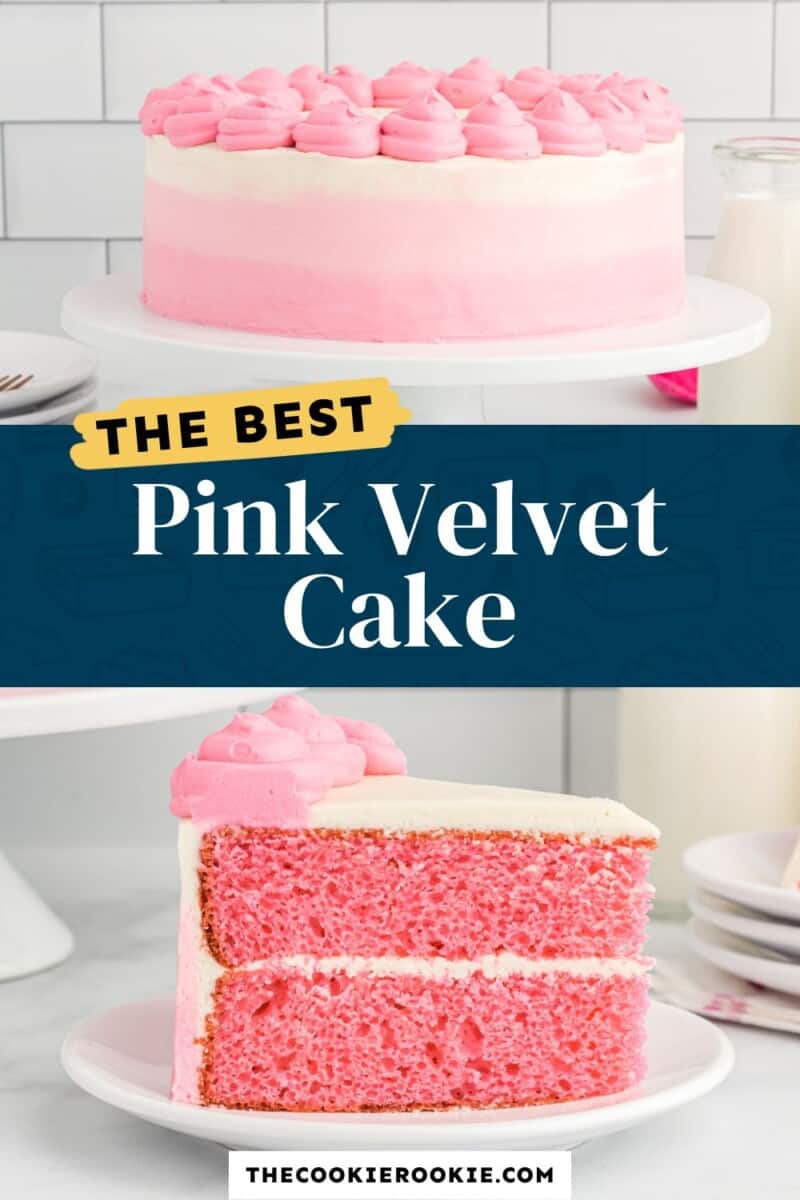
- Split the remaining frosting into 3 equal parts. Color one bowl light pink, color another bowl a darker pink, then leave one bowl as white frosting. Place these frosting into tipless icing bags (each color in its own bag).
- Remove the cake from the freezer and, starting at the bottom of the cake with the darker pink frosting, pipe frosting all around the bottom third of the cake. This doesn’t have to be a neat stripe – we’ll be smoothing this out later.
- Take the lighter pink frosting and pipe it around the middle section of the cake, then take the white frosting and pipe it around the top third of the cake as well as on the top of the cake.
- Use the cake scraper to smooth the frosting around the sides and top of the cake. Do this gently so you’re smoothing it out but not scraping it all off. Place the extra frosting you remove(while lightly scraping the cake) into a bowl.
- Take all of the remaining frosting and combine it into one bowl. Color this any shade of pink you’d like, then pipe circles around the top of the cake using a large round icing tip (like a Wilton 1A).
- Place the cake back into the freezer for about 10 minutes just to firm up those frosting details.
Becky’s Tips
- You can also use sour cream or plain Greek yogurt in place of the buttermilk.
- For a lighter, fluffier cake, swap the all-purpose flour for cake flour.
- In place of the vegetable oil, you can use canola, avocado, or melted coconut oil.
- You can use lemon juice in place of the white vinegar.
- Feel free to change up this cake by using a different color of food coloring, such as blue, purple, orange, or green!
- Make sure your ingredients are at room temperature!
- Measure your flour using the spoon-and-level method to prevent a dense, dry cake.
- For a smaller cake, you can divide the batter between 3 6-inch cake pans and bake for 25-30 minutes.
- Let the cakes cool completely before frosting; otherwise, the frosting will melt off!
- Sift the powdered sugar to avoid a lumpy frosting.
Nutrition information is automatically calculated, so should only be used as an approximation.
How to Make Pink Velvet Cake Step by Step
Prep: Preheat your oven to 350°F. Spray two 8-inch round cake pans with nonstick spray and line the inside bottom of each pan with parchment paper. Set aside.
Stir the Dry Ingredients: In a large bowl, stir 2½ cups of all-purpose flour, 2 cups of granulated sugar, 1 teaspoon of baking soda, 1 teaspoon of baking powder, and ½ teaspoon of kosher salt together. Set aside.
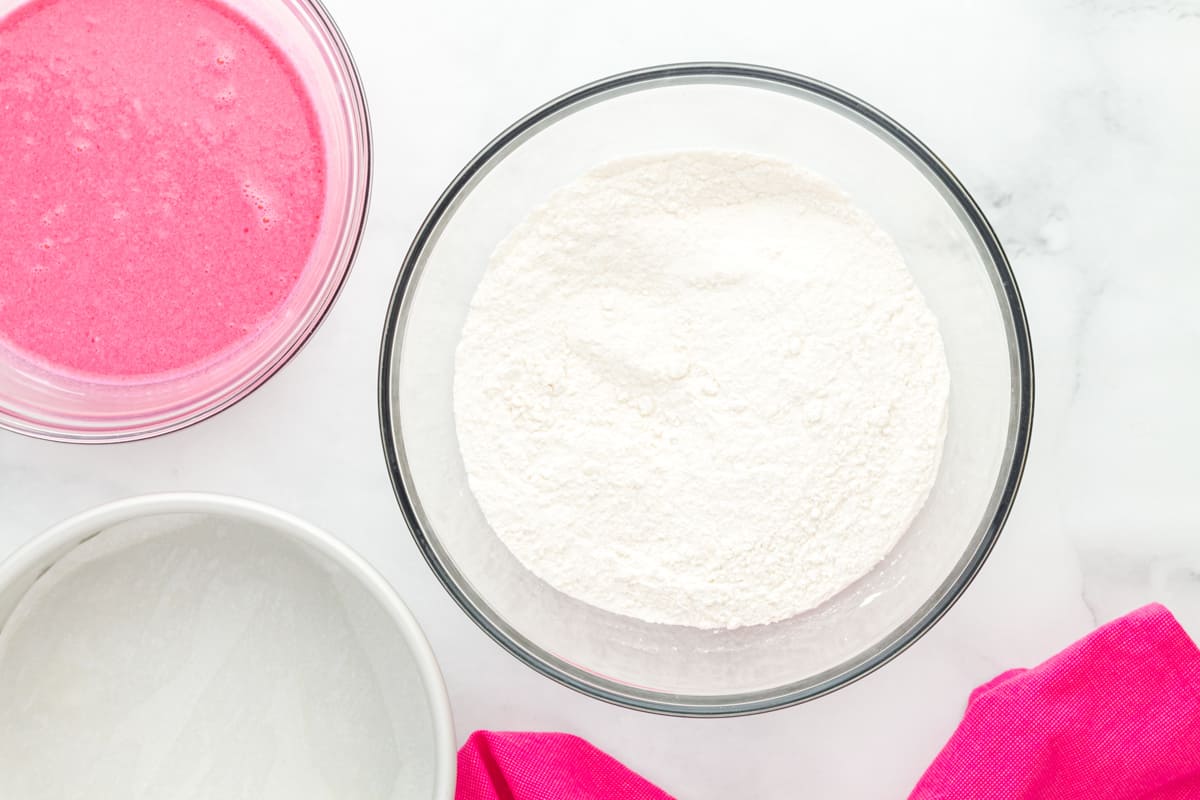
Beat the Wet Ingredients: In the bowl of a stand mixer fitted with the paddle attachment, beat 1½ cups of buttermilk, 3 large eggs, ½ cup of vegetable oil, 1 tablespoon of white vinegar, 2 teaspoons of pure vanilla extract, and some pink gel food coloring together on low speed just until mixed. Add more food coloring until the desired shade of pink is reached.
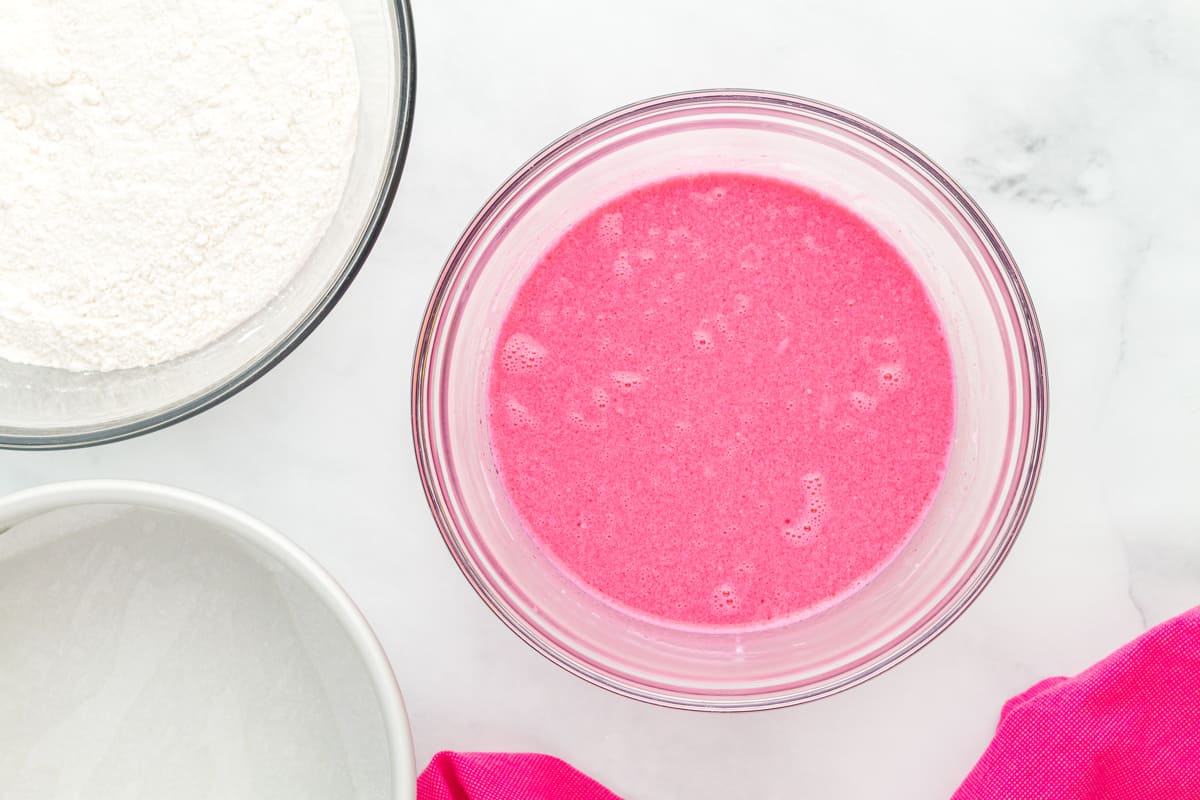
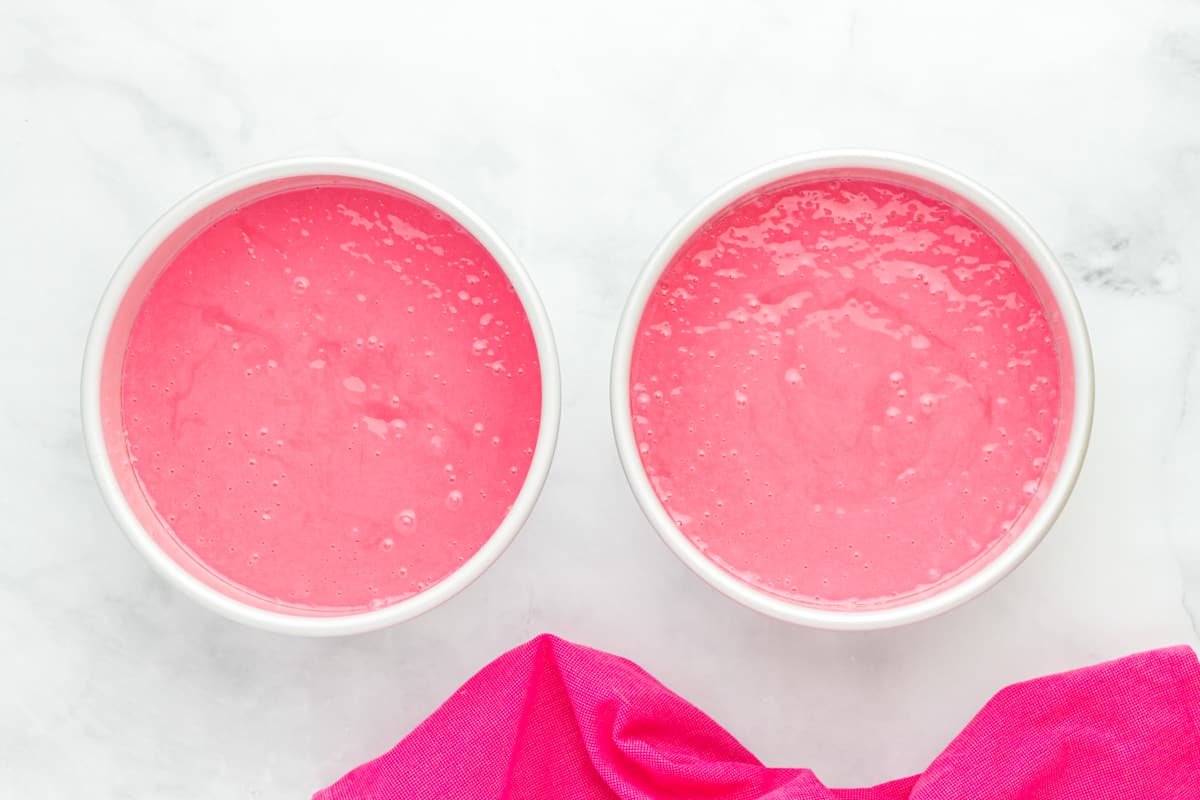
Divide the Batter: Pour the wet mixture into the dry mixture and beat on a low speed just until mixed. Use a spatula to scrape down the sides of the bowl. Do not overmix. Divide the cake batter evenly between both prepared cake pans (about 687 grams per pan). The same amount of batter should go in each pan so that the layers bake up to the same size.
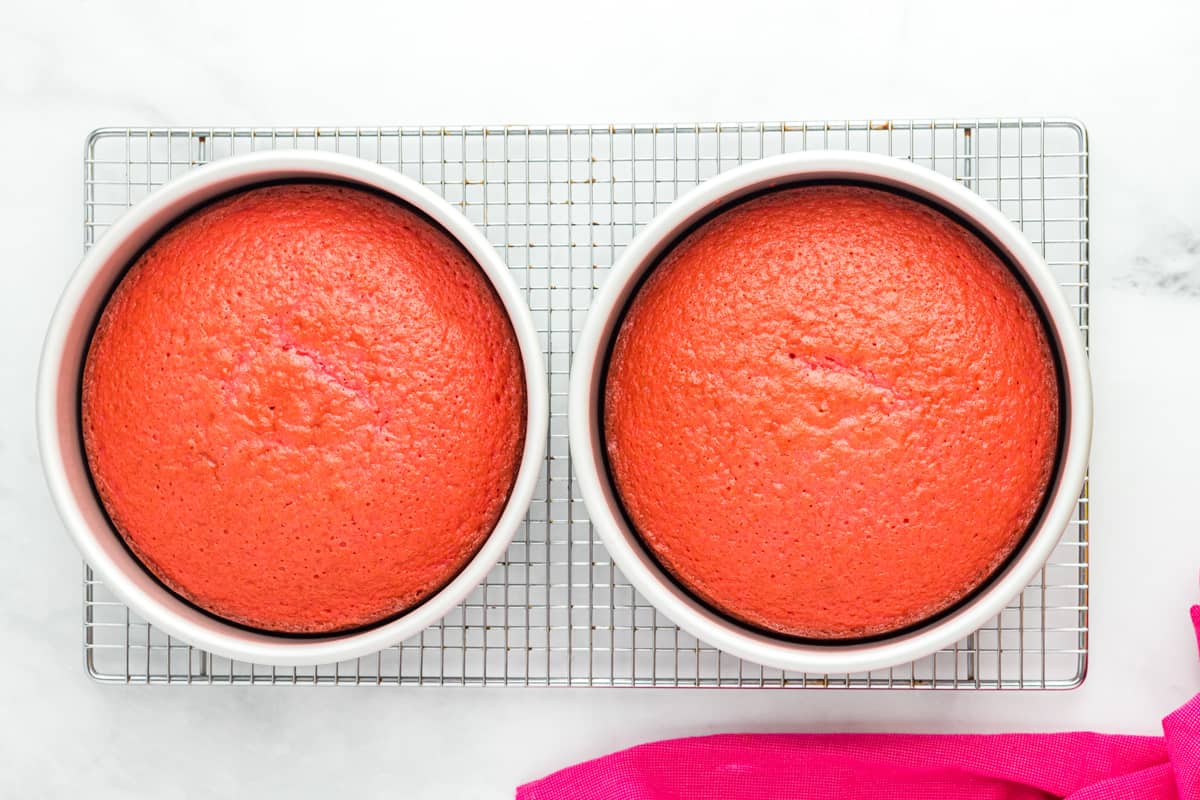
Bake the Cakes: Bake for 33-35 minutes, or until a toothpick inserted in the middle comes out clean. Remove cakes from oven and let cakes cool in pans for 15 minutes before removing cakes from pans. Once removed from the pans, place the cakes on wire racks to cool completely. Once the cakes have cooled to room temperature, wrap the cakes (wrap each layer separately so they don’t stick together) completely in food-safe plastic wrap and refrigerate for 2 hours. This is an important step so the cakes firm up a bit before adding frosting. Smoothing frosting onto a warm cake will result in a crumbled cake.
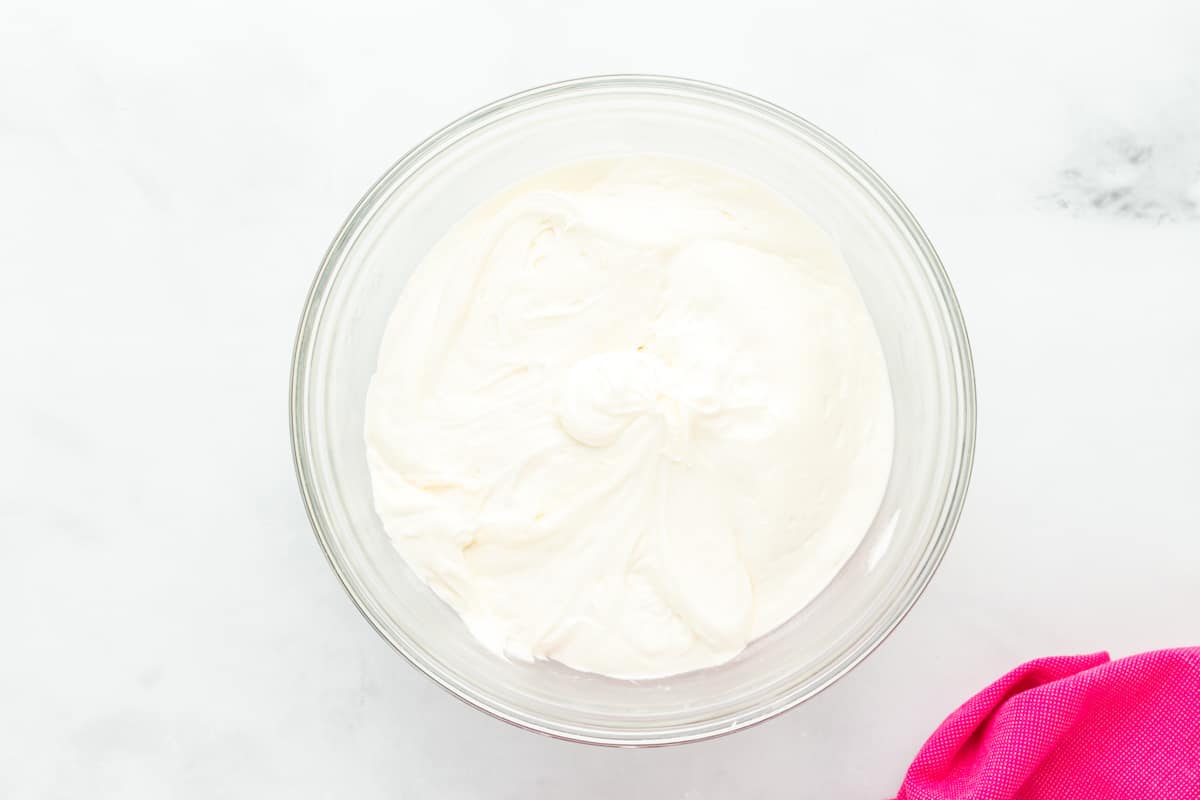
Make the Frosting: In the bowl of a stand mixer fitted with the whisk attachment, beat 8 ounces (1 brick) of cream cheese, ¾ cup (1½ sticks) of unsalted butter, and 1 tablespoon of pure vanilla extract on high speed until smooth, about 2 minutes. Beat in 5 cups of powdered sugar until smooth, an additional 2 minutes.
Secure the Cake: Once the cakes have chilled, use a large serrated knife to cut the dome tops off both cakes so they both have a flat top. You don’t need these dome tops so these can be used for snacking. Place a thin layer of frosting (about 2 tablespoons) in the middle of a cake board or cake plate, then place one cake (cut side facing up) on top of that frosting. This small bit of frosting helps to secure the cake to the cake board so the cake doesn’t slide around during decorating.
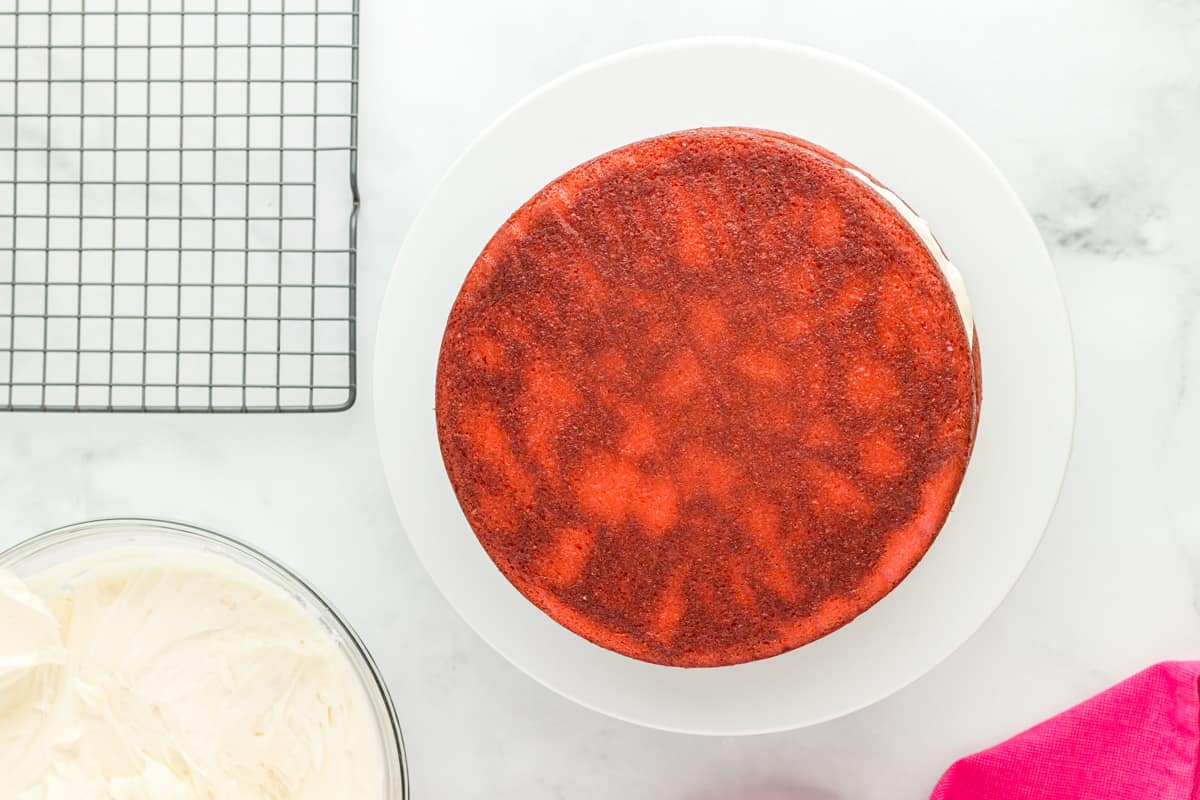
Stack the Layers: Add a generous layer of frosting on top of that first layer of cake then place the second layer of cake(bottom facing up) on top of the first layer of cake.
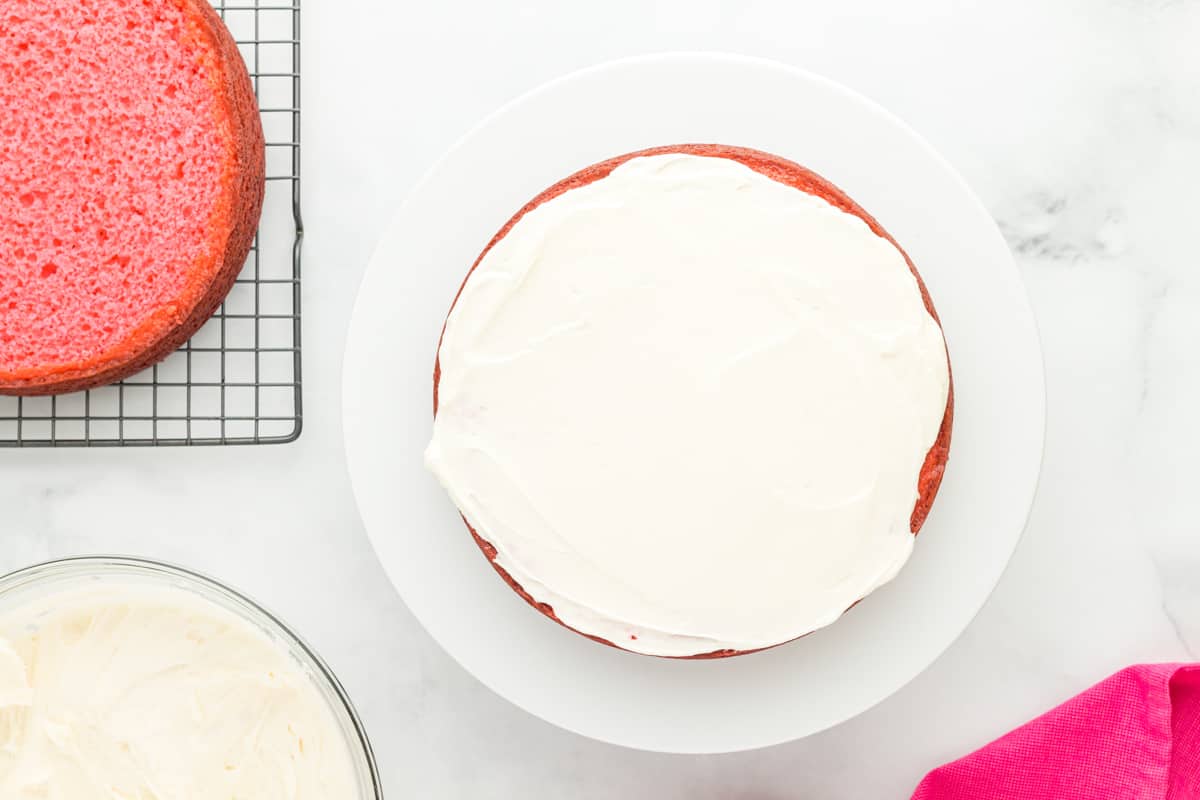
Crumb Coat the Cake: Frost a thin layer of frosting around the top and sides of the cake. This thin layer (called a crumb coat) is meant to secure all the crumbs to the cake. This is just a thin layer of frosting so it doesn’t have to be perfectly smooth and it’s okay if you can still see the cake through this first layer of frosting. Use a tool like a cake scraper to smooth the frosting out. Place the lightly frosted cake in the freezer for 10 minutes so the first layer of frosting firms up a bit.
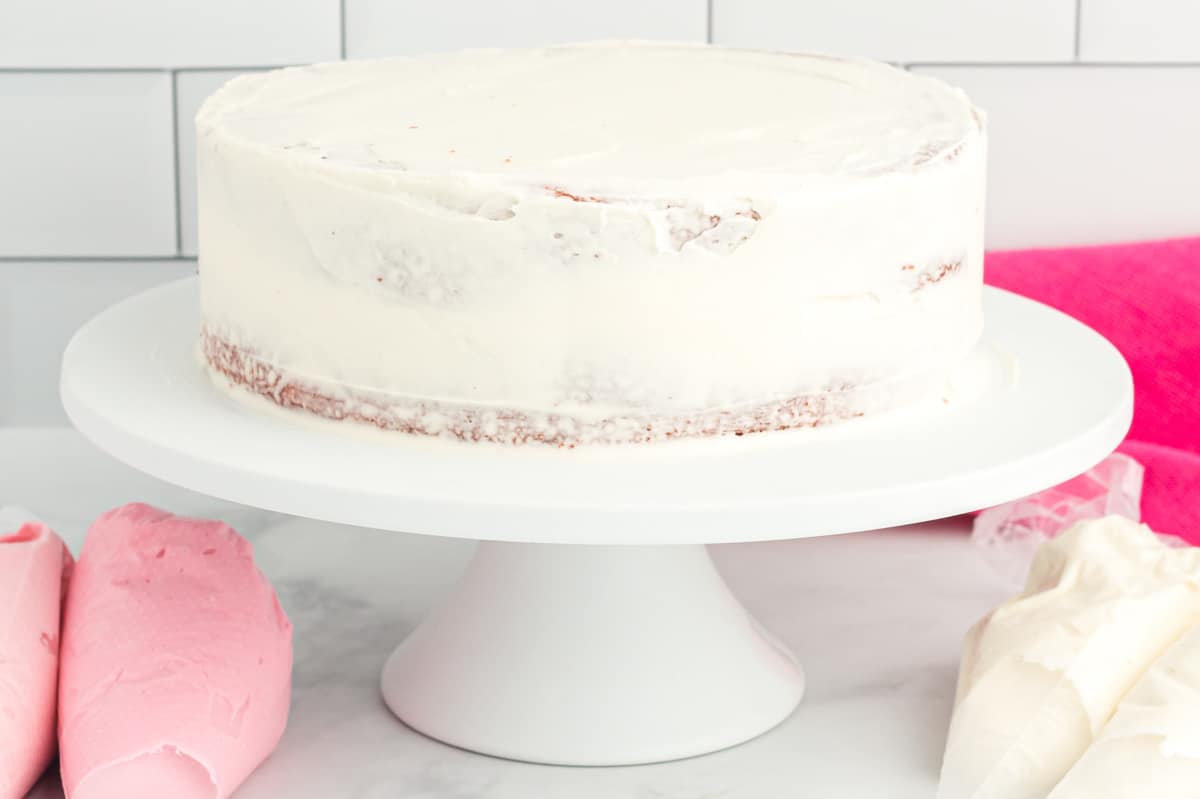
Frost the Cake: Split the remaining frosting into 3 equal parts. Color one bowl light pink, color another bowl a darker pink, then leave one bowl as white frosting. Place these frosting into tipless icing bags (each color in its own bag). Remove the cake from the freezer and, starting at the bottom of the cake with the darker pink frosting, pipe frosting all around the bottom third of the cake. This doesn’t have to be a neat stripe – we’ll be smoothing this out later. Take the lighter pink frosting and pipe it around the middle section of the cake, then take the white frosting and pipe it around the top third of the cake as well as on the top of the cake.
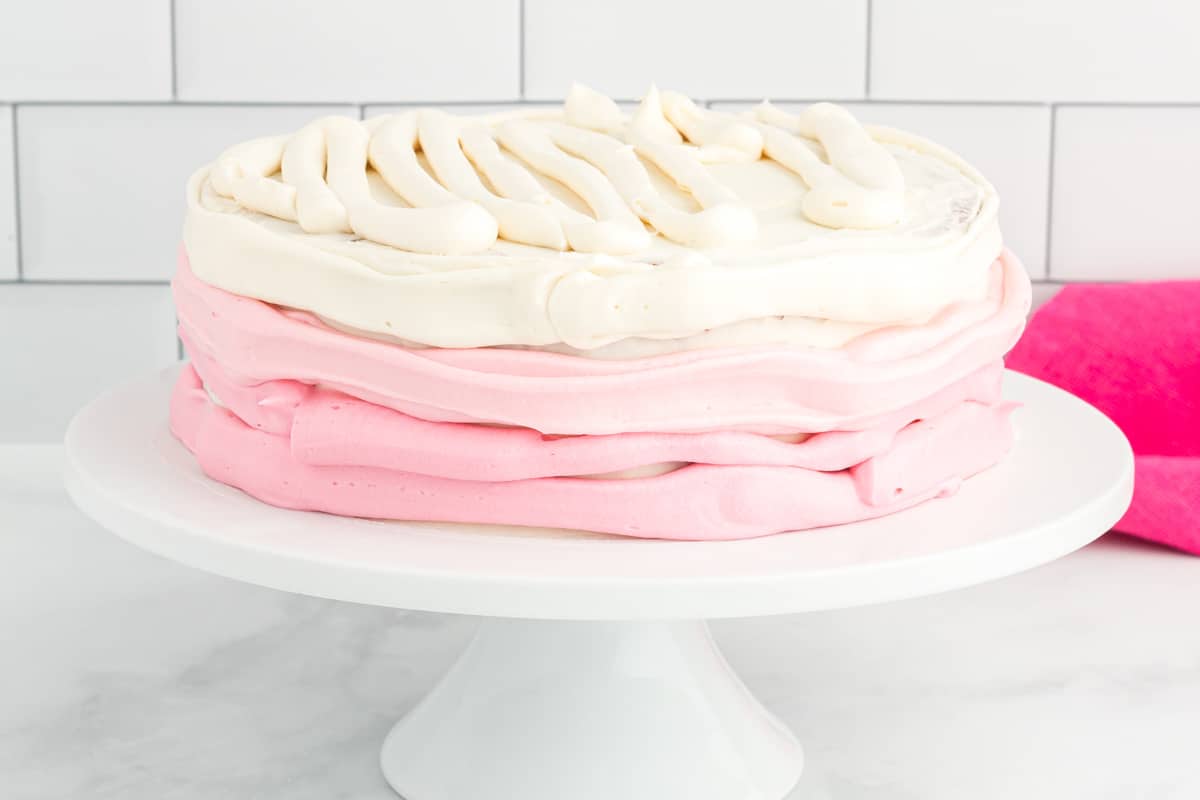
Pipe on Decorations: Use the cake scraper to smooth the frosting around the sides and top of the cake. Do this gently so you’re smoothing it out but not scraping it all off. Place the extra frosting you remove(while lightly scraping the cake) into a bowl. Take all of the remaining frosting and combine it into one bowl. Color this any shade of pink you’d like, then pipe circles around the top of the cake using a large round icing tip (like a Wilton 1A). Place the cake back into the freezer for about 10 minutes just to firm up those frosting details.
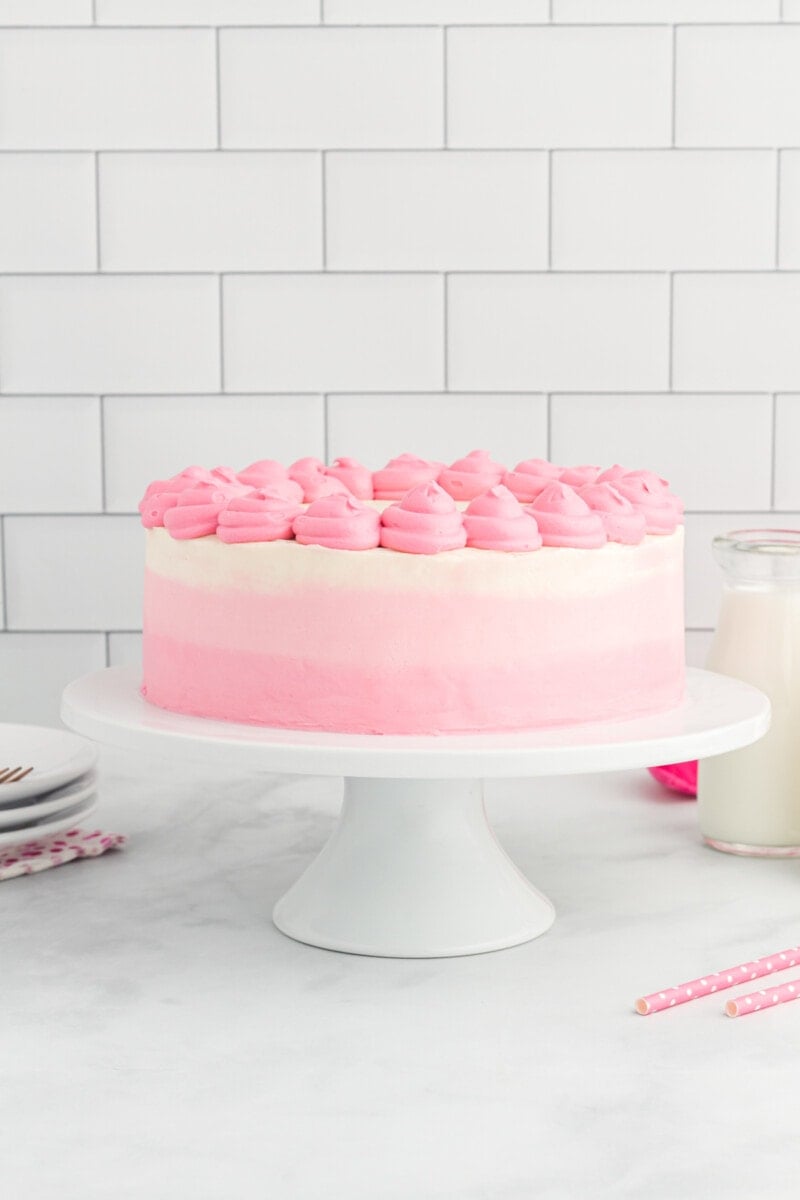
Pink velvet cake is a moist, vanilla-flavored cake that has been dyed pink with food coloring! It has a rich, tangy cream cheese frosting to balance out the sweetness of the cake.
Pink velvet cake tastes like an ultra-moist vanilla cake. Layers of cream cheese frosting add tanginess for an indulgent treat!
While the concept for both cakes is the same, red velvet cake contains cocoa powder and red food coloring, while pink velvet cake remains predominantly vanilla-flavored and is dyed with pink food coloring. Both cakes include tangy dairy that reacts with the baking soda to create a light, velvety crumb, hence the name!
A dry cake can be caused by 2 things. You may have measured the ingredients incorrectly, or you might have overmixed the batter. It’s important to spoon and level your ingredients if you’re not using a scale, and it’s important to have a light hand when mixing the batter.
If your cream cheese frosting is too thin, add cornstarch, 1 tablespoon at a time, until the frosting reaches your desired consistency. If your cream cheese frosting is too thick, add milk, 1 tablespoon at a time, until the frosting reaches your desired consistency.
