Homemade Dog Treats are my favorite way to show my pets that we love them like family! This homemade peanut butter dog treat recipe is an easy dog biscuit that I believe our pups would request every week if they could. I made this recipe in 2013 for my dog Scout, my first baby. I make them now for our two labs, Mabel and Daisy. Every pet deserves the love of a homemade treat and this is just the recipe to give them.

This post may include affiliate links that earn us a small commission from your purchases at no extra cost to you.
What’s in this Dog Treats recipe?
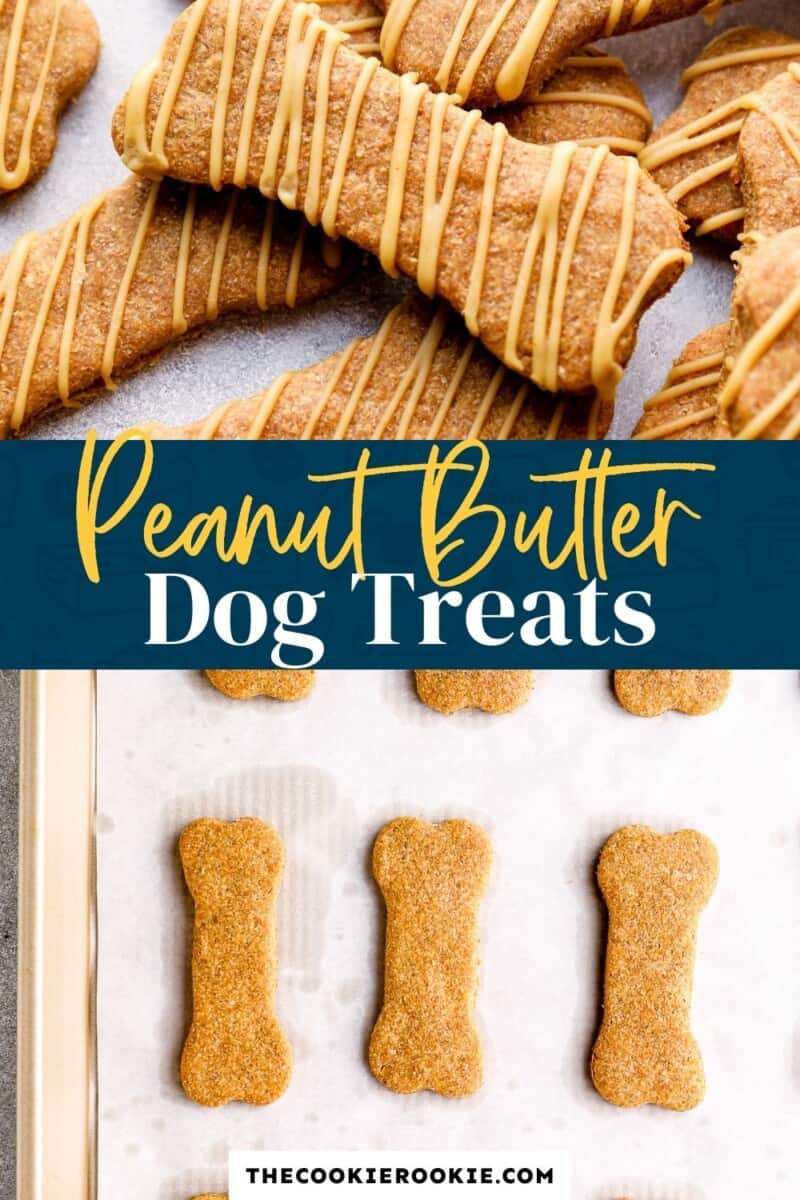
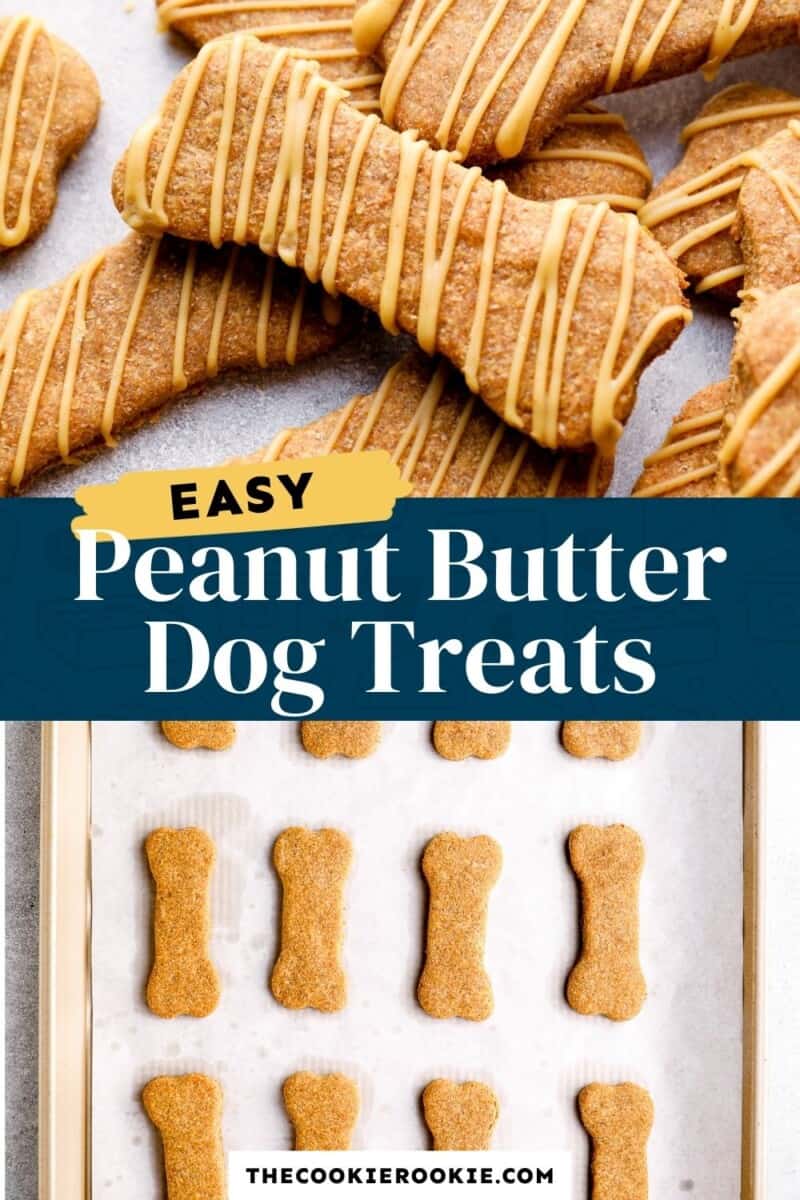
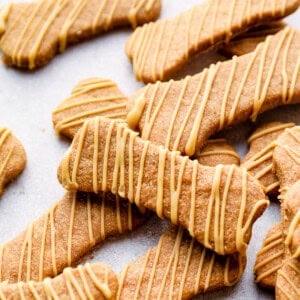
I made these freshly-baked homemade dog treats to show our pets how special they are! They’re easy to make with just 5 main ingredients, and it’s easy to make extras to keep for later. Trust me, your dogs are going to absolutely love these peanut butter dog treats.
- Flour: I prefer to use whole wheat flour for dog biscuits for the extra nutritional value. Other types of flour are fine to use, as long as you know your pup isn’t allergic.
- Peanut Butter: This thickens the mixture into a dough, and adds tasty peanut butter flavor! Use a natural peanut butter and check the ingredients list–do not use anything with Xylitol (an artificial sweetener), which is not safe for dogs.
- Egg: Binds the ingredients together to form a pet-friendly cookie dough.
- Water: Adds a bit of moisture to help make the dough pliable.
- Honey: This sweetens the flavor just a little bit.
- Frosting: If you want to add a frosting for a bit of decoration, you’ll need more peanut butter and honey, plus hot water and cornstarch.
Note: Dogs can have allergies just like people, so while these ingredients are all safe for dogs in general, make sure you know what your furry friend can and cannot eat. I recommend giving them a small bite to test these treats out before you start using them regularly.
Flavor Variations
While peanut butter dog treats seem to be a universally-loved flavor, you can absolutely change up these biscuits for your pup.
Use other nut butters if you know your dog likes them and can digest them. We have also made them using equal amount of plain pumpkin puree or plain mashed sweet potato instead.
If you do choose to use different ingredients, keep an eye on the consistency of the dough–you want it to be quite firm and sticky. Add a smaller amount of these ingredients incrementally until it becomes firm enough to roll out and cut.
How to Store
Once fully cooled, I store homemade peanut butter dog biscuits in an airtight container (very important) in the refrigerator, for up to 1 month. This recipe makes 24 medium dog cookies, so you’ll have plenty to share whenever your dog needs a healthy treat.
How to Freeze
This easy recipe for dog treats can be stored in the freezer for up to 8 months. I recommend placing a pan of them in the freezer for about an hour, then transferring them to a freezer-safe bag or container. This will prevent them from sticking together, so you can grab as many as you need, and keep the rest in storage. Move them to the fridge to thaw.
5-Star Review
“My husband and I wanted to bond over something, so we decided to make these for our two dogs. They go crazy over these. Cannot control themselves. I took a nibble too, and they’re not bad for humans either. They stayed nice and chewy sitting in a tupperware on the counter. Our smallest dog (8lbs) doesn’t like crunchy things, so the fact these are chewy was perfect. We even gifted some to the German Shepherd next door. We will be making these again!” – Sarah
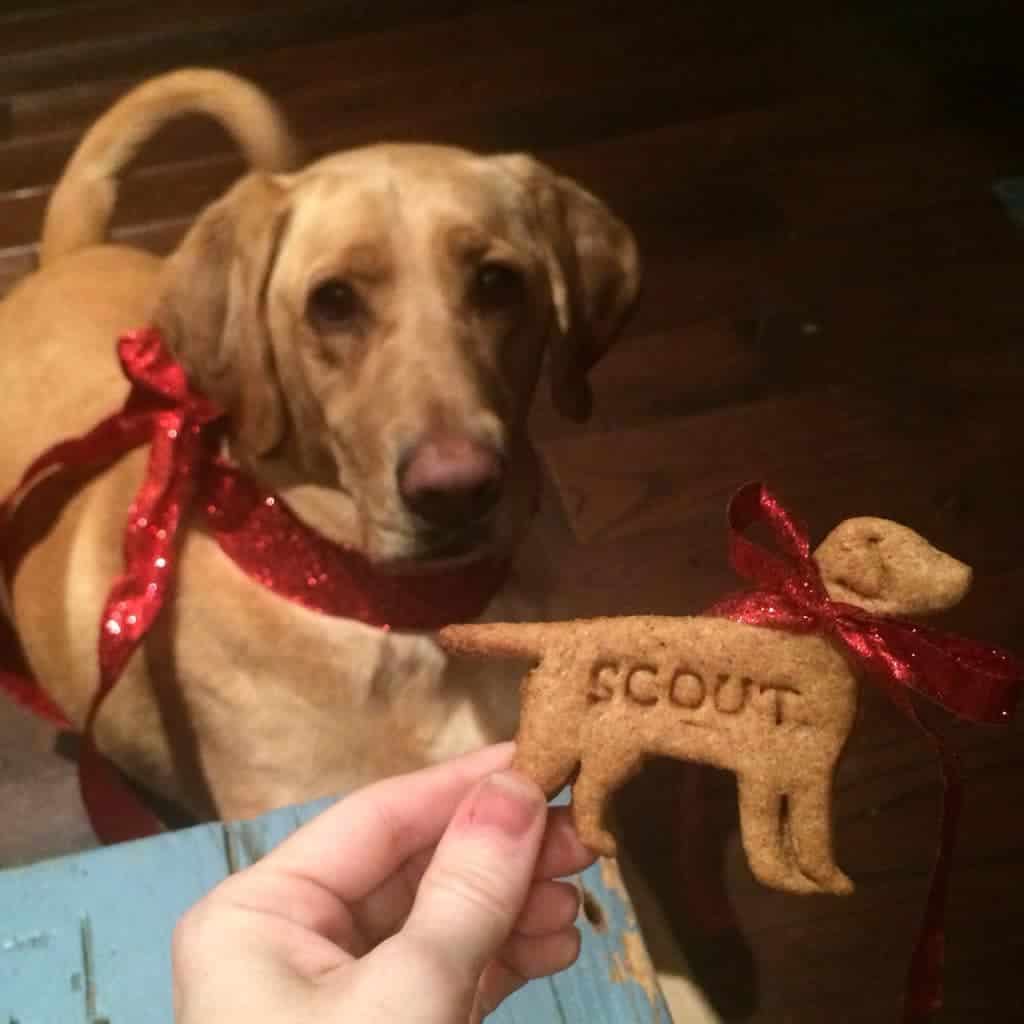
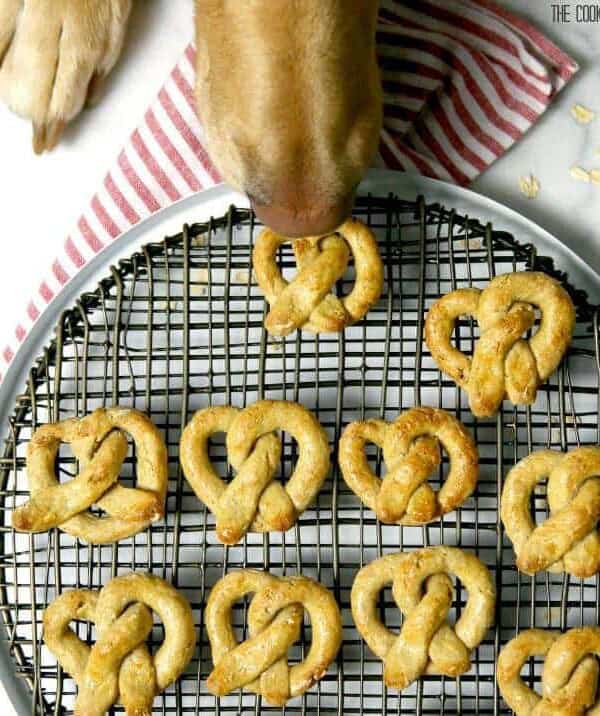
These time tested dog treats have been made by thousands of dog lovers over the years and consistently rated as a 5 star (over 2000 5 star reviews!) – if only my 2 dogs could speak every time they eat these! I first made these in 2013 for my first puppy Scout (that’s her sweet face above). She was obsessed and my dogs now, Mabel and Daisy, couldn’t agree more.
Homemade Peanut Butter Dog Treats Recipe
Equipment
- Kitchen Scale (optional)
Ingredients
For the Dog Treats
- 2½ cups whole wheat flour 300 grams (see note)
- 1 large egg 50 grams
- 1 cup peanut butter 270 grams (see note)
- 1 cup water 227 grams
- 2 tablespoons honey 43 grams (see note)
For the Frosting
- 2 tablespoons peanut butter 34 grams
- 1 tablespoon honey 21 grams
- ⅓ cup cornstarch 37 grams (can also use potato starch or arrowroot powder)
- 3-4 tablespoons hot water 43-57 grams
Instructions
- Preheat oven to 350°F. Line a baking sheet with parchment paper. Set aside.
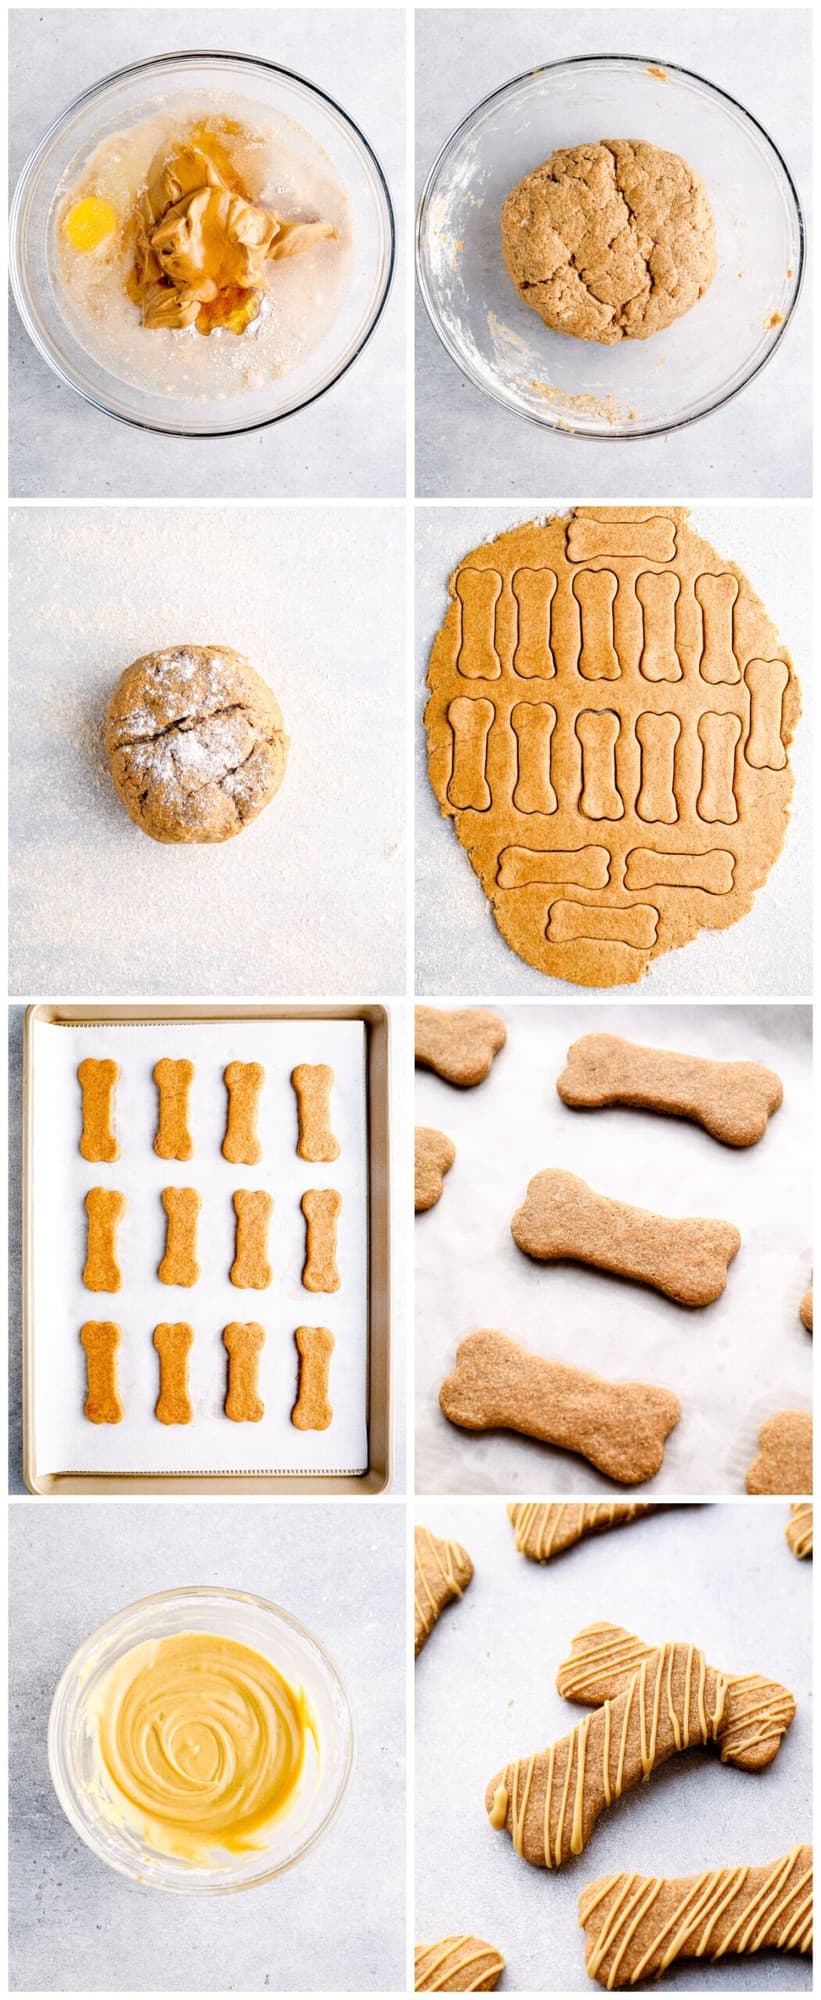
- In a large bowl, combine flour and the egg. Add the peanut butter, water, and honey, and stir until you have a stiff dough. The dough becomes very firm and sticky. You may need to use your hands, or the paddle attachment on your mixer.2½ cups whole wheat flour, 1 large egg, 1 cup peanut butter, 1 cup water, 2 tablespoons honey
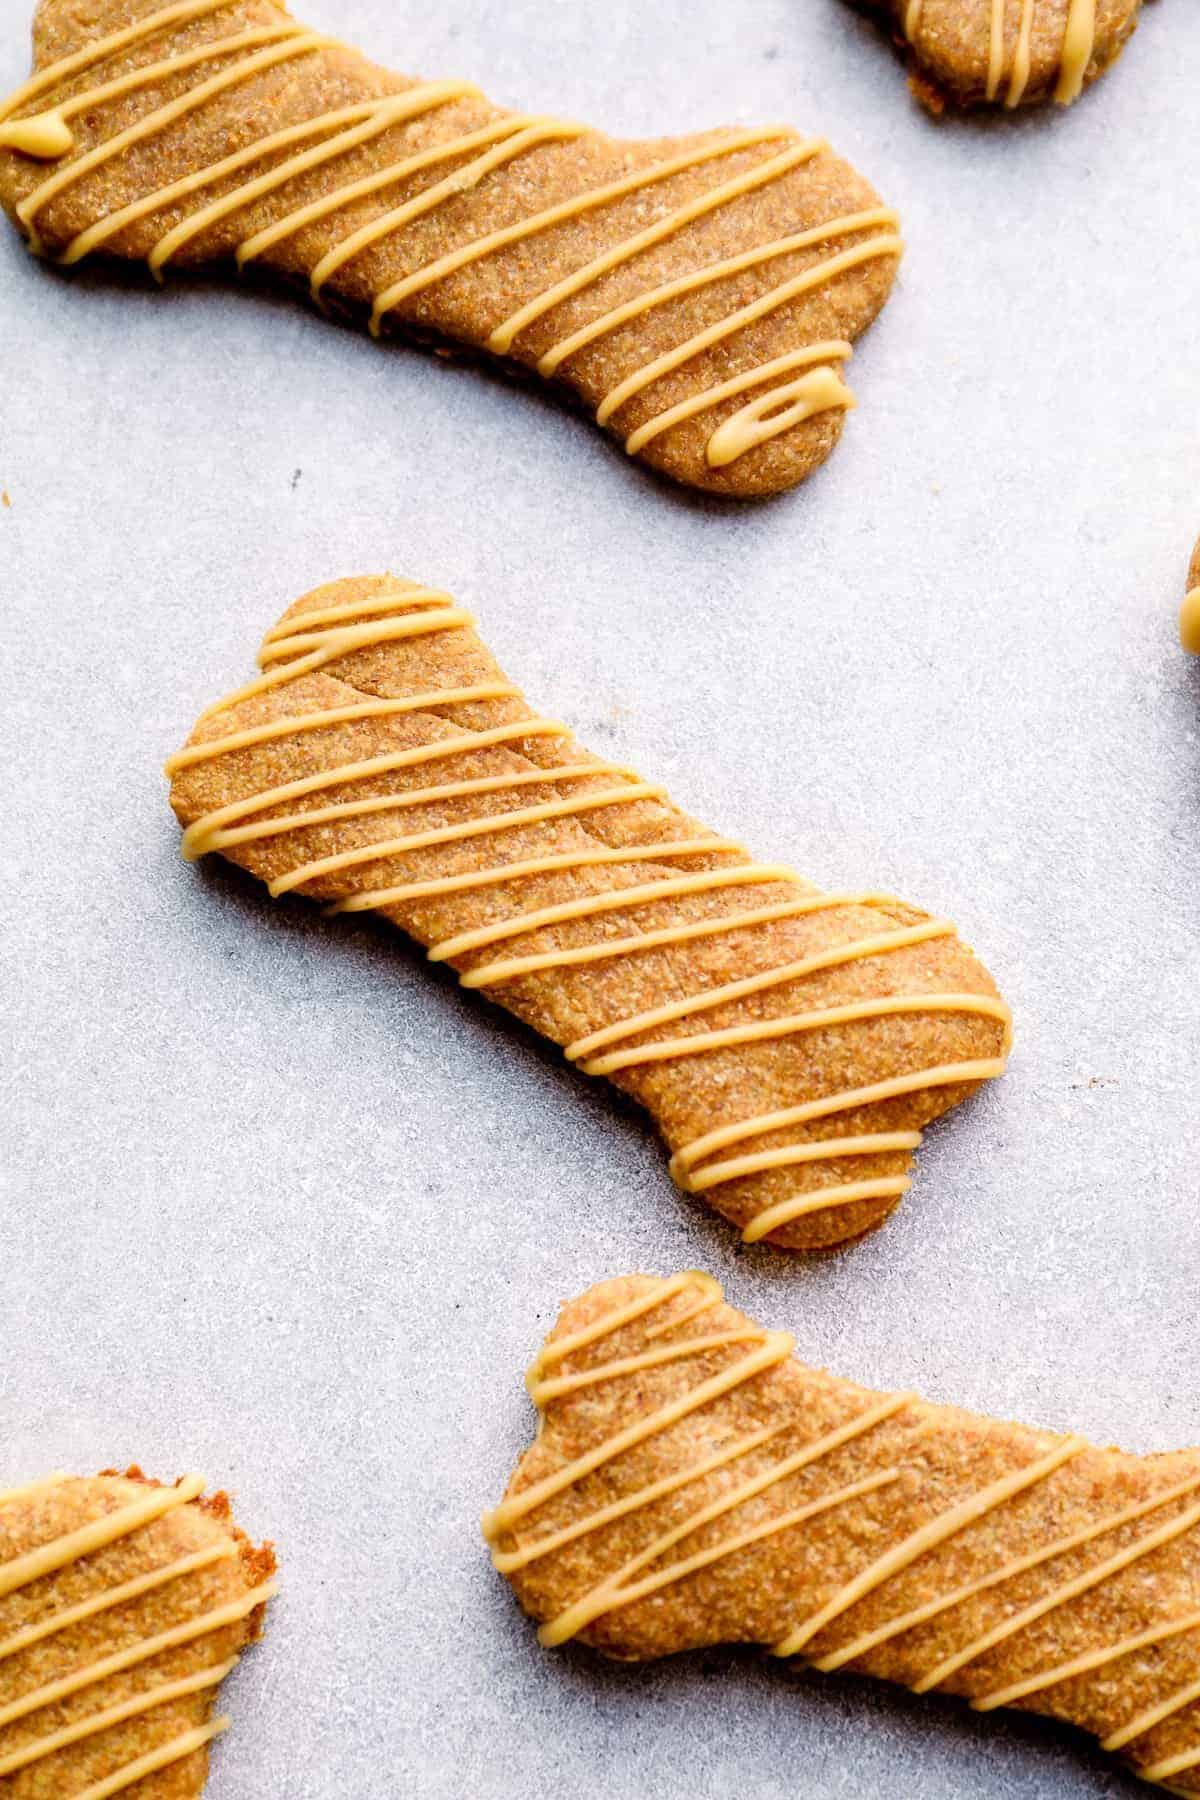
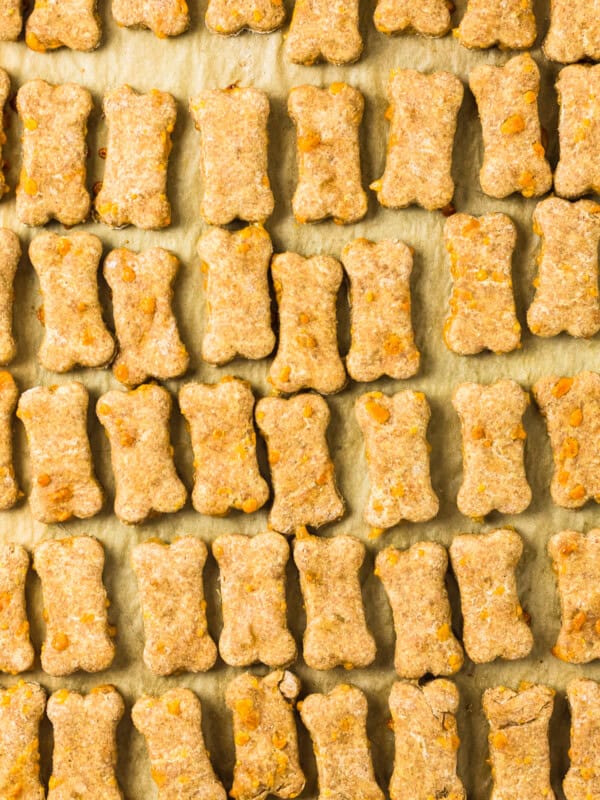
- On a lightly floured surface, roll out the dough about ½-inch thick and use a cookie cutter to make fun shapes. The treats barely spread and rise, so get creative with your shapes.
- Bake for 18-20 minutes, until golden. Once done, set aside to cool. (If you have smaller cookies, use less time, otherwise the bottom might burn.)
- To make the frosting, combine the peanut butter and honey in a microwavable bowl, and heat in the microwave in 15 second increments, stirring in between, until melted.2 tablespoons peanut butter, 1 tablespoon honey
- Add the melted peanut butter mixture to the cornstarch and stir until just combined.⅓ cup cornstarch
- Slowly add in the water 1 tablespoon at a time until you have reached the consistency that you would like. For a thinner frosting, add more water.3-4 tablespoons hot water
- Add the frosting to a piping bag and pipe designs on top of each dog treat.
- Frost the treats with the peanut butter/honey mixture for an even more tempting cookie.
Video
Becky’s Tips
- Flour: Some dogs are allergic to flour/wheat. If you want to make these wheat free, you can use rice flour of coconut flour as a replacement. These alternate flours will work, but might change the consistency a bit. Thanks so much to the readers who wrote it about this!
- Peanut Butter: Some peanut butter brands are including xylitol to cut the sugar in their peanut butter. Do not use any peanut butter containing xylitol as it is toxic to dogs. Just check for natural peanut butter and check the ingredients. Muah
- Honey: Avoid giving honey to immunocompromised dogs and dogs under 1 year old!
- Typically when you are using a royal frosting for cookies, you will make two different types of frosting consistency- a thicker frosting for the outline, and a thinner frosting to flood the inside with. You don’t have to do this but this is what you can do if you would like to go the extra mile for your furry friend.
- With the thicker frosting, create the outline of your design and wait for it to dry for about 10 minutes. When you make the thicker frosting, you probably only need 2-3 Tablespoons of water. The important thing is that it is thick enough to hold its shape, but thin enough that you can squeeze it through a piping tip.
- Fill in the outline with the thinner frosting and smooth it out with the tip of your finger. When you make the thin frosting, you will need 3-4 Tablespoons of water, and maybe more depending on how smooth of a finish you would like to have.
Nutrition information is automatically calculated, so should only be used as an approximation.
Yes, peanut butter is generally considered safe for dogs to eat. As I mentioned above, I recommend using a natural peanut butter. Unsalted varieties are great, and you can even find peanut butters brands that are made for dogs. Be sure to check the ingredients list, and avoid anything that contains Xylitol, or other artificial sweeteners.
Yes, all of the ingredients in this dog treats recipe are considered safe, healthy, and nutritional. Peanut butter contains essential vitamins and healthy fats, and the whole wheat flour has extra nutritional value as well. Honey contains a lot of sugar (of course), but we only use a small amount.
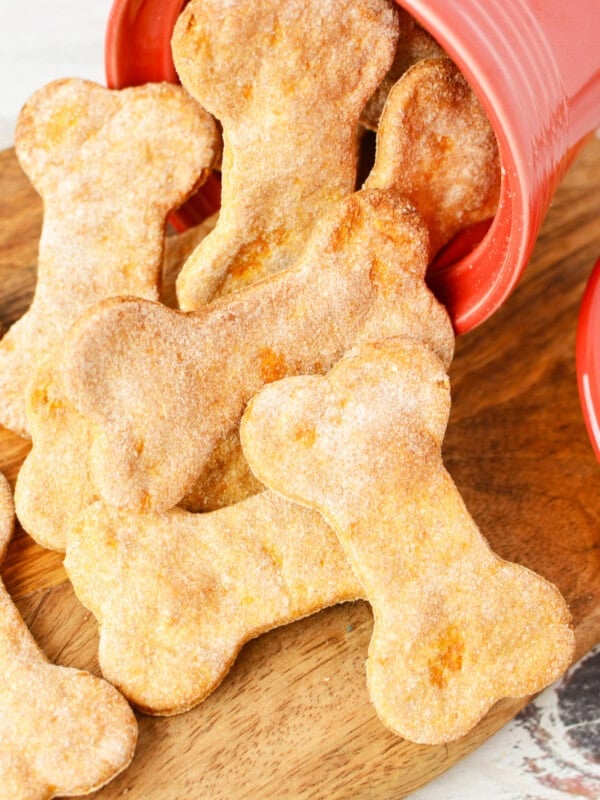
You can use any type or shape of cookie cutter you like, including the classic dog bone shape, Christmas and holidays shapes, hearts, and more. If you don’t have a cookie cutter, use the rim of a glass to cut out circles. Find a Customized Cookie Cutter for your dog’s breed on Etsy for more fun options.
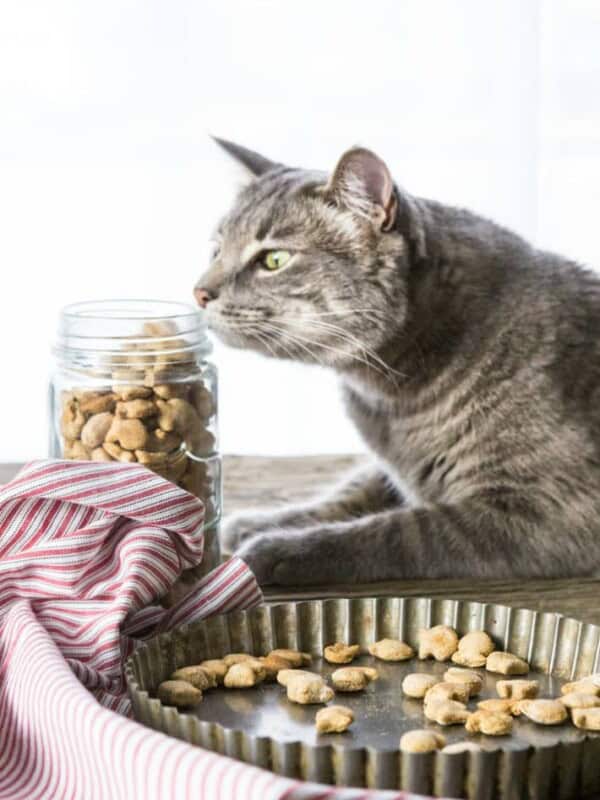
Yes! We’re using ingredients that are safe for both dogs and people. While I wouldn’t recommend snacking on these, if a little one gets their hands on them, they’ll be okay!
This recipe makes treats that are nice and chewy. If your dog would prefer a crunchier biscuit, roll out the dough really thin. You could also keep them in the oven at a lower temperature (200°F) for a while to help them dry out and crisp up.


In order to get high on the search page when you google recipes, those long blog post stories are necessary! We don’t think we need to write a story with every recipe, it’s just how it works. Without them, this recipe could end up on the 50th “O” on your google search page! Please use the jump to the recipe at the top of the page to skip the fluff and go straight to the recipe.
Thank you for sharing this recipe… I want to provide the healthiest treats for our dogs & homemade is best! Om
My dogs loved these! I do have a question, my cookies were flat when I put them in the oven and when I took them out they were bumpy. How do you keep yours flat?
Sifting dry ingredients before mixing would be helpful!
Just made and shipped these off for our grand dog Danko who lives in upstate NY. I used chunky peanut butter and Italian Chestnut honey. He is going to love them! Thank you for this simple and easy recipe!
Those are adorable!!
Thanks for this great recipe! I made them with the icing and my puppy love them so much !
We love happy puppies!!
My doggies love them so much❤ thank you for the recipe.
Thanks for sharing, Debbie!
You need to cleanup this crazy long writeup. Good recipe though!
In order to get high on the search page when you google recipes, those long blog post stories are necessary! We don’t think we need to write a story with every recipe, it’s just how it works. Without them, this recipe could end up on the 50th “O” on your google search page! Please use the jump to the recipe at the top of the page to skip the fluff and go straight to the recipe.
First time making dog treats for my Scout. I would like to bake half and do the other half with a silicone mold. Would this recipe work in silicone molds? If so how long do I freeze before them before they are ready for Scout? Making now so I will post a picture and rating after -Seems simple and had great reviews!
These need to be baked, not frozen!
Hey my puppies loved this recipe thanks
Sweet pups!
Stamping with letters – at what point do you letter stamp them?
I was guessing that if you did it before you bake them that they could rise a little and the shape of the letters squish! What do you do? Thanks.
Before baking!
I make them for people. They love them. I did not add water and i used all purpose flour.
Well happy to hear the humans love them too!