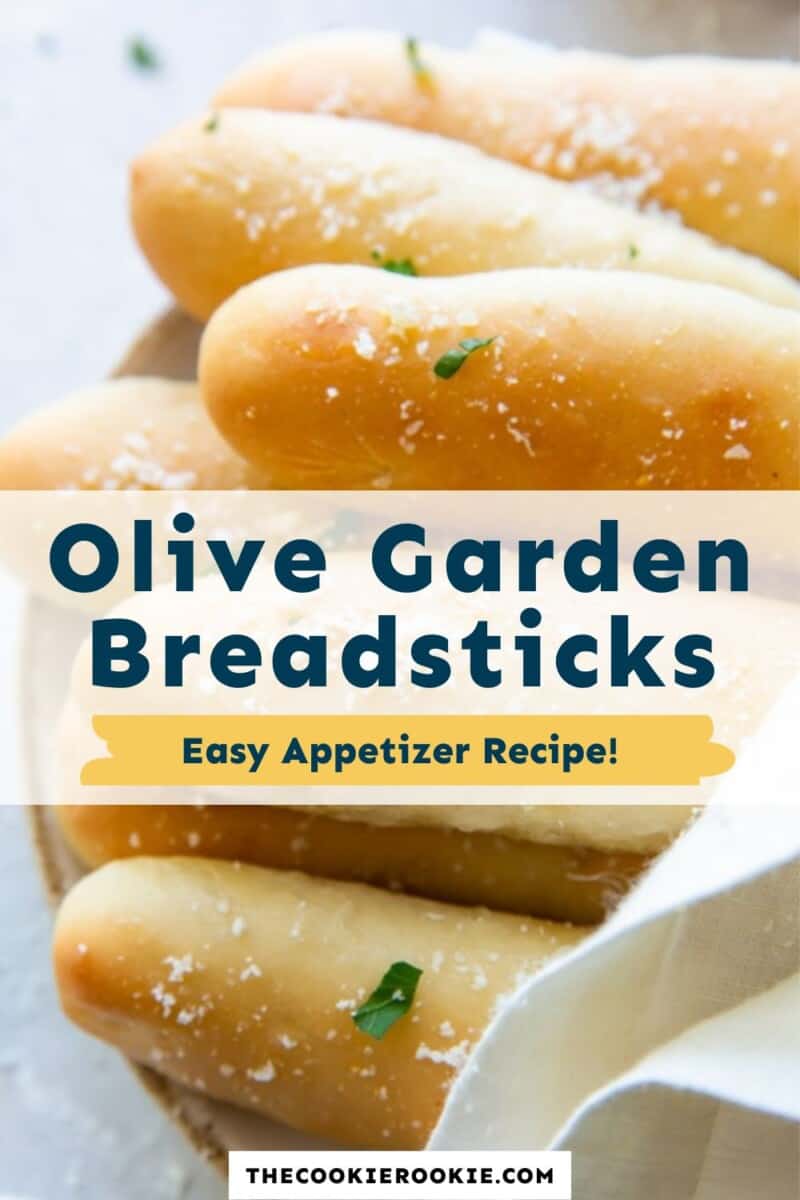
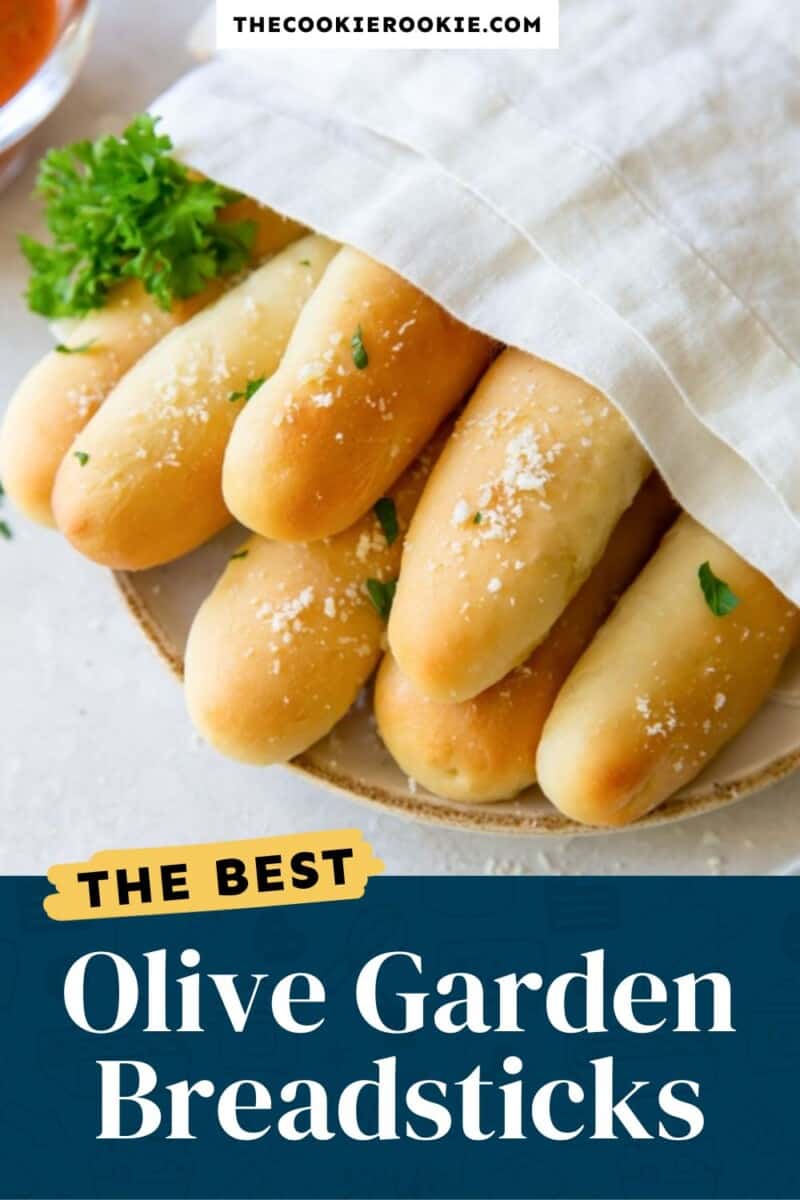
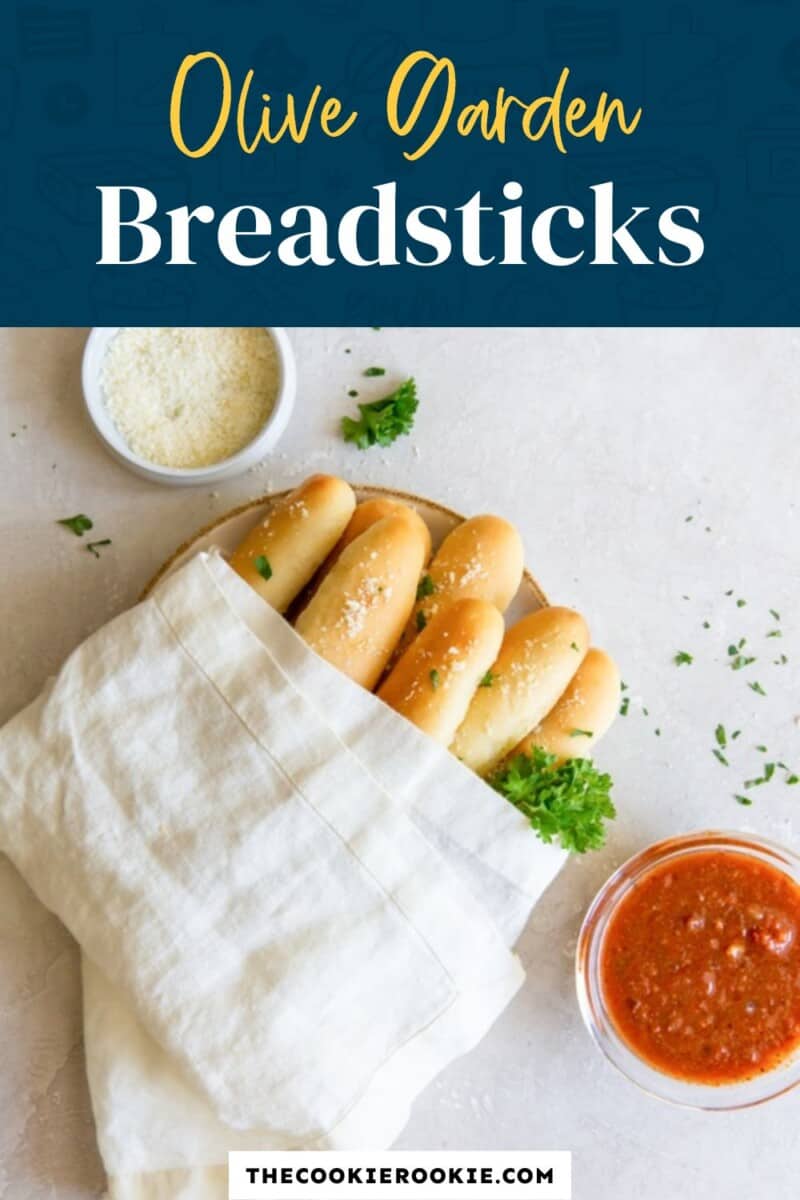
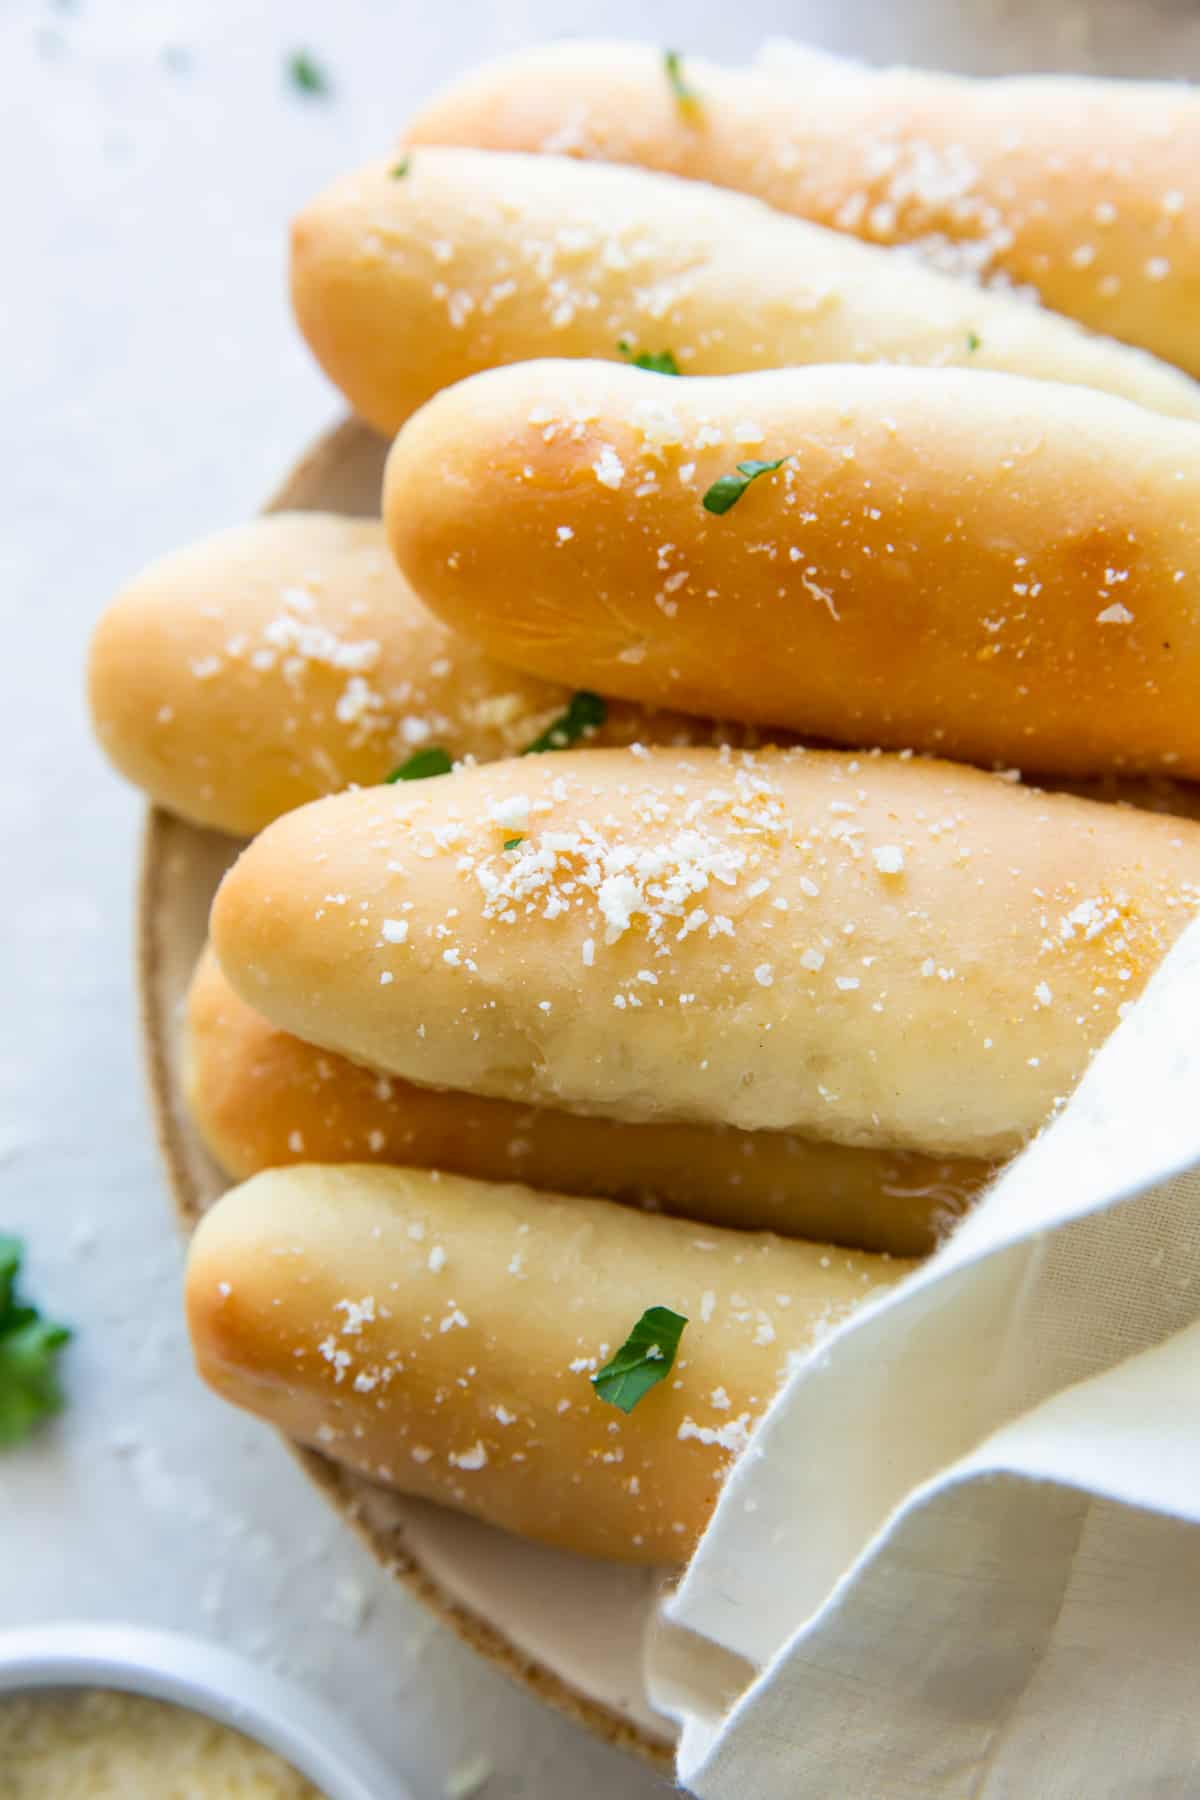
Olive Garden breadsticks are simply the best! They are light, buttery, and garlicky and complement just about anything, especially pasta dishes and hearty soups. Just like the restaurant originals, this copycat recipe is so darned good and addictive!
What’s in this Olive Garden Breadsticks Recipe?
You mostly need pantry staples like flour, yeast, sugar, salt, and oil to make up the base of these classic breadsticks. Here’s a rundown:
- Water: Warm water adds moisture to the dough and helps to activate the yeast for a strong rise.
- Milk: Whole milk enriches the dough and gives it a soft crumb. You can use any kind of milk you have on hand, including plant-based milk, but whole milk yields the most tender bread.
- Yeast: Active dry yeast gives lift to the bread. You can use instant yeast if you prefer.
- Sugar: Granulated sugar feeds the yeast to help it become more active.
- Flour: All-purpose flour forms the base of the dough. For chewier breadsticks, you can use bread flour instead.
- Salt: Kosher salt adds flavor to the dough and the topping. If using a finer-grain salt, like sea salt, cut the amount in half.
- Oil: Olive oil adds moisture and flavor to the dough, allowing it to brown beautifully in the oven. You can use vegetable oil or melted butter if you prefer, but I love the flavor of olive oil.
- Garlic Powder: Garlic powder gives these breadsticks their classic garlicky flavor.
- Butter: Unsalted butter lends a buttery flavor to these breadsticks. You can use non-dairy butter or olive oil in place of the butter.
- Cheese: Parmesan cheese adds a salty, umami kick to these breadsticks. You can use provolone or asiago instead, or feel free to skip the cheese.
Pro Tip: Feel free to create your own seasoning blend to top the breadsticks with. Swap the garlic powder for Italian seasoning!
A Sweet Take on Copycat Olive Garden Breadsticks
For sweet breadsticks, reduce the salt in the dough to 1 teaspoon, and swap the garlic powder for a mix of cinnamon and sugar!
Trademark Note: In the spirit of transparency, I want to note that this is a copycat recipe for an existing product. Olive Garden is a proprietary brand to which I want to acknowledge and give credit.
The real-deal Olive Garden breadsticks are vegan, but ours are not due to the addition of real butter and milk. You can make these breadsticks vegan by using plant-based milk and butter or olive oil in place of the butter.
Because the real Olive Garden breadsticks are vegan, they are also dairy-free. Ours are not. Follow the above guidelines for making these breadsticks vegan to make them dairy-free.
To bloom yeast means to dissolve it in warm liquid (often with a little bit of sugar) and leave it for a few minutes or until foamy. Proofing yeast ensures it is alive and vigorous enough to make your dough rise.
If your yeast does not froth after standing for 5 minutes, it may be dead, or the milk may have been too hot and killed the yeast.
To test the temperature of the milk without a thermometer, stick a clean pinky finger halfway into the milk. If you are unable to leave your finger in the milk for at least 5-8 seconds, it is too hot and will kill the yeast.
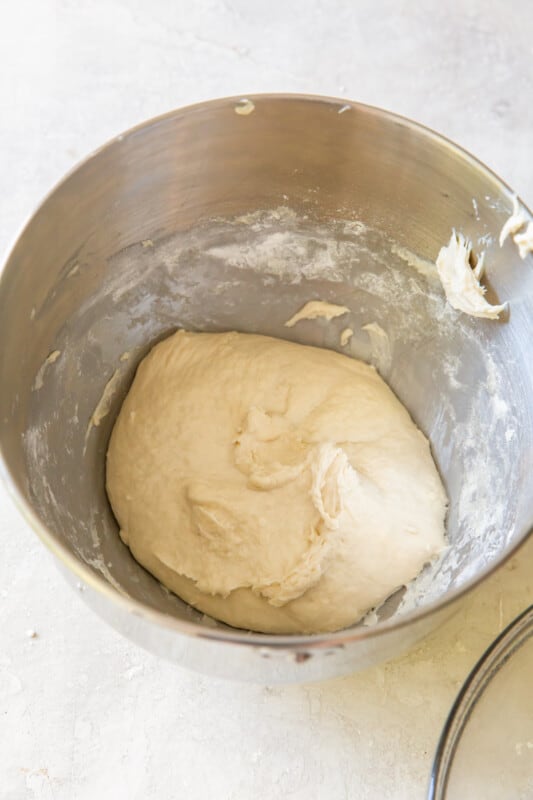
Dense or heavy breadsticks are usually caused by not kneading the dough long enough. Be sure to knead the dough until it is smooth and elastic. If your dough is properly kneaded, it should slowly spring back when pressed with one finger.
If it springs back too quickly, it is under-kneaded. If it does not spring back at all, it is over-kneaded. The same tips can be used to tell if the dough has been proofed enough. Too springy means under-proofed, and not springy enough means over-proofed.
An Olive Garden breadstick has 140 calories. Ours are a bit more calorie-dense at 194 calories, but we don’t skimp on flavor!
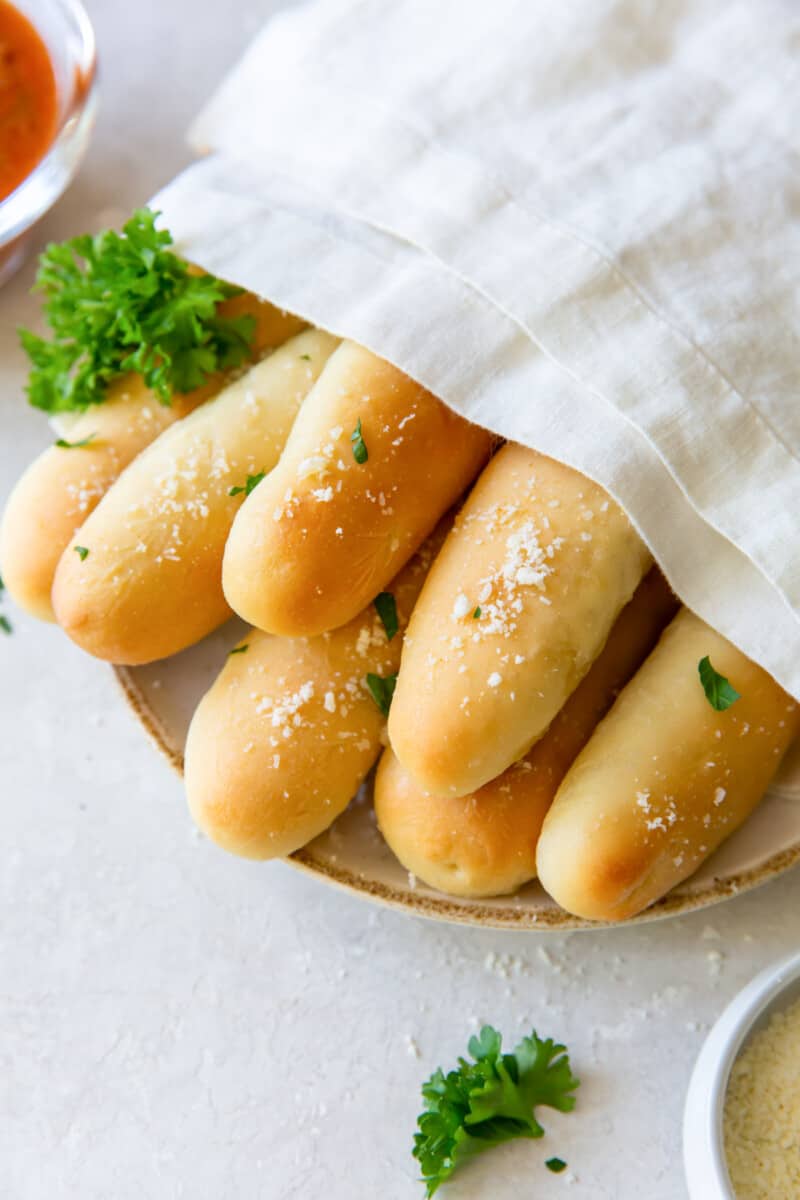
How to Make Ahead and Store Olive Garden Copycat Breadsticks
The dough can be prepared through step 5 and placed in the refrigerator to rise slowly for up to 24 hours before shaping. You can also prep the dough through step 6 and place it in the freezer for later use. Simply remove the frozen shaped breadsticks from the freezer, allow them to thaw, let them rise, and bake as directed.
Store leftover Olive Garden breadsticks in an airtight container at room temperature for up to 3 days.
How to Freeze and Reheat Olive Garden Breadsticks with Garlic Topping
Freeze Olive Garden breadsticks in a single layer on a lined baking sheet until solid, about 1-2 hours. Transfer to an airtight container to store for up to 6 months. Let thaw overnight in the refrigerator before enjoying at room temperature or warmed in the microwave or in a 325°F oven for 5 minutes.
What to Serve with Homemade Olive Garden Breadsticks
Olive Garden breadsticks are so good you may forget that you were planning to eat anything else for dinner! They’re great simply dipped in marinara sauce or ranch dressing or served alongside a warming bowl of Italian wedding soup or zuppa toscana.
For a complete meal, serve them with Italian classics, like Grandma’s best meatballs, instant pot spaghetti, baked ziti, stuffed shells, or baked mostaccioli. Or go for something creamy and light, like penne alla vodka, cacio e pepe, chicken piccata, or chicken alfredo.
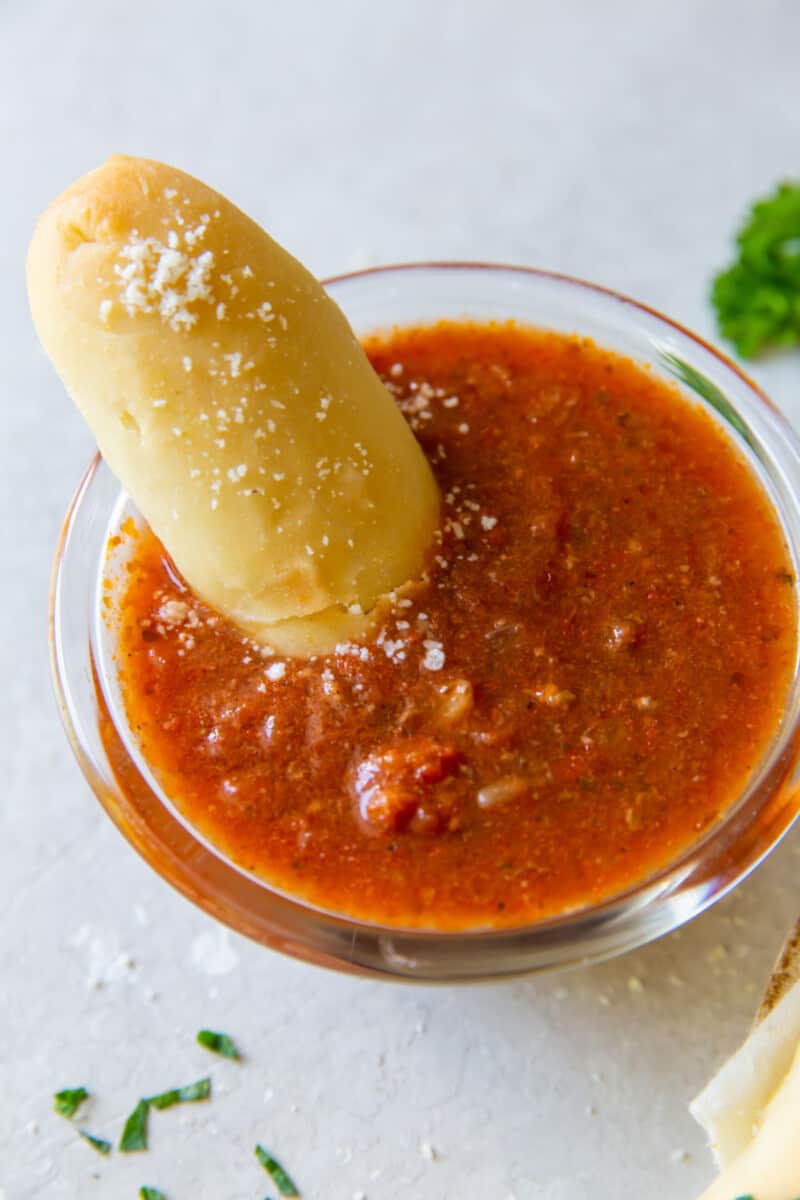
Olive Garden Breadsticks Recipe
Equipment
- Kitchen Scale (optional)
- Stand Mixer
- 2 Baking Sheet
Ingredients
For the Breadsticks
- 1 cup water 227 grams
- 2 tablespoons whole milk 28 grams
- 1¼ teaspoons active dry yeast 4 grams
- 2 tablespoons granulated sugar 25 grams, divided
- 3-3½ cups all-purpose flour 360-420 grams
- 1¾ teaspoons kosher salt 5 grams
- 3 tablespoons olive oil 25 grams
For the Garlic Butter Topping
- ¼ teaspoon kosher salt
- ¼ teaspoon garlic powder
- 2 tablespoons unsalted butter 28 grams
- Parmesan cheese optional, for topping
Instructions
- Combine the water and milk in a saucepan and heat until the mixture is 110-115°F.1 cup water, 2 tablespoons whole milk
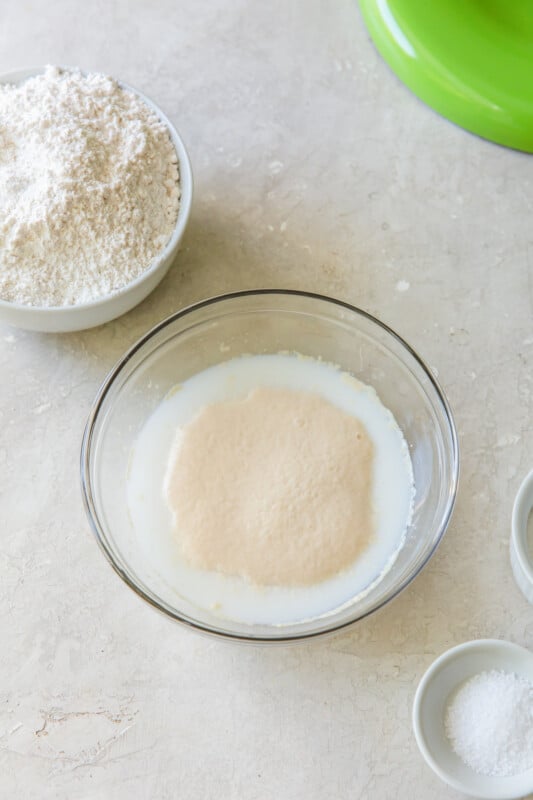
- In the bowl of a stand mixer fitted with the paddle attachment, whisk the water-milk mixture, yeast, and ½ teaspoon granulated sugar together. Allow to bloom for 10 minutes.1¼ teaspoons active dry yeast, 2 tablespoons granulated sugar
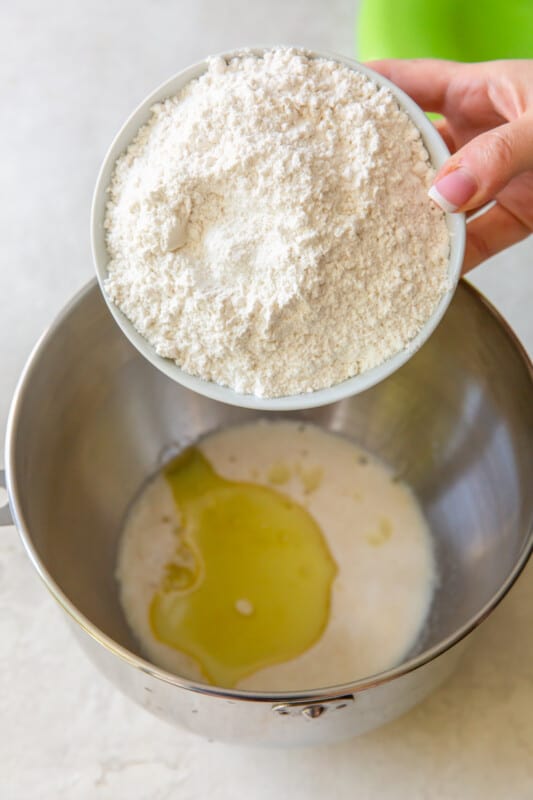
- Add in the remaining sugar, 3 cups flour, salt and olive oil. Blend together until well combined, adding more flour 1 tablespoon at a time as needed.3-3½ cups all-purpose flour, 1¾ teaspoons kosher salt, 3 tablespoons olive oil
- Switch the mixer to the dough hook attachment and knead on low speed for 7-8 minutes, or until the dough is smooth and elastic.
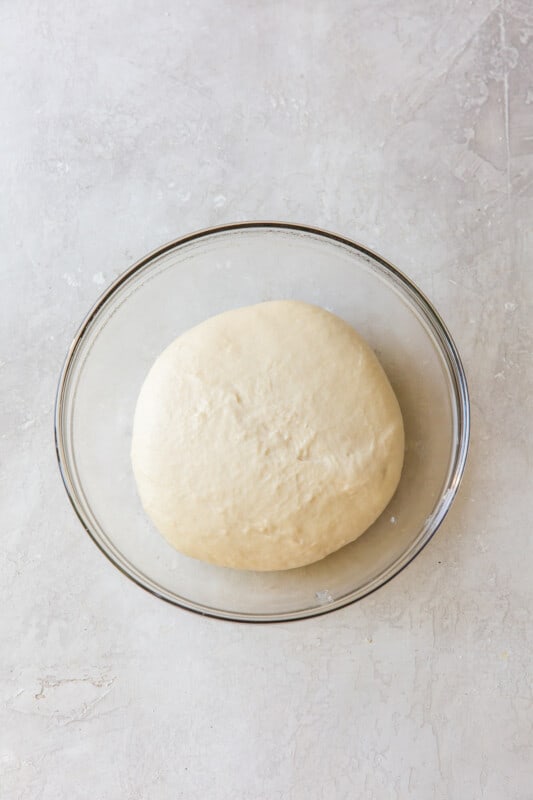
- Transfer the dough to a large oiled mixing bowl, cover with a kitchen towel, and allow it to rest for 45-90 minutes in a warm, draft-free place until doubled in size.
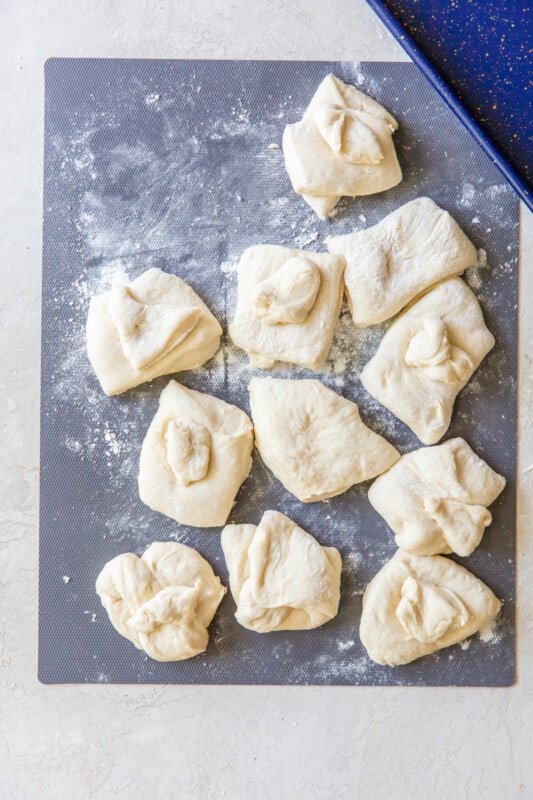
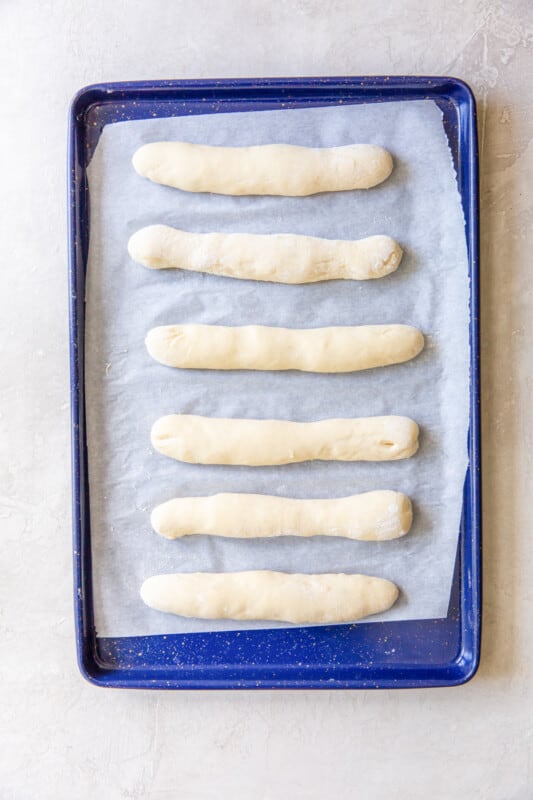
- Punch the dough down, then divide it into twelve 2-ounce portions (about 56 grams each). Roll each piece into a 9-inch rope on a lightly floured surface, then transfer to 2 parchment paper-lined baking sheets.
- Cover and let rise for 1 hour.
- While the dough rises, preheat oven to 425°F.
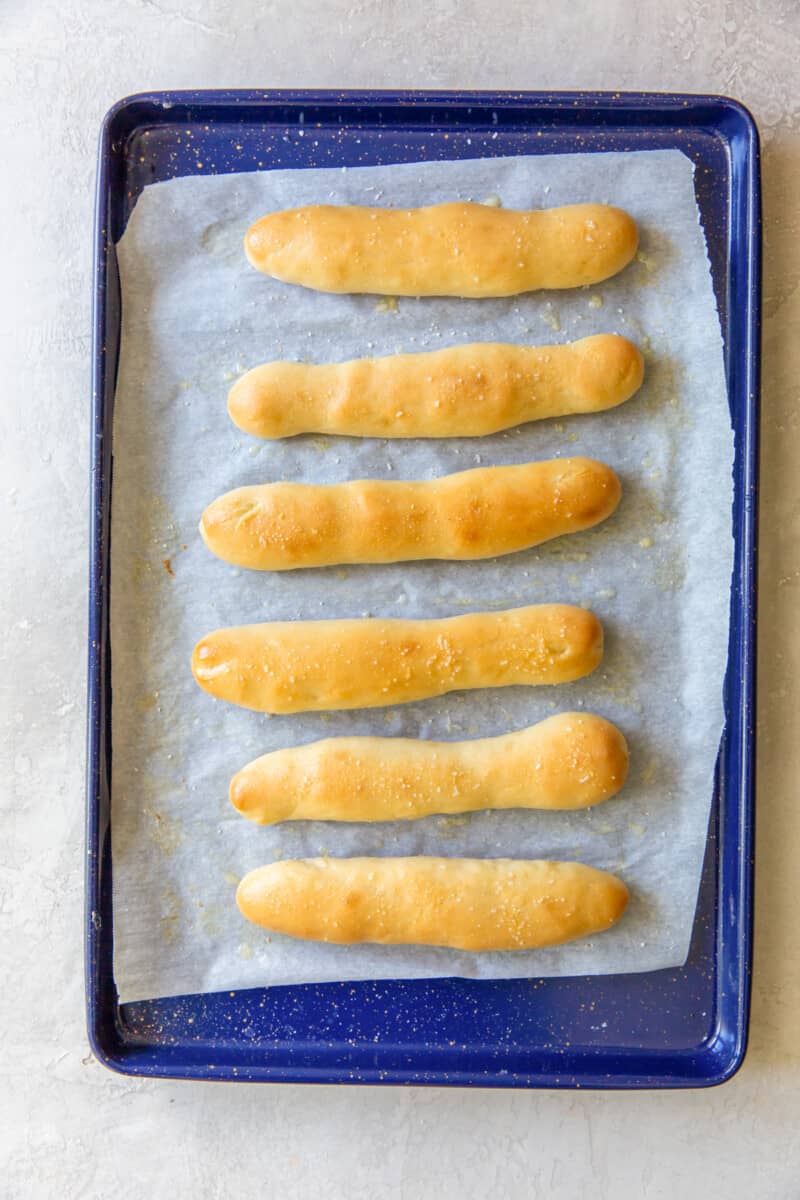
- Bake the breadsticks for 11-13 minutes. until golden brown.
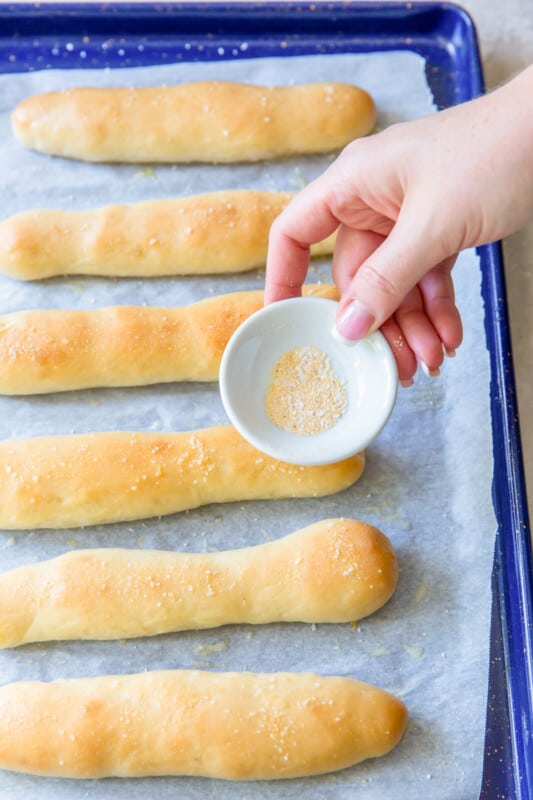
- In a small bowl, whisk together kosher salt and garlic powder. In a separate bowl, melt the butter in the microwave.¼ teaspoon kosher salt, ¼ teaspoon garlic powder, 2 tablespoons unsalted butter
- Remove the breadsticks from the oven, brush with melted butter, then sprinkle with the garlic-salt mixture. Garnish with Parmesan, if desired, and serve warm.Parmesan cheese
Becky’s Tips
- You can use any kind of milk you have on hand, including plant-based milk, instead of whole milk.
- You can use non-dairy butter or olive oil in place of the butter.
- Feel free to create your own seasoning blend to top the breadsticks with. Swap the garlic powder for Italian seasoning!
- Feel free to sprinkle these breadsticks with provolone or asiago cheese instead of Parmesan.
- For sweet breadsticks, reduce the salt in the dough to 1 teaspoon, and swap the garlic powder for a mix of cinnamon and sugar!
- If your yeast isn’t foamy after 10 minutes, discard it and start again!
- Measure your flour using the spoon-and-level method to avoid dry, dense breadsticks.
- Knead the dough until it springs back slowly when pressed gently with 1 finger.
- Proof the dough until it springs back gently when pressed with 1 finger.
- Take care not to overbake the breadsticks or they will become dry.
Nutrition information is automatically calculated, so should only be used as an approximation.
