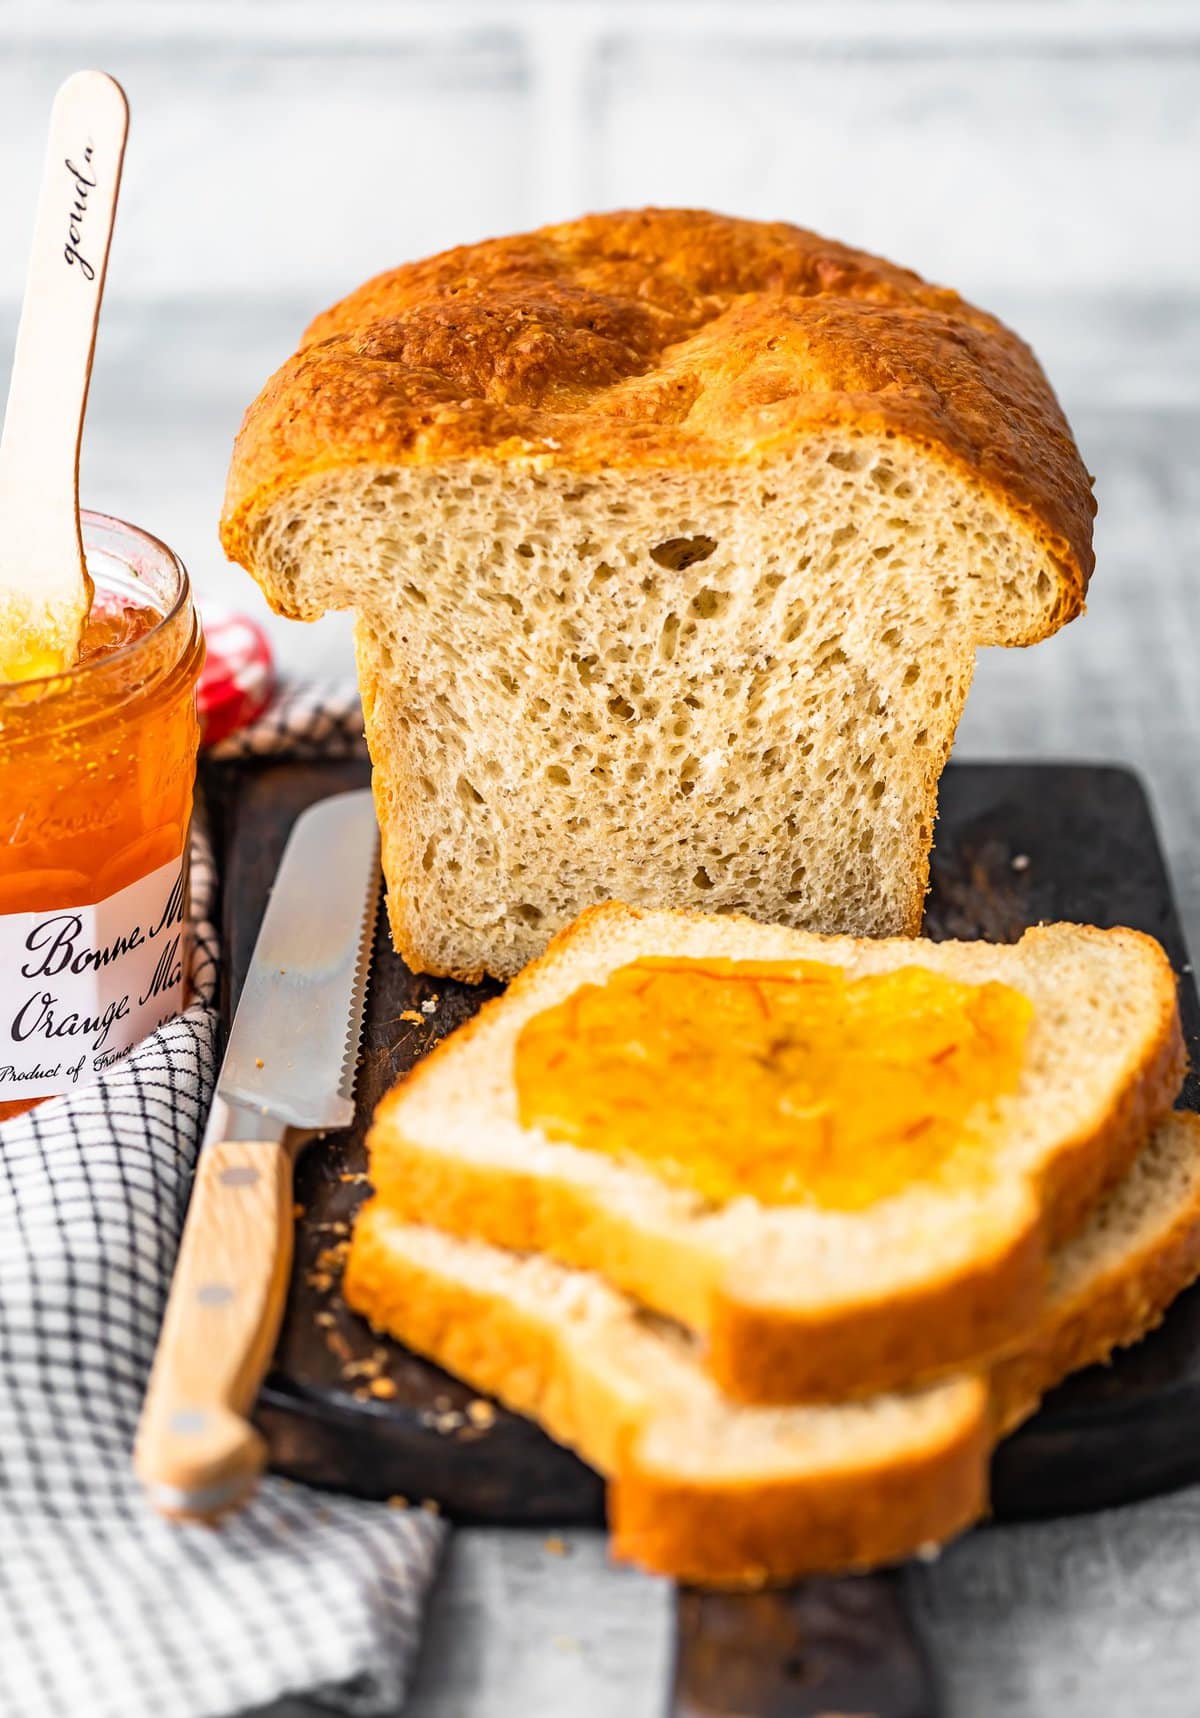
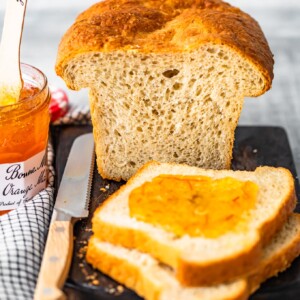
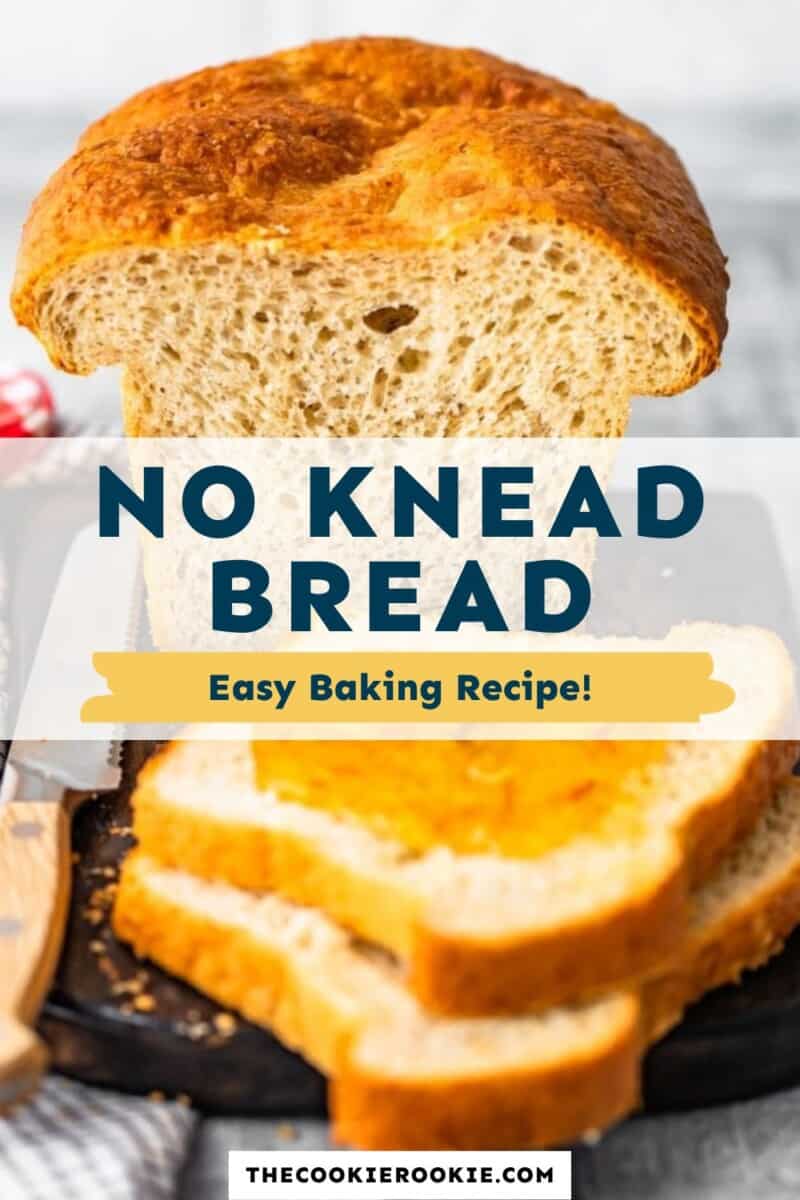
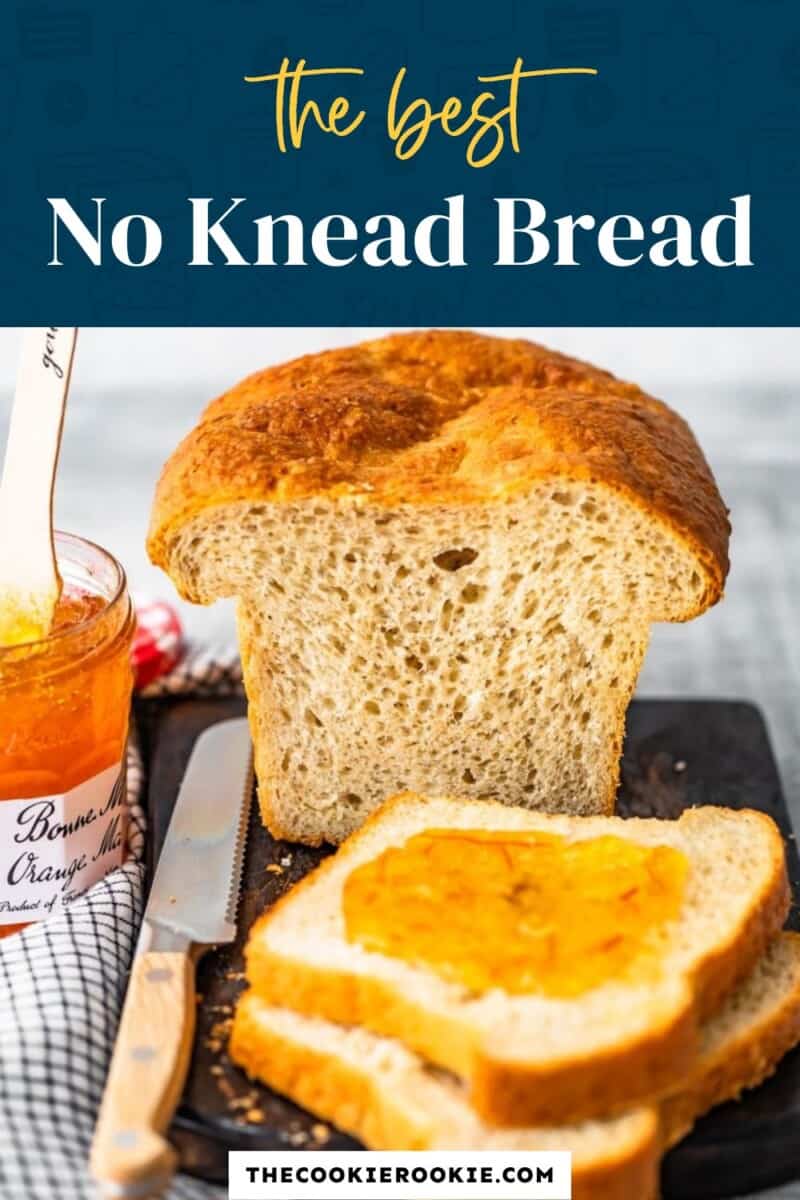
No Knead Sandwich Bread is an easy way to make your sandwiches extra fresh and extra tasty! This easy homemade bread recipe is simple enough to make every week. It’s perfect for sandwiches, toast, or anything else you need bread for!
This post may include affiliate links that earn us a small commission from your purchases at no extra cost to you.
What’s in this No Knead Bread Recipe?
No knead bread is the best way to make sure you have fresh, delicious bread for all your favorite sandwiches. Even better, it means you know what’s in your bread (i.e. no preservatives or weird stuff), so you can feel good about eating it.
- Bread Flour: Has a higher protein content than all-purpose flour, leading to a denser, chewier loaf.
- Whole-Wheat Flour: This type of flour contains the germ and bran, which are rich in minerals and dietary fiber. It also adds a great nutty flavor to the bread.
- Yeast: Helps the bread rise. You can use instant or rapid-rise yeast in this recipe, but not active dry yeast.
- Water: Adds moisture to the bread.
- Unsalted Butter: Enriches the bread, leading to a higher rise, a crisper crust, and a longer shelf life.
- Honey: Adds a touch of sweetness to the bread and helps feed the yeast.
- Kosher Salt: Enhances the natural flavor of the bread.
- Egg: Helps the bread develop a shiny crust!
Pro Tip: You can make this bread with all bread flour (no whole-wheat). Start with less water and add gradually until you reach the desired consistency.
Variations on No-Knead Bread
This bread is so easy to change up! You can use different flours in place of the whole wheat, like spelt or einkorn flour. These flours will swap out one-to-one easily in this recipe. You can also add mix-ins, like raisins, herbs, or cheese!
For an even softer-textured bread, try swapping the water for whole milk!
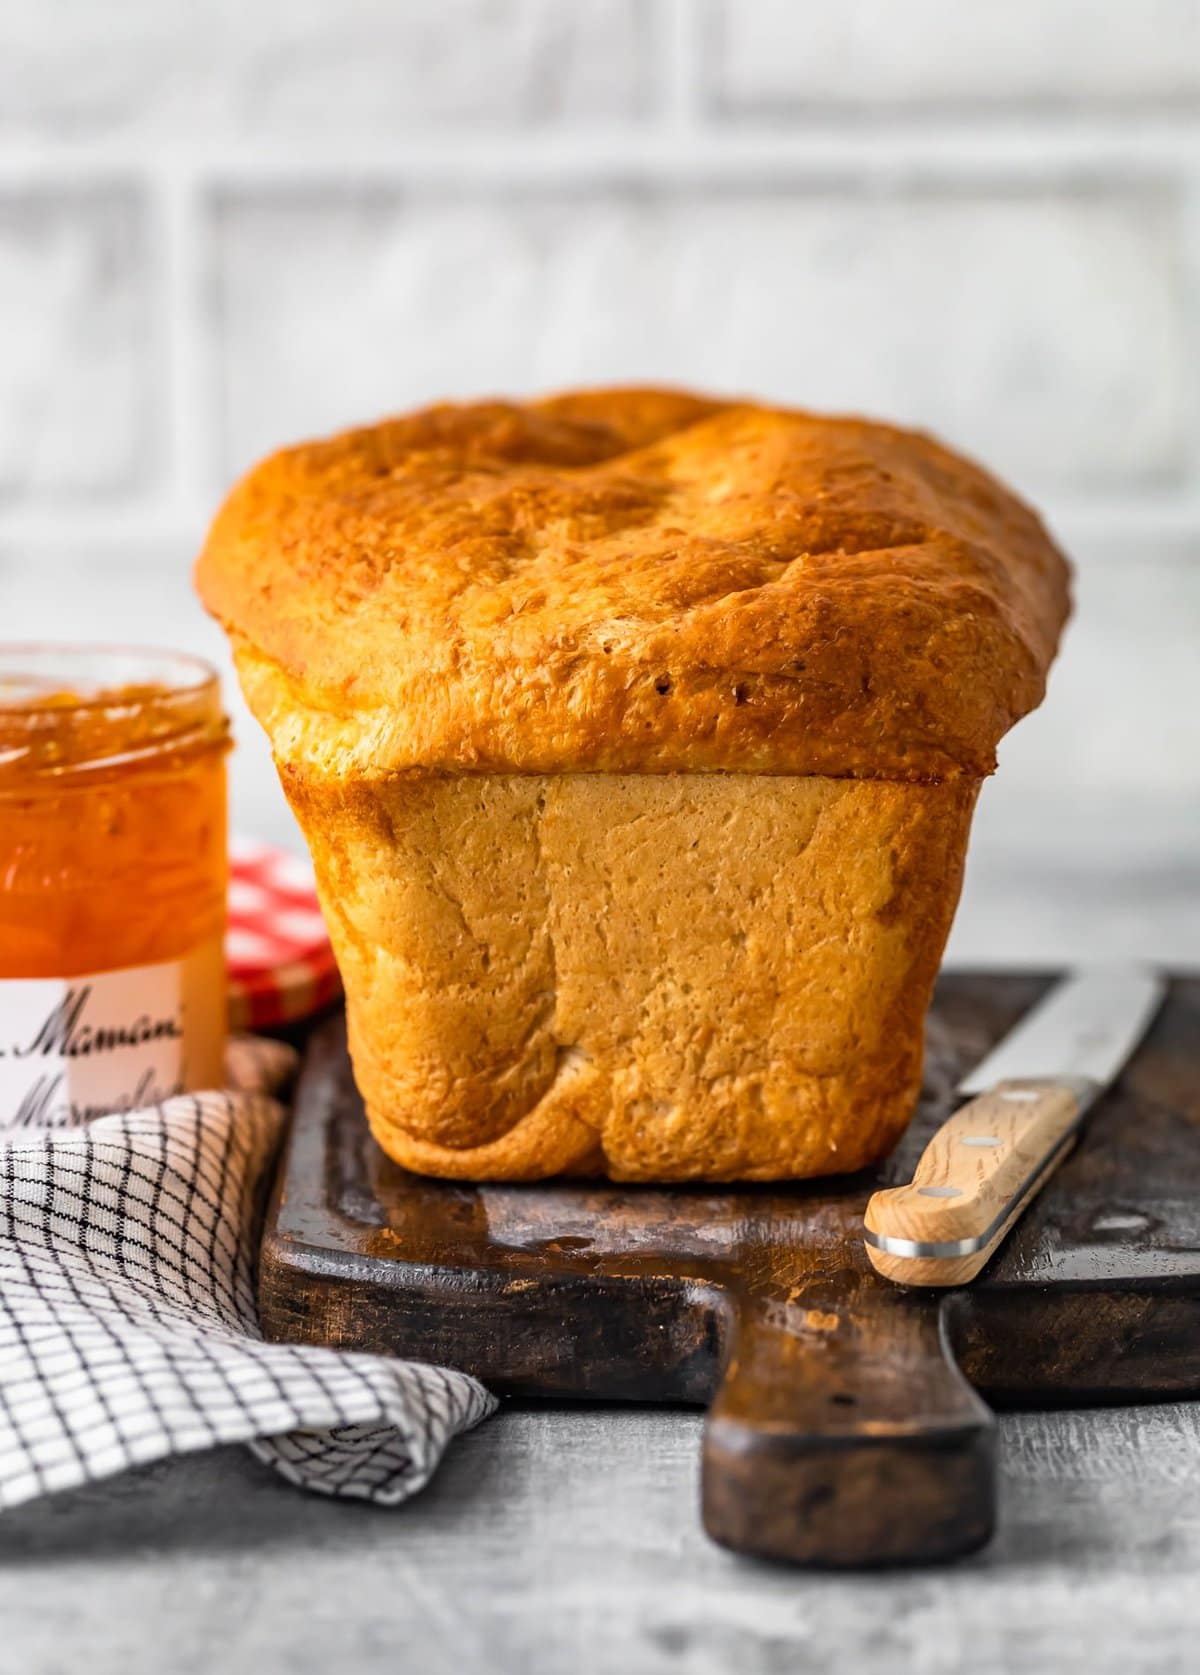
The only difference is in the shape. Sandwich bread is baked in a loaf pan, creating that signature squared bottom!
This is a method where fermentation (or rise time) is used instead of kneading to form gluten. By using instant yeast, we are able to cut down the fermentation time, leading to a moist, chewy loaf in just about 2 hours!
I sure think so! Bread can be intimidating to make, and removing complicated kneading from the equation made it a lot easier for me to nail this recipe!
Generally speaking, no-knead bread is only a problem because of the space the dough takes up in the fridge. In this recipe, we skip the fridge, so I don’t really think there are any cons. Beautiful bread in just 2 hours… what more could you want?!
Sure! It’ll have a much more rustic shape and definitely won’t rise as high, but you can bake it directly on a baking sheet.
Grease the pan! Whether it’s nonstick spray, oil, or butter, make sure to grease that sucker up well! Let the bread cool for 5-10 minutes, then invert it, and it should release easily from the pan. If it’s sticking a bit, run a dull butter knife around the sides to release it from the pan.
How to Store and Reheat
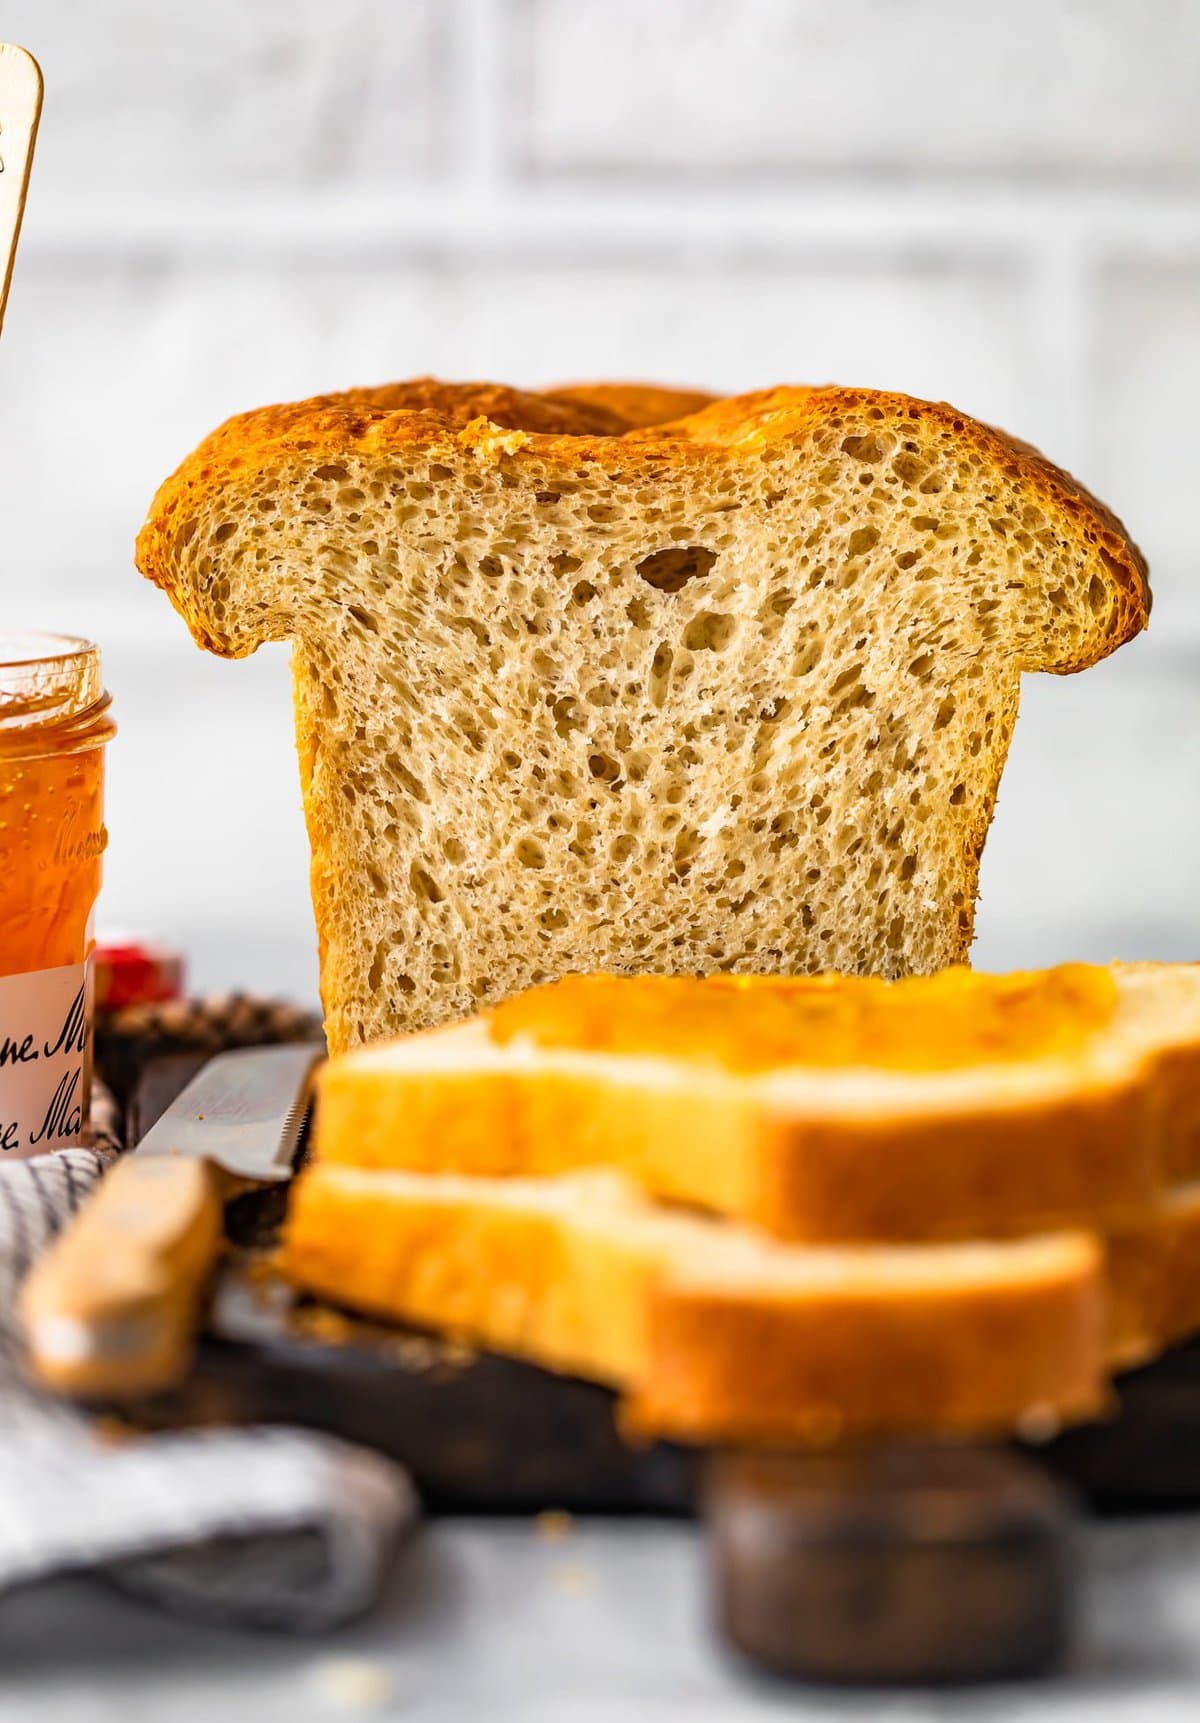
This no knead bread will keep at room temperature for 2 days, although it is best eaten the day of baking. Store it in an airtight container or Ziplock bag in a dry place. Enjoy this bread at room temperature, or toast slices in a toaster oven until they reach the desired level of brown.
How to Freeze
If you’re not planning to eat the bread super quickly, you can slice it up and freeze it in a Ziplock bag for up to 1 month. Toast individual slices directly from frozen!
Serving Suggestions
Now that you’ve got the homemade bread, you can make all the tasty sandwiches! I love using this bread to make egg salad sandwiches, BLTs, chicken salad sandwiches, grilled cheese, patty melts, cucumber sandwiches, garlic butter sandwich skewers, or grilled chicken cordon bleu sandwiches.
It also works great for making garlic bread, Panzanella salad, bread pudding, or homemade stuffing! And if it’s looking a bit stale, don’t fret! You can still use it to make garlic croutons!
5-Star Review
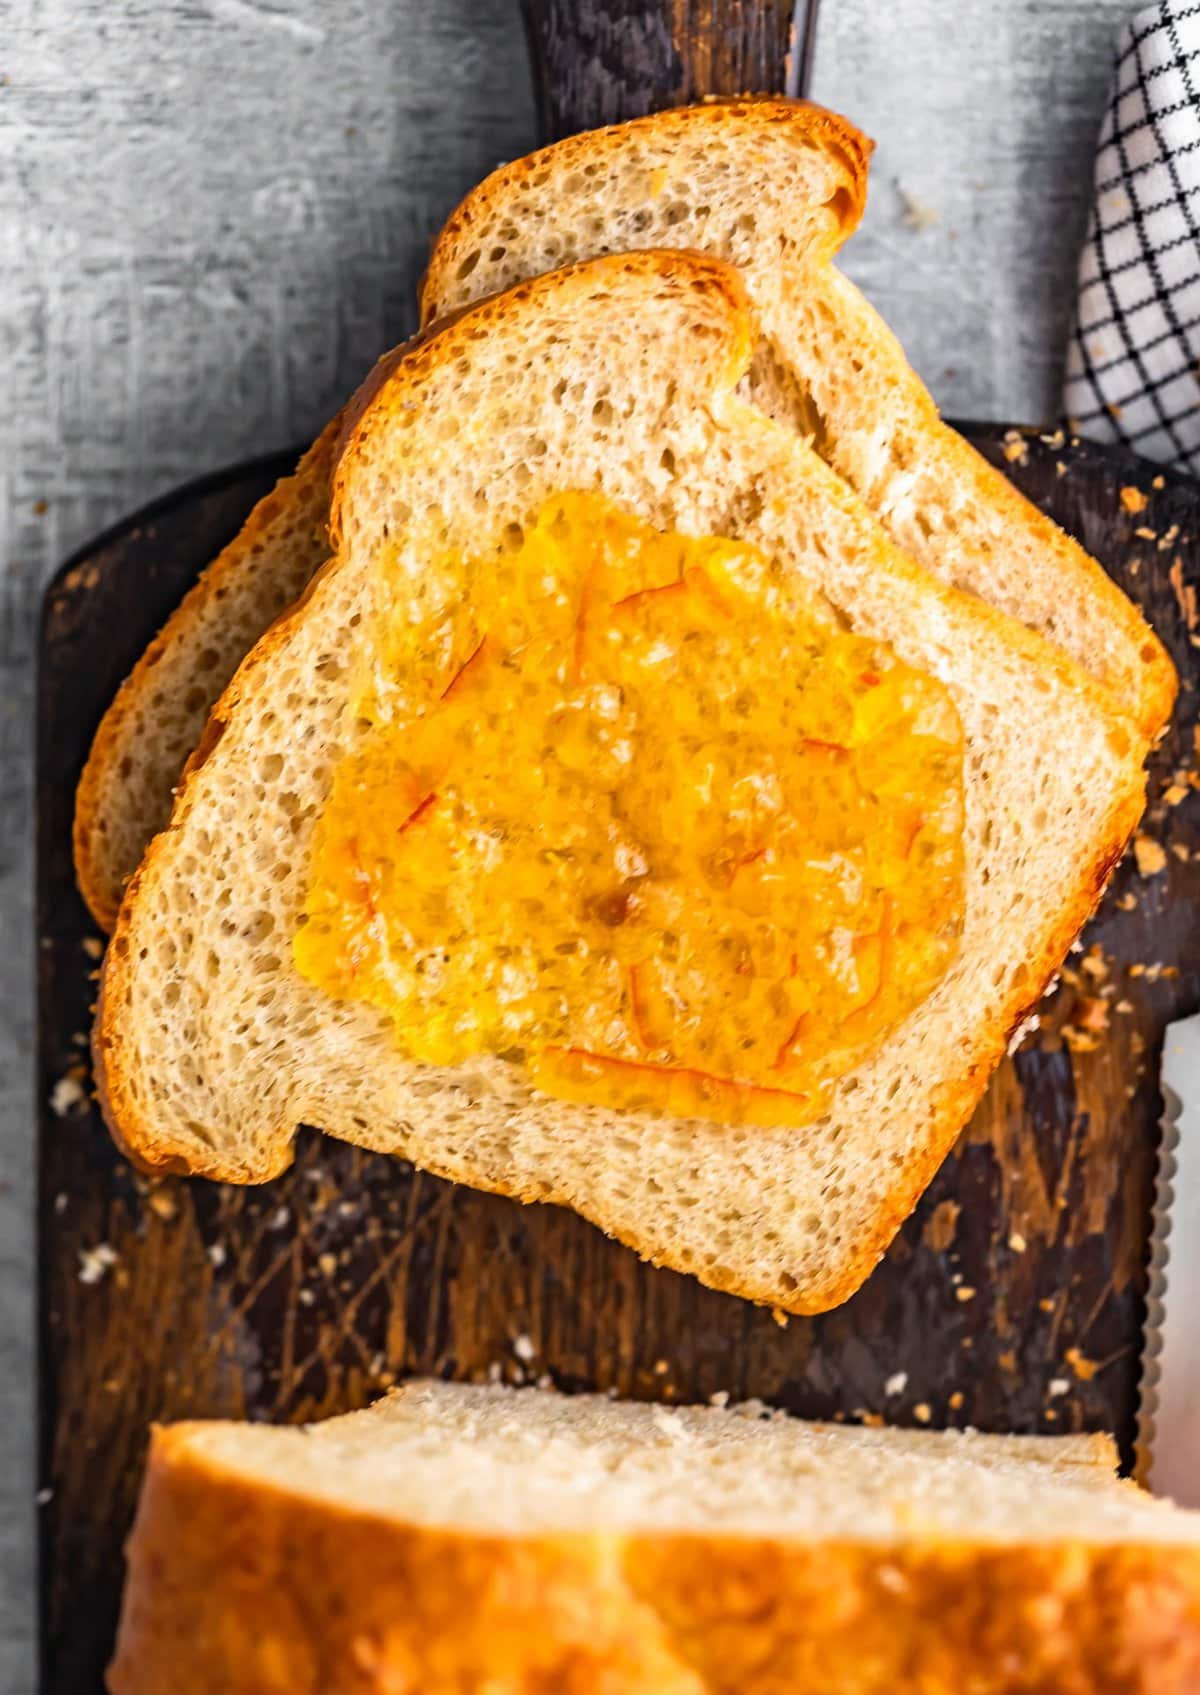
“This turned out soo good! I may never buy bread again.” – Aimee Shugarman
No Knead Bread Recipe
Equipment
- Kitchen Scale (optional)
- 9×5-inch loaf pan
- Instant Read Meat Thermometer
Ingredients
- 2 cups bread flour 312 grams (11 ounces)
- 6 tablespoons whole-wheat flour 57 grams (2 ounces)
- 2¼ teaspoons instant or rapid-rise yeast 7 grams
- 1⅜ cups water 312 grams (11 ounces), warm (110°F)
- 4 tablespoons unsalted butter 57 grams, melted and divided (½ stick)
- 4 teaspoons honey 88 grams
- 1 teaspoon kosher salt 3 grams
- 1 large egg 50 grams, lightly beaten with 1 teaspoon water and pinch of salt
Instructions
**Read all notes before beginning**
- Spray a rubber spatula with nonstick spray. Butter a large mixing bowl and set aside.
- Spray a 9×5-inch loaf pan with nonstick spray.
- In the bowl of the mixer fitted with the paddle attachment, whisk the bread flour, whole-wheat flour, and yeast together.2 cups bread flour, 6 tablespoons whole-wheat flour, 2¼ teaspoons instant or rapid-rise yeast
- Add the warm water, 3 tablespoons of melted butter, and honey. Mix on low 1 minute.1⅜ cups water, 4 tablespoons unsalted butter, 4 teaspoons honey
- Increase the speed to medium and mix 2 more minutes. Scrape down the dough from the bowl and the paddle with the prepared spatula and mix 2 more minutes.
- Transfer the dough to the buttered bowl and rotate it so all sides of the dough are buttered. Cover the bowl with plastic wrap and set in a warm place to rise until doubled in size (20-30 minutes).
- Place oven rack to lower-middle position and preheat oven to 375°F.
- Dissolve the salt in 2 tablespoons warm water and set aside.1 teaspoon kosher salt
- When dough has doubled in size, transfer the dough to the mixer bowl, and reattach the mixer bowl to the mixer stand. Add the salt-water mixture, and mix on low just until water is incorporated (about 45 seconds).
- Increase speed to medium and mix 1 minute, scraping down the sides of the bowl and the paddle when necessary.
- Transfer the batter to the prepared pan and smooth out the surface with the greased spatula.
- Cover with damp light-weight, kitchen towel and place in a warm place until dough rises to ½-inch below edge of the pan (about 15 minutes).
- Uncover and let rise arise another 5-10 minutes or until the center of the batter is even with the edge of the pan.
- Carefully brush the top of the loaf (after is has risen) with the egg mixture.1 large egg
- Bake until golden brown and/or the internal temperature registers 208-210°F on an instant-read thermometer, 35-45 minutes.
- After removing bread from the oven, carefully invert it onto a wire cooling rack. Turn it upright and brush the top and sides with 1 tablespoon melted butter.
- Cool completely before slicing.
Video
Becky’s Tips
- To keep the loaf from deflating as it rises, place the dough in a large enough bowl to keep it from touching the plastic wrap.
- If using a glass pan, reduce heat to 350°F.
- Bread is best eaten the day of baking.
Nutrition information is automatically calculated, so should only be used as an approximation.



I want to try making this but all I have is all purpose unbleached flour….will it work?
Yes, you can use either one!
I like high fiber bread (at least 5 grams of fiber), how can I increase the fiber?
Homeade bread is always the best! Love this!
Thanks, Lauren! Can’t beat great homemade bread.
I haven’t made my own bread in quite some time; I will have to make a loaf this week! Looks perfectly moist!
It’s super easy! You’ll love it!
I loved it! So easy and really delish!
That’s great to hear. Thanks, Toni!
This turned out soo good! I may never buy bread again.
I feel the same way! Thanks, Aimee!