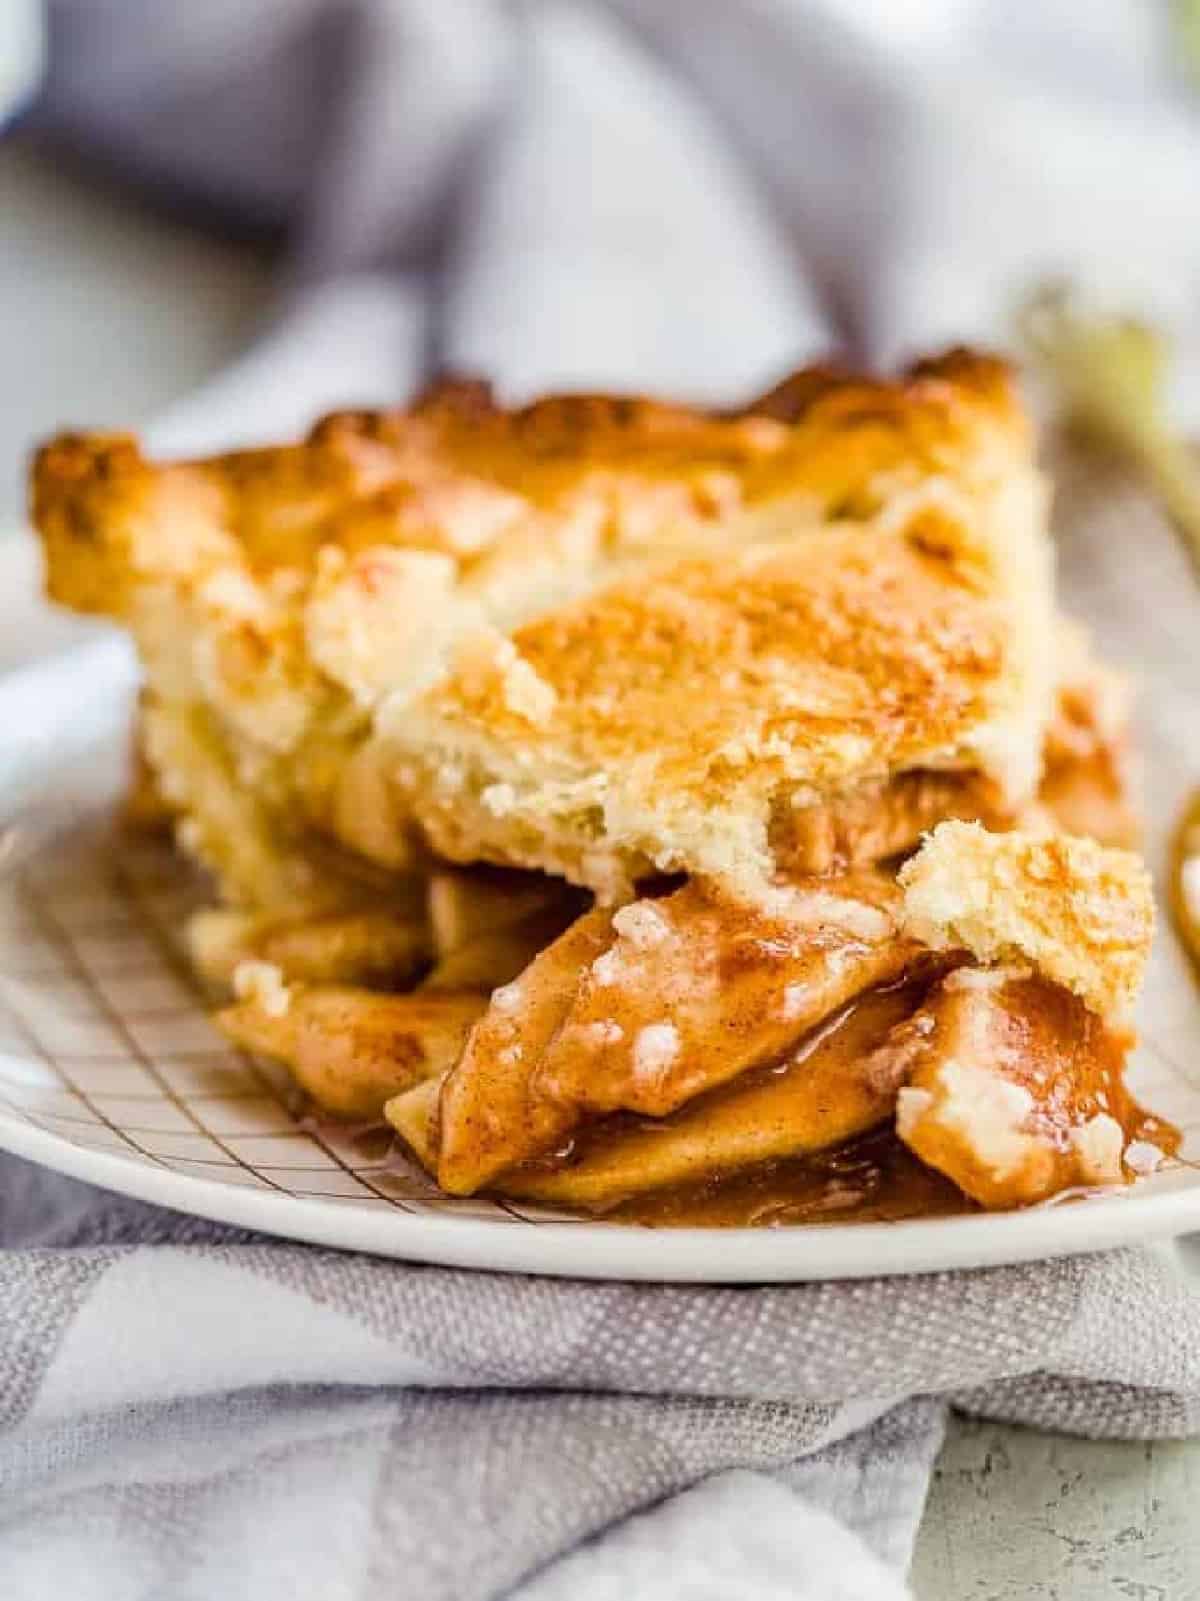
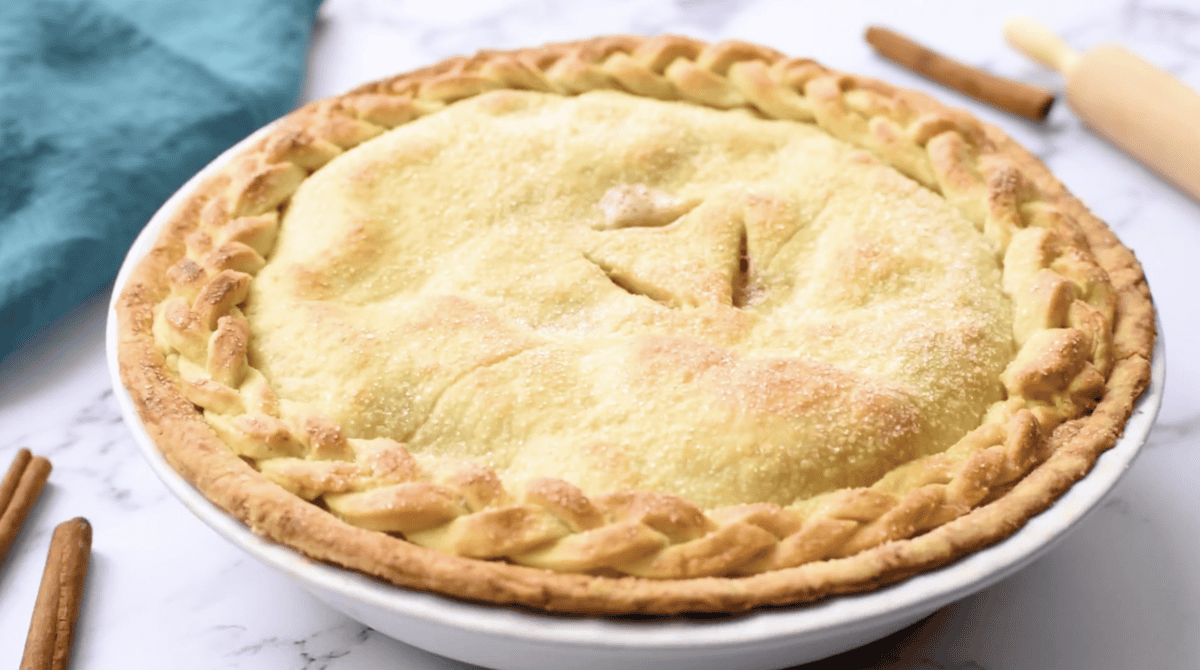
This homemade apple pie recipe is so cozy and homey! When my sister-in-law taught me her recipe for this delicious apple pie, she created a family tradition that we have made for years and years. Fresh, warm, and made from scratch (with homemade crust!), it’s the ideal dessert. This easy apple pie recipe makes it simple to bake a fresh pie for any occasion.
This post may include affiliate links that earn us a small commission from your purchases at no extra cost to you.
My sister-in-law, Anna, makes such good pies, and she was gracious enough to share her family’s apple pie recipe with me! With this homemade apple pie filling and pie crust, we’ve got one seriously fresh and delicious pie ready for the fall season. I can’t believe how easy it is, either!
What’s in This Homemade Apple Pie Recipe?
- Sugar: Granulated sugar sweetens the pie. You can swap some or all of the granulated sugar for brown sugar for a richer, more caramel-like taste
- Flour: All-purpose flour helps thicken up the filling so the pie doesn’t turn out watery. I like to use flour because it has a creamier, more natural mouthfeel. Cornstarch is a great thickener, but it tends to have a gel-like texture that more closely resembles canned pie filling.
- Cinnamon: Adds warmth and a touch of spice to the pie. You can use store-bought apple pie spice for a bit more flavor.
- Apples: Choose whichever apples you prefer! Granny Smith apples are the best and most reliable to use in baking. They are naturally tart and sweet, which is perfect for baking! Other varieties that work well are Gala (what I used here), Honeycrisp, Golden Delicious, or Jonagold.
- Pie Crusts: All you need to make a homemade pie crust is flour, salt, shortening, and a bit of water. Just mix the ingredients together to make the dough, roll it out, then mold it into the pie dish.
- Butter: Unsalted butter adds moisture, flavor, and richness to the filling.
Tips for Success
- I recommend making this homemade apple pie recipe as written, then experimenting to make it your own. Go apple picking, find a few different apples you love, and get baking! This is a great recipe to make with kids and teach them a love for baking.
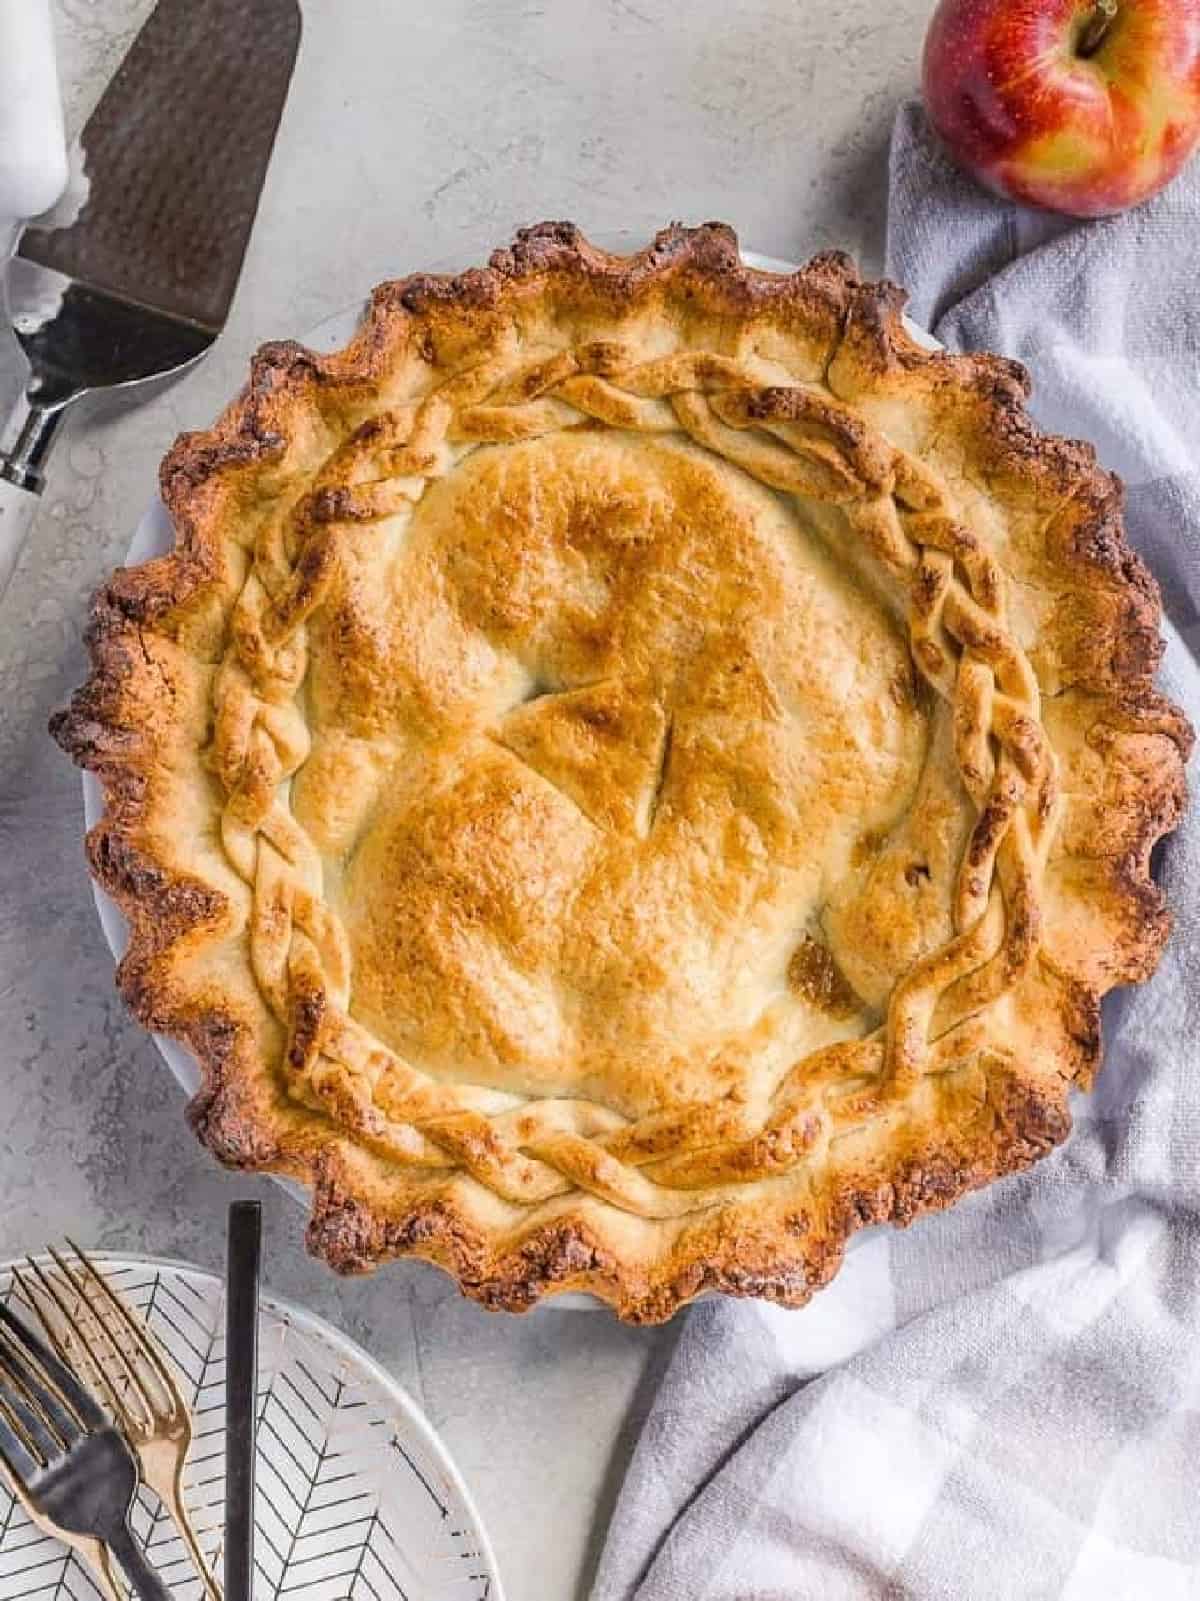
- You can leave the skin on the apples if you prefer. This is especially nice looking if you use red apples.
- There’s no need to cook the apples before adding them to this pie, but you certainly can if you like a more caramelized flavor.
- I usually make it even easier by using store-bought pie crusts to save time.
- I don’t blind-bake this pie because I find it unnecessary for this particular recipe. The flour does a good job of thickening the filling and absorbing excess moisture as it cooks, so I didn’t find that I needed any extra protection. If you do find your filling to be very wet or liquidy, you can blind-bake the bottom pie crust before adding the filling.
- If your pie always turns out watery, it may be time to turn your attention to the top crust. This crust helps seal in moisture, but it can also cause too much moisture to be retained, leading to watery filling. Make sure to cut some vent slits into your top crust before baking to help the steam escape.
How to Store and Reheat
You can store this homemade apple pie covered with plastic wrap or aluminum foil at room temperature for up to 2 days because it doesn’t contain any cream or eggs in the filling. Be sure to refrigerate it after 2 days, though!
It will keep well in the fridge for up to 4 days or in the freezer for up to 3 months. Let thaw overnight in the refrigerator before enjoying cold, at room temperature, or sometimes gently warmed in the microwave.
Serving Suggestions
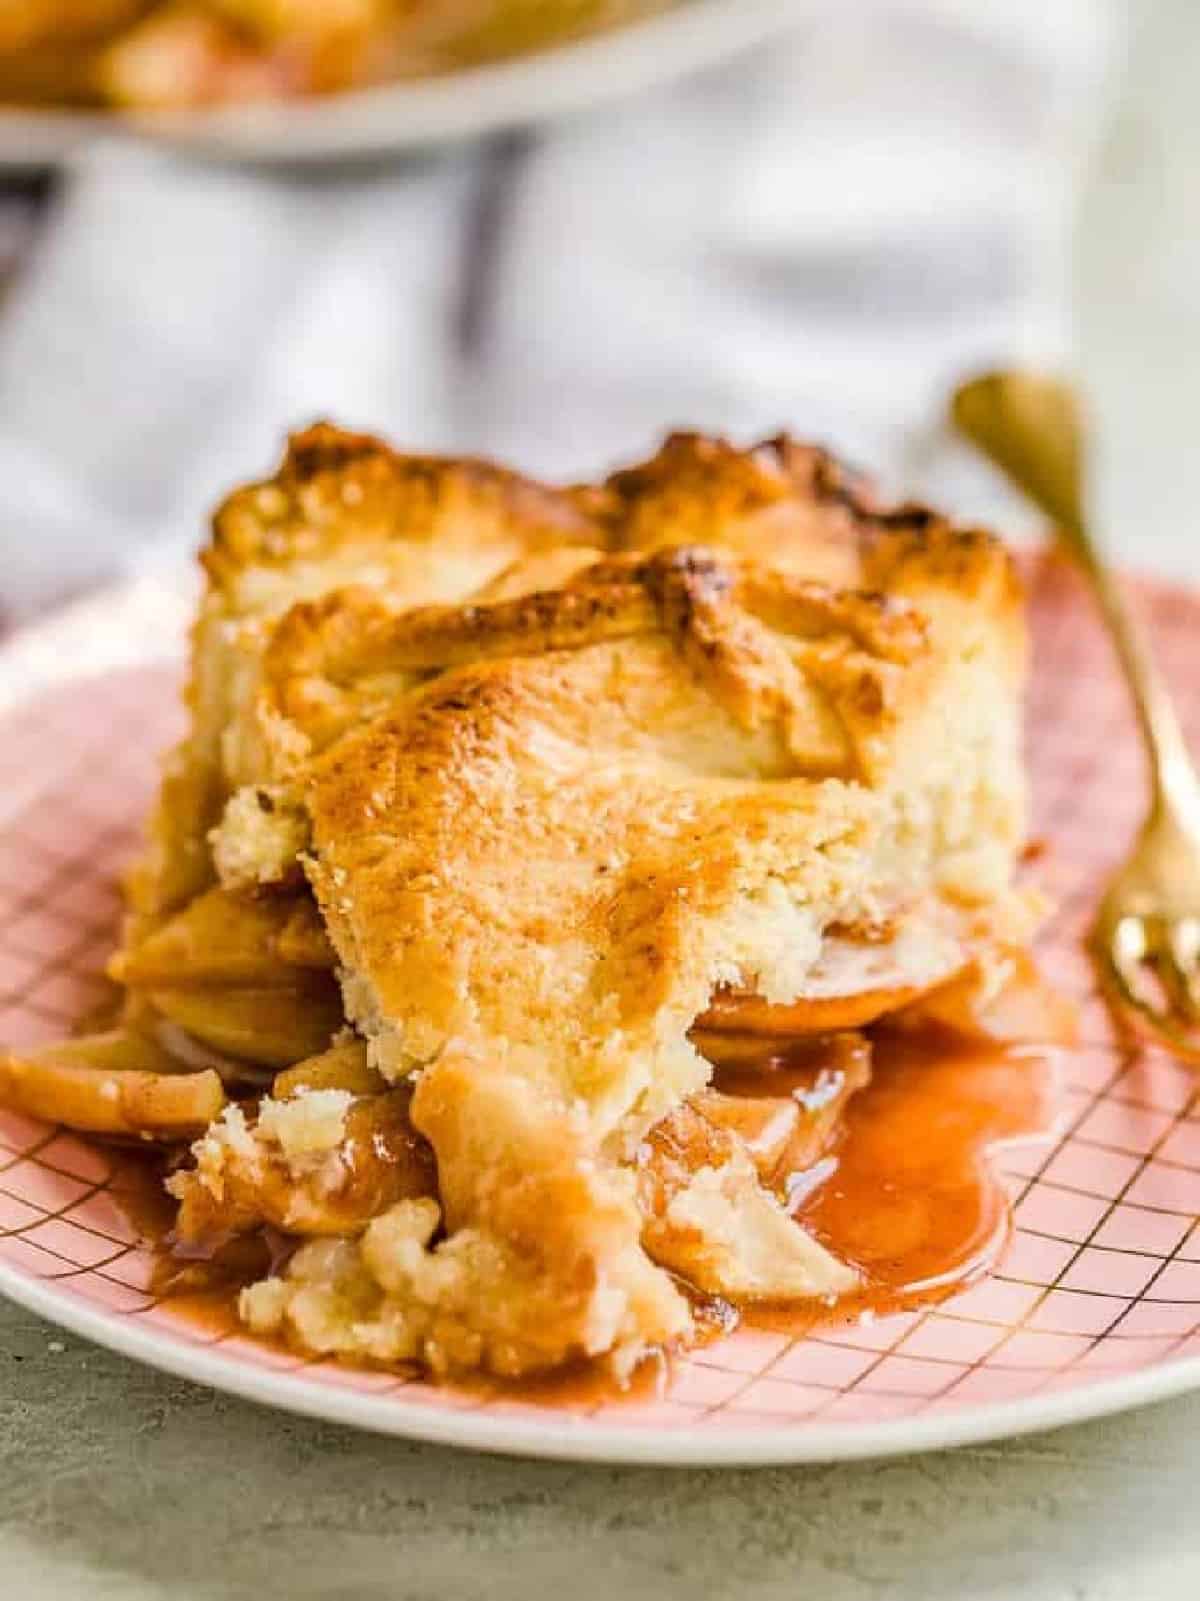
I like to serve this homemade apple pie with a scoop of vanilla or pumpkin pie cream and a dollop of whipped cream (or try my pumpkin spice whipped cream!). For a sweet-and-savory take, Pat likes to melt a slice of cheddar cheese on top!
5-Star Review
“Enjoyed the way my kitchen smelled after baking this, and loved eating it even more! Delish!” – Beth Pierce
Apple Pie Recipe

Equipment
- Kitchen Scale (optional)
- Pie Pan
Ingredients
- 1 cup granulated sugar 200 grams
- 2 tablespoons all-purpose flour 15 grams
- 1 teaspoon ground cinnamon 3 grams
- 6-8 apples peeled and sliced
- 2 homemade pie crusts (click for recipe!)
- 2 tablespoons unsalted butter 28 grams, cubed (¼ stick)
Instructions
- Preheat oven to 400°F.
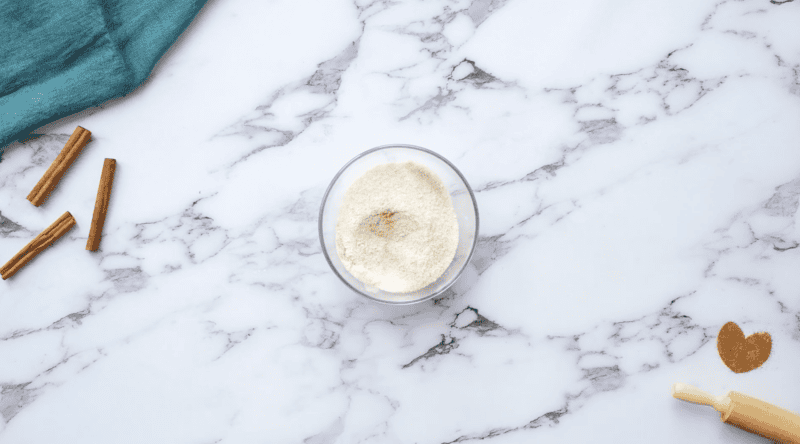
- Combine the sugar, flour, and cinnamon in a large bowl until well-mixed.1 cup granulated sugar, 2 tablespoons all-purpose flour, 1 teaspoon ground cinnamon
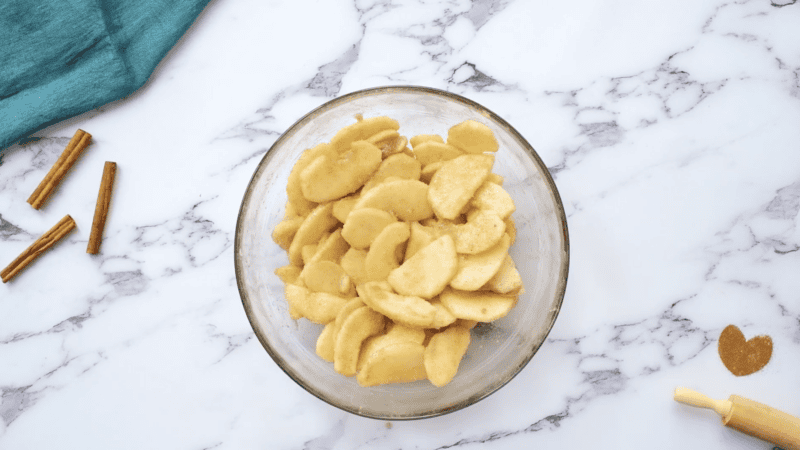
- Add the apples, tossing until well coated (I used about 6 apples for my pie plate and only about ¾ of the sugar mixture).6-8 apples
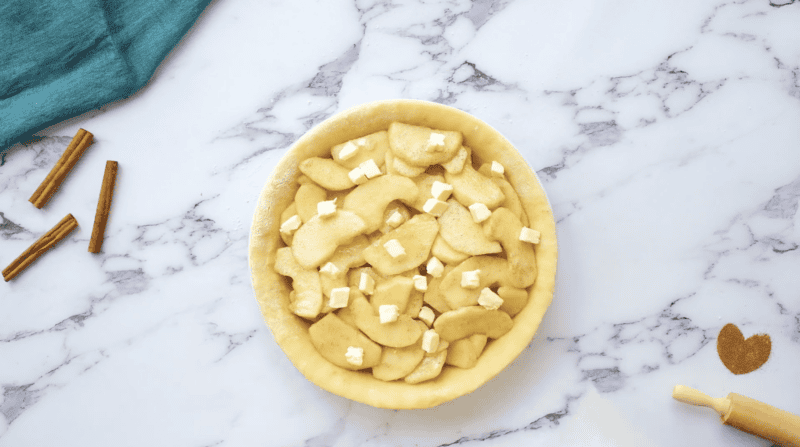
- Line a pie pan with one of the pie crusts. Pour the sugar-coated apples into the pie pan. Dot with cubes of butter.2 tablespoons unsalted butter, 2 homemade pie crusts
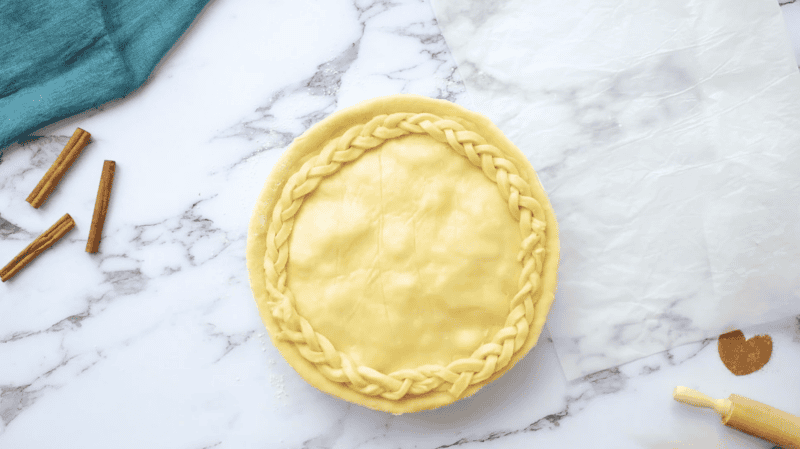
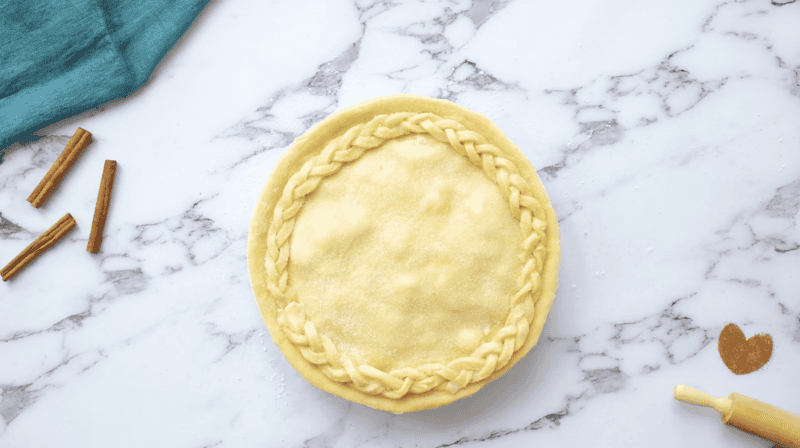
- Place the second crust on top of apples and butter and seal. Cut a few slits for steam to escape on top layer of crust.
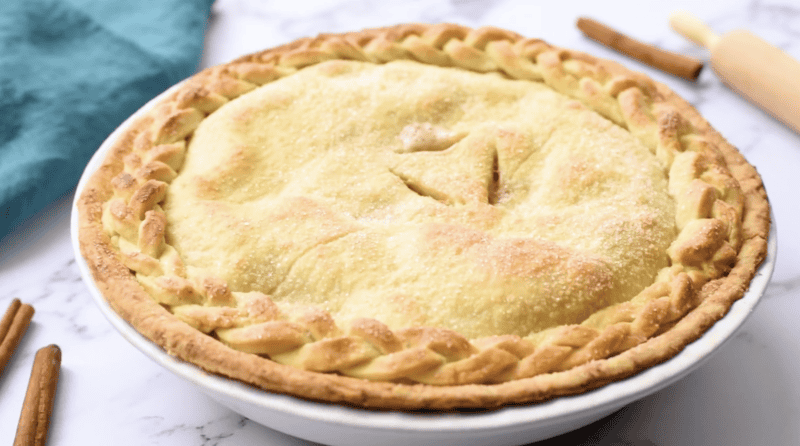
- Spread a small amount of milk on top of the pastry (I use a fork; when I use a spoon the pastry gets soggy), then sprinkle the pie with leftover sugar. This will give the pie a warm and brown look on top.
- Bake for 50 minutes. I would put a cookie sheet a rack lower in the oven in case juices overflow your pie plate.
- Let pie cool, then slice and serve.
Video
Becky’s Tips
Nutrition information is automatically calculated, so should only be used as an approximation.
How to Make Apple Pie Step by Step
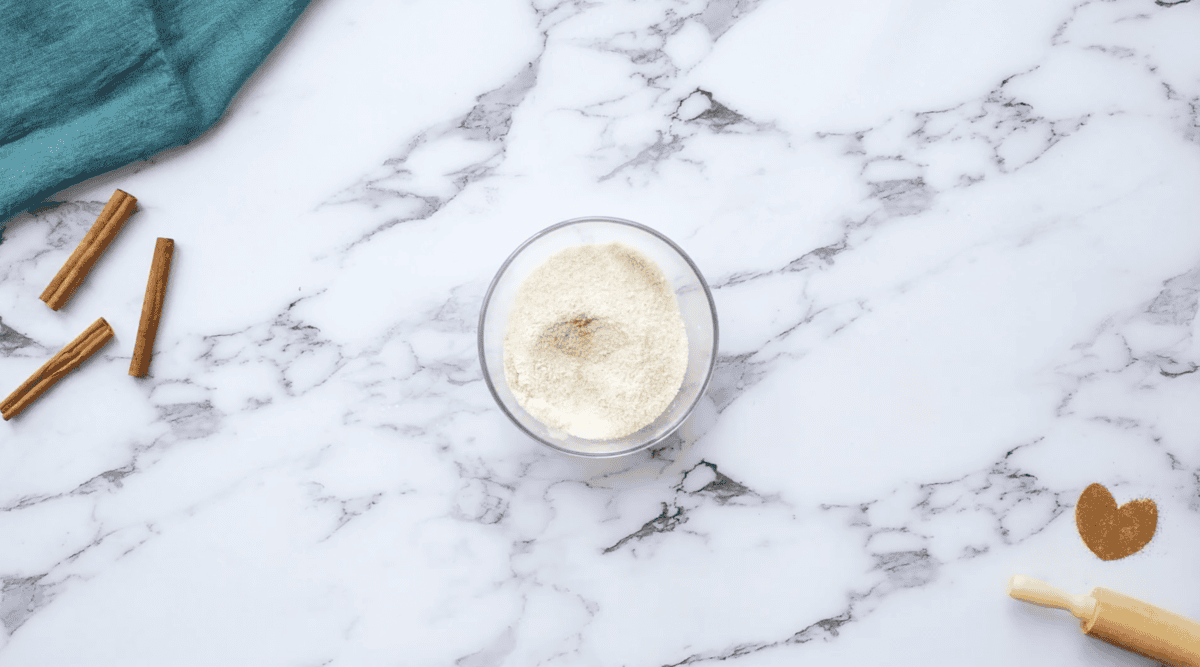
Mix the Cinnamon-Sugar: Preheat your oven to 400°F. Combine 1 cup of granulated sugar, 2 tablespoons of all-purpose flour, and 1 teaspoon of ground cinnamon in a large bowl until well mixed.
Coat the Apples: Add 6-8 peeled and sliced apples, tossing until well coated (I used about 6 apples for my pie plate and only about ¾ of the sugar mixture).
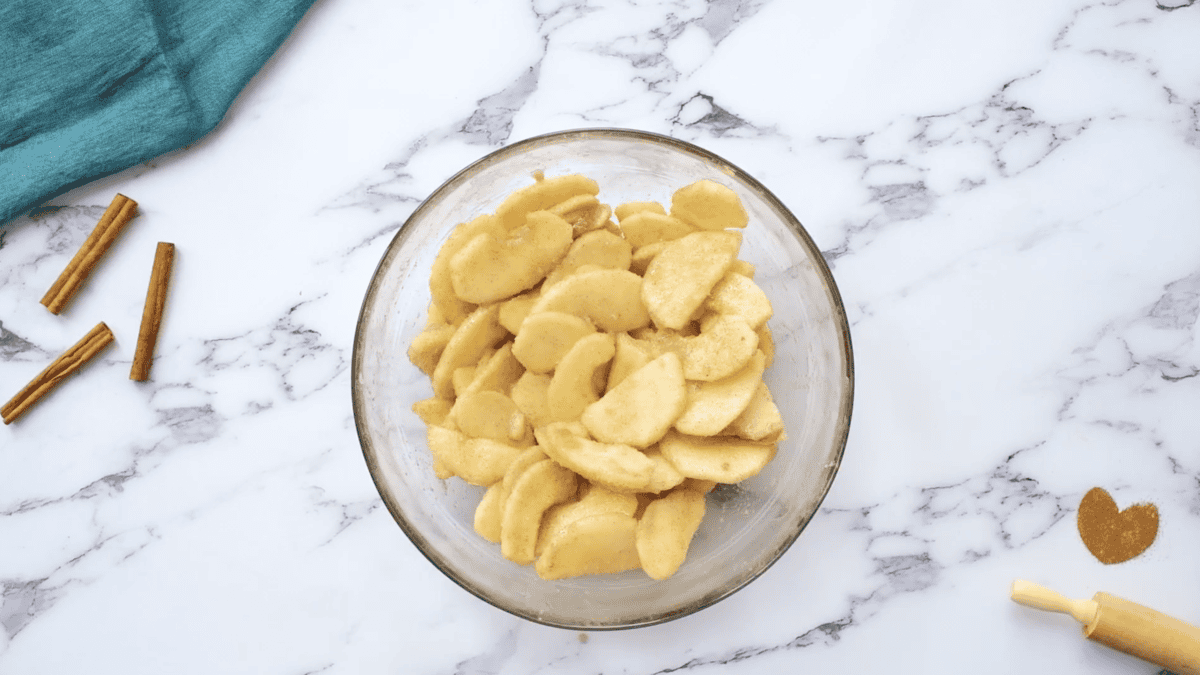
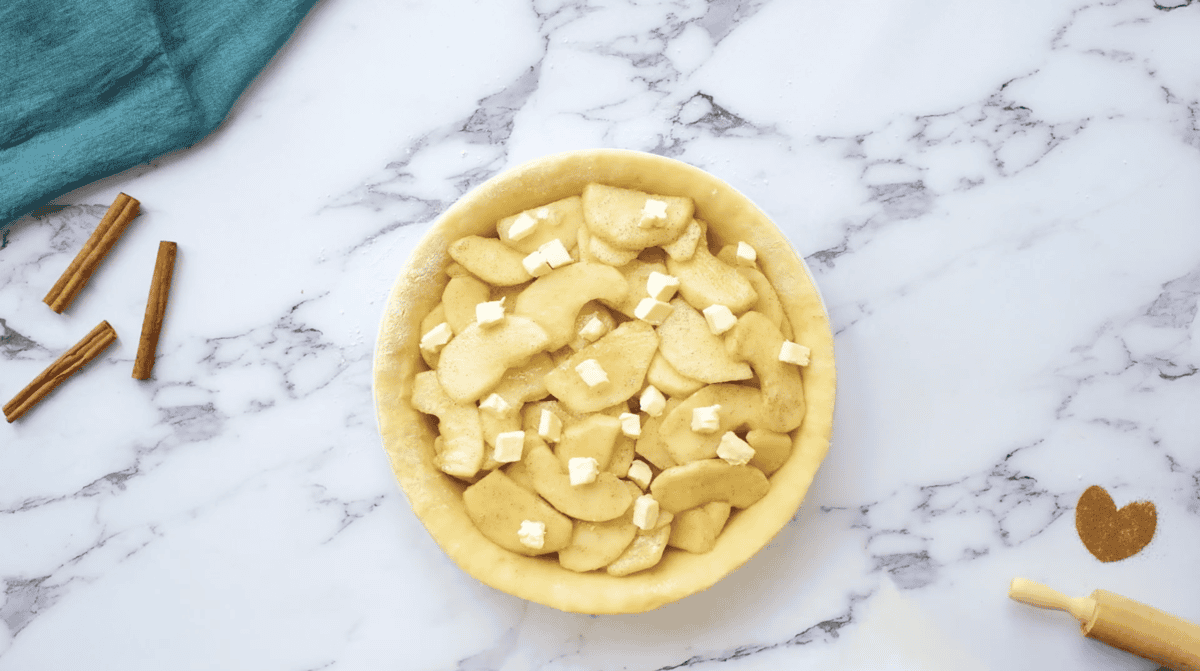
Fill the Pie Crust: Line a pie pan with 1 of 2 homemade pie crusts. Pour the sugar-coated apples into the pie pan. Dot with 2 tablespoons of cubed unsalted butter.
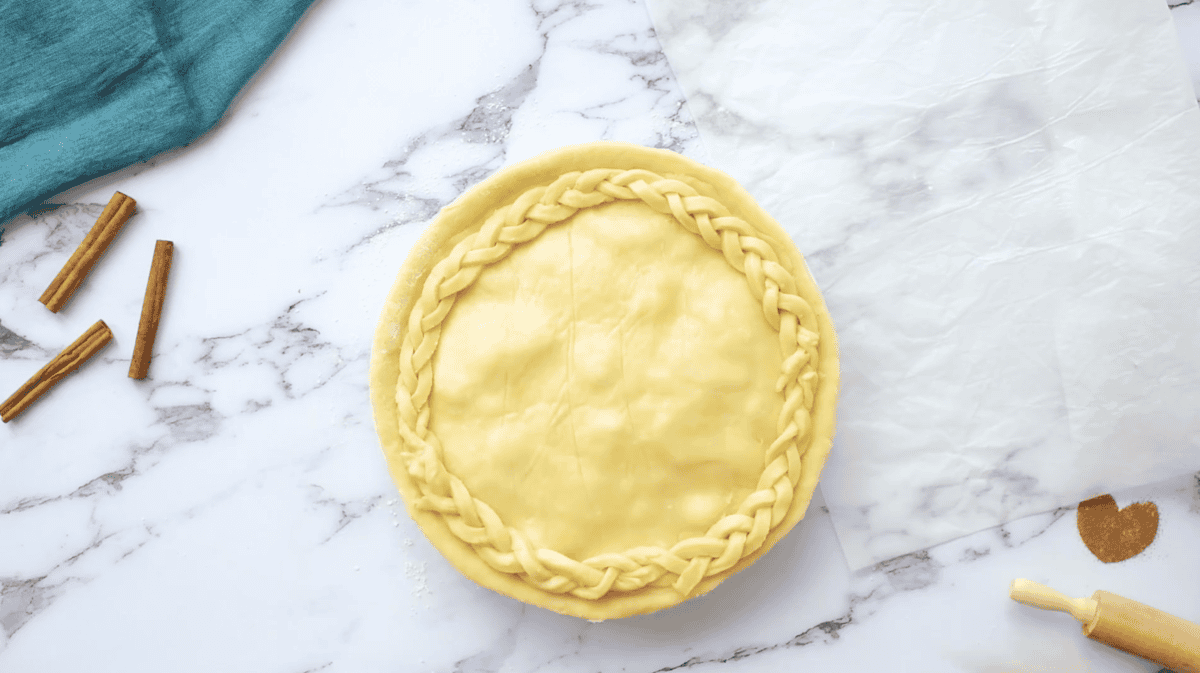
Top the Pie: Place the second crust on top of apples and butter and seal. Cut a few slits for steam to escape on the top layer of crust.
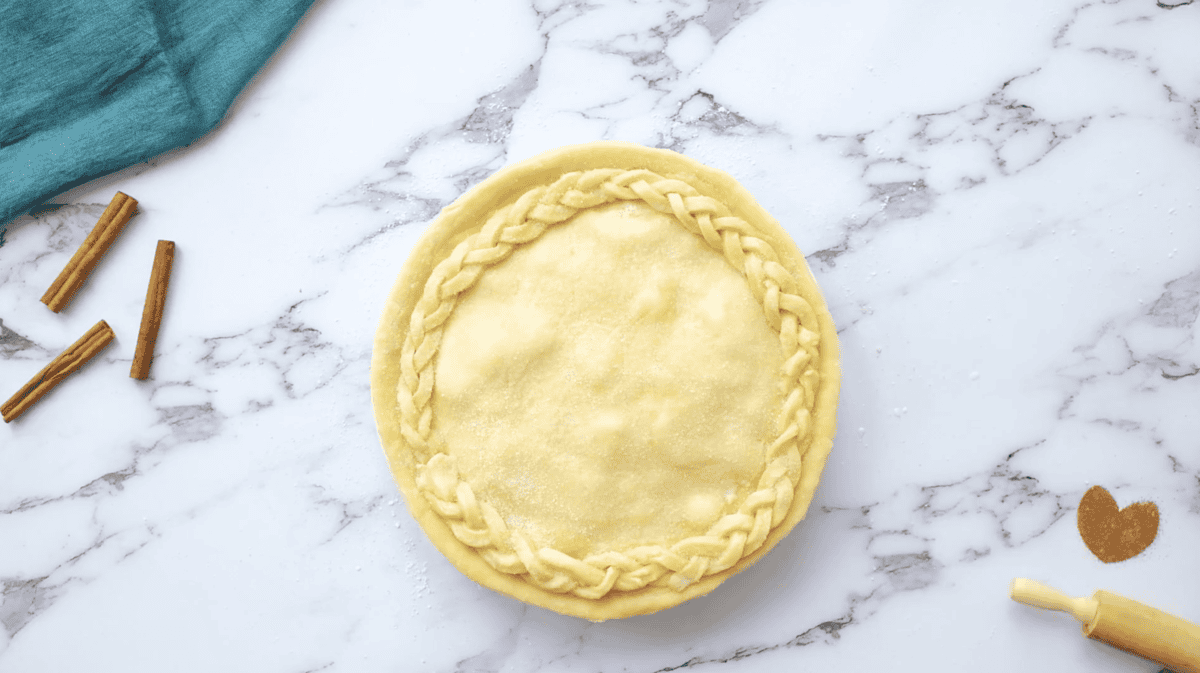
Sprinkle with Sugar: Spread a small amount of milk on top of the pastry (I use a fork; when I use a spoon the pastry gets soggy), then sprinkle the pie with some leftover sugar. This will give the pie a warm and brown look on top.
Bake and Serve: Bake for 50 minutes. I would put a cookie sheet on a rack lower in the oven in case juices overflow your pie plate. Let the pie cool, then slice and serve.


This pie was phenomenal!
I absolutely loved this recipe!! So simple and effective, my family is in love. I am certain the pie will not make it to tomorrow :) I also mixed white & brown sugar and loved the results. The only issue I faced was my pie edges burning slightly, and I am not sure how to prevent this from happening. Although I love me some crunchy edges, it is not the prettiest sight, any suggestions becky?
Hi Zoe, we recommend covering the edges with foil or a pie shield to keep them from burning!
Sooo tasty! This was a very easy to follow recipe. It turned out amazing! I used half granulated and half brown sugar. That’s the only thing I did differently. Very flavorful and fun to make. This will be my go-to recipe from now on!
We’re so happy to hear you loved this recipe, Leslie! Thanks so much for stopping by!
Yum. Made it last night for my sister as a little Mother’s Day treat. She loved it. Had it with Haagen Dazs Vanilla Bean ice cream. Excellent!
Next time I may add a wee bit of butter to the crust. While I absolutely love the texture of a shortening crust, I do miss the buttery flavour a bit. However, the other benefit of a shortening crust is that it’s lighter. I find all-butter crusts make me feel a little woozy, as they are just so rich.
Thanks!
I made this for Thanksgiving (it was a very small gathering of just family where we ate outside and were social distancing). Everybody loved this recipe, especially my dad. He hasn’t stopped talking about it since! I am going to make him more as a Christmas gift. I also sent a slice to my grandma and she loved it, too! Within a few days, it was all gone, every last crumb. I used 8 assorted apples (some were gala, I don’t know what the others were) and used the full amount of sugar and flour and whatnot that was listed in the recipe. Make sure you follow the advice of putting a cookie tray under the pie or else you will have a huge mess on your hands (or more specifically, in your oven). You can tell the pie is done when you poke an apple slice with a toothpick and there is no resistance at all. You want those apples mushy. It may take longer than the listed recipe time.
THOSE LOOK AMAZING!
Just made it. Love the recipe! I used brown sugar and reduced it to 1/2 cup with excellent results for my taste. Thanks!
Yum!! That sounds delicious!
I used this recipe,but instead of using a crust,I just put it in a cake pan. Almost like Apple slices. Easy to make and can be made a couple of times a week or as often as you like. Keep checking though because it may not take as long without the crust.
Great tip! Thank you Therese!
DELISH!!!!!
Thank you, Anna!
Apple Pie is my dad’s favorite dessert. I’m going to try making it for his birthday!
He will love it!
Definitely so homey and wonderful but for everyday (not just Thanksgiving)!
Might as well make it today :)