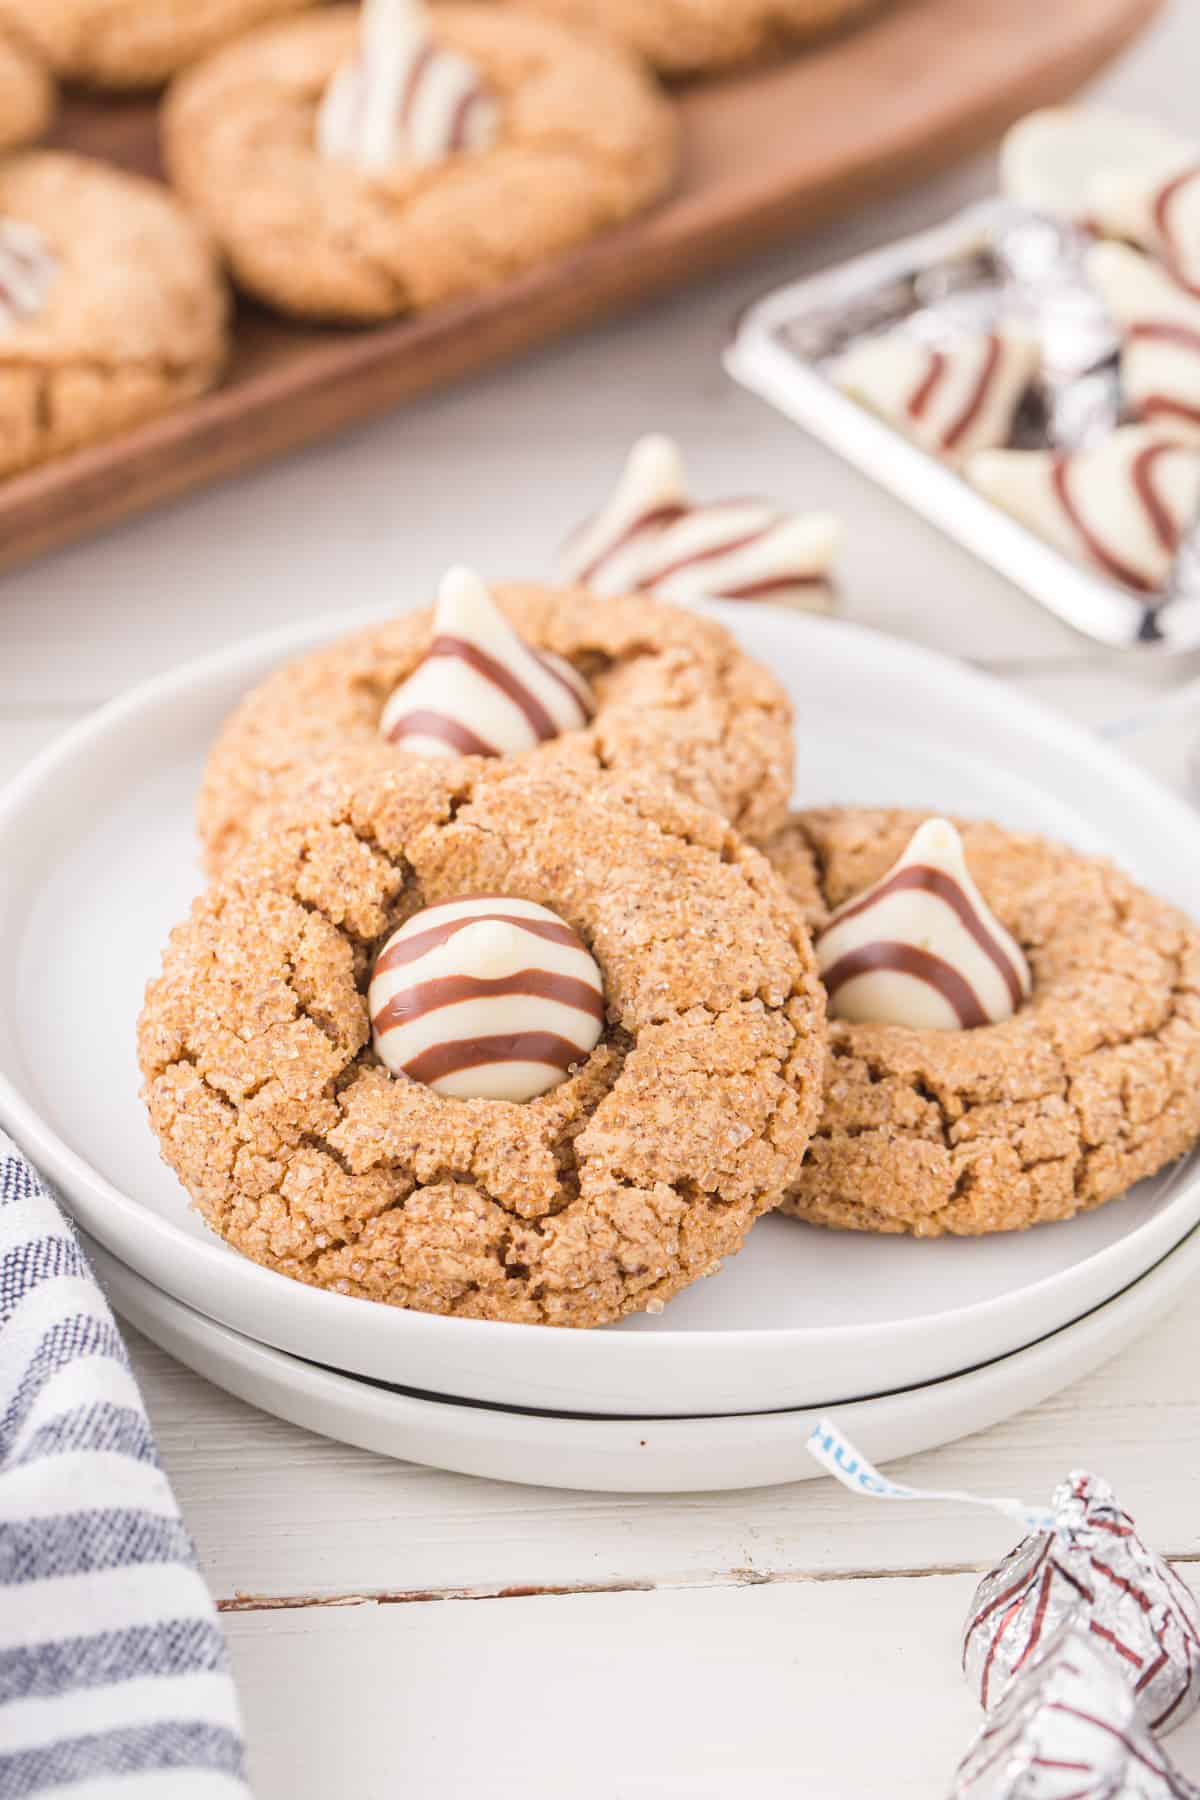
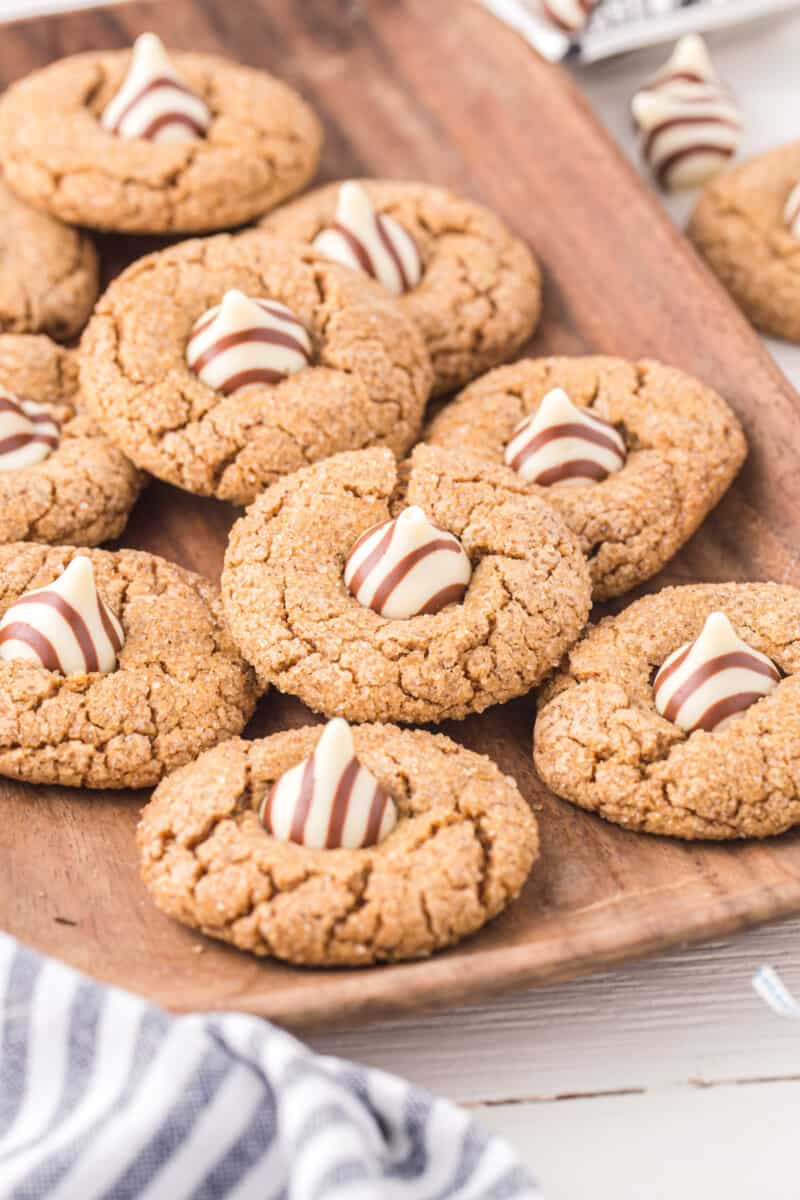
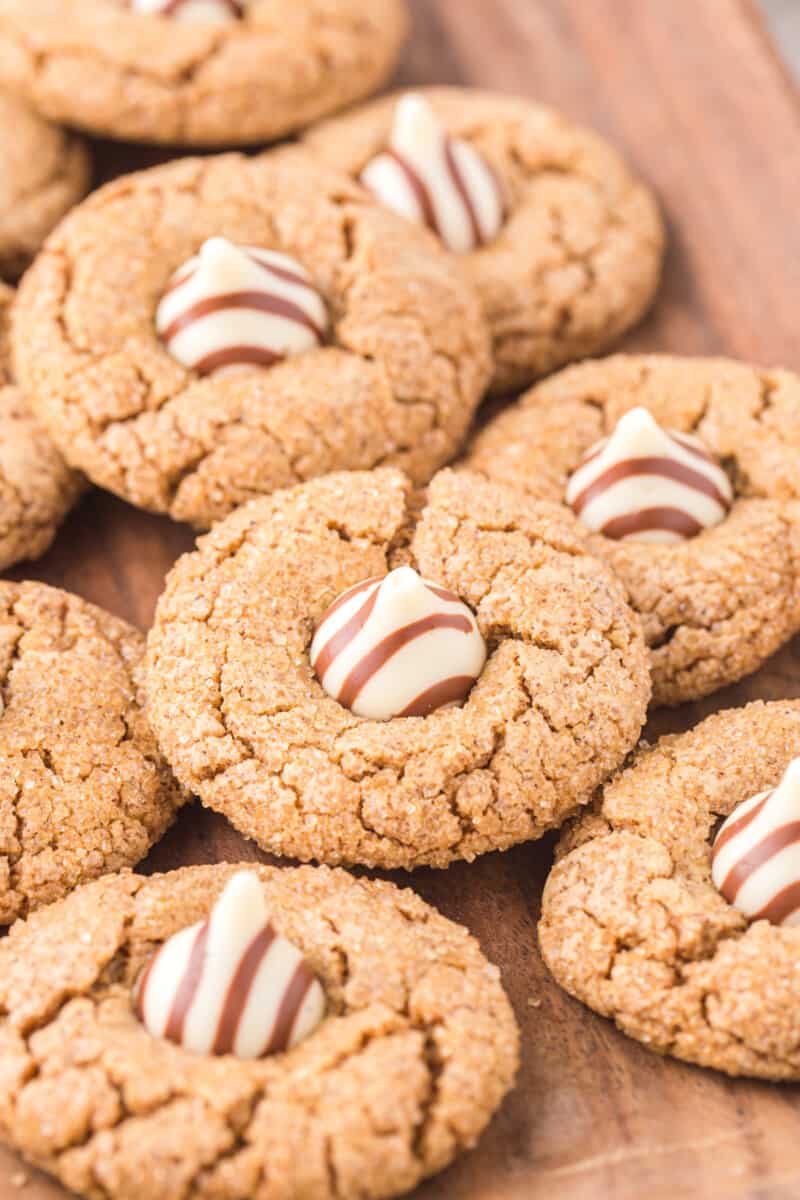
These Gingerbread Kiss Cookies are crispy on the outside and soft on the inside. The gingerbread flavor and the creaminess of a Hershey’s kiss on top are the perfect combinations!
This post may include affiliate links that earn us a small commission from your purchases at no extra cost to you.
Gingerbread Blossoms
This is the best gingerbread cookies recipe because they are easy to make and include chocolate too! They are full of flavor and perfect for the holidays. These easy gingerbread cookies are the perfect Christmas cookies, especially if you’re attending Christmas parties or holiday cookie exchanges. Find a nice cookie platter to complete the presentation, and everyone will be readying for those delicious cookies with Hershey’s cookies!
Why You’ll Love this Gingerbread Cookie Recipe:
- Easy: These gingerbread kiss cookies are such a simple recipe you only need five ingredients!
- Flavorful: These gingerbread kiss cookies may only contain five simple ingredients, but they are full of flavor and a burst of chocolate with each bite!
- Holiday favorite: These are the perfect cookie to make for the holiday season. Gingerbread kisses are a classic Christmas cookie that helps spread the holiday cheer!
Trademark Note: In the spirit of transparency, I want to note that some of these ingredients are trademarked products. Hershey is a proprietary brand that I want to acknowledge and give credit to.
How to Make Gingerbread Kiss Cookies
You can jump to the recipe card for full ingredients & instructions!
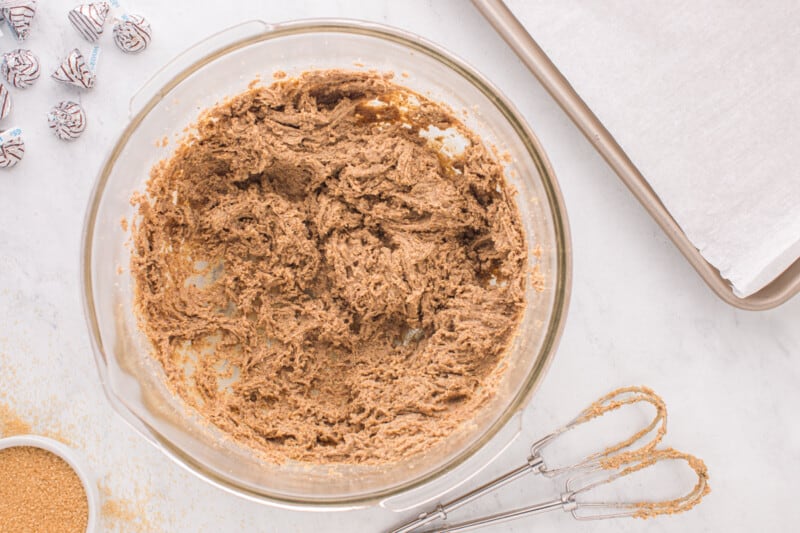
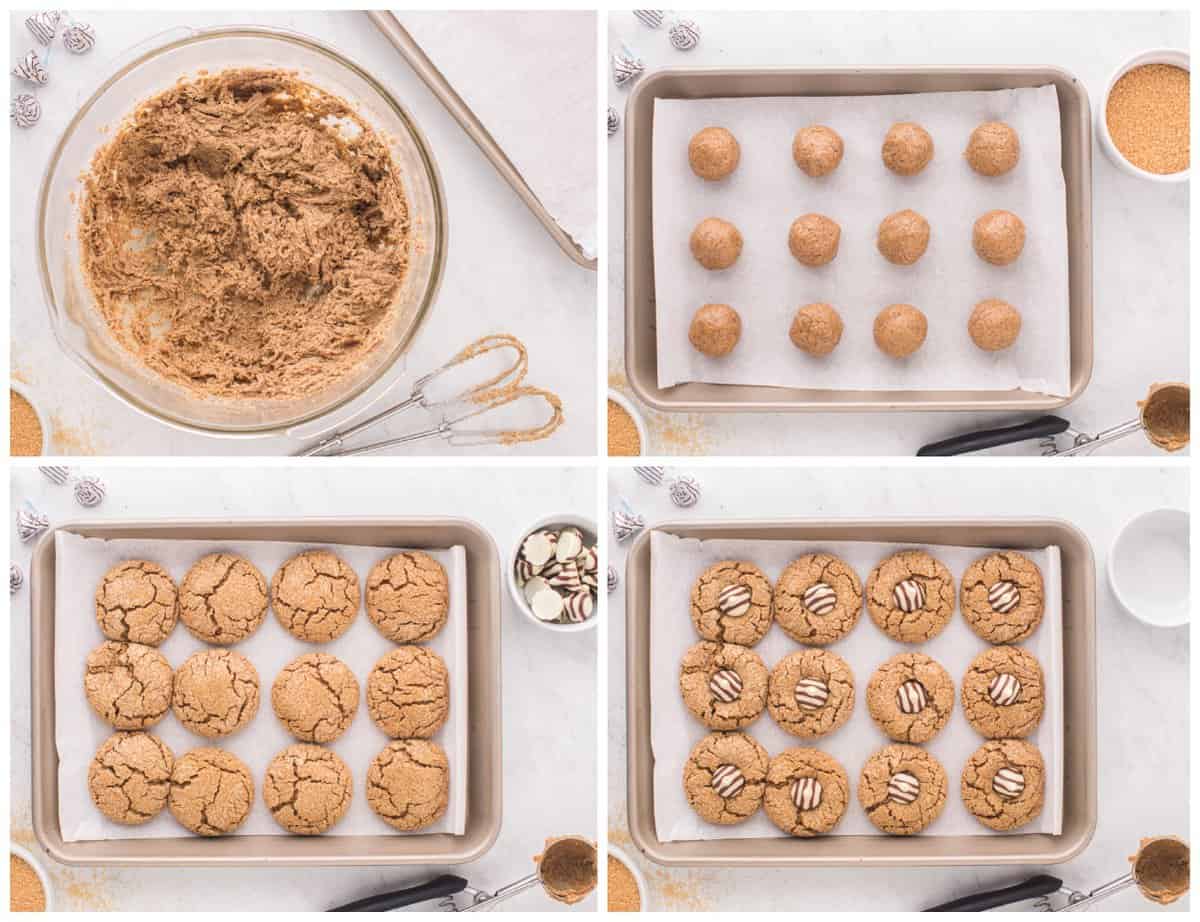
- In a large bowl, mix the half and half and salted butter. See the recipe card at the bottom of this post for exact measurements.
- Scrape the sides of the bowl and continue to mix. Then cover with plastic wrap and chill for at least 15 minutes (until it’s no longer sticky).
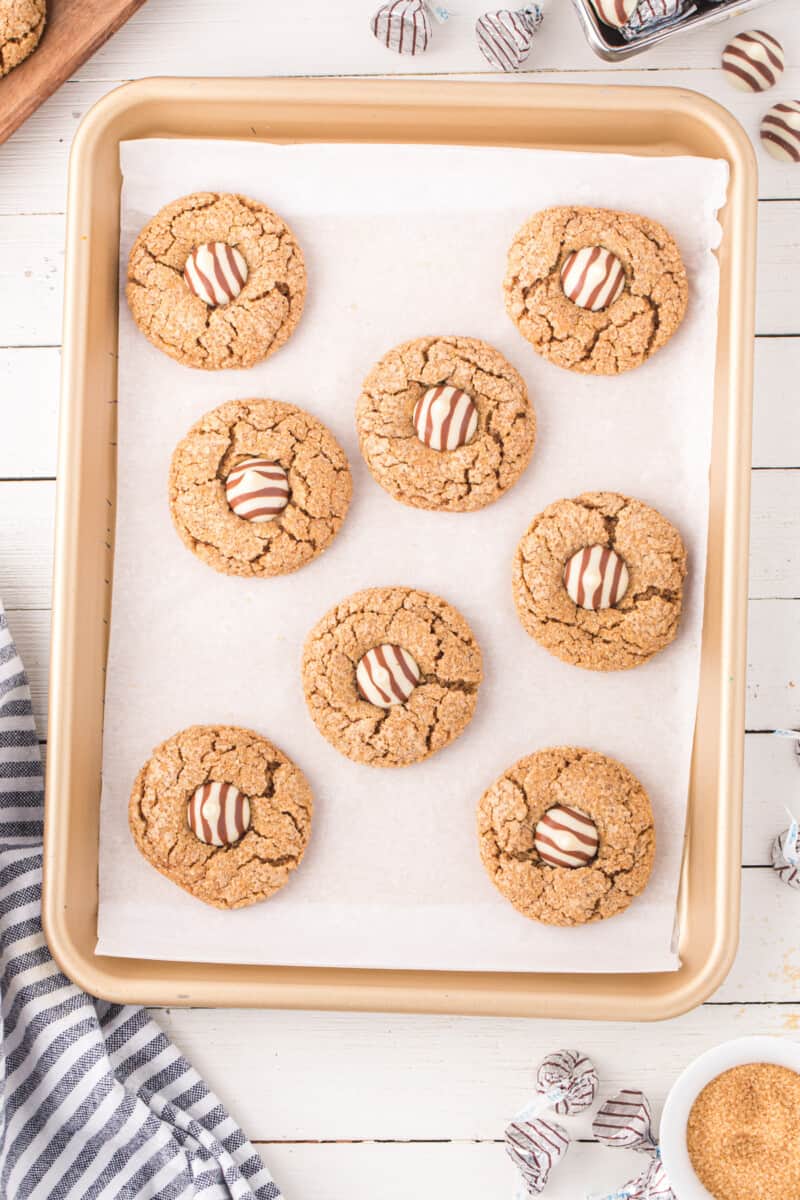
- Preheat the oven as instructed and prepare a parchment paper-lined cookie sheet.
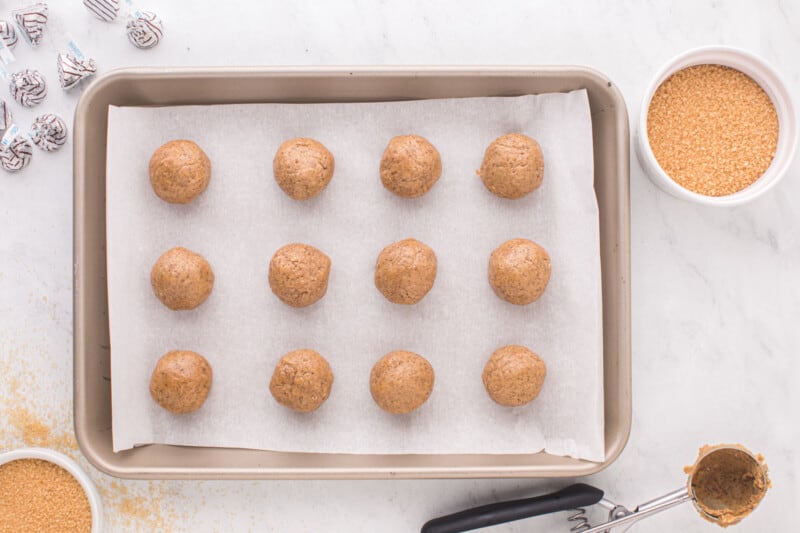
- In another shallow bowl add the raw cane sugar. With a cookie scoop, roll the dough into a ball and then roll it in the sugar. Once complete, add to the prepared baking sheets. Repeat until the pan is full of cookies.
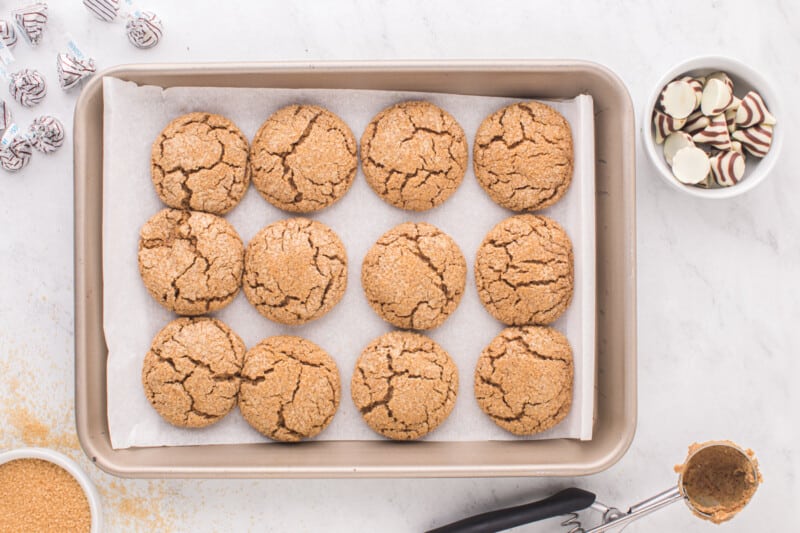
- Bake for 10-14 minutes. Then remove from the oven and cool for 2 minutes.
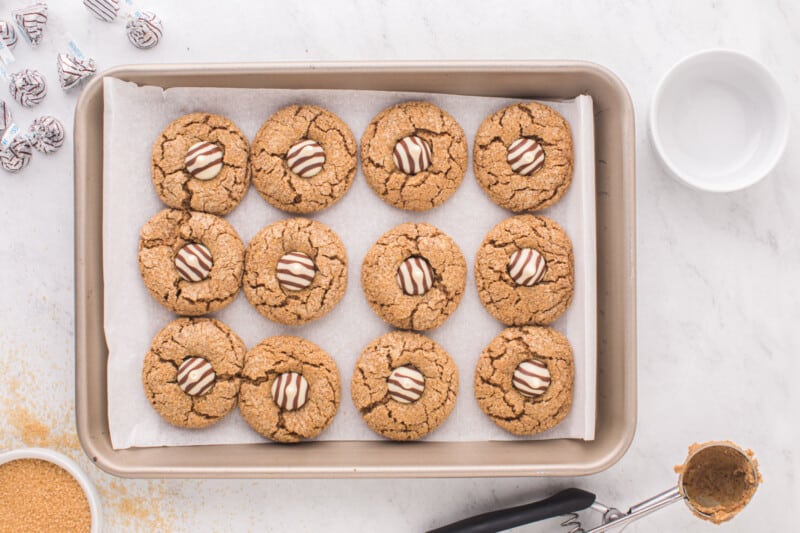
- Press chocolate kisses into the center of each of the gingerbread cookies. Then allow them to cool for at least five more minutes before serving.
Recipe Notes
- Gingerbread Cake and Cookie Mix: You can find this Betty Crocker mix any time of year at your local Walmart. During the Holiday season, many stores carry this and other gingerbread cookie mixes. If using another mix, replace any water with half-and-half and use the butter as indicated on the package to make the cookie dough.
- Half-and-Half: You can substitute whole milk if needed.
- Salted Butter: You can also use unsalted butter but I recommend adding a pinch of salt to the mix for flavor.
- Raw Cane Sugar: This sugar gives the cookies their classic, rolled-in-sugar appearance, but you can substitute regular granulated sugar for a similar taste and slightly different appearance.
- Hershey’s Hugs: You can also use Hershey’s Kisses or dark chocolate Kisses for this recipe.
Gingerbread kiss cookies are a festive variation on peanut butter blossoms, featuring gingerbread cookies topped with a sweet Hershey’s Hug candy!
Hershey’s Hugs are a variation on Hershey’s Kisses featuring milk chocolate hugged by sweet white creme!
Absolutely! You can make these cookies with Hershey’s Kisses or dark chocolate Kisses if you prefer!
Properly stored in an airtight container, these gingerbread kisses will last for up to 5 days at room temperature. You can also store them in the refrigerator for up to 1 week, but they may be hard coming out of the refrigerator, so let them come to room temperature before enjoying.
Yes! Freeze gingerbread kiss cookies in a single layer on a lined baking sheet until solid, about 1-2 hours. Then, transfer the frozen cookies to an airtight container or Ziplock bag for up to 1 month. Let them come to room temperature before enjoying.
Are ginger snaps and gingerbread cookies the same?
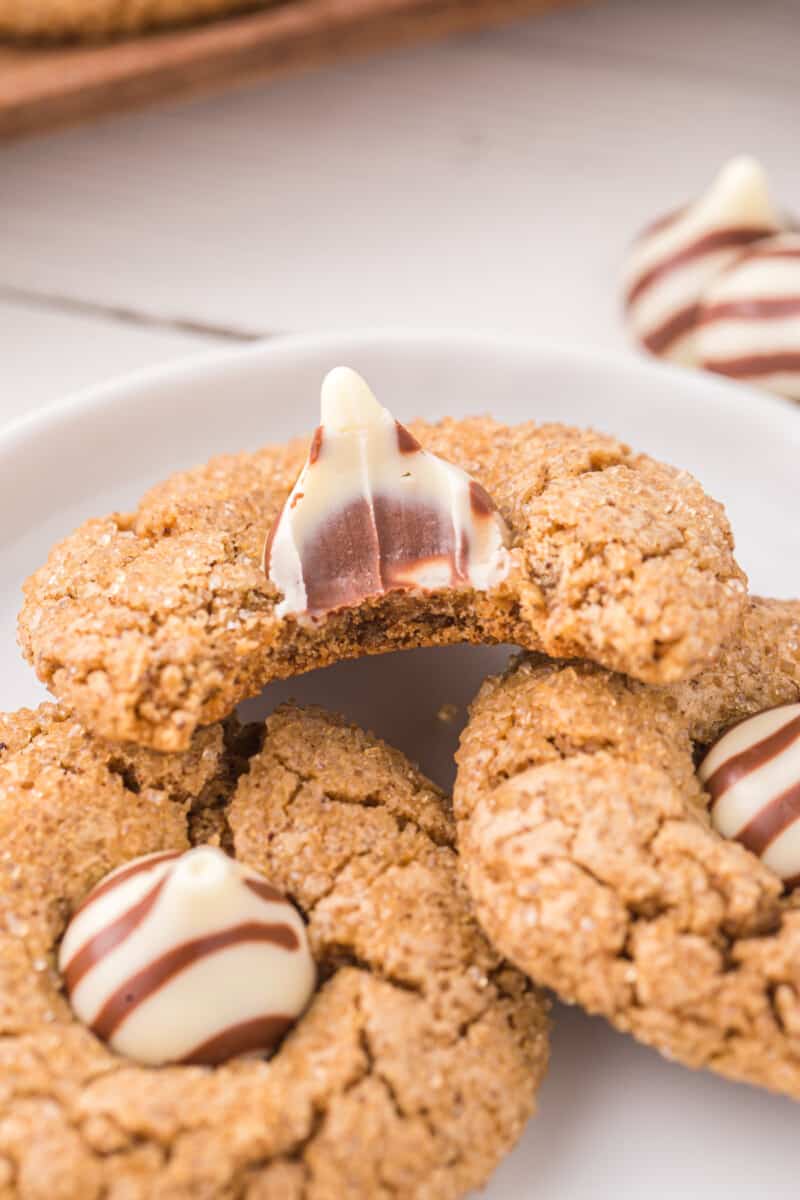
Essentially, yes. However, the main difference is that ginger snaps bake longer, making them more crispy. Classic gingerbread cookies are known to be softer and chewy. In this recipe, they are meant to be softer and chewy than crispy.
Make Ahead Instructions
Gingerbread kiss cookie dough can be stored in the refrigerator for up to 3 days before baking.
Gingerbread kiss cookies can be fully baked up to 3 days in advance of when you plan to serve them. Store them in an airtight container at room temperature until ready to serve.
Storage Instructions
Store leftover gingerbread kiss cookies in an airtight container at room temperature for up to 5 days or in the refrigerator for up to 1 week. Let come to room temperature before enjoying.
Freezing Instructions
Freeze gingerbread kiss cookie dough balls in a single layer on a lined baking sheet until solid, about 1-2 hours. Transfer to an airtight container or Ziplock bag to store for up to 3 months. Roll in sugar and bake directly from frozen, adding 1-2 minutes to the final baking time.
Freeze baked gingerbread kiss cookies in a single layer on a lined baking sheet until solid, about 1-2 hours. Transfer to an airtight container or Ziplock bag to store for up to 1 month. Let come to room temperature before enjoying.
Substitutions
- You can use a different flavor of cake/cookie mix, such as spice, if you can’t find gingerbread.
- You can use whole milk in place of the half-and-half.
- If using unsalted butter, add a pinch of salt.
- If you can’t find raw cane sugar, you can use granulated sugar.
- If you can’t find Hershey’s Hugs, you can use any kind of Hershey’s Kisses.
Tips for the Best Gingerbread Kiss Cookies
- Be sure to soften your butter before starting. I like to leave my butter out for about an hour before making cookies so that it can be completely at room temperature. However, in a pinch you can microwave it for 5 seconds at a time, turning it after every heating. Be careful not to overheat it though! You don’t want melted butter!
- Don’t skip the chill time. I hate waiting for cookie dough to chill and I try to avoid it at all costs. But with these cookies it is definitely worth it! First, the dough tends to be sticky and hard to work with when it is first mixed. Second, it flattens out too much if it doesn’t have time to chill first. So do yourself the favor and just stick it in the fridge for 15 minutes or so before you bake it. Out of the fridge the dough is nice and workable, soft but not sticky and the cookies turn out big and fluffy with a crunchy outside.
- If you want your kisses to be ooey and gooey, put them on just a minute or two after the cookies come out of the oven. If you prefer them firm with just a bit of soft give, then you’ll want to wait 5-10 minutes before putting on the kisses.
-
More Christmas Cookie Recipes We Love
- Gingerbread Cookies (Gingerbread Family)
- Christmas Sugar Cookies (Best Sugar Cookie Recipe)
- Chocolate Spritz Cookies Recipe (Gluten Free Spritz Cookies)
- Chocolate Peppermint Cookies (Peppermint Chocolate Crinkle Cookies)
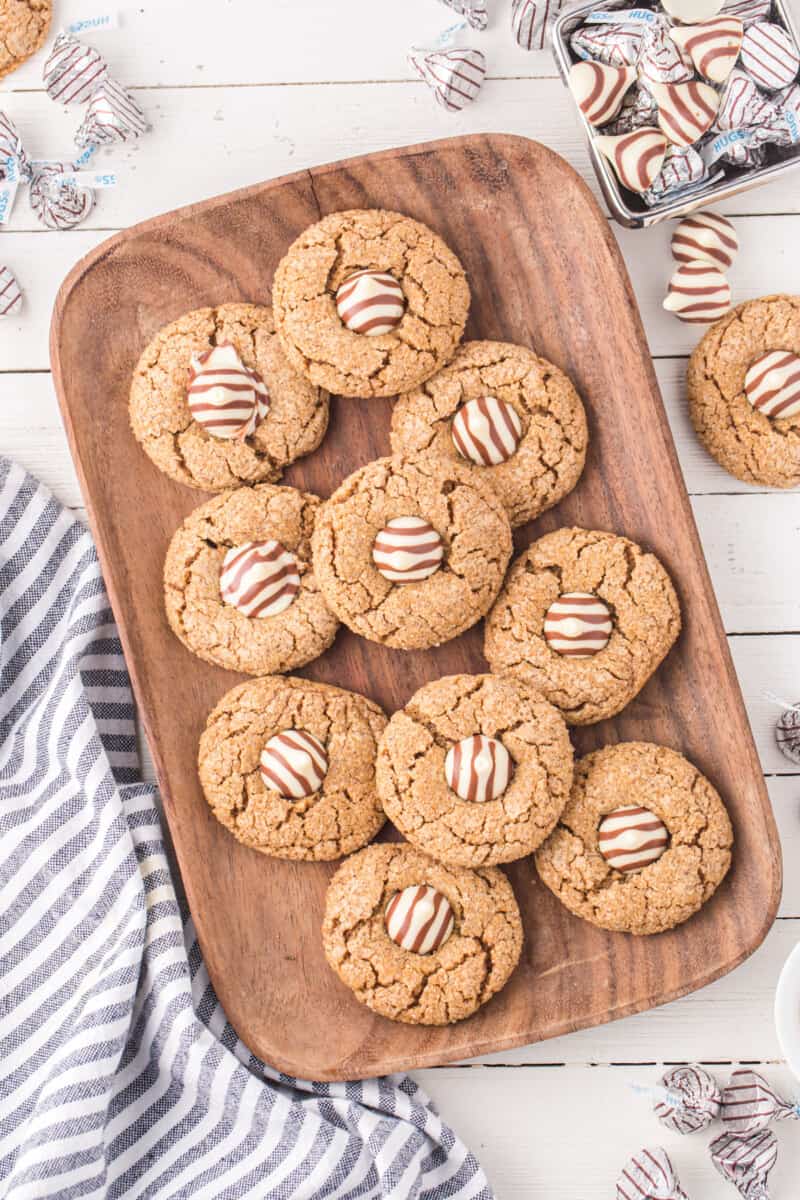
I hope you love these gingerbread kiss cookies as much as I do! Let me know how your batch turned out in the comments below!
More Holiday Dessert Recipes to Try:
- Pumpkin Pie
- Easy Homemade Apple Pie
- Easy Monkey Bread
- Marshmallow Salad
- Cranberry Bliss Bars
- Cranberry Orange Biscotti
If you make this recipe be sure to upload a photo in the comment section below or leave a rating. Enjoy!
Gingerbread Kiss Cookies Recipe

Equipment
- Kitchen Scale (optional)
- Stand Mixer
- Baking Sheet
- Cookie Portion Scoop
Ingredients
- 14.5 ounces gingerbread cake and cookie mix 411 grams (1 box), Betty Crocker recommended
- ¼ cup half-and-half 57 grams, room temperature
- 3 tablespoons salted butter 42 grams, room temperature (⅜ stick)
- ½ cup raw cane sugar 100 grams
- 15 Hershey’s Hugs 68 grams
Instructions
- In the bowl of a stand mixer fitted with the paddle attachment, beat the mix, half-and-half, and salted butter together until well combined, about 2-3 minutes.14.5 ounces gingerbread cake and cookie mix, ¼ cup half-and-half, 3 tablespoons salted butter
- Scrape the sides and bottom of the bowl well with a rubber spatula and mix again for 1-2 minutes to make sure everything is incorporated.
- Cover the dough with plastic wrap and refrigerate for 15-30 minutes, or until no longer sticky.
- When ready to bake the cookies, preheat oven to 350°F and line a large baking sheet with parchment paper.
- Place the raw cane sugar in a shallow bowl.½ cup raw cane sugar
- Scoop the dough using a 1½-tablespoon cookie portion scoop and roll gently into a ball.
- Roll the ball in the sugar to coat completely and place on the prepared baking sheet.
- Repeat with the remaining dough until the pan is full with the cookies placed about 1-2 inches away from the edges and each other.
- Bake for 10-14 minutes, or until set on the edges. Do not overcook. If you have extra dough, you can bake another batch after the first finishes baking.
- Remove from the oven and allow to cool for 2 minutes.
- Press an unwrapped Hershey’s Hug into the center of each gingerbread cookie and allow the cookies to cool for an additional 5-10 minutes before removing to a cooking rack or serving warm.15 Hershey’s Hugs
Becky’s Tips
- You can use a different flavor of cake/cookie mix, such as spice, if you can’t find gingerbread.
- You can use whole milk in place of the half-and-half.
- If using unsalted butter, add a pinch of salt.
- If you can’t find raw cane sugar, you can use granulated sugar.
- If you can’t find Hershey’s Hugs, you can use any kind of Hershey’s Kisses.
- Be sure to soften your butter before starting. I like to leave my butter out for about an hour before making cookies so that it can be completely at room temperature. However, in a pinch you can microwave it for 5 seconds at a time, turning it after every heating. Be careful not to overheat it though! You don’t want melted butter!
- Don’t skip the chill time. I hate waiting for cookie dough to chill and I try to avoid it at all costs. But with these cookies it is definitely worth it! First, the dough tends to be sticky and hard to work with when it is first mixed. Second, it flattens out too much if it doesn’t have time to chill first. So do yourself the favor and just stick it in the fridge for 15 minutes or so before you bake it. Out of the fridge the dough is nice and workable, soft but not sticky and the cookies turn out big and fluffy with a crunchy outside.
- If you want your kisses to be ooey and gooey, put them on just a minute or two after the cookies come out of the oven. If you prefer them firm with just a bit of soft give, then you’ll want to wait 5-10 minutes before putting on the kisses.
Nutrition information is automatically calculated, so should only be used as an approximation.


