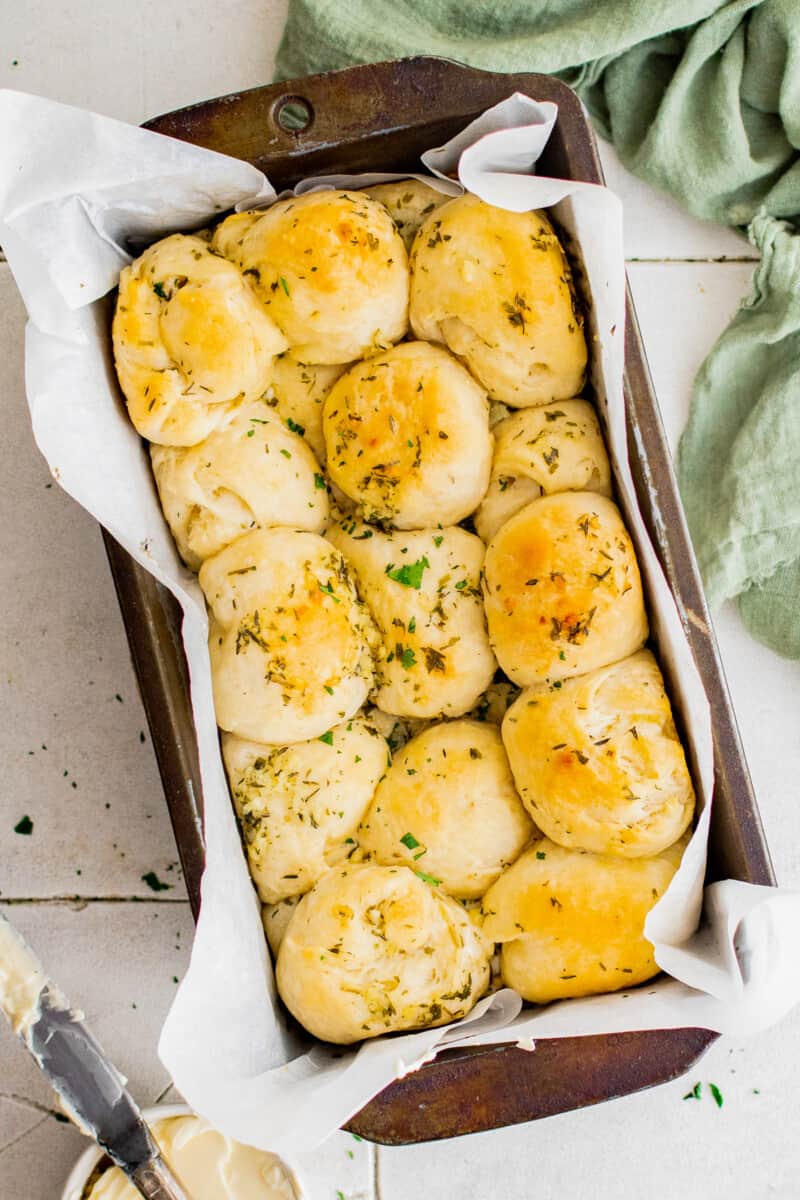
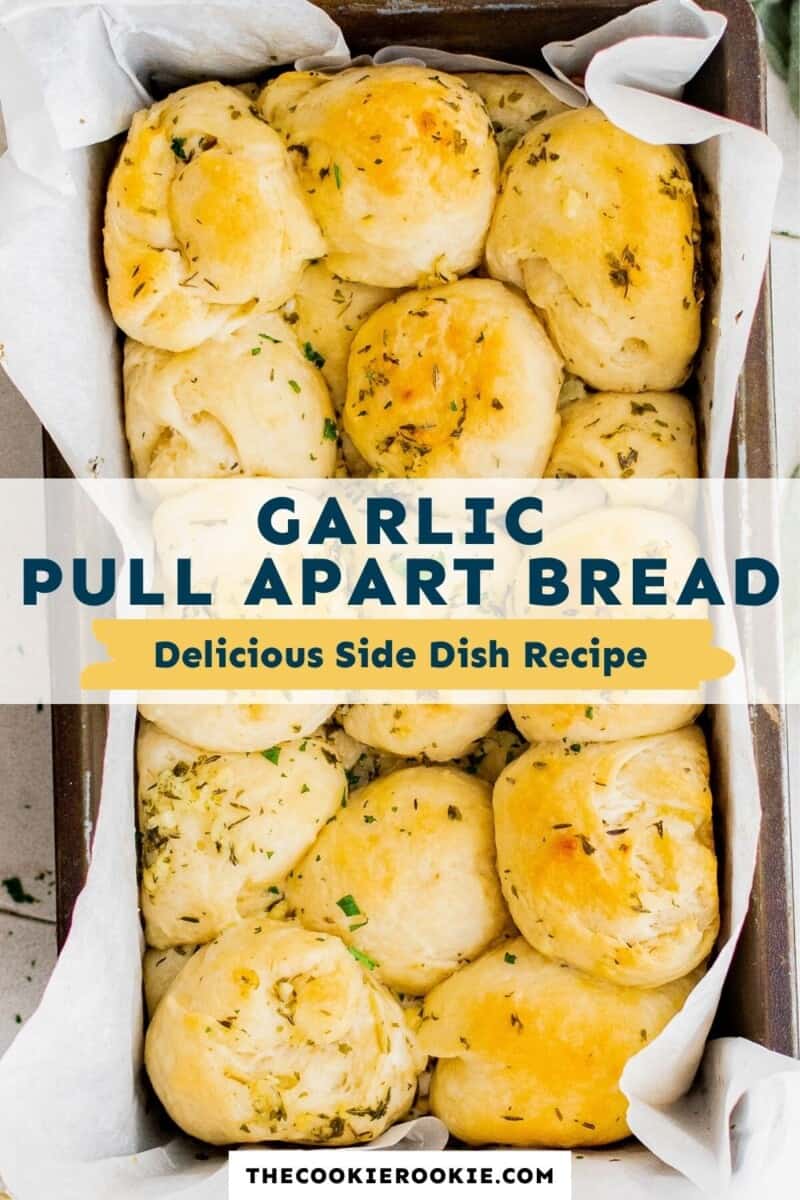
Made from scratch, these garlic pull apart rolls are a perfect bread side dish or appetizer to accompany all of your favorite meals. Easy to prep, serve them warm out of the oven for one delicious bite.
This post may include affiliate links that earn us a small commission from your purchases at no extra cost to you.
Garlic Butter Rolls Recipe
You can not go wrong with garlic bread, and these pull-apart rolls hit all the right spots.
Fun and easy to make, they work wonderfully as an appetizer or side dish, or just enjoy them spread with a little butter for a tasty snack.
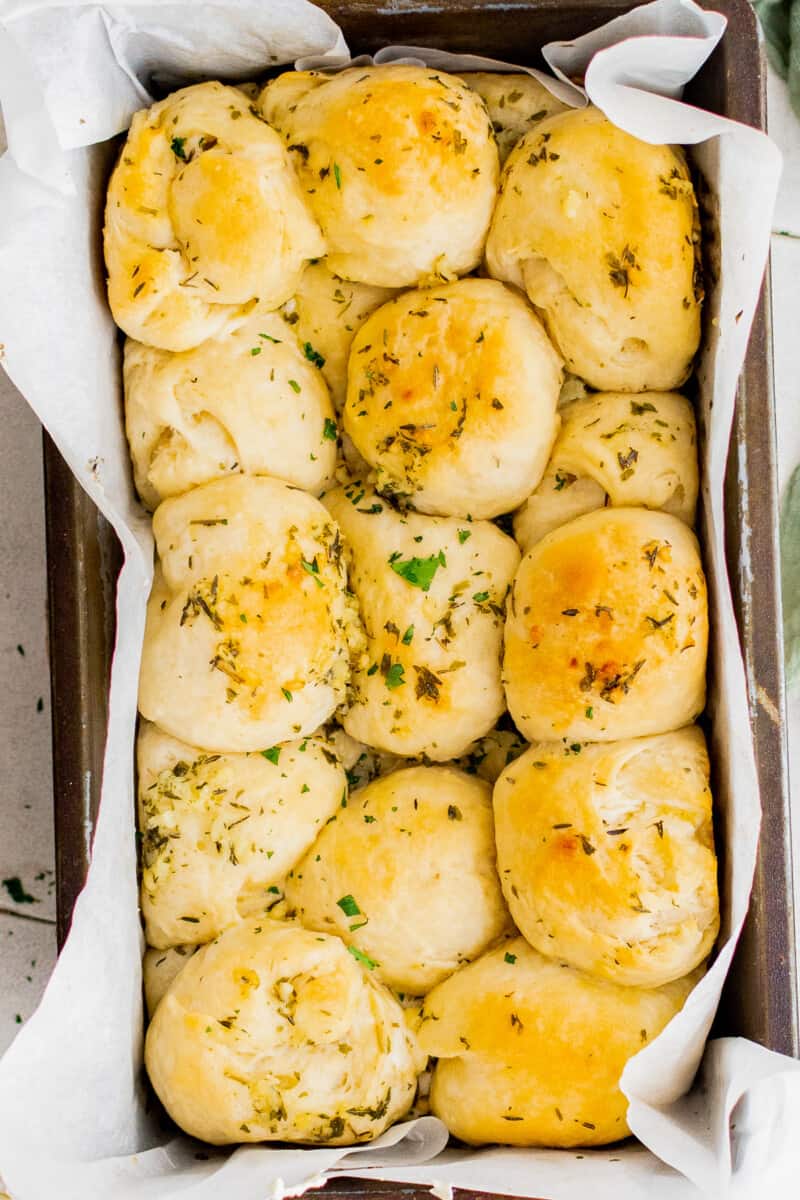
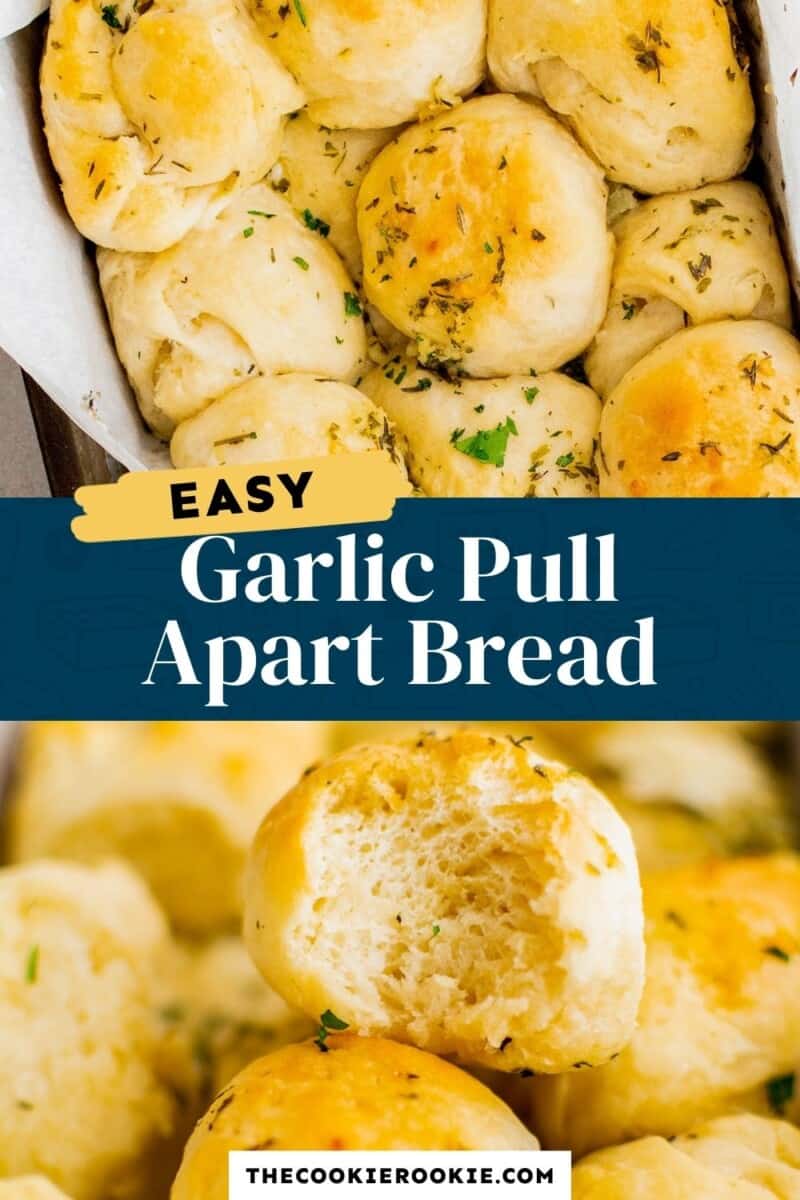
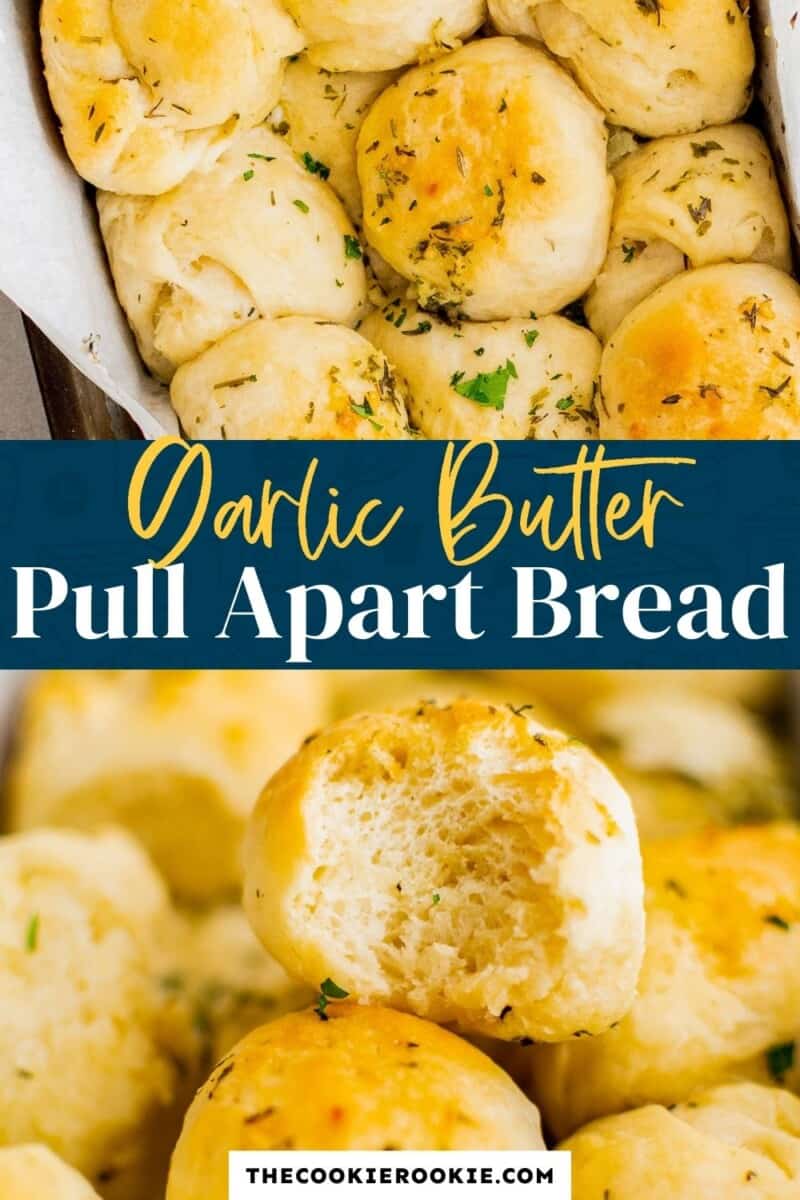
Made from scratch, they are perfectly light and fluffy.
Be sure to try my Homemade Garlic Bread and Texas Toast Garlic Bread too!
Why you’ll love this Easy Garlic Pull-Apart Rolls recipe:
- PERFECT FOR HOLIDAYS: These make a great addition to any celebration meal. Perfect for Thanksgiving, Christmas, Easter, and anything in between!
- MAKE AHEAD: These are a great make-ahead recipe and can easily be warmed through in the oven to serve.
- SO DELICIOUS: Made with a garlic and herb butter, every bite is rich and fluffy and full of flavor.
How to make Garlic Butter Pull Apart Rolls
You can jump to the recipe card for full ingredients & instructions!
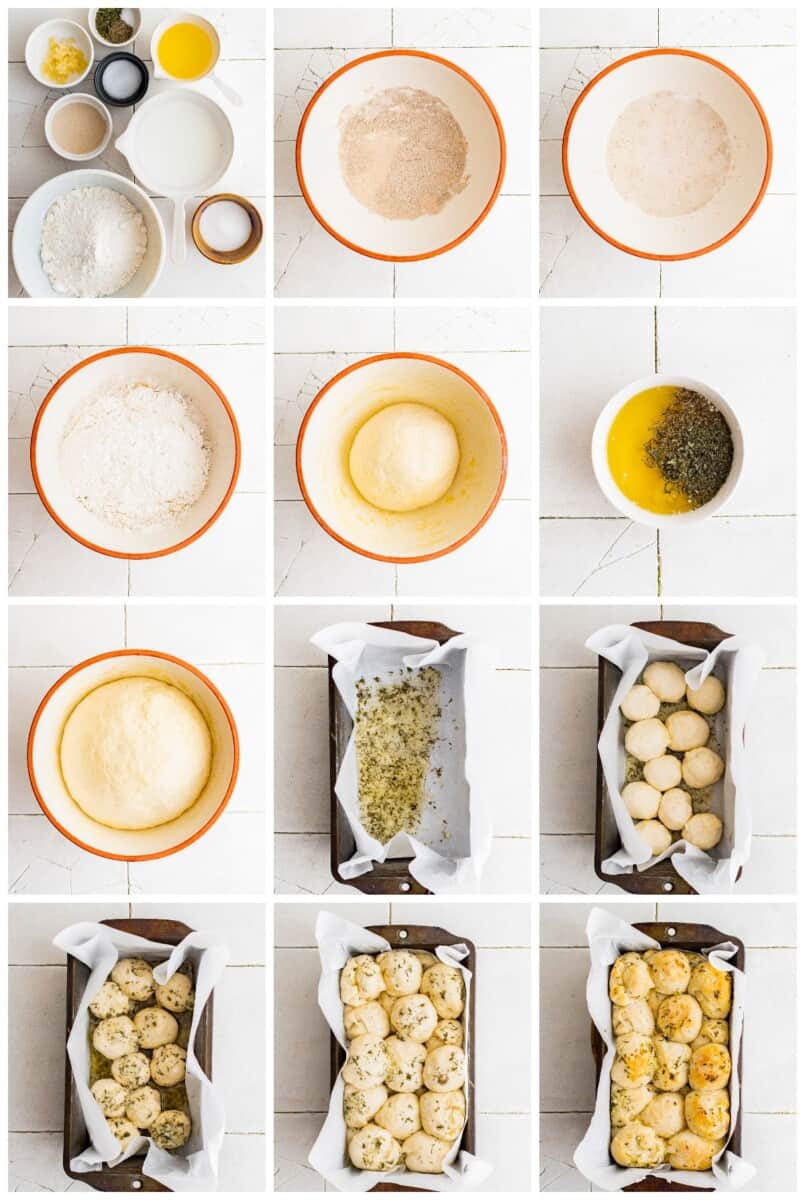
- Mix together the milk, sugar, and yeast and allow the yeast to activate.
- Add the butter, salt, and flour.
- Knead the dough and place in an oiled bowl.
- Allow the dough to rise.
- Make the garlic butter.
- Form balls from the dough and place in a prepared loaf pan and drizzle with garlic butter.
- Let rise again.
- Bake til golden brown.
Why are my rolls dense?
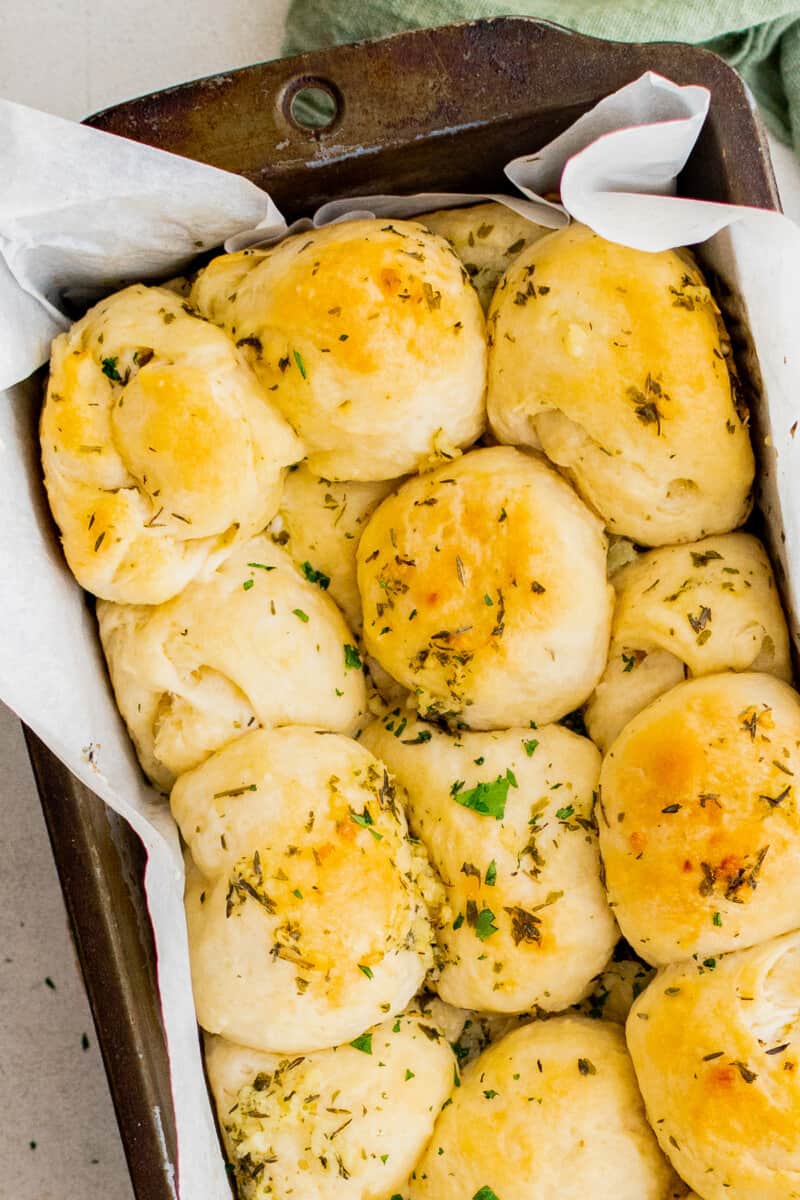
These rolls should come out light and fluffy. The main way to guarantee this is to knead the dough for at least 5 minutes.
This allows the gluten to develop to make a more elastic dough, which will then make a lighter and airier structure. The dough should be smooth on the outside and no longer sticky.
Can you use a stand mixer?
I prefer to knead the dough by hand, but you can use a stand mixer with a hook attachment. Mix on a low speed for about 5-6 minutes til it is smooth and elastic.
What do you serve them with?
These garlic pull-apart rolls are great to serve with all kinds of meals, Perfect with stews and soups, pastas, or as a side to your Thanksgiving or Christmas dinner try them with:
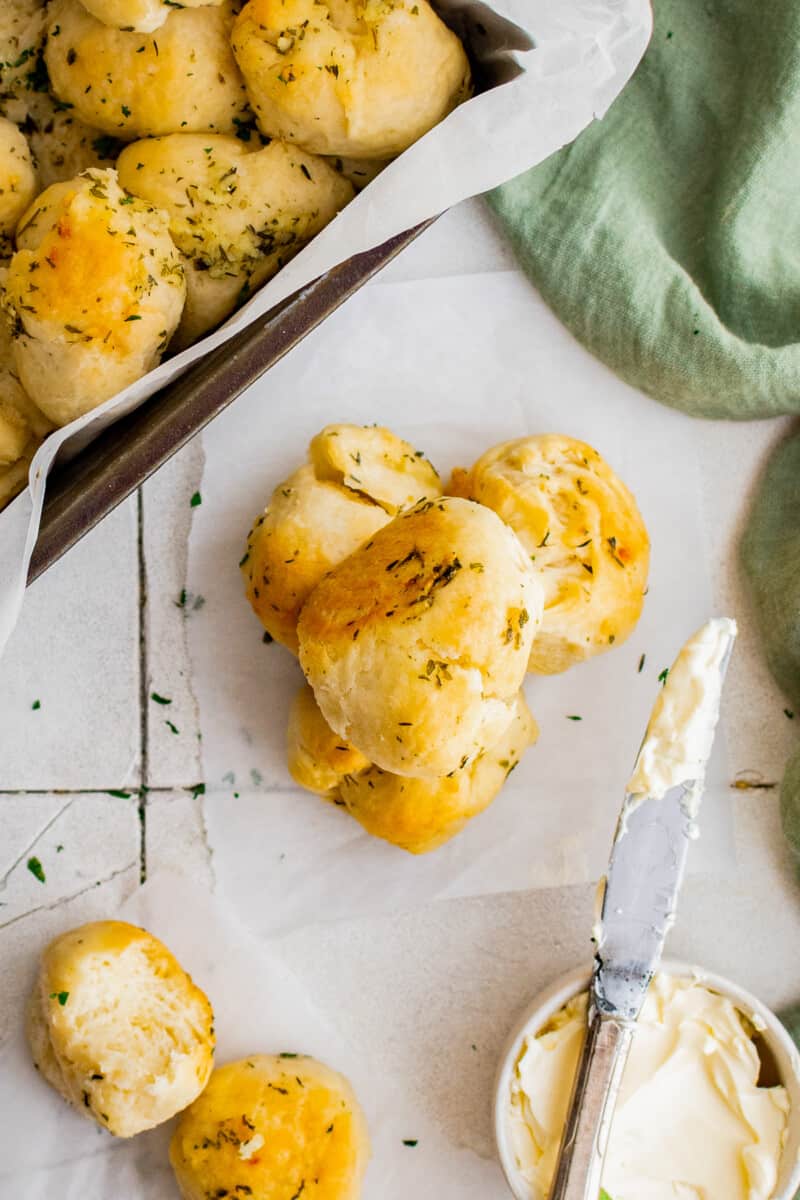
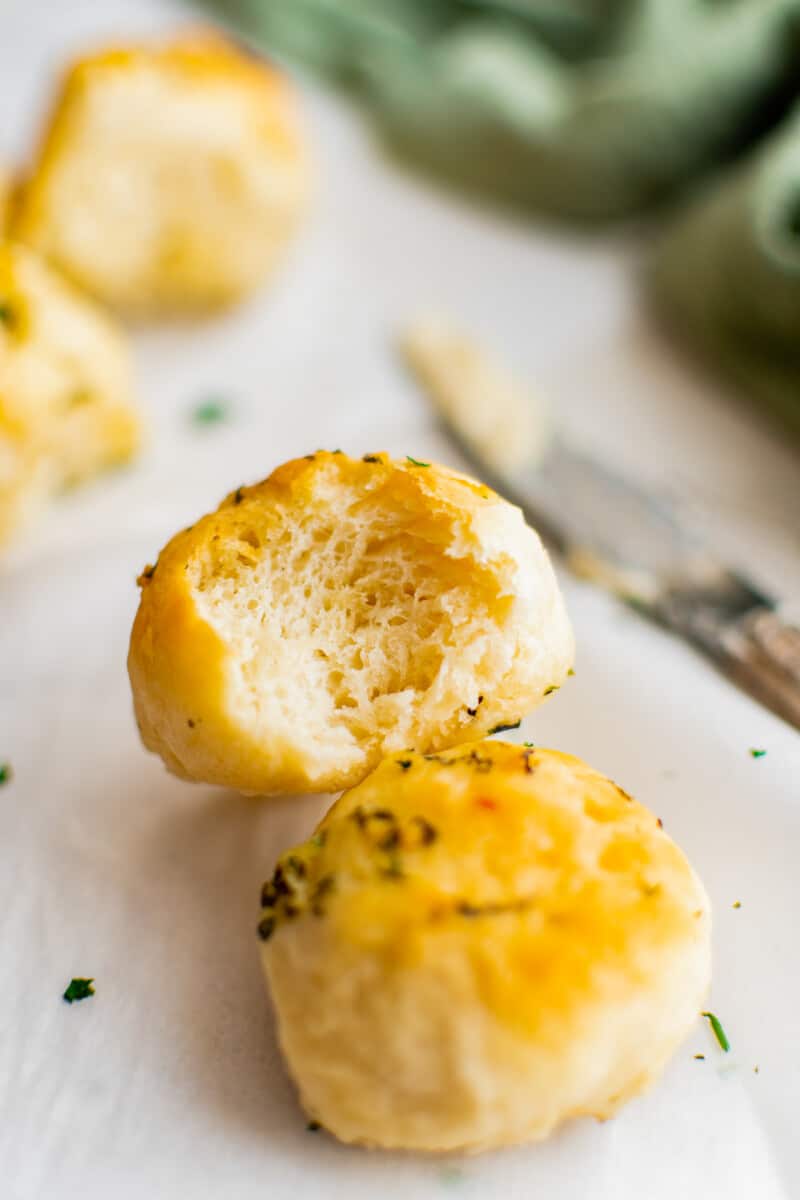
Tips!
- This pull-apart bread can be stored in an airtight container at room temperature for up to three days.
- Don’t skip the rising time. Patience is a virtue and it will help to get your rolls nice and airy.
- The garlic pull-apart rolls can be reheated in the oven at 160F for 5 minutes to warm through.
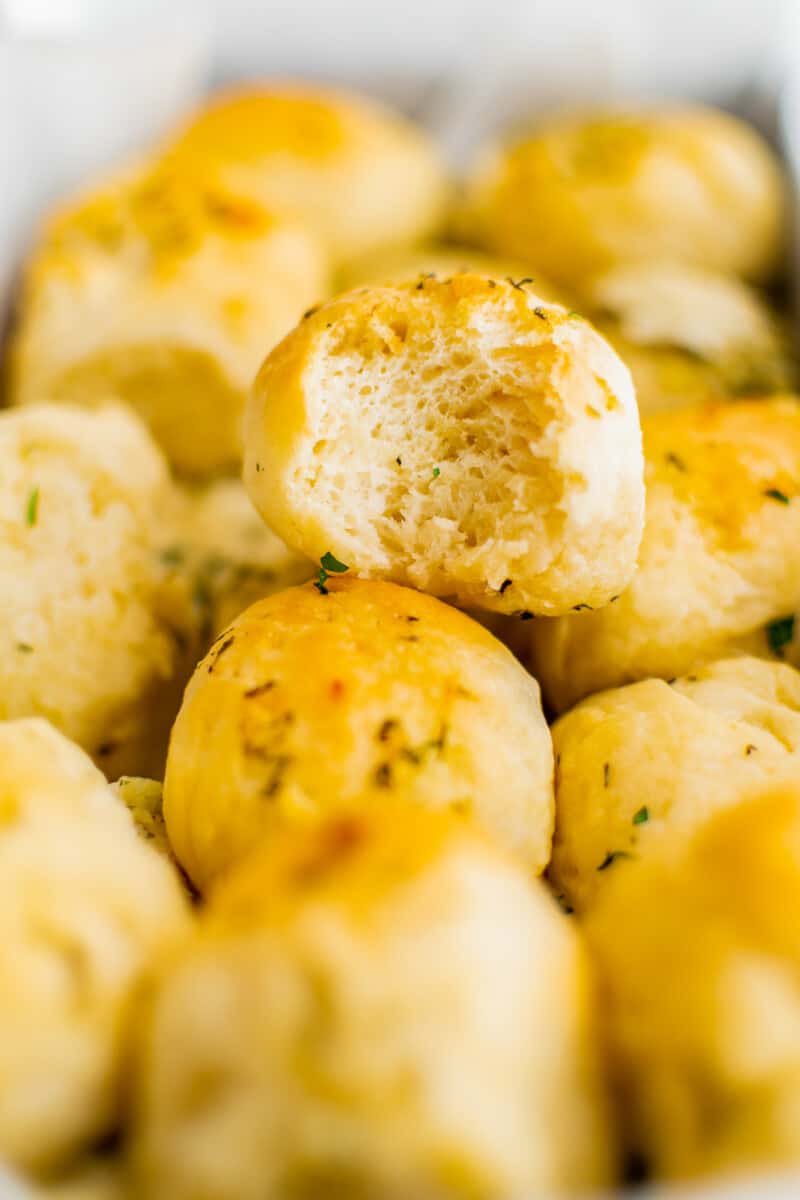
These garlic pull apart bread rolls will for sure be the star of the show! Simple to make and loaded with garlicky goodness!
More Bread Recipes we Love
If you make this recipe be sure to upload a photo in the comment section below or leave a rating. Enjoy!
Garlic Butter Pull Apart Rolls Recipe
Equipment
- Kitchen Scale (optional)
- 9×5-inch loaf pan
Ingredients
For the Rolls
- 1 cup milk 227 grams, warm (105-110°F)
- 2 tablespoons granulated sugar 25 grams
- 1 tablespoon active dry yeast 9 grams
- 4 tablespoons unsalted butter 57 grams, melted (½ stick)
- ½ teaspoon kosher salt
- 2½-3 cups all-purpose flour 300-360 grams, divided
For the Garlic Butter
- 6 tablespoons unsalted butter 85 grams, melted (¾ stick)
- 2 cloves garlic finely minced
- 1 teaspoon dried parsley 1 gram
- 1 teaspoon dried thyme 1 gram
- ½ teaspoon kosher salt
Instructions
- Whisk the milk, sugar, and yeast together in a large bowl and let it activate for 5 minutes or until it starts to bubble.1 cup milk, 2 tablespoons granulated sugar, 1 tablespoon active dry yeast
- Add the butter and salt and whisk again then gradually stir in 2½ cups of the flour and stir until you can no longer stir then knead the dough on a lightly floured surface for 5 minutes.4 tablespoons unsalted butter, ½ teaspoon kosher salt, 2½-3 cups all-purpose flour
- Scrape out any remaining dough from the bowl then spray it with some nonstick spray or brush it with some olive oil before tucking the edges of the dough together and placing it inside the bowl.
- Spray the top of the dough then cover and let the dough rise for about 2 hours, or until the dough has doubled in size.
- Preheat oven to 375°F, then place some parchment paper inside of a loaf pan and set aside for later.
- Add all of the garlic butter ingredients to a small bowl and microwave for 30 seconds, stir to combine then drizzle 1 tablespoon of the butter into the prepared loaf pan.2 cloves garlic, 1 teaspoon dried parsley, 1 teaspoon dried thyme, ½ teaspoon kosher salt, 6 tablespoons unsalted butter
- Form 15-20 1-inch balls from the dough and place half of them in the loaf pan.
- Drizzle some garlic butter on top, then place the remaining dough balls on top and drizzle the remaining garlic butter on top.
- Let the bread rise again for 30 minutes then bake for 25-30 minutes, or until the top of the bread is light and golden and the dough has risen significantly.
- Let the bread cool for 5 minutes before serving with freshly minced parsley for garnish if desired.
Video
Becky’s Tips
- Don’t skip the rising time. Patience is a virtue and it will help to get your rolls nice and airy.
- The garlic pull-apart rolls can be reheated in the oven at 160°F for 5 minutes to warm through.
Nutrition information is automatically calculated, so should only be used as an approximation.


Great recipe-i added grated cheese and served with lasagne..super good!!
Would I be able to put the unbaked rolls into the fridge and bake the next day?
Yes! We recommend refrigerating the dough overnight after step 4, but you can also chill the formed rolls; they may not rise as high, though!
I’ve made these twice in a month, they’re absolutely delicious! I love your formatting for the recipe as well, it makes it so easy to follow
This recipe is so easy and so yummy! I love the way you’ve written the recipe with the measurements after each step so I don’t have to scroll back up to the ingredient list. Thank you!
Thanks so much for stopping by, Nicole!