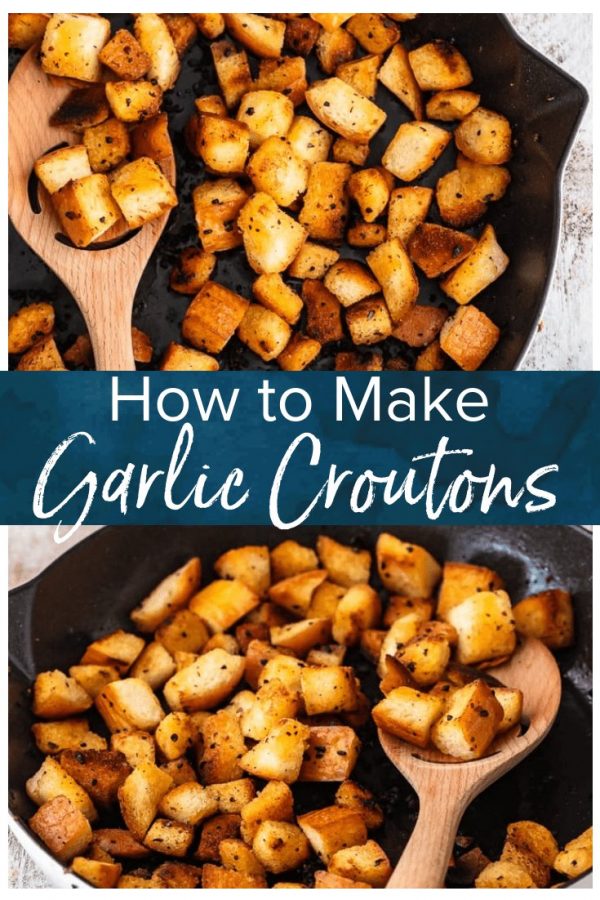
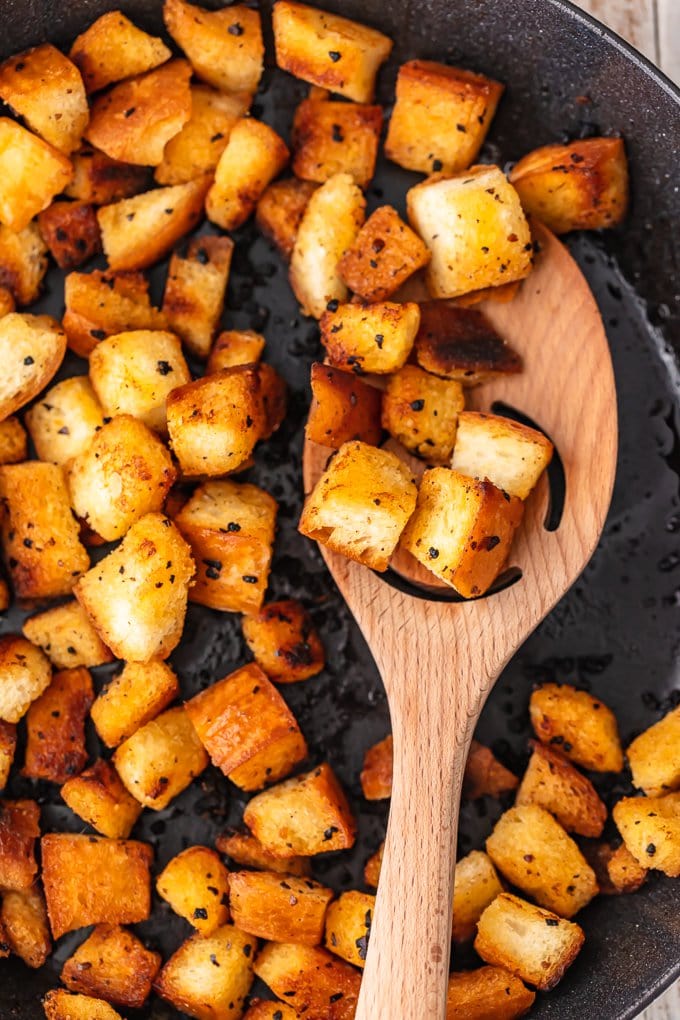
Garlic croutons are the perfect topping for a fresh salad or bowl of soup. Homemade croutons are incredibly easy to make and add so much flavor and crunch to my salads. Just follow this simple recipe and skip the pre-made ones!
This post may include affiliate links that earn us a small commission from your purchases at no extra cost to you.
Garlic Croutons Recipe (On the Stovetop)
No salad is complete without croutons. And this garlic crouton recipe is so perfect for almost any salad. These fried croutons are made from Italian bread and cooked up with garlic on the stove. They are SO good.
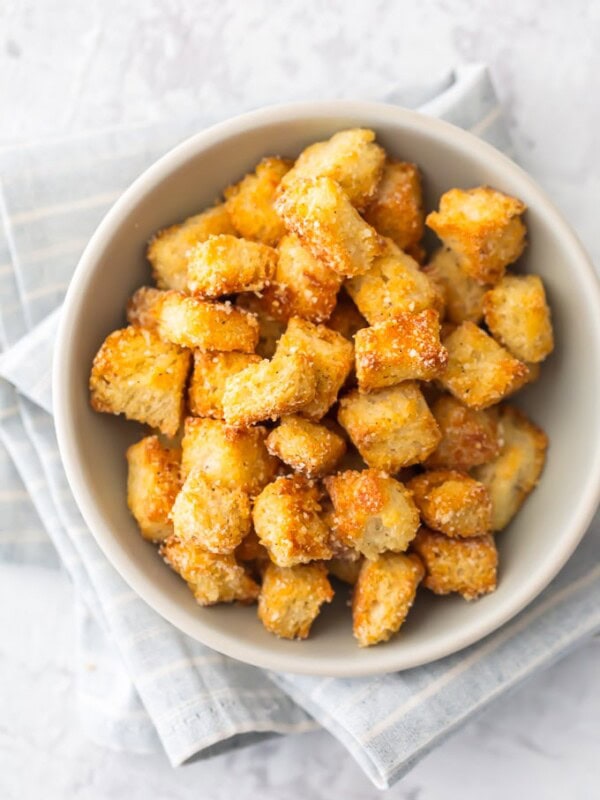
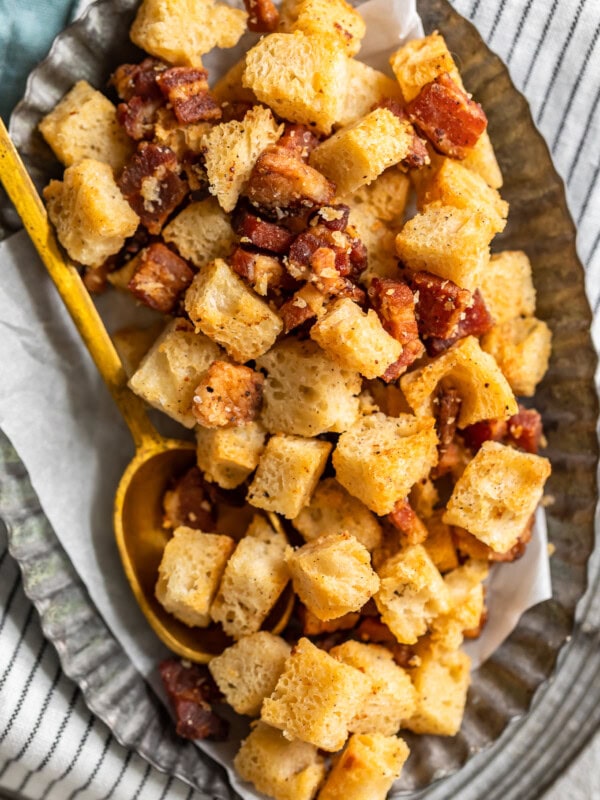
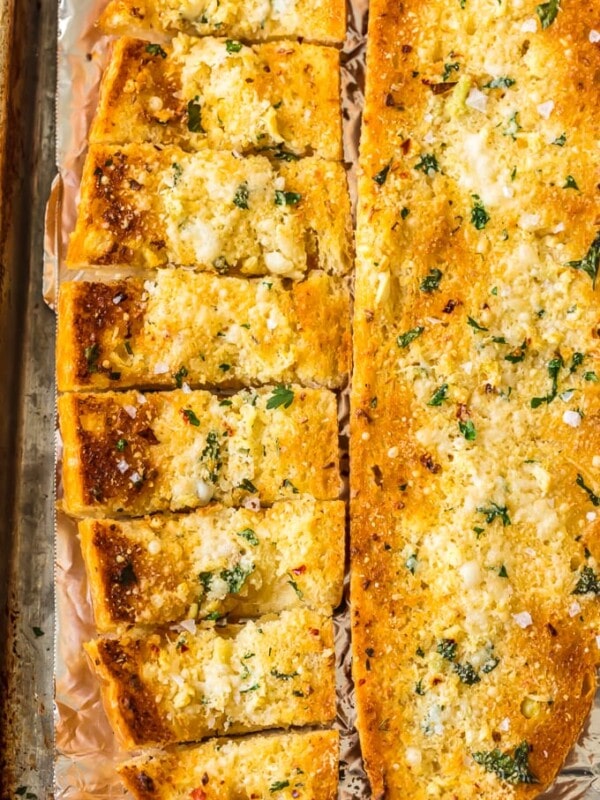
Making croutons from scratch definitely takes me a little more time as compared to buying at the store, but once I got my process down, these turn out great and are easy to customize. I used garlic and red pepper flakes, but you can can switch up the flavors and seasonings. I’ve also made oven baked croutons and bacon croutons.
Garlic Crouton Recipe – Fried Croutons
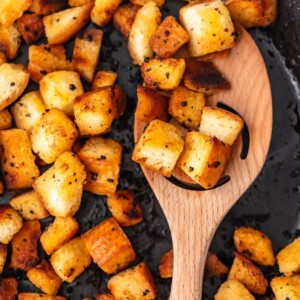
Ingredients
- 3 tablespoons olive oil
- 2 thick slices crusty Italian bread cut into 1/2 inch cubes
- 2 cloves garlic smashed
- 1/2 teaspoon crushed red pepper flakes
Instructions
- Coat a large saute pan with olive oil. I used approximately 3 tablespoons olive oil, but you can use more if need be.3 tablespoons olive oil
- Add in the garlic and red pepper and cook over medium heat. Cook until transluscent and fragrant, about 3 minutes.2 cloves garlic, 1/2 teaspoon crushed red pepper flakes
- Toss in the bread cubes and stir to coat in the oil and spices.2 thick slices crusty Italian bread
- Continue to cook and stir until the bread is crusty, golden, and fully crisped.
- Remove from the heat and allow to cool completely before storing in an airtight container.
Becky’s Tips
- Use any crusty stale bread to make croutons. Ciabatta, baguette, or sourdough creates the perfect crunchy texture.
- Avoid using fresh sandwich bread, it will be crumbly and burn the edges.
Nutrition information is automatically calculated, so should only be used as an approximation.
How to Store
Store in an airtight container or resealable bag for about 2 weeks.
Freeze: You can also freeze homemade croutons, and thaw and reheat them in the oven when you’re ready to use them. However, they taste best (and keep their crunchiness) when stored at room temperature.
Serving Suggestions
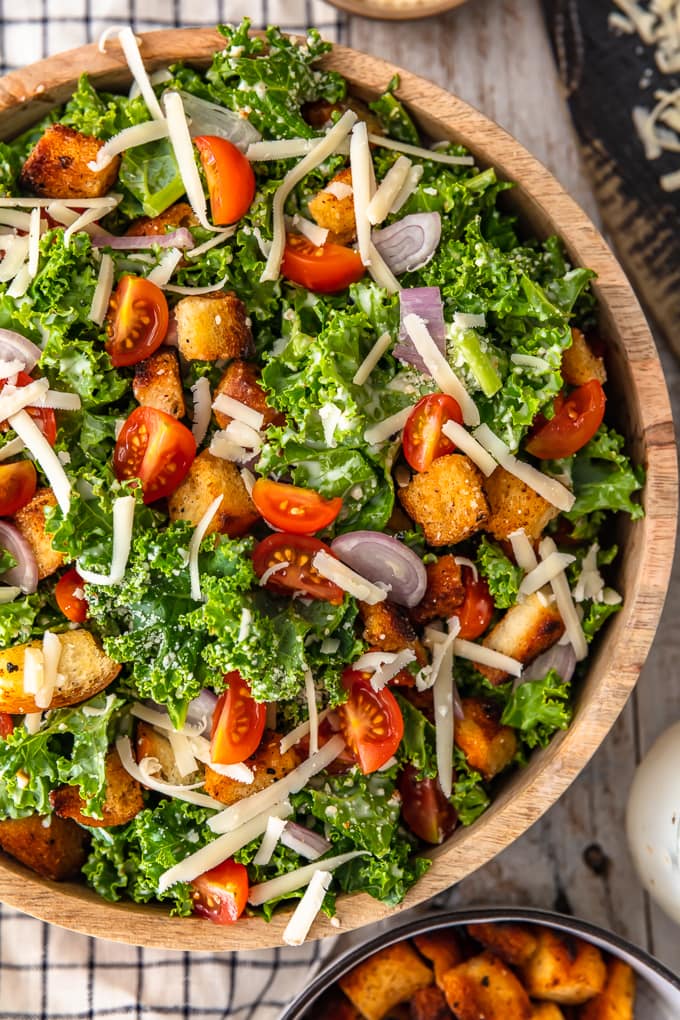
I initially made these garlic croutons for my kale caesar salad, but I’m saving the extra to use on my other salads. And they are so good with soups too. Throw a handful of these into tomato soup and you’ve got a simple yet delicious meal!
