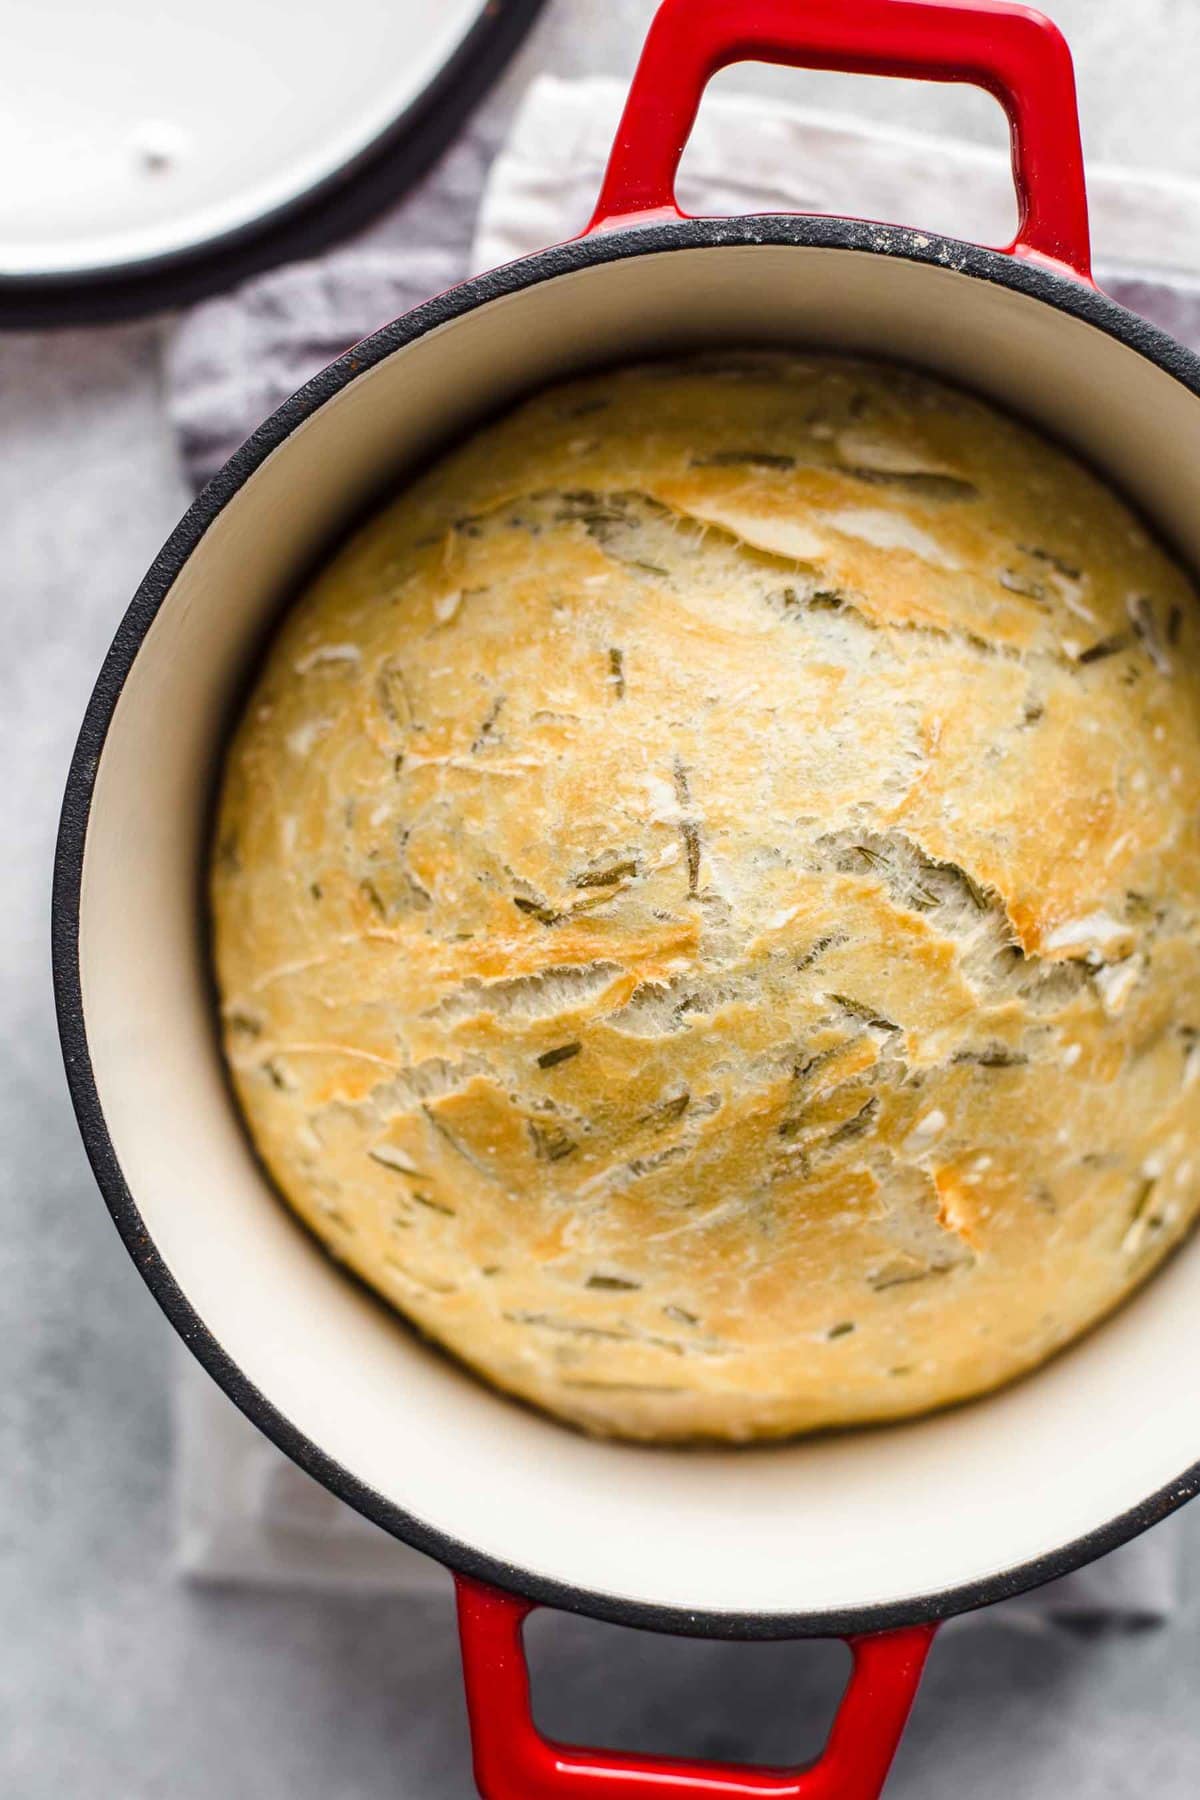
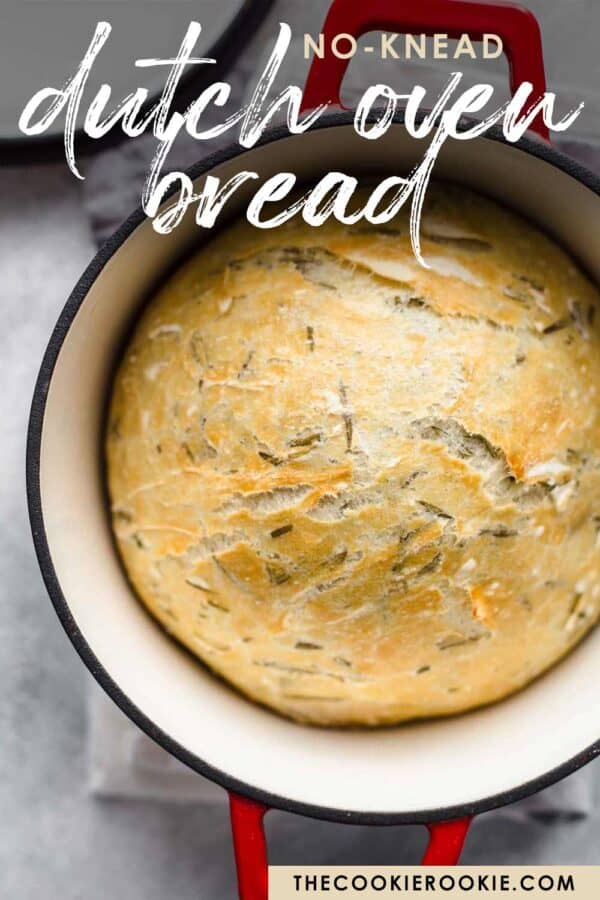
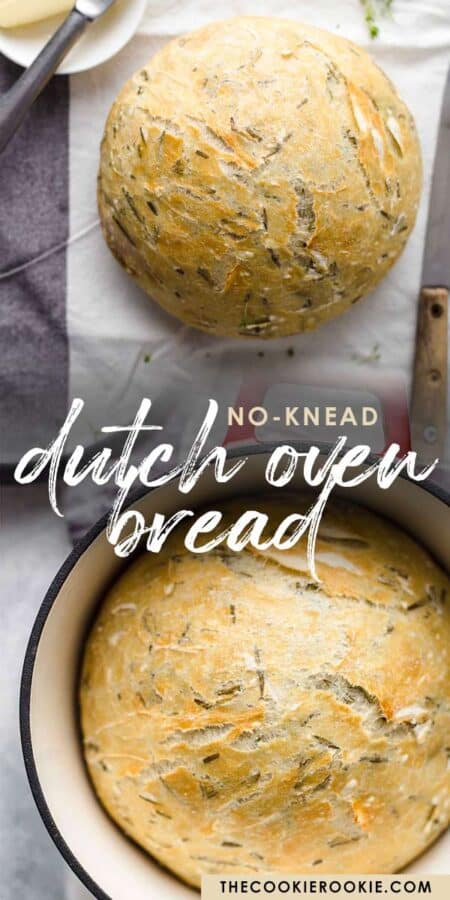
No Knead Dutch Oven Bread is such a simple way to make homemade bread. Making no knead bread in a Dutch oven is just so easy, it’s completely changed the way I think about baking bread! This rosemary bread with sea salt is simply perfect and tastes amazing. If you’re looking for an easy bread recipe, this is it!
This post may include affiliate links that earn us a small commission from your purchases at no extra cost to you.
What’s in this Rosemary Bread Recipe?
This no knead Dutch oven bread recipe couldn’t be easier. I’m using my 4½-quart Dutch oven (Cherry Red, it’s a beaut!) for this recipe. All you need to make this rosemary bread is all-purpose flour, water, yeast, sea salt, and fresh rosemary. Simple, fresh, delicious!
- All-Purpose Flour: Gives the bread structure.
- Sea Salt: Enhances the natural flavor of the bread.
- Fresh Rosemary: Adds a fresh, herbaceous flavor.
- Active Dry Yeast: Helps the bread rise!
- Water: Adds moisture to the bread.
Pro Tip: If you don’t have fresh rosemary, you can use 2-4 tablespoons of dried.
Variations on Dutch Oven No Knead Bread
You can flavor this delicious bread with just about any fresh herbs and spices you like. Sage, thyme, oregano, basil, dill… the possibilities are endless! You can also fold in up to ½ cup of freshly shredded cheese. Parmesan or mozzarella would go great with rosemary!
This no knead bread recipe is better because it is very hands off and doesn’t require a lot of guessing. With a kneaded bread, you may be left wondering if you over or under-kneaded it. This no knead recipe takes all that guesswork out!
No! This could cause oil to polymerize onto the surface of the Dutch oven, which is harmless but doesn’t look nice. Always place the bread directly in the dry oven or on a piece of parchment paper.
You should start baking with the lid on to trap moisture and help get a good rise, then remove the lid towards the end of baking to help get a crisp crust.
The loaf should be nice and browned on top and the crust should look crisp. If you gently tap on the bottom of the loaf with your finger, it should sound hollow. The proper internal temperature for baked bread is 195-210°F.
Hard bread can be the result of too little moisture, too much rise time, or baking in too hot of temperatures or for too long. Make sure to measure your flour using the spoon-and-level method to avoid adding too much, and check your oven temperature with a thermometer to ensure it is correct.
If your bread is gummy and dense, check your oven temperature. Gummy bread is usually the result of the crust forming before the bread inside has had a chance to fully expand. Turn down the oven temperature if needed!
How to Store and Reheat
Store leftover no knead Dutch oven bread in an airtight container at room temperature for up to 3 days. I do not recommend storing homemade bread in the refrigerator.
How to Freeze
To freeze this rosemary bread, cut it into individual slices, then freeze in an airtight container or tightly wrapped in plastic wrap. It will keep for up to 3 months. Remove individual slices and thaw in the refrigerator or microwave before enjoying.
Serving Suggestions
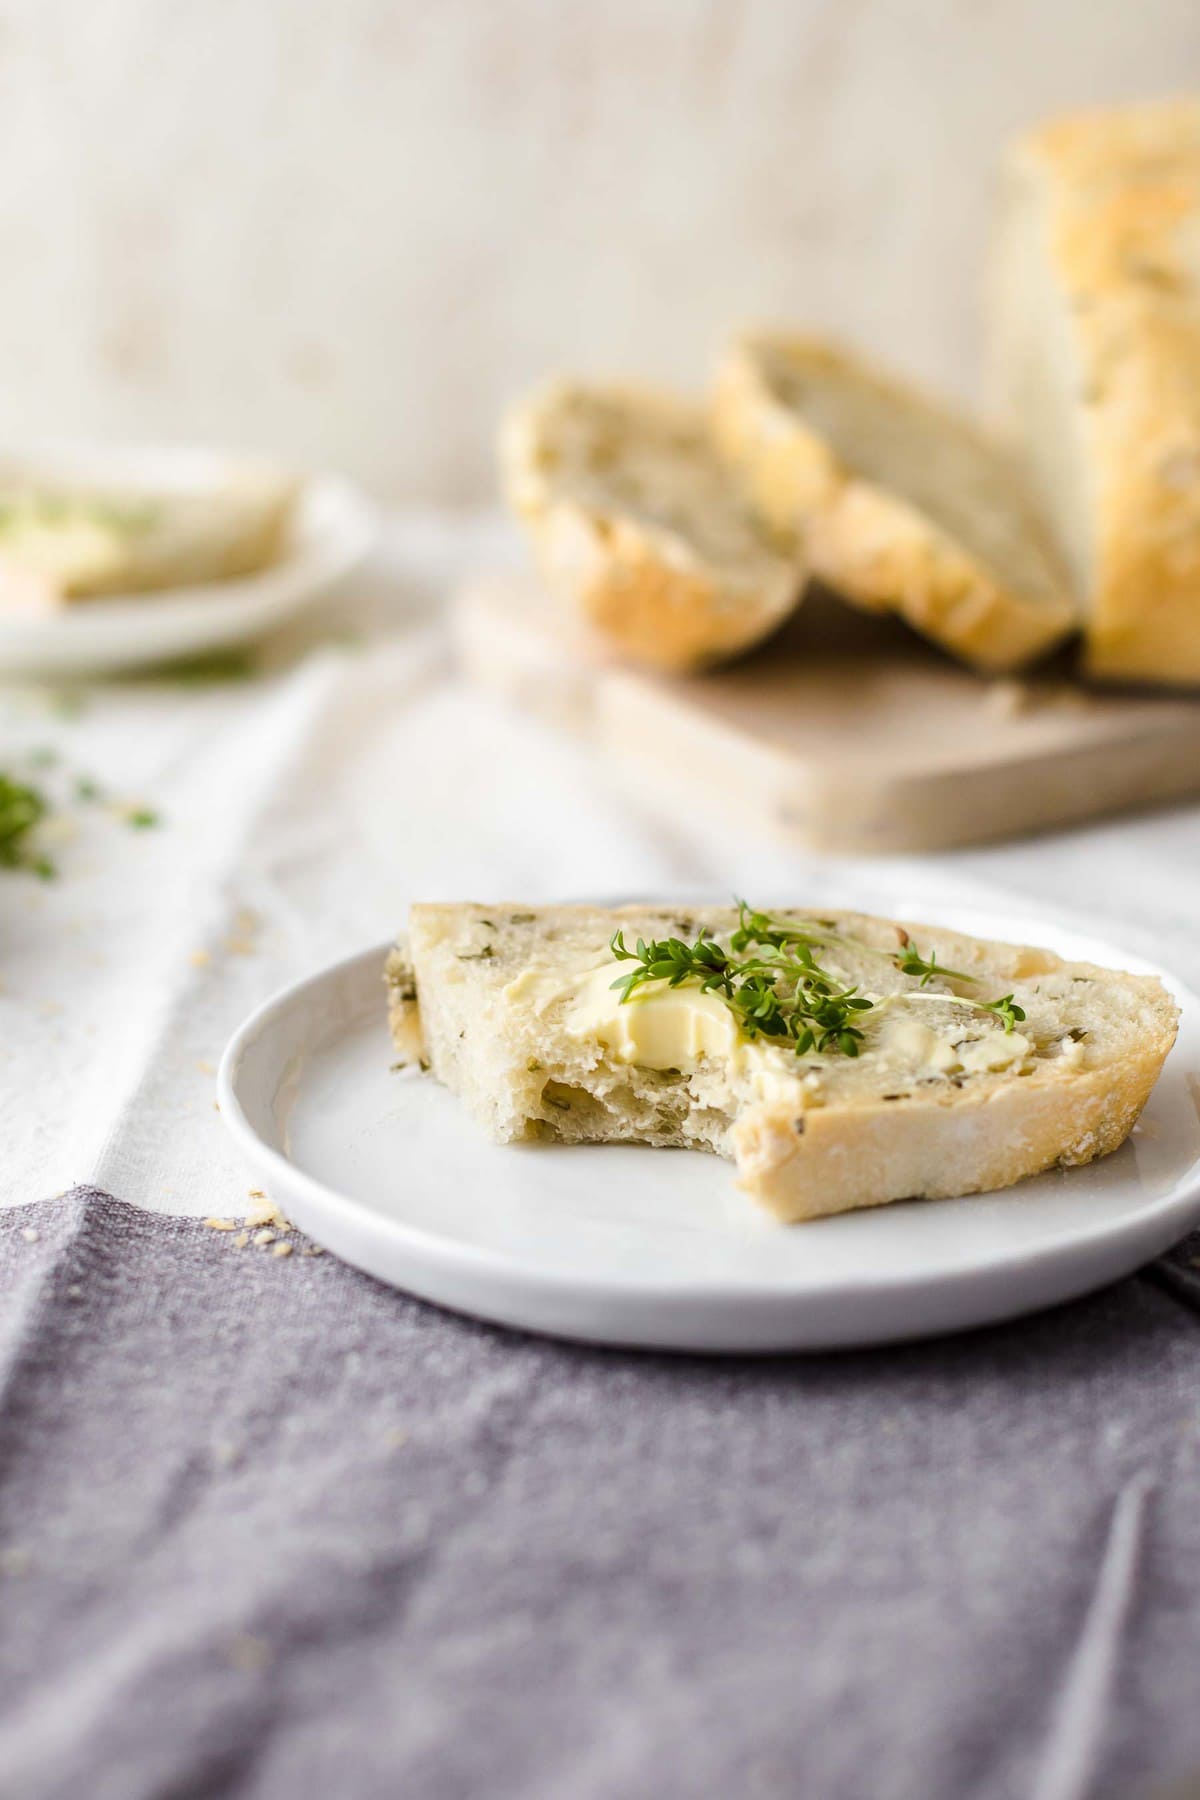
Serve this delicious no knead Dutch oven bread simply with some butter or olive oil. It’s great for eating with your favorite dips, such as Caprese dip, tomato goat cheese dip, bacon spinach dip, crab dip, or cheese fondue. You can also use it to make goat cheese crostini or tomato bruschetta!
5-Star Review
“I’ve never made bread before and it turned out amazing! my boyfriends family loved it.” – Olivia
No Knead Dutch Oven Bread (Rosemary Bread)
Equipment
- Kitchen Scale (optional)
Ingredients
- 3 cups all-purpose flour 360 grams
- 1¾ teaspoons sea salt 9 grams
- ¾ cup fresh rosemary leaves 22 grams, chopped
- ½ teaspoon active dry yeast 2 grams
- 1½ cups water 341 grams, room temperature
Instructions
- In a large bowl, mix the flour, sea salt, rosemary, and yeast together. Mix in the water and use a spatula to blend until well combined.3 cups all-purpose flour, 1¾ teaspoons sea salt, ¾ cup fresh rosemary leaves, ½ teaspoon active dry yeast, 1½ cups water
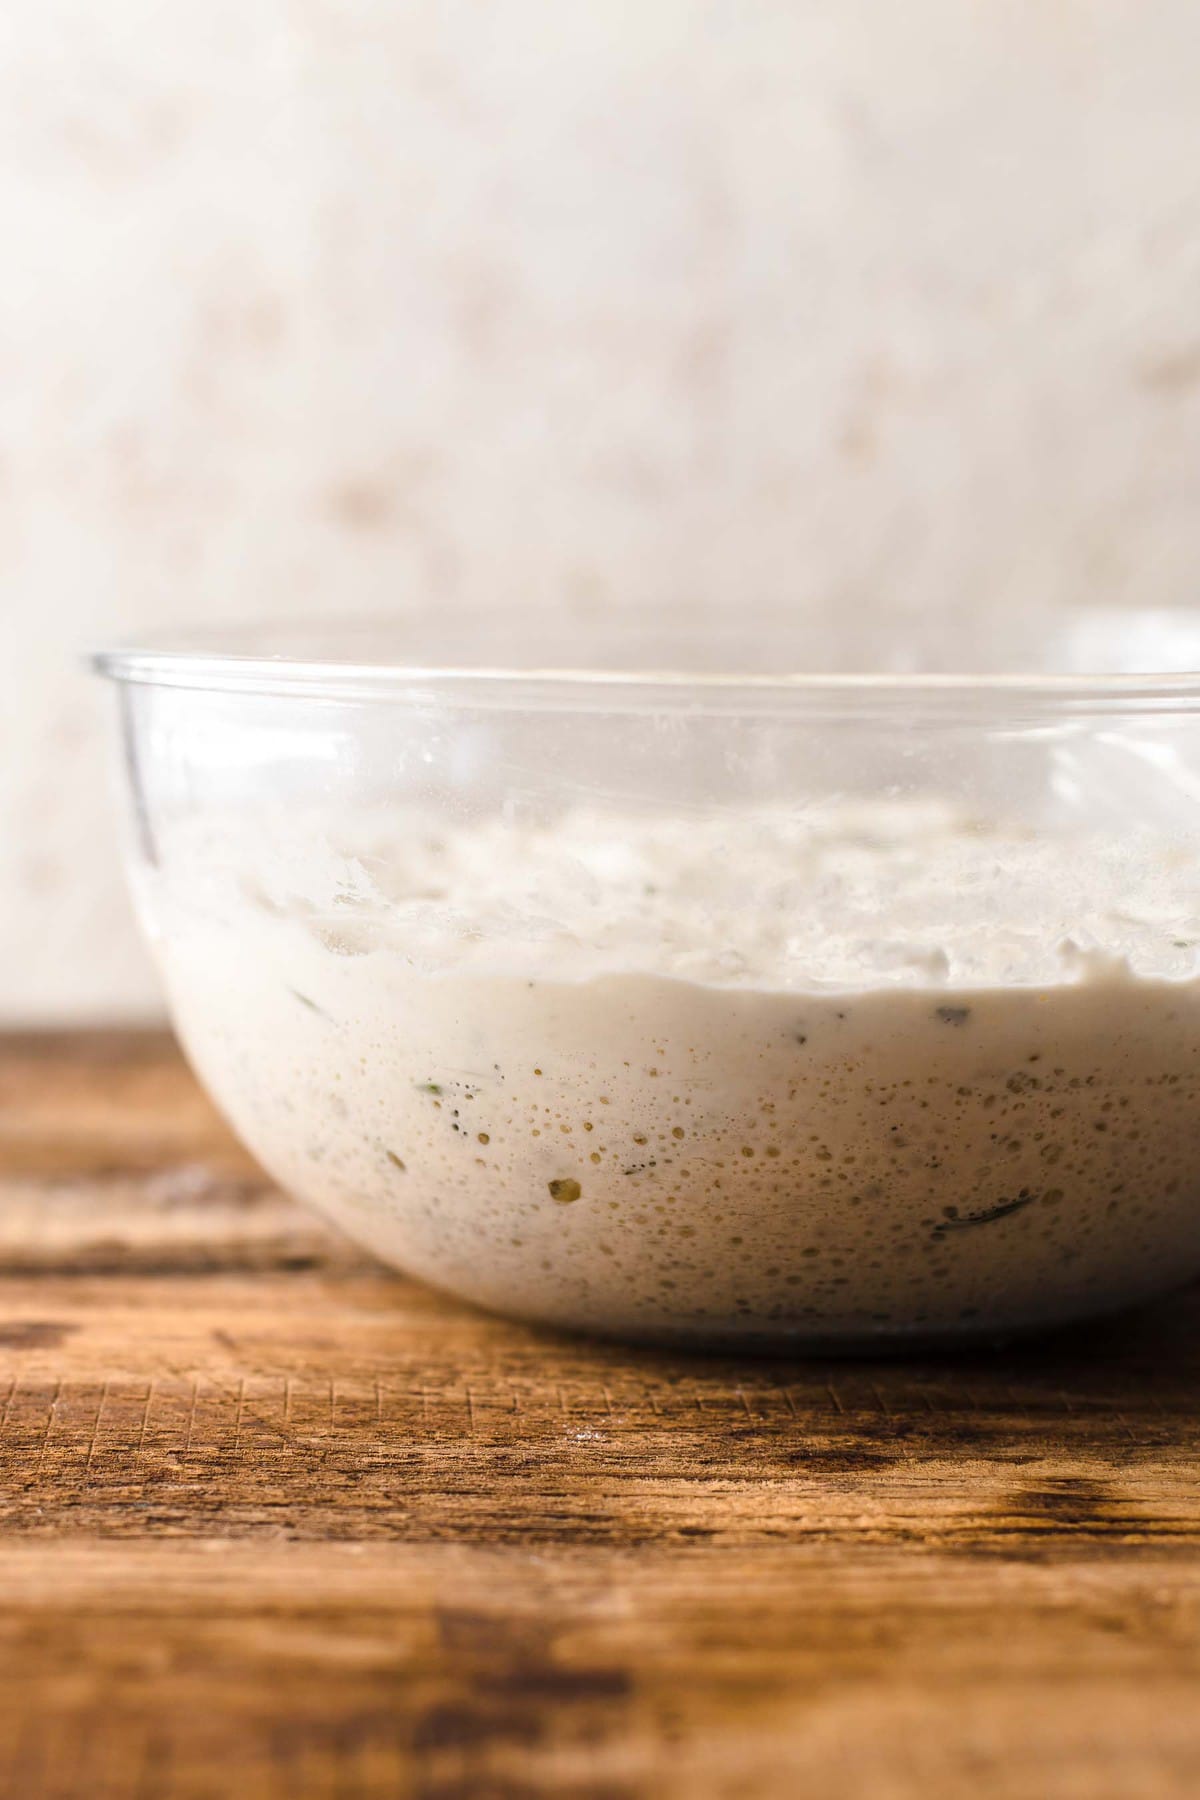
- Cover the bowl with plastic wrap or a clean, damp dish towel and allow it to sit on the counter overnight, at least 12 hours. (patience is a virtue!)
- Preheat oven to 450°F degrees with a Dutch oven inside.
- Once preheated, carefully remove the Dutch oven from the hot oven and remove the lid from it. Use oven mitts!
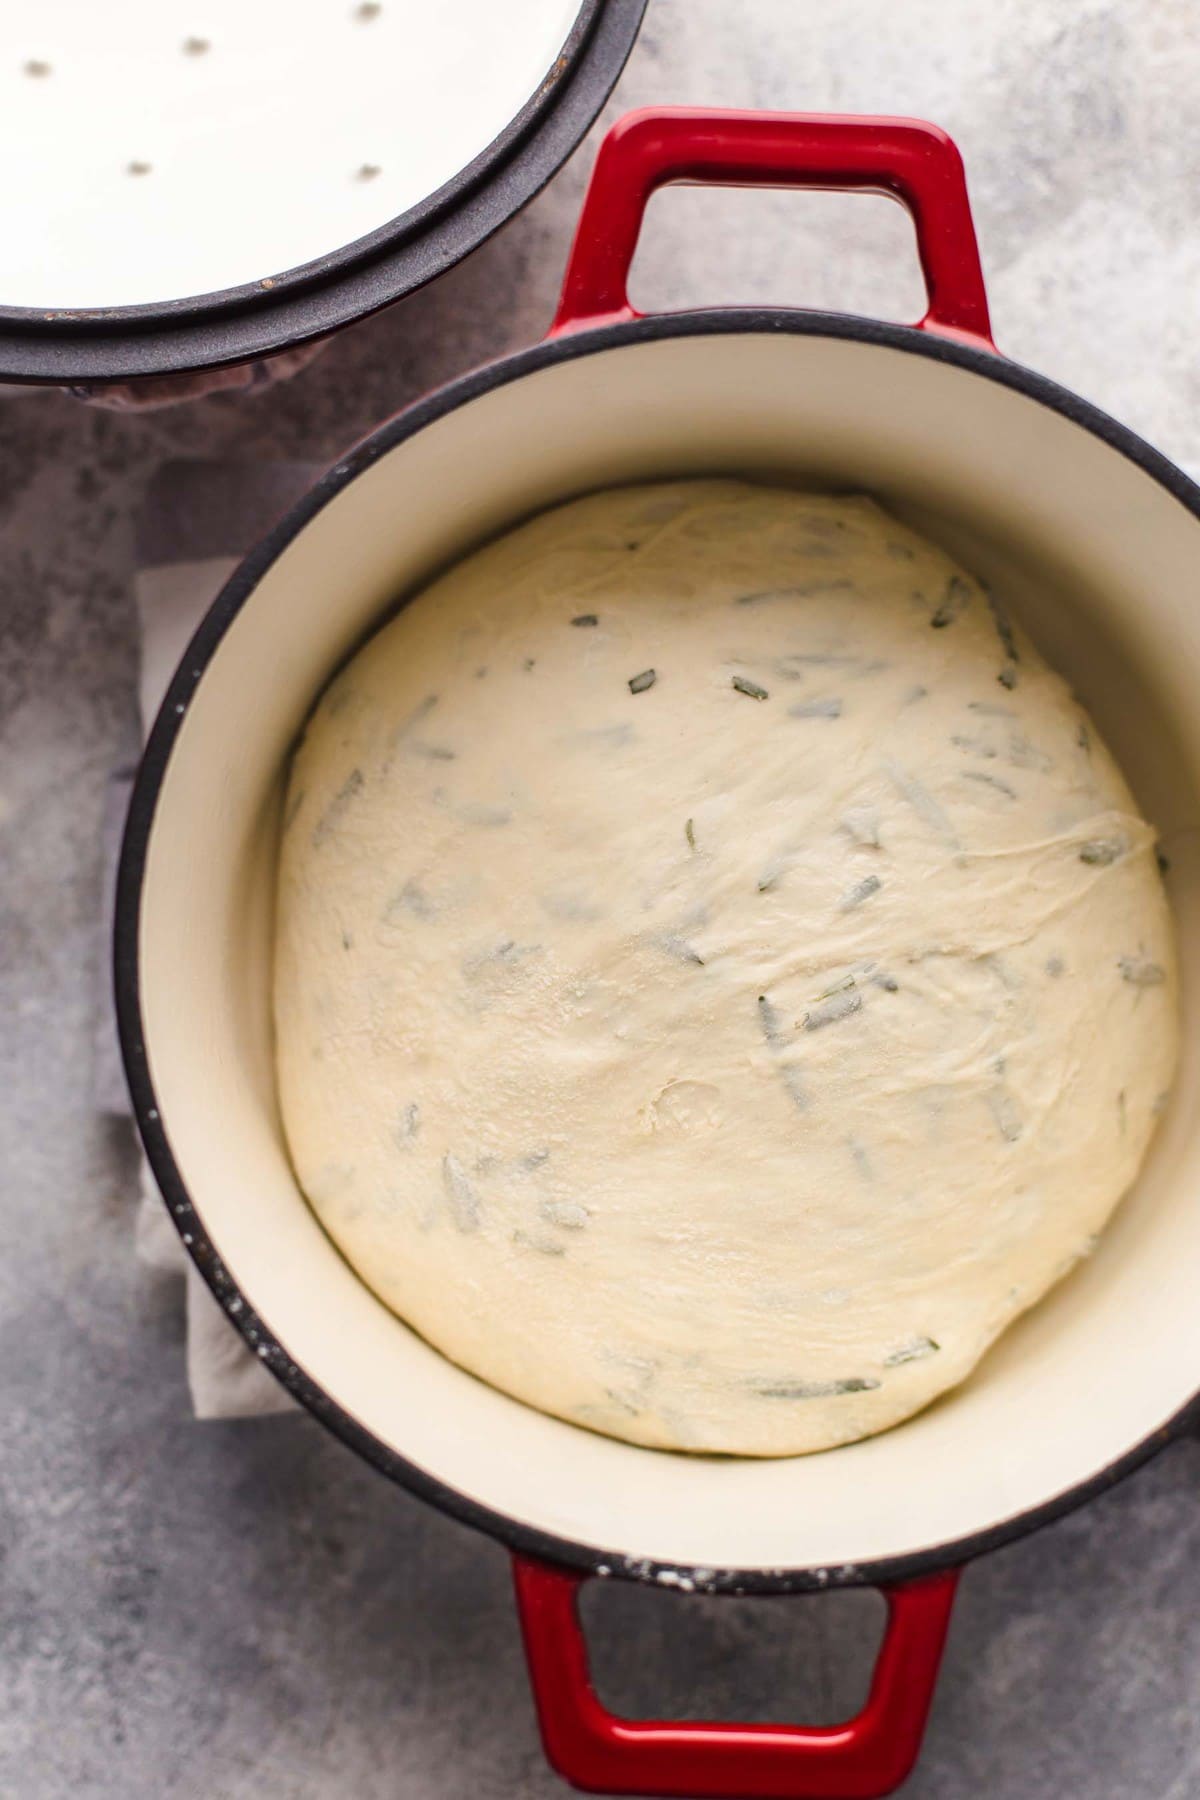
- Flour a clean work surface as well as your hands. Remove the dough from the bowl and form it into a ball. This is a no-knead recipe, but you may have to fold it a couple of times to get it to form the shape you want. Place the dough into the bottom of the Dutch Oven (be careful not to burn your hands; the cast iron will be HOT!)
- Bake for 30 minutes with the lid on, then remove the lid and bake another 15-20 minutes, until the bread is golden brown.
- Remove from the oven and allow to cool. Cut and serve! Perfect compliment for soups!
Video
Becky’s Tips
- If you don’t have fresh rosemary, you can use 2-4 tablespoons of dried.
- If, after the 12-hour rest, your dough is dense and has not doubled in side, your yeast may be expired.
Nutrition information is automatically calculated, so should only be used as an approximation.



Question, I was taught to bloom yeast before mixing with salt as it can cause the yeast to not act correctly. Is it ok to bloom before adding to flour and salt.
Hi Rachel, you can definitely bloom the yeast in the water first to make sure it’s alive, but it’s not necessary for the yeast to act correctly.
This was so simple and so delicious. Wonderful crust while still having a wonderful soft doughy center. Yeast recipes and I have a love hate relationship but this was perfection. Definitely going into my favorite recipe book. Note it takes a lot of rosemary to get 3/4 cup so be prepared to wipe out one of your garden plants or buy enough. So worth it though.
The bread!
I just got my first Dutch oven and wanted to make some bread, I was at first kinda worried because I’ve never made such a high water bread but it turned out beautifully! I’m already making a double batch to divide and give to some family!
7 minutes is all I need after I take the lid off. 30 minutes with lid on and 7 minutes with lid off, plus I use luke warm water not room temp. And a stitch more yeast. Everyone loves it. Don’t forget to shape and let rest while oven is heating up. This is key.
Love this bread. Make it every 3 days. Mmmm
Years ago I made this recipe and got great results…my loaf looked just like the one pictured in the recipe. I tried it this week 2x and both batches turned out gummy, Lind of like slime and when they baked they were flat. Our kitchen is not humid, our yeast was not expired and all ingredients were measured with a kitchen scale.
Kind of disappointed…but I will try again
Hi Vanessa, this is a high hydration dough (just about 95%!), so it should be pretty slack. However, the gummy texture and flat loaf tells me it might be overproofed. Did you by chance let it go for longer than 12 hours?
This recipe is so easy and delicious! Ive made it a ton and it’s always a crowd pleaser. However- be weary of the measurements in grams… use the actual measurements in cups. The flour in 3c is not 360g.
Hi Mandy, we use the King Arthur Baking Company ingredient weight chart (click here to view) for all of our conversions. 3 cups of flour is 360 grams, provided the flour is not being compacted in the cup! Scooping with a measuring cup can cause the flour to compact, adding up to 20% more flour than intended. You may also find that you need to add more flour to your recipe depending on the ambient humidity in your kitchen, or if you prefer a lower hydration dough, so there is always room for adjustments!
I have made this bread several times, and the first couple times it turned AMAZING. I stopped buying $7 loaves from the grocery store. Since then I’ve had 3 unsuccessful attempts and I’m hoping someone can help me troubleshoot. The risen dough looks perfect like the other times I have made the recipe, but when I put it onto my floured surface it’s far to sticky. Adding flour doesn’t seem to help it at all. When I get it to the point where I can transfer it the final loaf is flat.
Hi Emmy, how are you measuring your flour? We highly recommend a kitchen scale for the best accuracy, as how you measure the flour in a measuring cup can have a drastic impact on how much flour you end up with in the final product. Another common culprit for sticky loaves is a humid kitchen, so try adding a bit more flour in at the beginning.
I had this same problem and I measured all my ingredients with a kitchen scale, and it’s not particularly humid in my house. The dough was so sticky that I had to use a ton of flour just to shape it and it stuck to the adequately floured parchment. It’s the consistency of slime. I think I might use more flour next time or less water.
This bread is very high hydration– 94%! It will feel pretty slack and slimy even, but it should still bake up well. You can definitely adjust the hydration to your preferences by adding up to 1 cup of additional flour. Using the full cup will put you at 71% hydration, which is much more moderate, but you can add by feel until you get a less slack dough.
Here’s a great article on high hydration bread doughs (click here!) in case you’re interested!
I had the same situation. :(
Delicious. I almost ate the whole loaf by myself, lol.