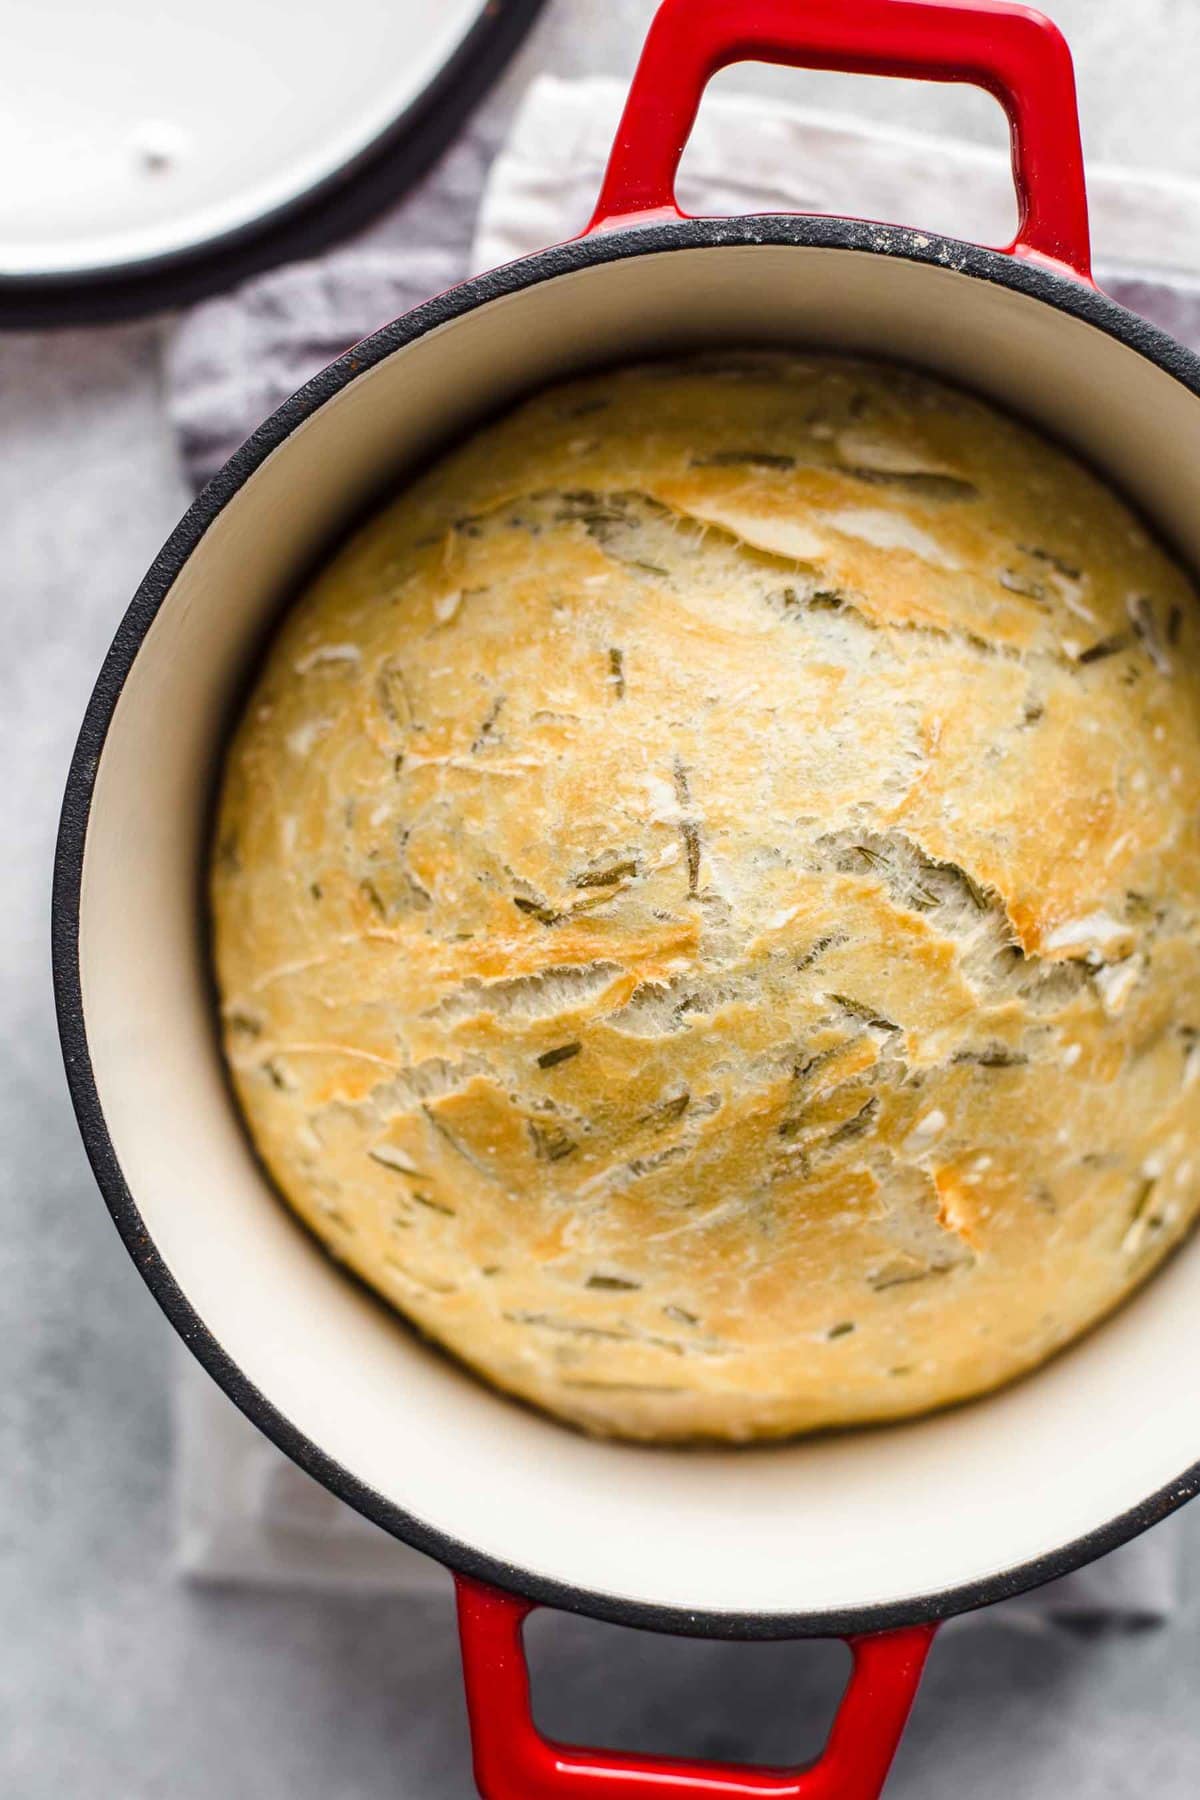
No Knead Dutch Oven Bread is such a simple way to make homemade bread. Making no knead bread in a Dutch oven is just so easy, it’s completely changed the way I think about baking bread! This rosemary bread with sea salt is simply perfect and tastes amazing. If you’re looking for an easy bread recipe, this is it!
This post may include affiliate links that earn us a small commission from your purchases at no extra cost to you.
What’s in this Rosemary Bread Recipe?
This no knead Dutch oven bread recipe couldn’t be easier. I’m using my 4½-quart Dutch oven (Cherry Red, it’s a beaut!) for this recipe. All you need to make this rosemary bread is all-purpose flour, water, yeast, sea salt, and fresh rosemary. Simple, fresh, delicious!
- All-Purpose Flour: Gives the bread structure.
- Sea Salt: Enhances the natural flavor of the bread.
- Fresh Rosemary: Adds a fresh, herbaceous flavor.
- Active Dry Yeast: Helps the bread rise!
- Water: Adds moisture to the bread.
Pro Tip: If you don’t have fresh rosemary, you can use 2-4 tablespoons of dried.
Variations on Dutch Oven No Knead Bread
You can flavor this delicious bread with just about any fresh herbs and spices you like. Sage, thyme, oregano, basil, dill… the possibilities are endless! You can also fold in up to ½ cup of freshly shredded cheese. Parmesan or mozzarella would go great with rosemary!
This no knead bread recipe is better because it is very hands off and doesn’t require a lot of guessing. With a kneaded bread, you may be left wondering if you over or under-kneaded it. This no knead recipe takes all that guesswork out!
No! This could cause oil to polymerize onto the surface of the Dutch oven, which is harmless but doesn’t look nice. Always place the bread directly in the dry oven or on a piece of parchment paper.
You should start baking with the lid on to trap moisture and help get a good rise, then remove the lid towards the end of baking to help get a crisp crust.
The loaf should be nice and browned on top and the crust should look crisp. If you gently tap on the bottom of the loaf with your finger, it should sound hollow. The proper internal temperature for baked bread is 195-210°F.
Hard bread can be the result of too little moisture, too much rise time, or baking in too hot of temperatures or for too long. Make sure to measure your flour using the spoon-and-level method to avoid adding too much, and check your oven temperature with a thermometer to ensure it is correct.
If your bread is gummy and dense, check your oven temperature. Gummy bread is usually the result of the crust forming before the bread inside has had a chance to fully expand. Turn down the oven temperature if needed!
How to Store and Reheat
Store leftover no knead Dutch oven bread in an airtight container at room temperature for up to 3 days. I do not recommend storing homemade bread in the refrigerator.
How to Freeze
To freeze this rosemary bread, cut it into individual slices, then freeze in an airtight container or tightly wrapped in plastic wrap. It will keep for up to 3 months. Remove individual slices and thaw in the refrigerator or microwave before enjoying.
Serving Suggestions
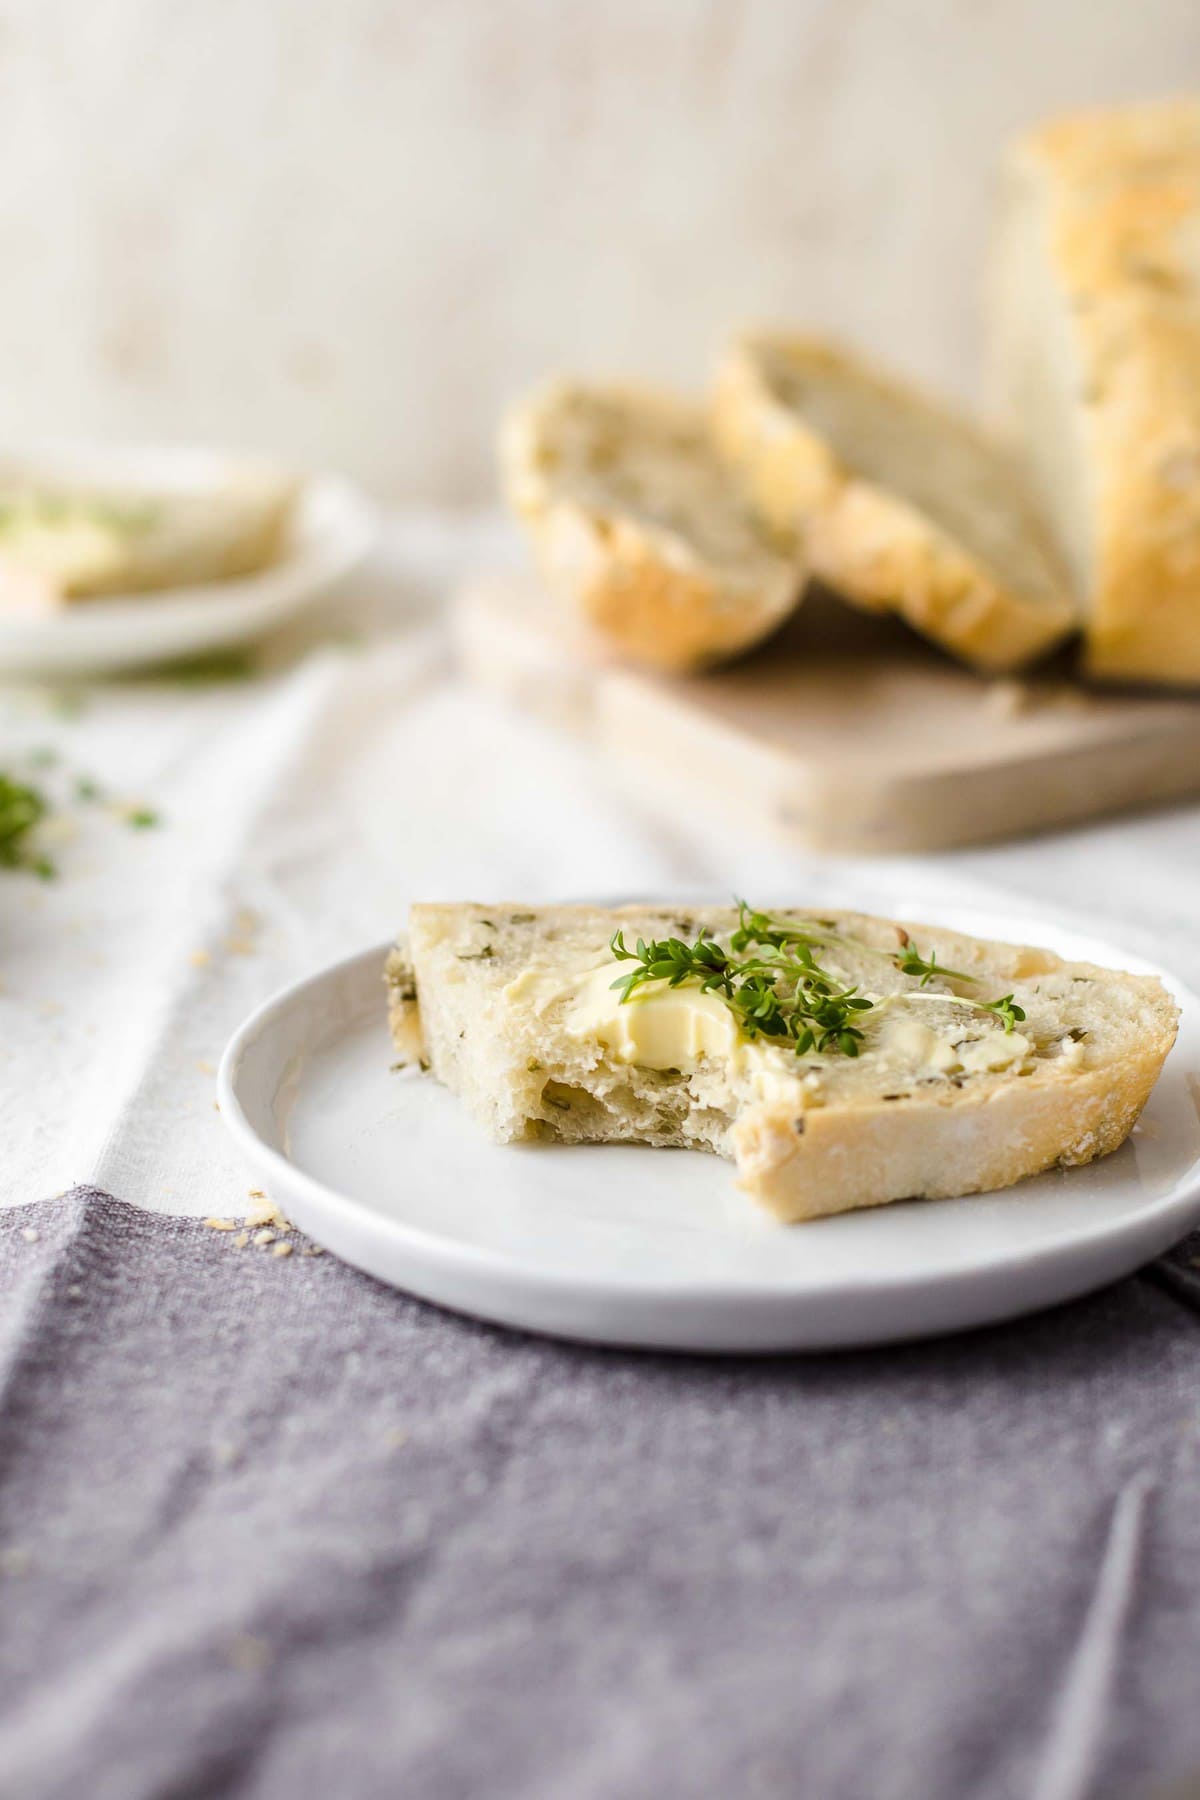
Serve this delicious no knead Dutch oven bread simply with some butter or olive oil. It’s great for eating with your favorite dips, such as Caprese dip, tomato goat cheese dip, bacon spinach dip, crab dip, or cheese fondue. You can also use it to make goat cheese crostini or tomato bruschetta!
5-Star Review
“I’ve never made bread before and it turned out amazing! my boyfriends family loved it.” – Olivia
No Knead Dutch Oven Bread (Rosemary Bread)
Equipment
- Kitchen Scale (optional)
Ingredients
- 3 cups all-purpose flour 360 grams
- 1¾ teaspoons sea salt 9 grams
- ¾ cup fresh rosemary leaves 22 grams, chopped
- ½ teaspoon active dry yeast 2 grams
- 1½ cups water 341 grams, room temperature
Instructions
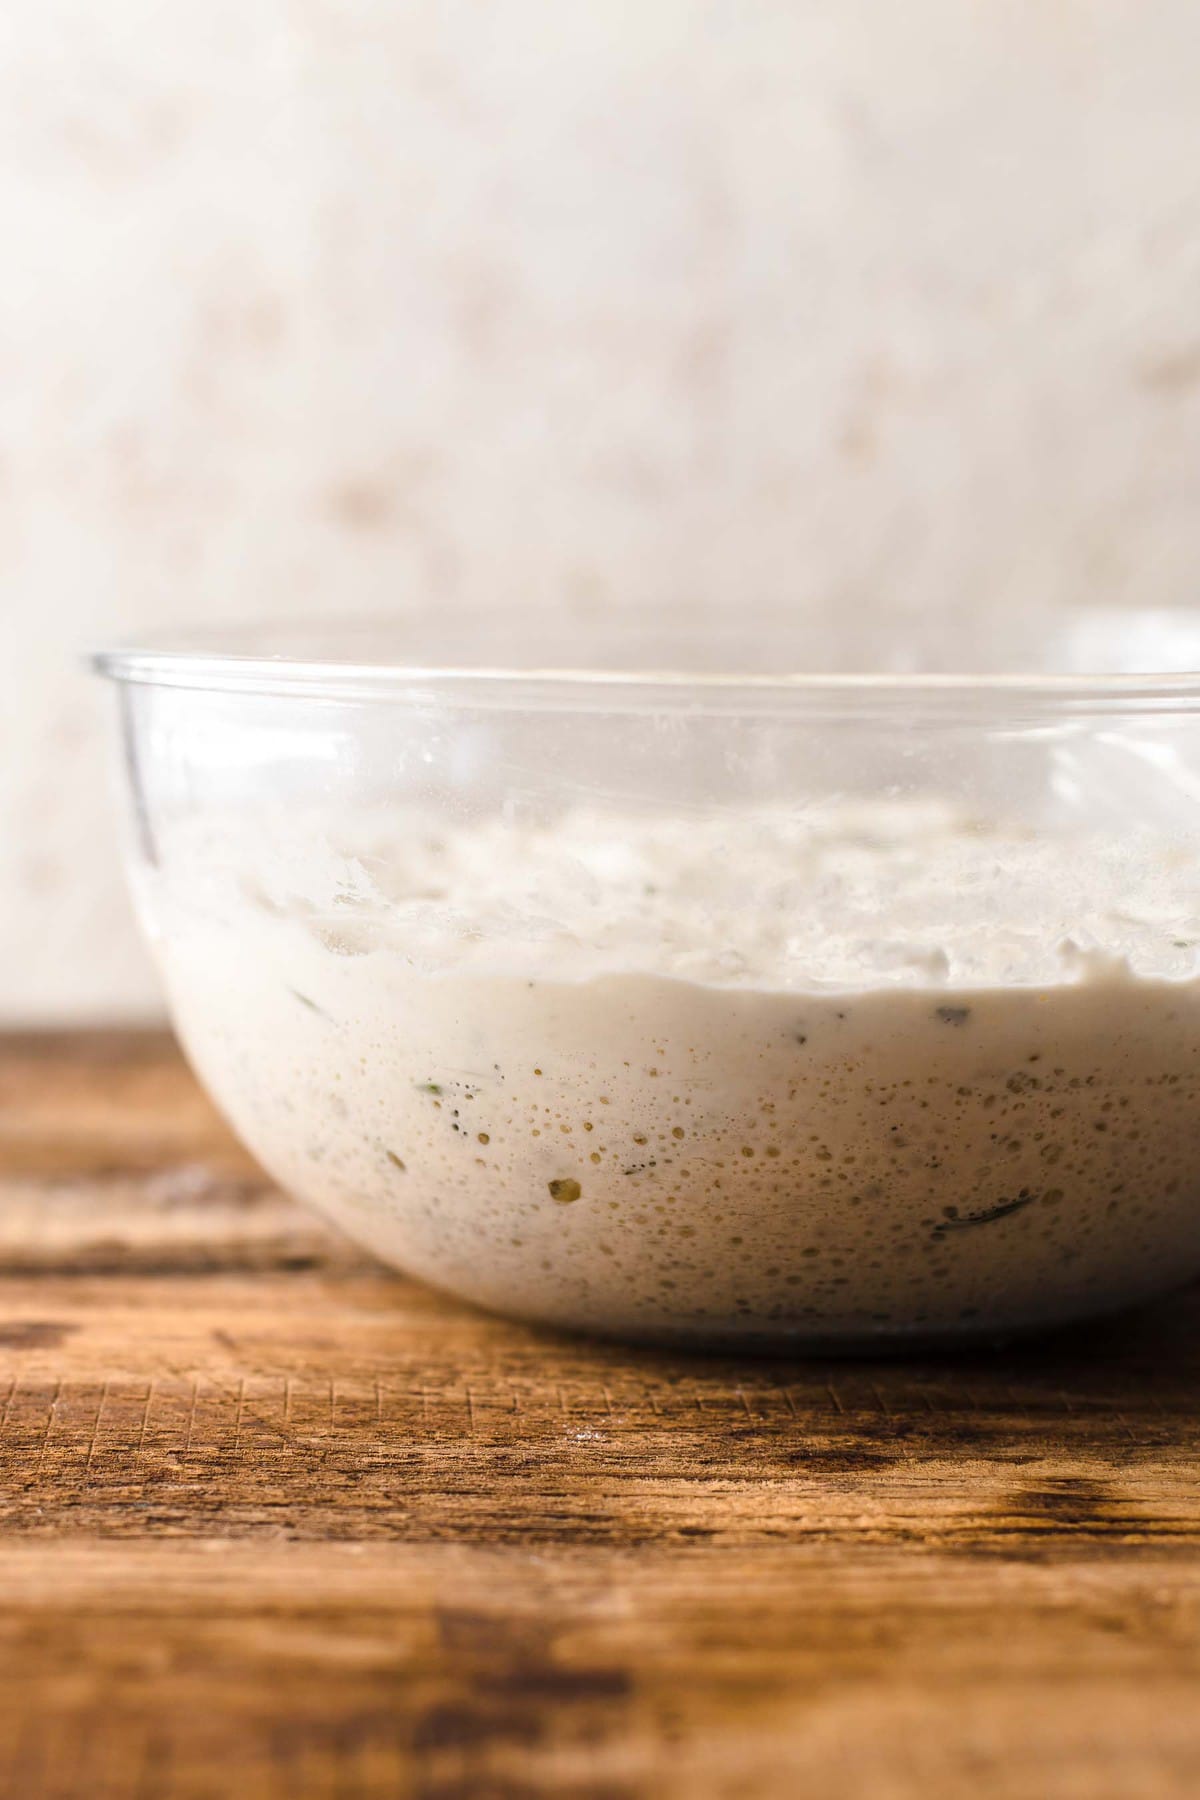
- In a large bowl, mix the flour, sea salt, rosemary, and yeast together. Mix in the water and use a spatula to blend until well combined.3 cups all-purpose flour, 1¾ teaspoons sea salt, ¾ cup fresh rosemary leaves, ½ teaspoon active dry yeast, 1½ cups water
- Cover the bowl with plastic wrap or a clean, damp dish towel and allow it to sit on the counter overnight, at least 12 hours. (patience is a virtue!)
- Preheat oven to 450°F degrees with a Dutch oven inside.
- Once preheated, carefully remove the Dutch oven from the hot oven and remove the lid from it. Use oven mitts!
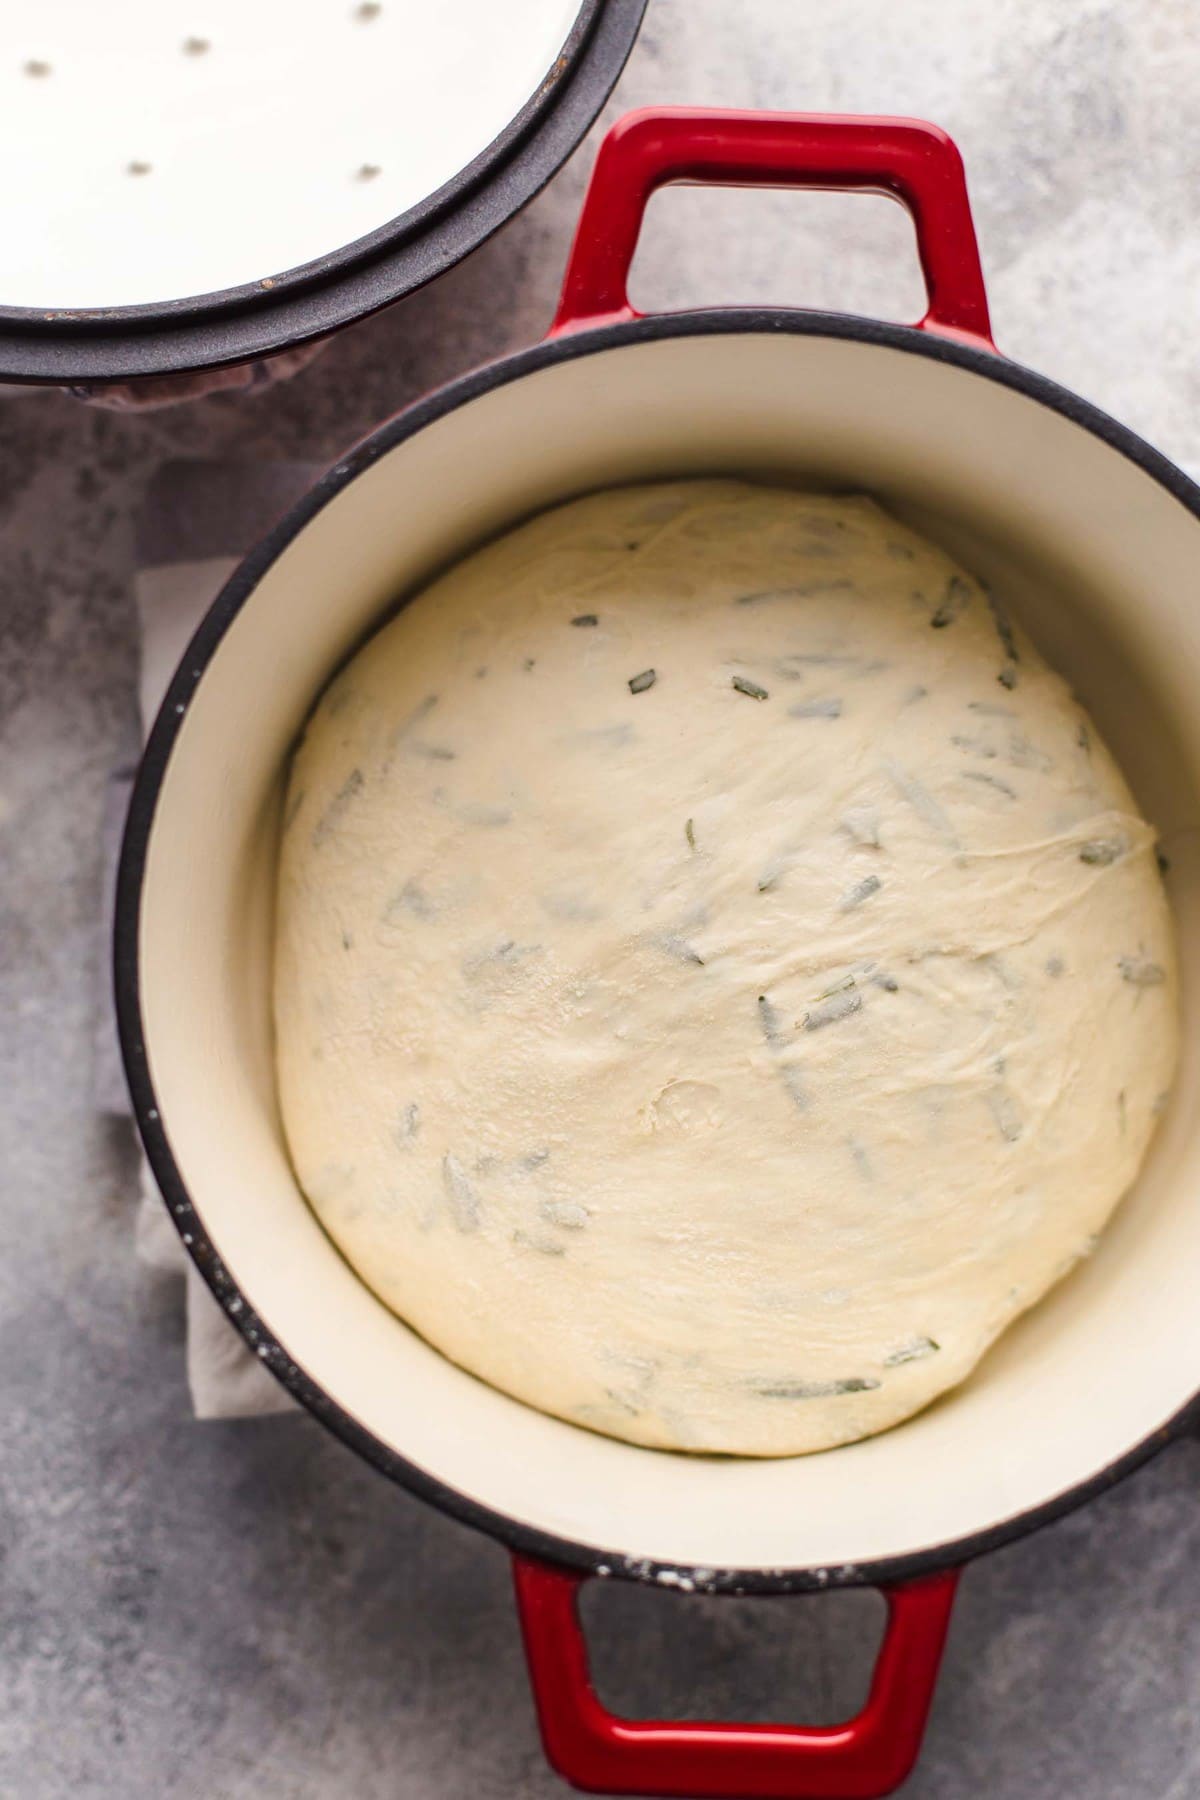
- Flour a clean work surface as well as your hands. Remove the dough from the bowl and form it into a ball. This is a no-knead recipe, but you may have to fold it a couple of times to get it to form the shape you want. Place the dough into the bottom of the Dutch Oven (be careful not to burn your hands; the cast iron will be HOT!)
- Bake for 30 minutes with the lid on, then remove the lid and bake another 15-20 minutes, until the bread is golden brown.
- Remove from the oven and allow to cool. Cut and serve! Perfect compliment for soups!
Video
Becky’s Tips
- If you don’t have fresh rosemary, you can use 2-4 tablespoons of dried.
- If, after the 12-hour rest, your dough is dense and has not doubled in side, your yeast may be expired.
Nutrition information is automatically calculated, so should only be used as an approximation.




Reporting back! I made this bread for the second time. While my first experience was better than expected, I was determined to perfect it. This time I did not coat my Dutch oven with olive oil. This resulted in a nice crust, not hard like my first try. And it didn’t stick either. I will not use olive oil to coat in the future. I also let my bread rise for 15 minutes after making it into a ball and before putting it into the pre-heated Dutch oven. My bread was perfect this time and much more risen. It’s so yummy and soft. Other things: I only used two sprigs of Rosemary; added a small bit of thyme; added chopped walnuts; and topped the loaf with smoked sea salt flake before baking. Thank you so much for this recipe. I feel like a fancy chef tonight!
Thanks for sharing with us, Sally!
I made the dough last night and hoped for the best after reading some of the flop reviews. I was sure mine would be a flop. To date, I’ve not been able to successfully make bread! Glad to report that my bread came out very edible and esthetically pleasing. The bottom was quite hard. Other than this, this recipe is a winner!
Thanks for sharing, Sally!
This is the best bread! I want to make it as rolls for thanksgiving – any suggestions?
I have not done it in roll form, that might be a bit more difficult!
Prep is time spent preparing and making the dough, cook time is how long it is in the oven. Resting time is not included.
Can you use gluten-free flour for this recipe?
You can give it a shot!
Do you grease the pot? Or the bread does not stick.
You can add a little oil!
Hi Beth, I’m wondering what about the instructions you’re finding confusing? Would love to help clarify!
I wanted so much to make this bread – love Rosemary and I grow it in my herb garden. However, I tried this twice and both times it baked just like a blob of dough in my dutch oven. Both times I followed the recipe precisely – the dough did rise over the 12 hours, but both times, as soon as I touch the dough to move it into the dutch over it deflated and baked like a blob. So disappointed. What am I doing wrong.
I am sorry to hear! Maybe be best to let it rise in the dutch oven instead of attempting a transfer!
I make this bread probably once or twice a month now since discovering this recipe! So good for grilled cheese.
Grilled cheese is delicious!
You can modify the proof time if you like!
I get it about not wanting to wait but the favor it develops in the wait time can’t be beat! Since we started waiting at least 24 hours for dough we can’t use the short time rise!
Wow wow! This recipe is a keeper! First attempt at bread and I was worried the whole time that I was screwing it up. It came out perfect. I can’t stop eating it. I probably added the exact amount of Rosemary or more honestly and it taste incredible. If you are worried about how long it will take to get the right amount of fresh Rosemary just google how to do it quickly. That’s what I did and it was very quick and easy. I LOVE this! I have been craving Rosemary bread for so long. Thank you for sharing your recipe
I am so happy to hear, Noelle!