This baked chicken fingers recipe guarantees the most perfectly crispy chicken every single time! Chicken breasts are baked with a cornflake coating for an easy appetizer or main dish. Perfect for game day entertaining.

This post may include affiliate links that earn us a small commission from your purchases at no extra cost to you.
When it comes to game day entertaining, chicken fingers are always on my list! Here’s the good news, you can skip the frying but still have amazing crispy chicken!
How to Make This Crispy Baked Chicken Fingers Recipe
Be sure to see the recipe card below for full ingredients & instructions!
- Preheat oven to 400F
- Line a baking tray with parchment paper
- Place cooling rack onto baking tray
- Spray cooling rack with non-stick cooking spray and set aside
- Cut chicken breast into strips and set aside in a large bowl.
- In a medium sized mixing bowl add crushed cereal, flour, salt and pepper, paprika, sugar and parmesan
- In a different medium sized mixing bowl add two eggs, whisked
- Add chicken strips into the mixing bowl containing the whisked egg and mix. Make sure all chicken strips are coated in the egg mixture
- One-by-one dip each chicken strip into the cereal mixture from the other bowl. Ensure chicken is fully coated in the mixture
- Place chicken strips onto the cooling rack. Make sure none of them are touching and are evenly spread out
- Bake for 20 minutes, until golden brown and cooked through
- Enjoy!


Cornflake Chicken Strip Recipe
The trick to getting these baked chicken fingers perfectly crispy is the cornflake coating. It’s a great way to add flavor and texture to the chicken without the need for frying. The ingredients in the chicken coating are:
- Cornflakes
- Flour
- Egg
- Salt and pepper
- Sweet paprika
- Parmesan
Once baked, the chicken strips are perfectly golden brown, juicy and crispy.
What do you serve with Crispy Baked Chicken Fingers?
These fingers can be served as a main or as an appetizer. Serve as a main with salad, veggies or a potato side dish. For an appetizer, I like to serve them with a selection of dips like;
- Herb Cream Cheese Dip (Herb Coeur a La Creme)
- Smoky Blue Cheese Dip Recipe
- Mexican Street Corn Dip Recipe (Hot Mexican Corn Dip)
- Loaded Rotel Dip (Velveeta Cheese Dip!)


What’s the best chicken to use for chicken fingers?
I like to use chicken breast for this recipe, you simply need to cut it into strips before breading it. You can also use chicken tenders if you can get them and they can be slightly ore expensive. Use chicken that i free run / organic if you can and one that hasn’t been raised on antibiotics.
Top Tips To Make Crispy Baked Chicken Fingers
- Be sure to spray your rack with cooking oil so the chicken doesn’t stick.
- When dredging the chicken, try and keep one hand wet and one dry so you don’t get to messy.
- When placing the chicken fingers on the rack, make sure that they aren’t touching.
- Serve immediately and enjoy!
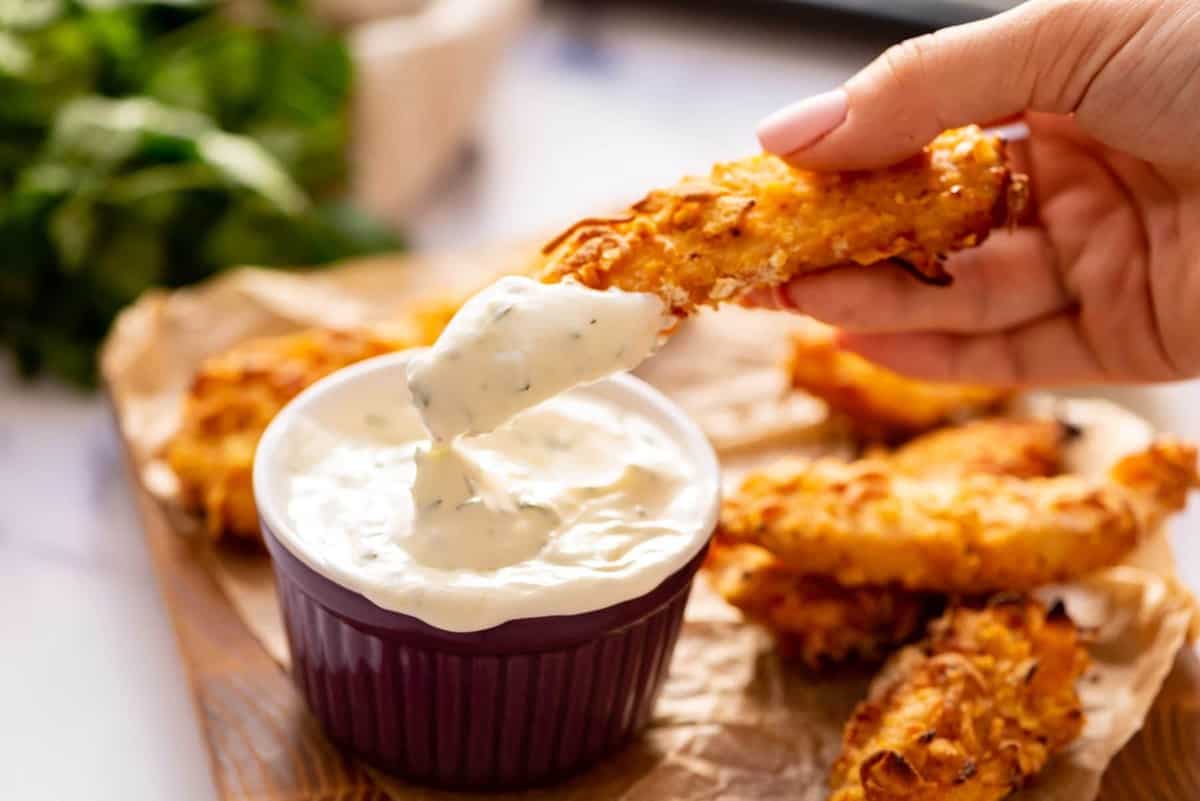
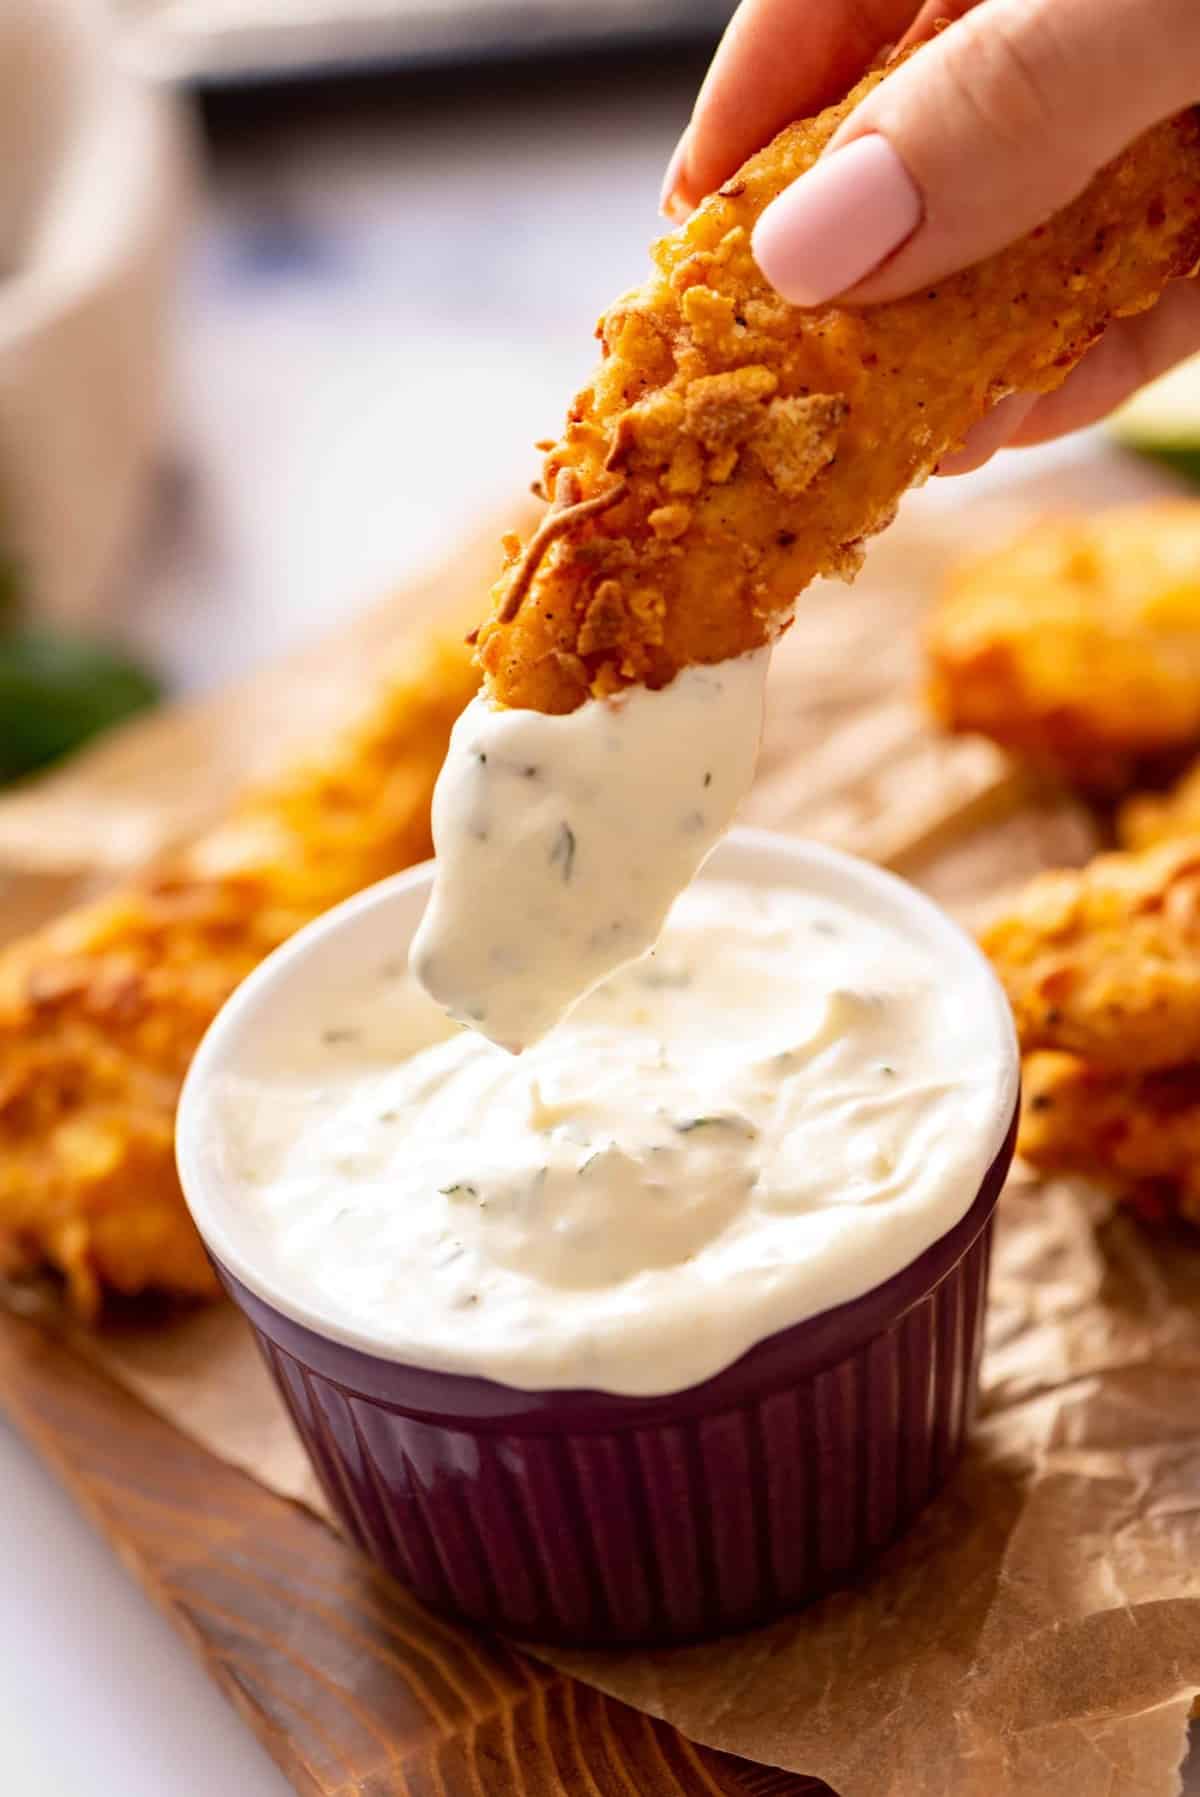
These crispy baked chicken fingers are so delicious! It’ll be your kids favorite dinner, but you’ll want to sneak a few for yourself too. And if you serve them up at a party, make sure you have plenty of dipping sauces!
For More Appetizer Recipes:
- Easy Bacon Wrapped Shrimp Appetizer Recipe
- Crock Pot Kielbasa Sausage Bites Appetizer
- Cheesy Asparagus Crescent Roll Appetizers
- Garlic Parmesan Chicken Wings Recipe
- Mini Bacon Ranch Cheeseball Bites
If you make this recipe be sure to upload a photo in the comment section below or leave a rating. Enjoy!
Crispy Baked Chicken Fingers

Ingredients
- 2 Chicken breasts
- 1 cup corn flakes crushed
- 1 cup all flour
- 1 egg
- ½ tsp salt
- ½ tsp black pepper
- 1 tsp sweet paprika
- ¼ cup grated parmesan
Instructions
- Preheat oven to 400F
- Line a baking tray with parchment paper
- Place cooling rack onto baking tray
- Spray cooling rack with non-stick cooking spray and set aside
- Cut chicken breast into strips and set aside in a large bowl.
- In a medium sized mixing bowl add crushed cereal, flour, salt and pepper, paprika, and parmesan
- In a different medium sized mixing bowl add two eggs, whisked
- Add chicken strips into the mixing bowl containing the whisked egg and mix. Make sure all chicken strips are coated in the egg mixture
- One-by-one dip each chicken strip into the cereal mixture from the other bowl. Ensure chicken is fully coated in the mixture
- Place chicken strips onto the cooling rack. Make sure none of them are touching and are evenly spread out
- Bake for 20 minutes, until golden brown and cooked through
- Enjoy!
Video
Nutrition information is automatically calculated, so should only be used as an approximation.


The recipe says 2 chicken breasts. I guess we have to cut them up into tenders? How many 8 maybe?
We would cut them into about 6 per chicken breast! You can see an example in the video!
I am sorry it didn’t work out for you!
Making this tonight. I noticed that sugar is mentioned in step 6, but not in the ingredients. Then in the video, it shows you adding mozzarella, but the ingredients say Parmesan. I’m so confused….
I am fixing the recipe now! Thanks for catching that!
Quick question. Directions, step #6 mentions sugar, but the ingredients do not.
So sorry!! I’m fixing the recipe now! Thank you for bringing that to my attention!
I will likely make this recipe soon; I love that there are only two coating steps! My current recipe has flour, then egg, then the coating. Too much work! Also looking forward to using corn flakes. I haven’t tried that before either. And I like the idea of using a cooling rack to cook on – genius! FYI the ingredient list says one egg but the instructions and video say two. No big deal, I’ll start with one and add one if needed. Also, the video graphic says mozzarella, not parmesan.
My family really loved it!! Such a huge hit at my house!
I’m so glad you all loved them so much!
These are perfectly crispy! We loved them!
Yay! That makes me so happy! I’m so glad you all loved them!
love these so much!
Thank you, Rachael!!