These old-fashioned cream cheese mints are so easy to make and so fun to eat. These little candies are chewy, creamy, sweet, and perfectly pepperminty. Make any color to match the occasion, from weddings to Christmas, or any festive parties.
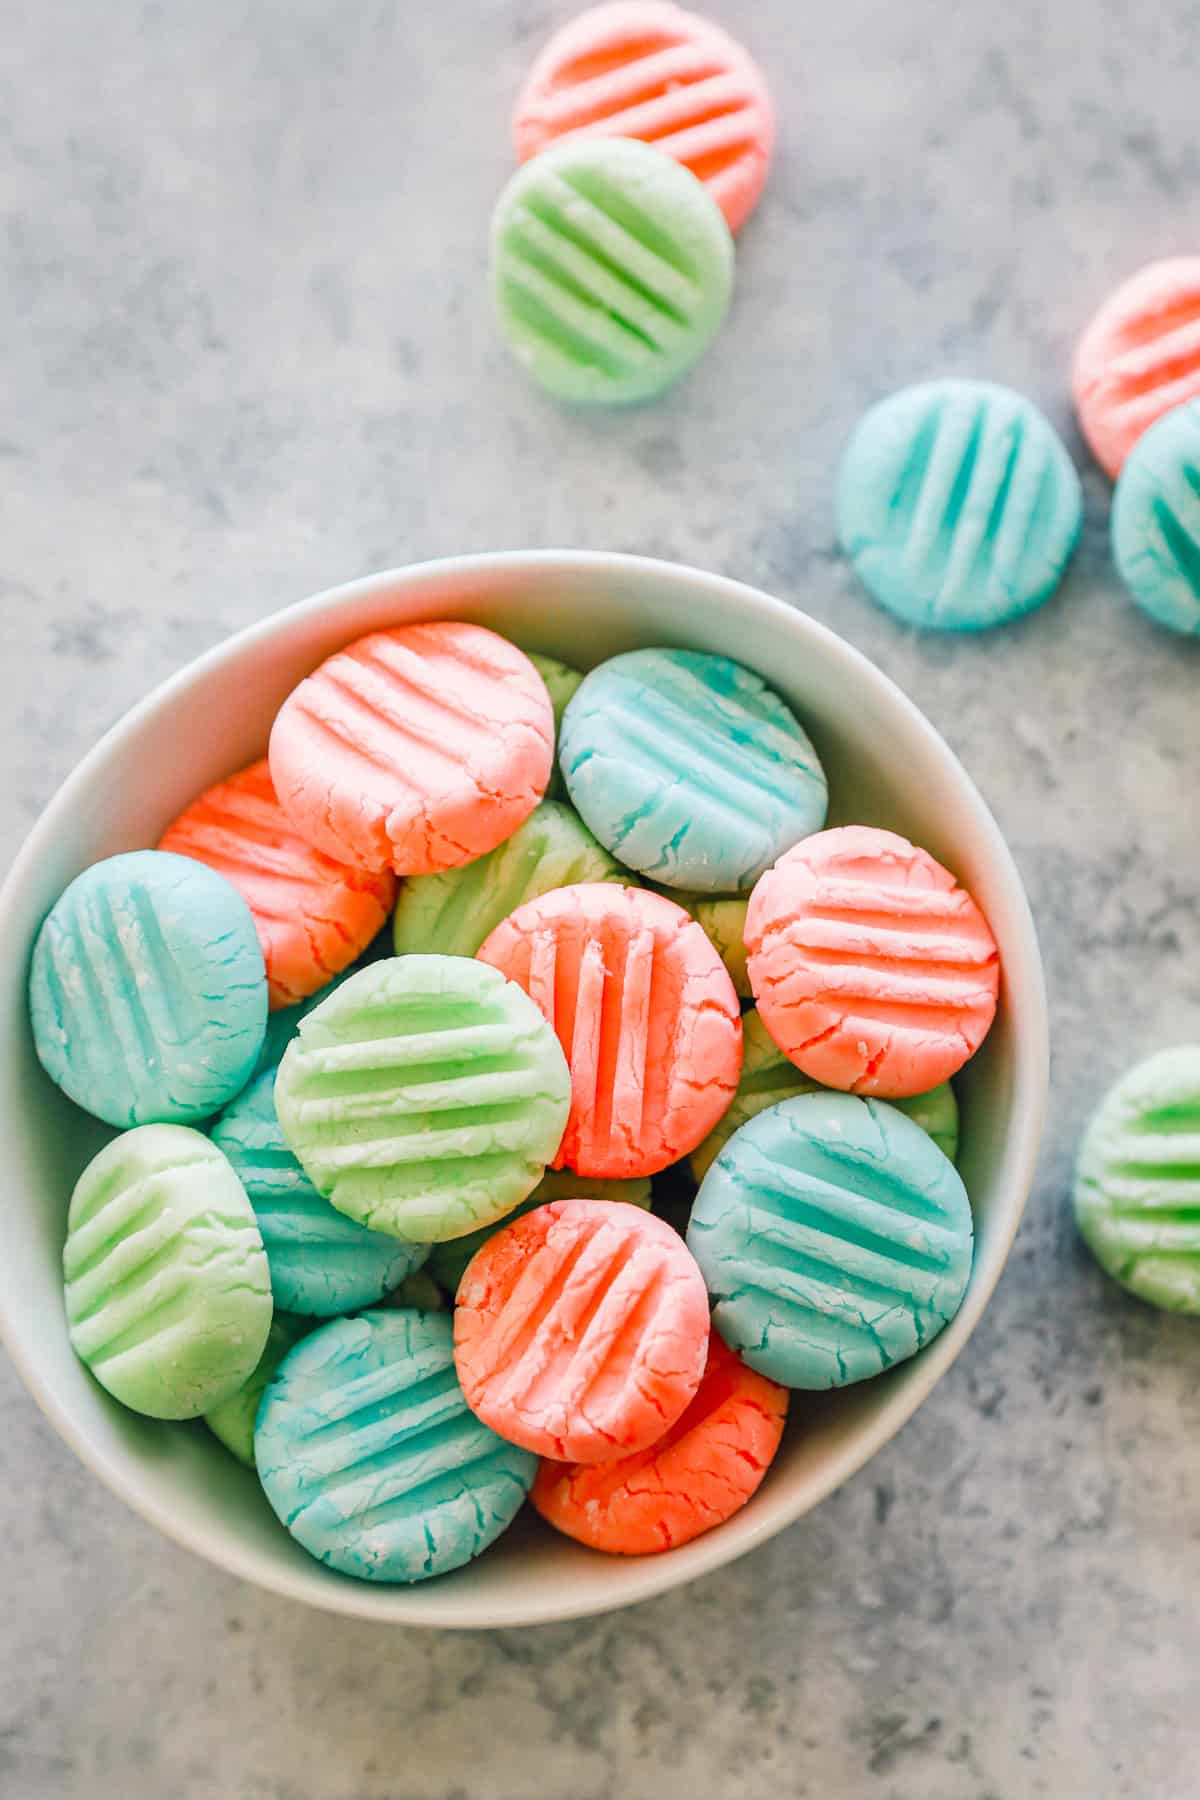
Cream Cheese Wedding Mints
This cream cheese mints recipe is one you’ll want to have on hand when preparing for parties and holidays. They’re so simple, so fun, and so tasty! They have an addictively chewy texture, with a slightly sweet and pepperminty flavor.
You only need a handful of ingredients, and there’s no baking or cooking required. Make a bunch of these in any color you like, and hand them out for your next big celebration.
Why You’ll Love this Cream Cheese Mints Recipe:
- Simple Ingredients: You’ll most likely have all of these ingredients in your fridge or pantry, so there won’t be a large shopping list.
- Big Batch: This recipe makes a lot of mints, so there will be plenty to go around. And you can easily make more if needed.
- Party Perfect: These old-fashioned cream cheese mints are traditional wedding treats, but they’re great for all kinds of holidays and celebrations.
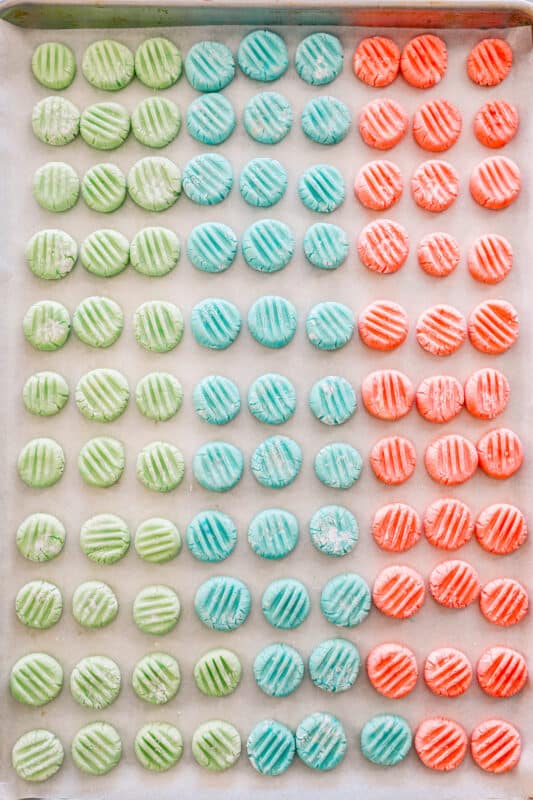
Use any colors you like to match the holiday or party colors. Red and green would be great for Christmas, use pink or blues for baby showers, or just make whatever colors you like.
How to Make Cream Cheese Mints
You can jump to the recipe card for full ingredients & instructions!
- Combine cream cheese, butter, salt, and extracts until smooth, then mix in powdered sugar until you get a doughy consistency.
- Separate the dough into bowls, and mix in food coloring. Then chill the dough.
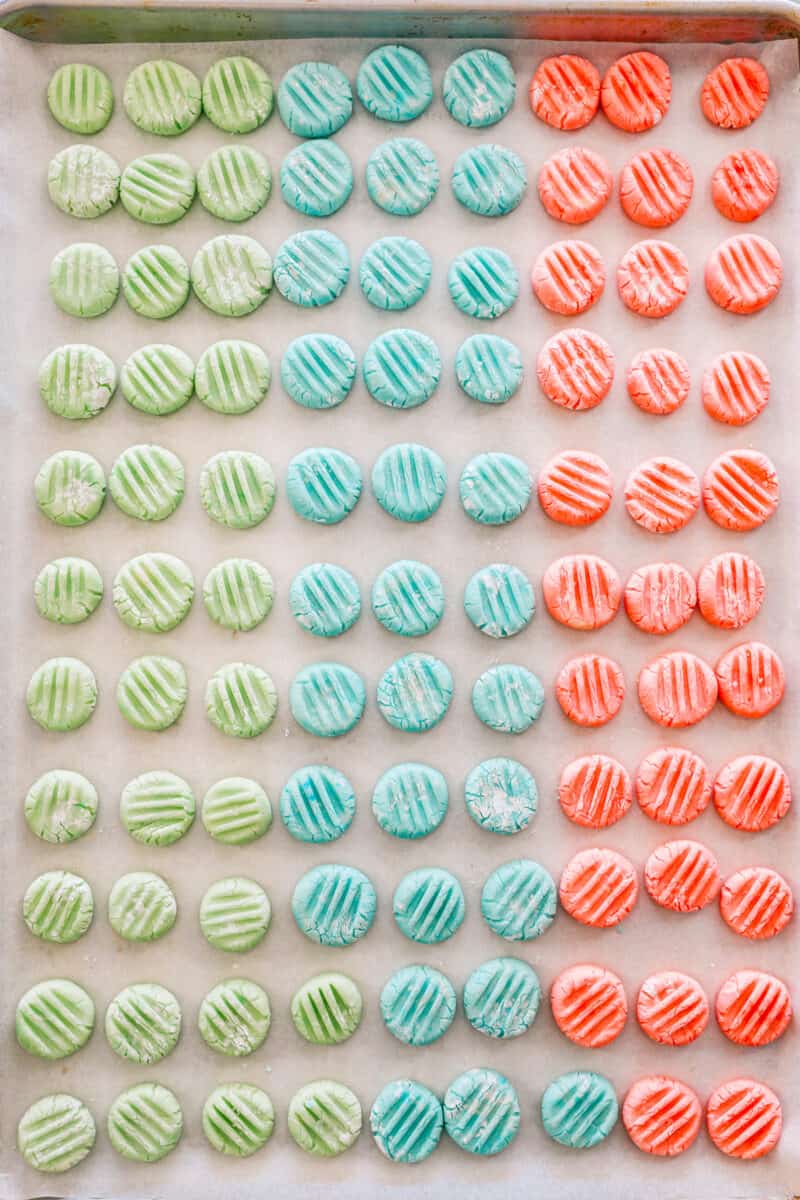
- Use a small amount of dough (about a teaspoon) to roll into balls (the individual mints), and place them in a parchment lined baking tray.
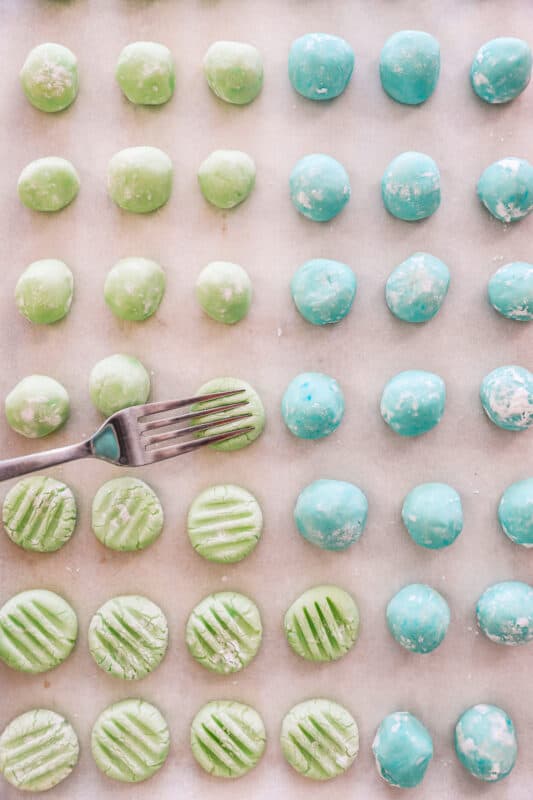
- Dip a fork in powdered sugar and press into each mint to gently flatten and create the lined design.
- Let the mints dry out, then store and refrigerate.
6 Ingredients
- Cream Cheese: This should be softened before using. I don’t recommend using a low-fat cream cheese because it won’t have the same texture.
- Butter: Be sure to use unsalted butter, also softened.
- Salt: Just a little bit of kosher salt for flavor.
- Flavor Extracts: This recipe is using vanilla and peppermint extracts for flavor. You can swap them out for lemon, almond, or other extracts of you prefer.
- Powdered Sugar: This helps create the right consistency for the cream cheese mints.
- Food Coloring: You can use any colors you like, or skip food coloring if you want white mints.
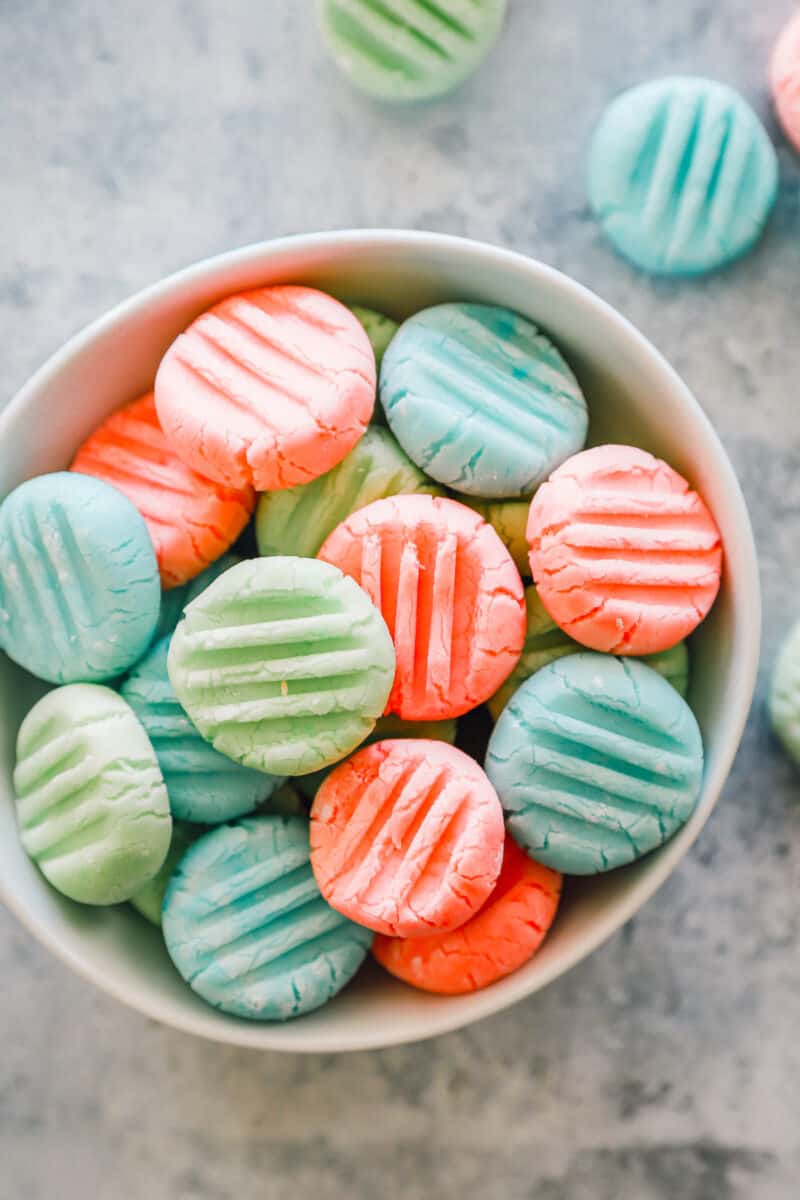
These mints are creamy and sweet with notes of peppermint and vanilla.
Yes, you can make these in silicone molds. Simply roll the dough balls into granulated sugar, then press them into the mold. Invert the mold, and the mints should pop out.
I recommend planning for 2-3 mints per person. This recipe will comfortably feed 35 people.
I do not recommend making these mints with low-fat cream cheese, as they will not taste as rich and the texture may be negatively affected.
Yes! These mints contain real cream cheese, which should always be stored in the refrigerator.
I do not recommend letting these mints sit out for more than 2 hours at room temperature.
Yes! These mints freeze well when stored properly in an airtight container (with parchment between each layer) for up to 1 year. Let thaw at room temperature for 30 minutes before enjoying.
If peppermint isn’t your favorite flavor, you can use different extracts. Lemon is a great option, or you can stick with just pure vanilla.
For parties, wrap a handful of cream cheese mints in small sachet bags to handout with gift bags, or place around the tables.
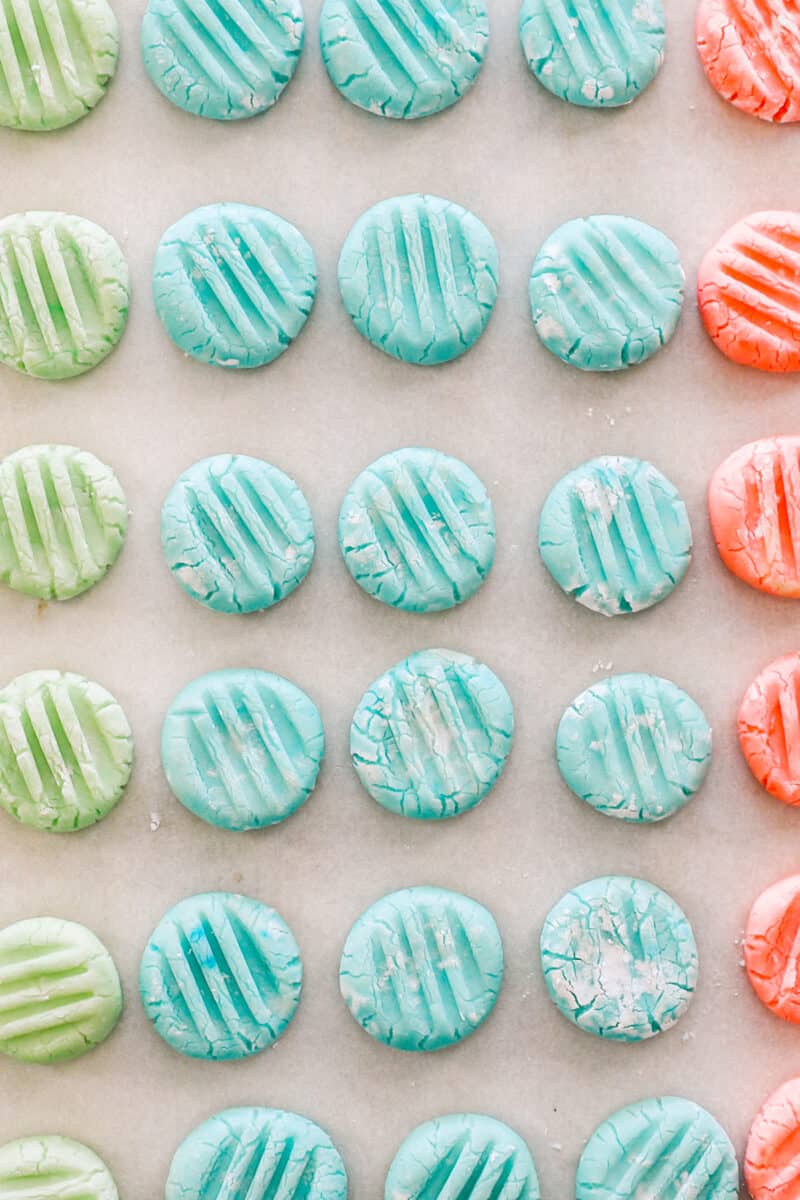
Make Ahead Instructions
These cream cheese mints are a great make-ahead recipe! They keep well in the refrigerator for up to 2 weeks or in the freezer for up to 1 year.
Storage Instructions
Store leftover cream cheese mints in an airtight container with parchment between the layers for up to 2 weeks. Enjoy cold or at room temperature.
Freezing Instructions
Freeze cream cheese mints in an airtight container with parchment between the layers for up to 1 year. Let thaw at room temperature for 30 minutes before enjoying.
Variations
- Feel free to use any color food coloring you like to make these festive for holidays, weddings, or graduations!
- You can also shape these mints with a silicone mold, cookie press, or pipe them into kiss shapes!
- You can change up the flavor by swapping the peppermint extract for almond, lemon, orange, or butter extract!
Tips for the Best Cream Cheese Mints
- Use room temperature ingredients for the best results.
- Add enough powdered sugar that the mix begins to pull away from the sides of the bowl; it may be tacky, but it should not be sticky.
- If the mix is too sticky, add more powdered sugar.
- Be sure to dip your fork in powdered sugar to prevent the mints from sticking and breaking apart.
More Pantry Staples Recipes We Love
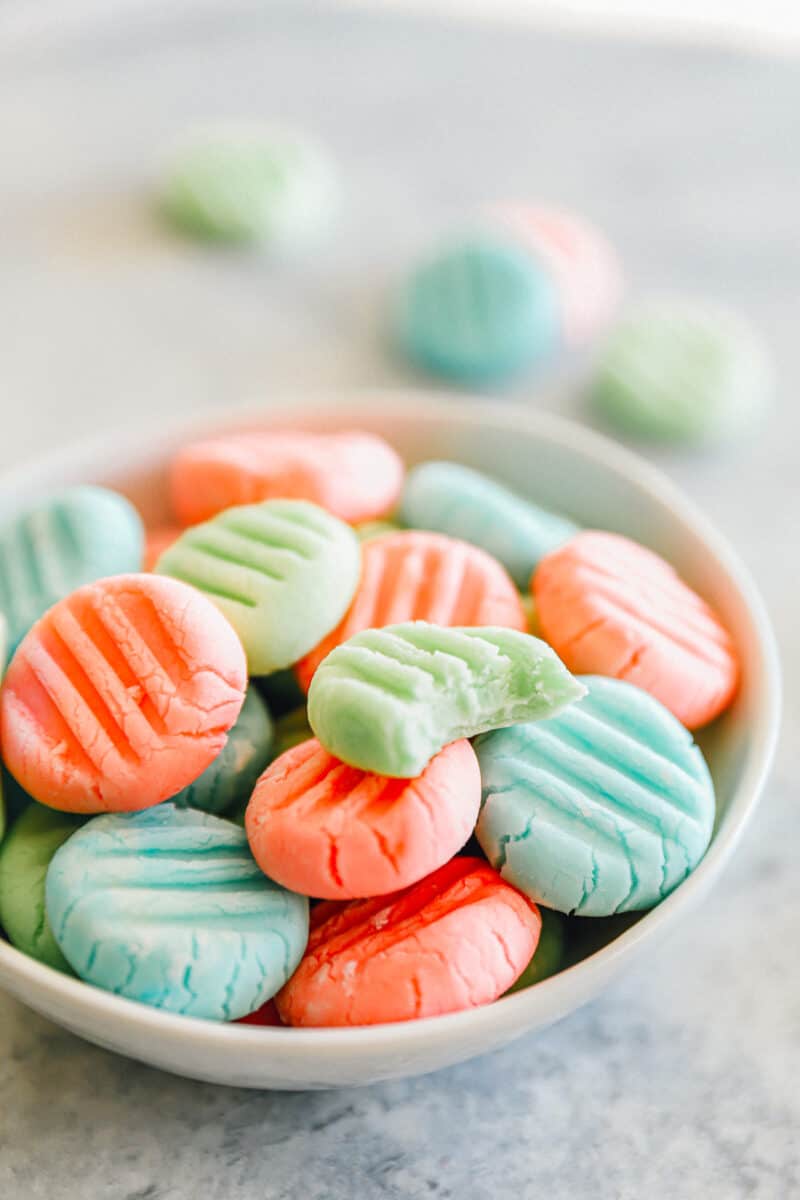
These easy, colorful cream cheese mints are such a fun thing to make. Whether you use them for a wedding, Christmas, or any other celebration you have in mind, they’re sure to be a hit.
More Holiday Dessert Recipes to Try:
- Gingerbread Kiss Cookies
- Chocolate Pound Cake
- Pumpkin Pie
- Gooey Butter Cake
- M&M Brownie Cookies
- Coconut Cream Pie
If you make this recipe be sure to upload a photo in the comment section below or leave a rating. Enjoy!
Cream Cheese Mints Recipe
Equipment
- Kitchen Scale (optional)
- Hand Mixer
- Baking Sheet
Ingredients
- 8 ounces cream cheese 227 grams, room temperature (1 brick)
- 2 tablespoons unsalted butter 28 grams, room temperature (¼ stick)
- ½ teaspoon kosher salt
- ½ teaspoon pure peppermint extract 2 grams
- ½ teaspoon pure vanilla extract 2 grams
- 2 pounds powdered sugar 908 grams, plus more for dipping
- Food coloring red, blue, and/or green
Instructions
- In a large bowl, use a hand mixer to beat the cream cheese, butter, salt, and peppermint and vanilla extracts together until smooth.8 ounces cream cheese, 2 tablespoons unsalted butter, ½ teaspoon kosher salt, ½ teaspoon pure peppermint extract, ½ teaspoon pure vanilla extract
- Add in the powdered sugar, about ½ cup at a time, mixing after each addition until the mixture reaches a play-doh-like consistency. You may not need all of the powdered sugar.2 pounds powdered sugar
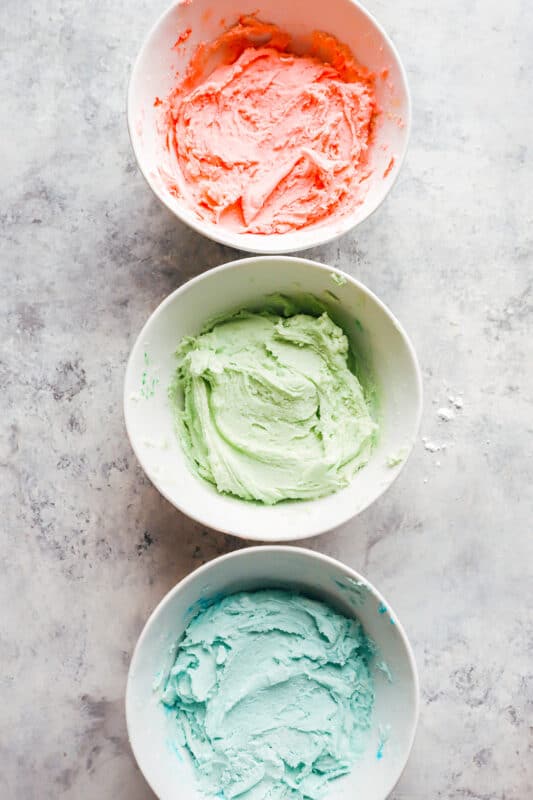
- Divide the dough equally among 3 bowls (about 389 grams per bowl).
- Add in 1-2 drops of food coloring to each of the bowls and mix until evenly incorporated.Food coloring
- Chill the dough for at least 30 minutes, so it’s easier to handle.
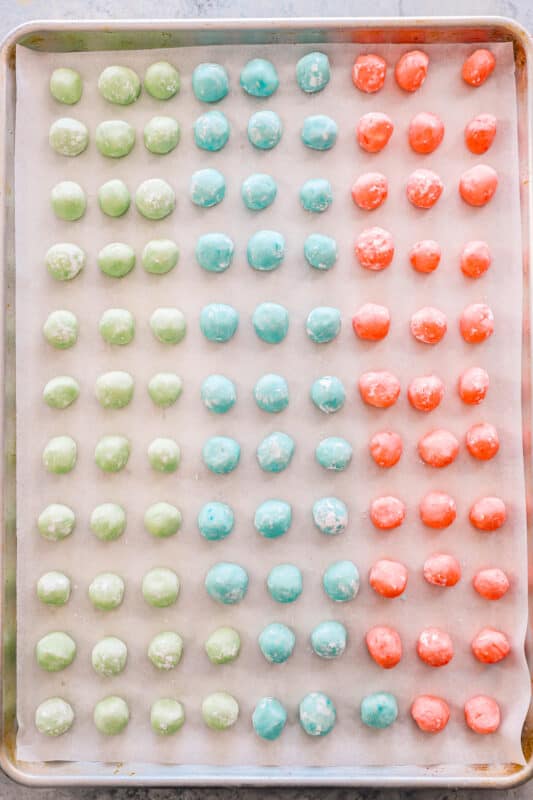
- Use a teaspoon to take a portion of dough. Roll in your hands to form small balls. Place the balls on a baking sheet lined with parchment paper.
- Dip a fork into powdered sugar, then gently push down on the mints with the fork.
- Let the mints dry out on the sheet pan for a few hours, then transfer to an airtight container in the refrigerator to store.
Video
Becky’s Tips
- Feel free to use any colored food coloring you like to make these festive for holidays, weddings, or graduations!
- You can also shape these mints with a silicone mold, cookie press, or pipe them into kiss shapes!
- You can change up the flavor by swapping the peppermint extract for almond, lemon, orange, or butter extract!
- Use room temperature ingredients for the best results.
- Add enough powdered sugar that the mix begins to pull away from the sides of the bowl; it may be tacky, but it should not be sticky.
- If the mix is too sticky, add more powdered sugar.
- Be sure to dip your fork in powdered sugar to prevent the mints from sticking and breaking apart.
Nutrition information is automatically calculated, so should only be used as an approximation.





It turned out great! (Meant to be 5 stars but accidentally put 4)
They turned out great! I used lemon, strawberry, and coconut extract. I strongly recommend anyone who is making them to use coconut extract instead with coconut shreds.