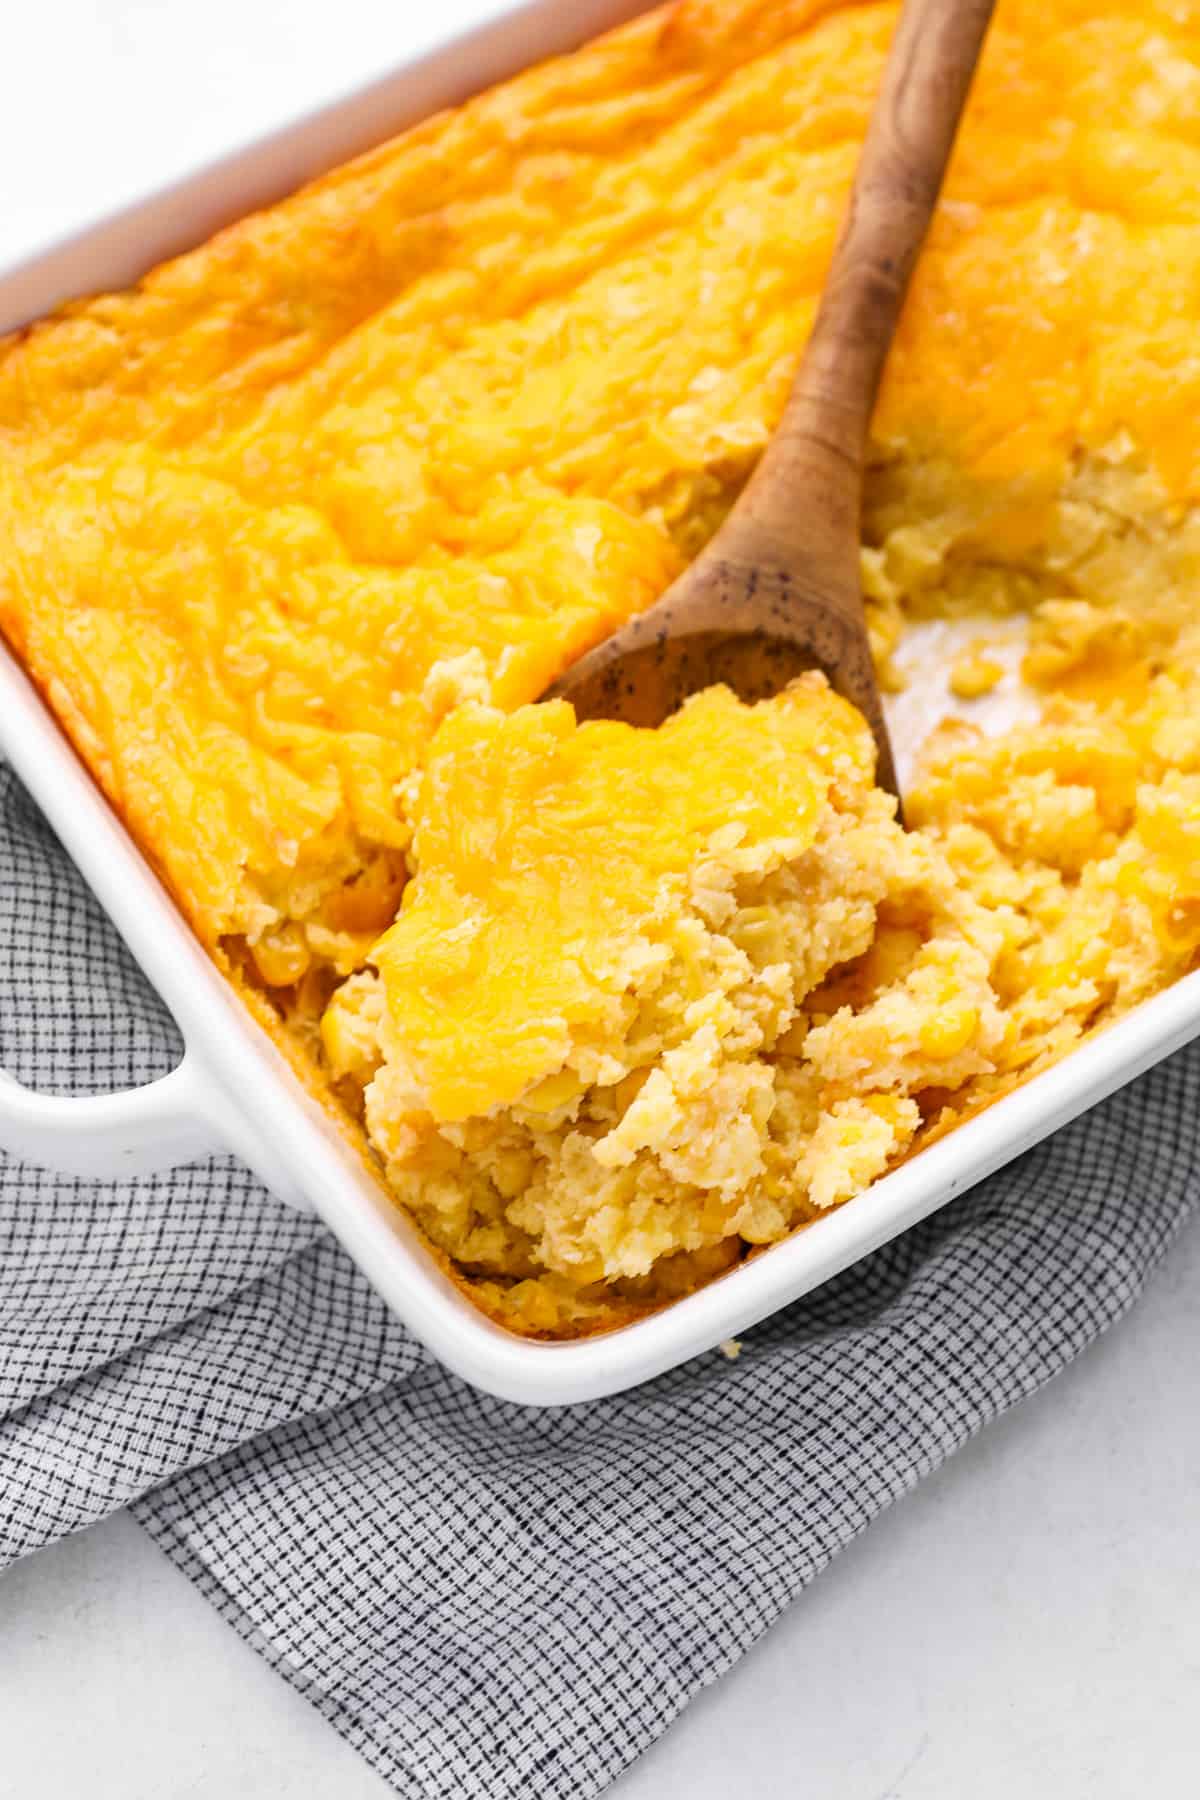
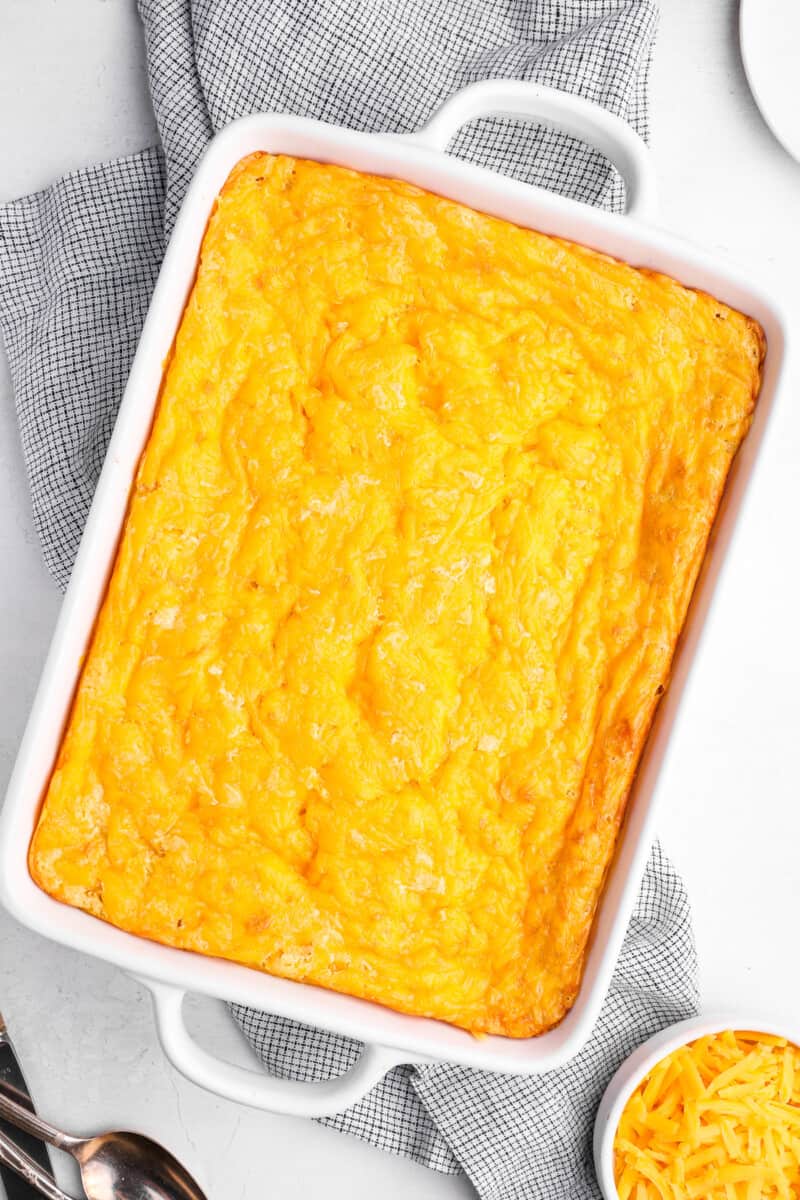
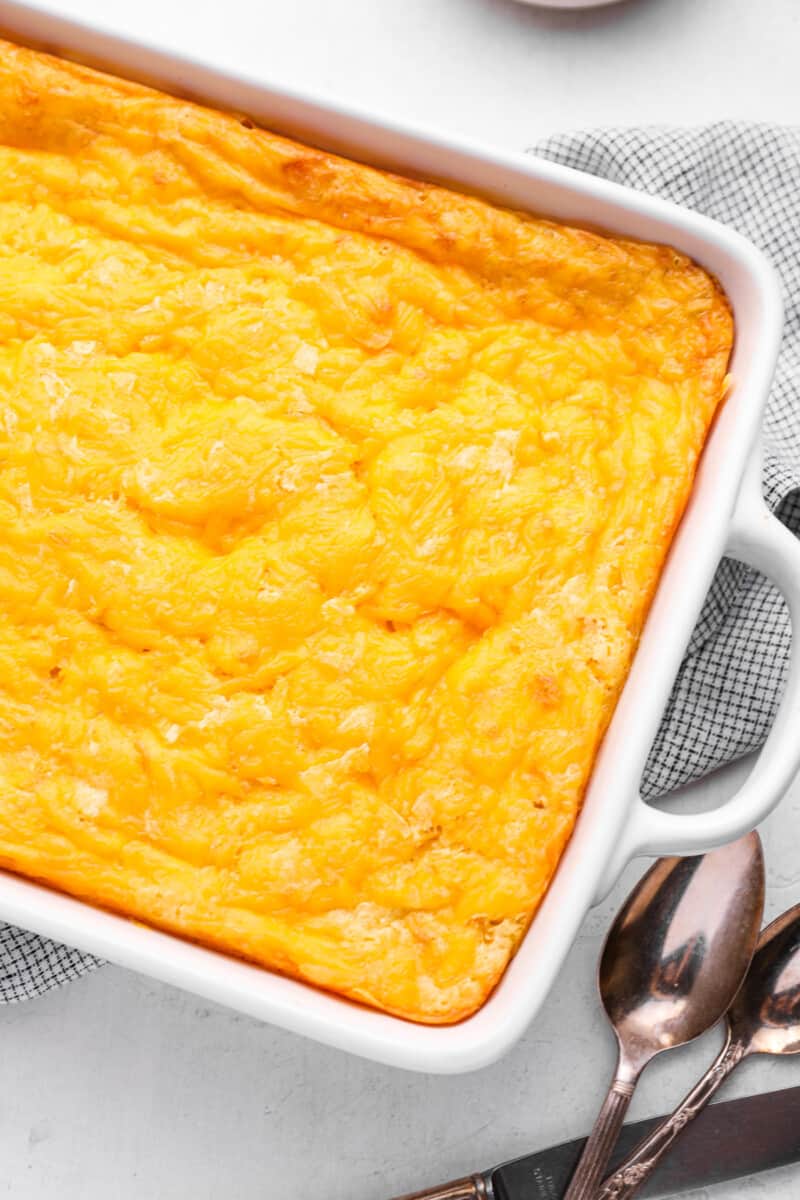
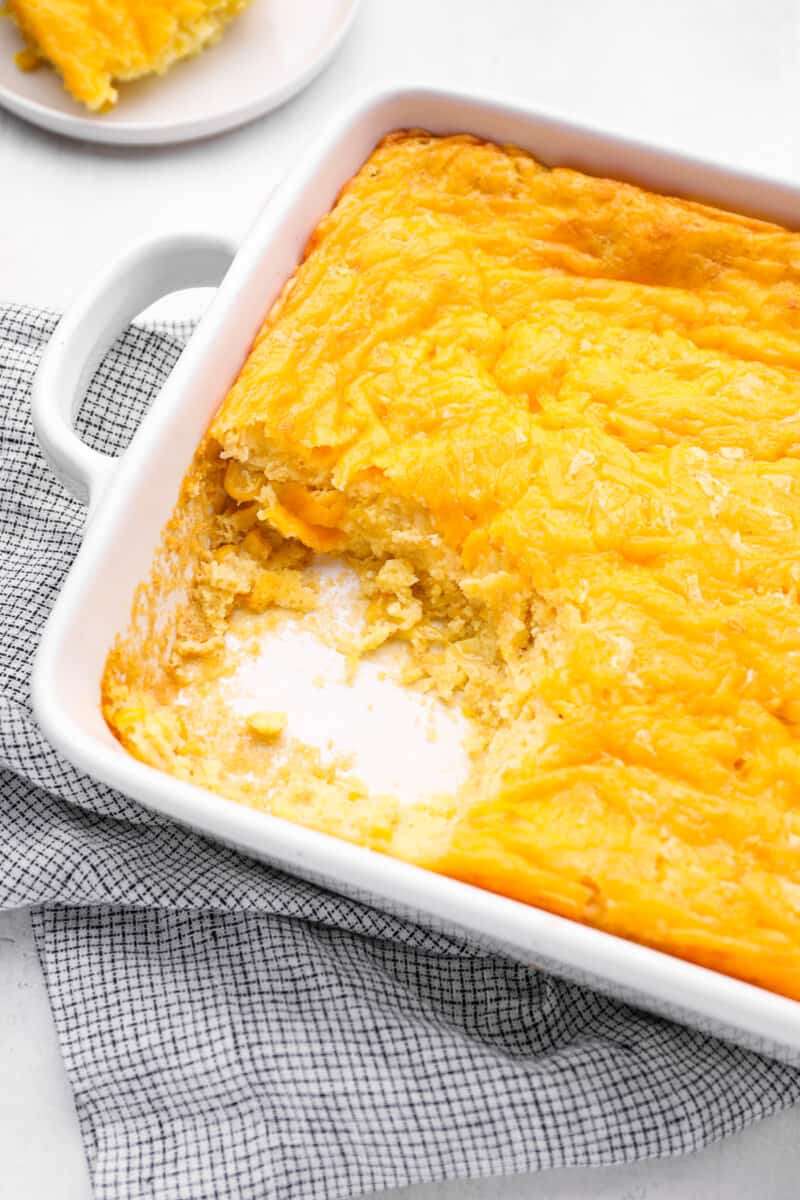
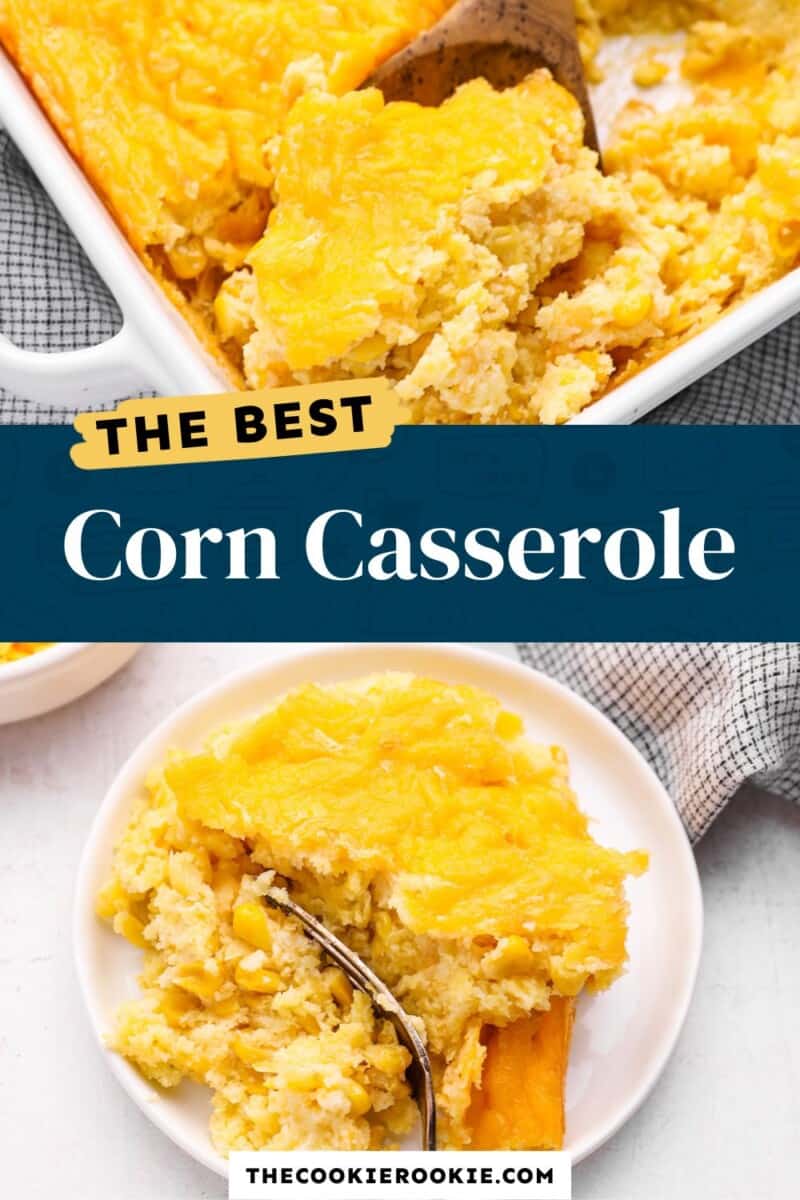
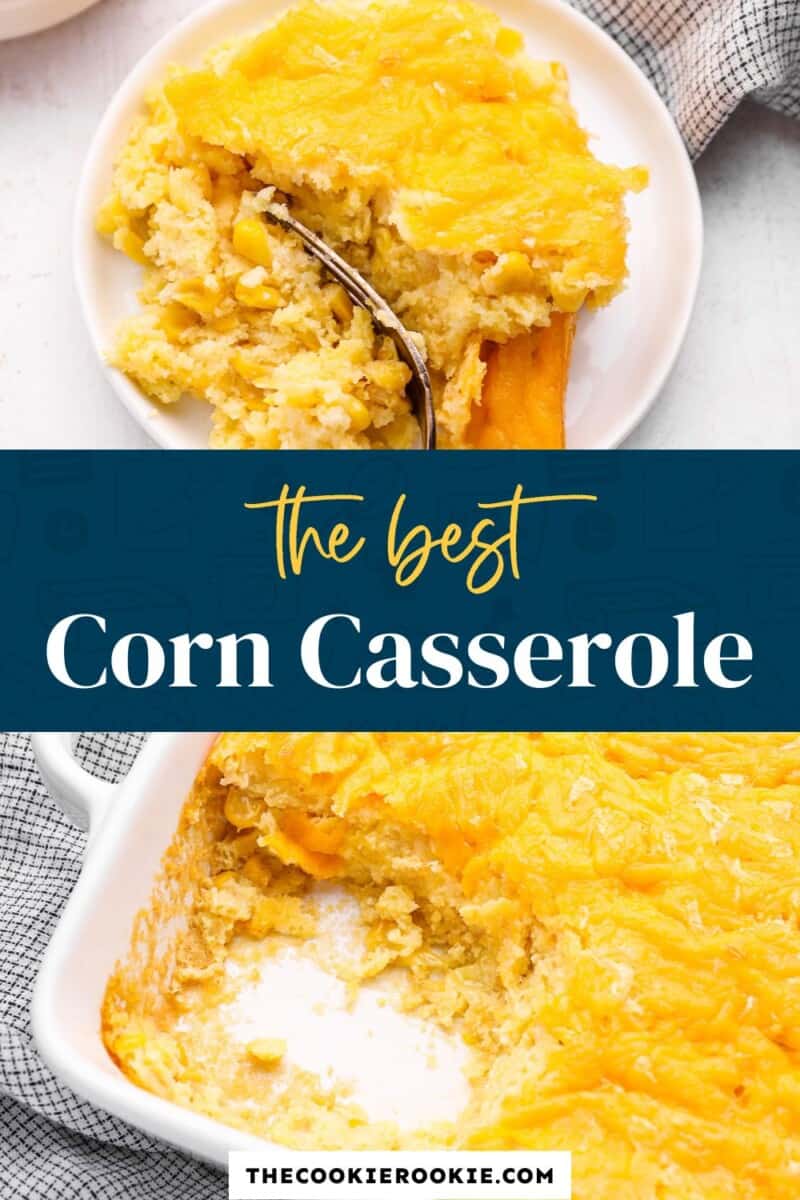
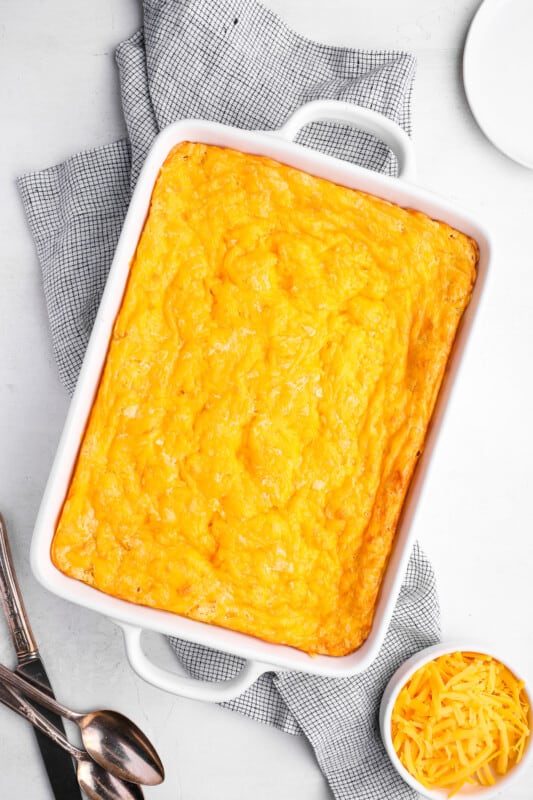
This easy Jiffy corn casserole recipe is light and fluffy with sweet, creamy corn and savory cheese. It’s low maintenance, packed with flavor, and it’s the perfect side dish for any holiday meal!
This post may include affiliate links that earn us a small commission from your purchases at no extra cost to you.
Jiffy Corn Casserole
That’s right! We used a box of Jiffy corn muffin mix to make this delicious and cheesy corn casserole. It not only cuts down on cooking time but creates a dreamy, muffin-like texture that will have you savoring every bite.
Serve this perfect side dish at your next Thanksgiving dinner, Christmas dinner, or at any holiday table this year — we bet it won’t last long!
Why You’ll Love this Corn Casserole Recipe:
- Easiest Side Dish: This easy corn casserole recipe uses simple ingredients and can be made in just a few short steps.
- Great Taste: Packed with creamy, cheesy, and semi-sweet flavors, this savory side dish will not disappoint!
- Crowd Favorite: This staple side dish will be an instant crowd-pleaser, whether you’re serving it for a holiday dinner or as a quick weeknight meal.
Trademark Note: In the spirit of transparency, I want to note that some of these ingredients are trademarked products. Jiffy is a proprietary brand that I want to acknowledge and give credit to.
How to Make Corn Casserole
You can jump to the recipe card for full ingredients & instructions!
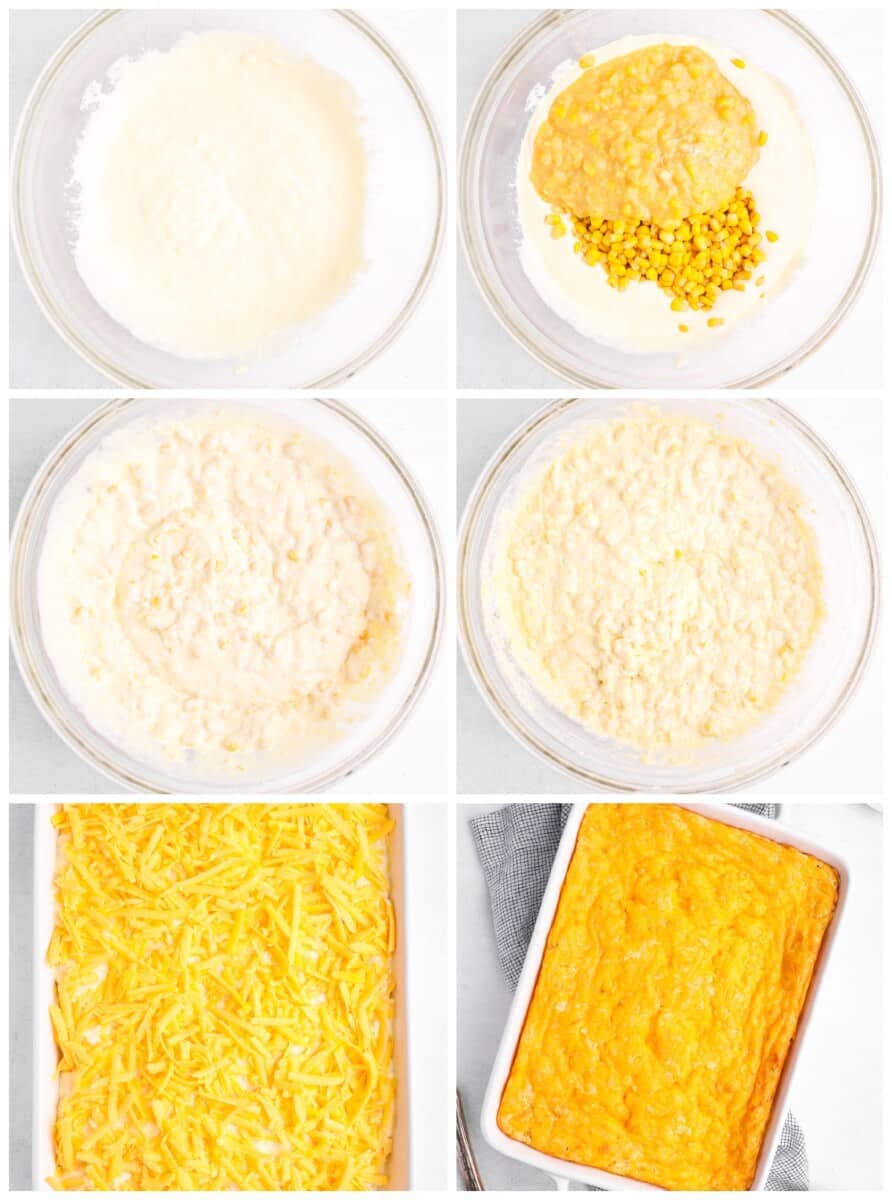
- Preheat oven and butter the baking dish.
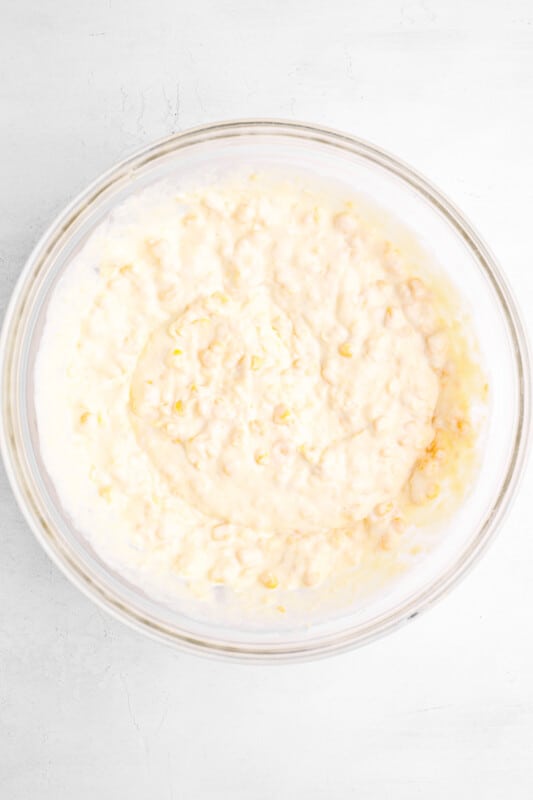
- In a large bowl, whisk together the casserole sauce ingredients until combined.
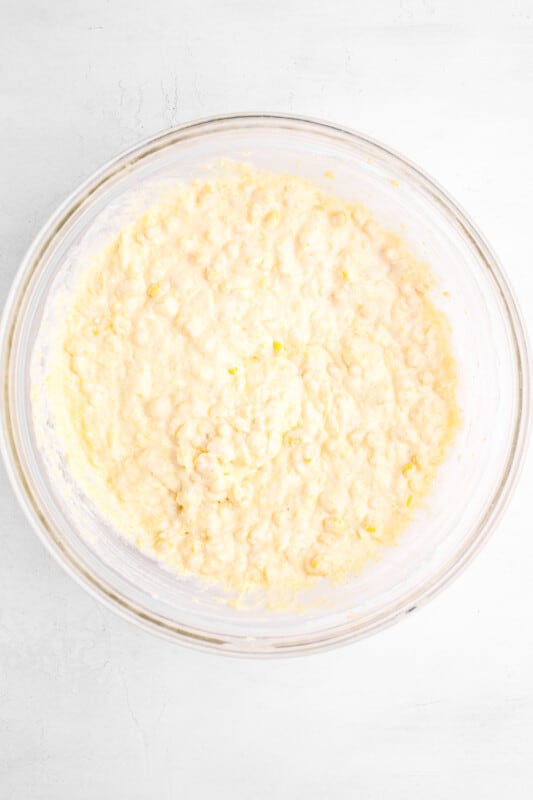
- Stir in the corn kernels and creamed corn, then mix in the Jiffy until just combined.
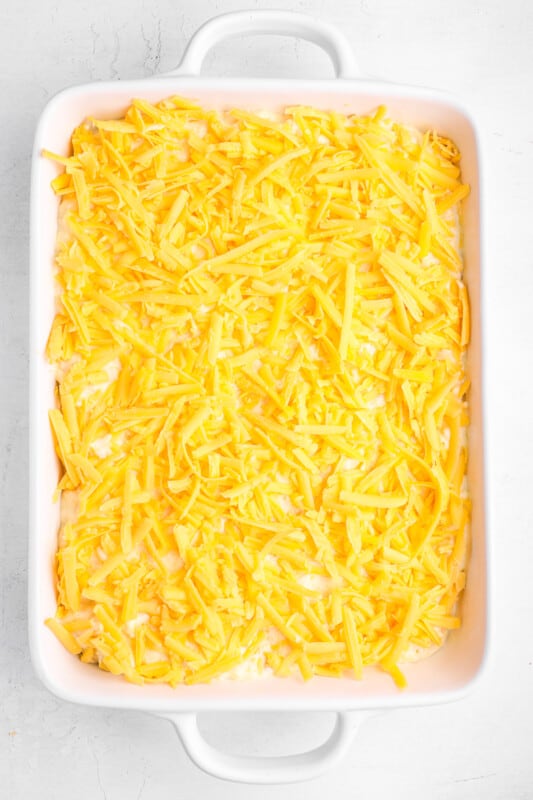
- Next, fold in the cheese and pour it into the baking dish, spreading an even layer.
- Top with the remaining cheese and bake.
- Serve warm, and enjoy!
Recipe Notes
- Butter: Adds richness and keeps the casserole moist.
- Sour Cream: Adds creaminess and a slight tang.
- Eggs: Bind the casserole together and gives it structure.
- Corn Kernels: Adds texture!
- Creamed Corn: Adds texture and makes this casserole extra creamy.
- Corn Muffin Mix: Boxed corn muffin mix is the base of this recipe. I designed this recipe with a classic 8.5-ounce box of Jiffy Corn Muffin Mix, but you can use a different brand if you prefer. Keep in mind that the final flavor may change depending on the brand you select. Jiffy is on the sweeter side.
- Cheese: Cheddar cheese makes this casserole extra delicious! I recommend using freshly-shredded cheddar from a block of cheese rather than pre-shredded because pre-shredded is coated in starch and doesn’t melt as easily.
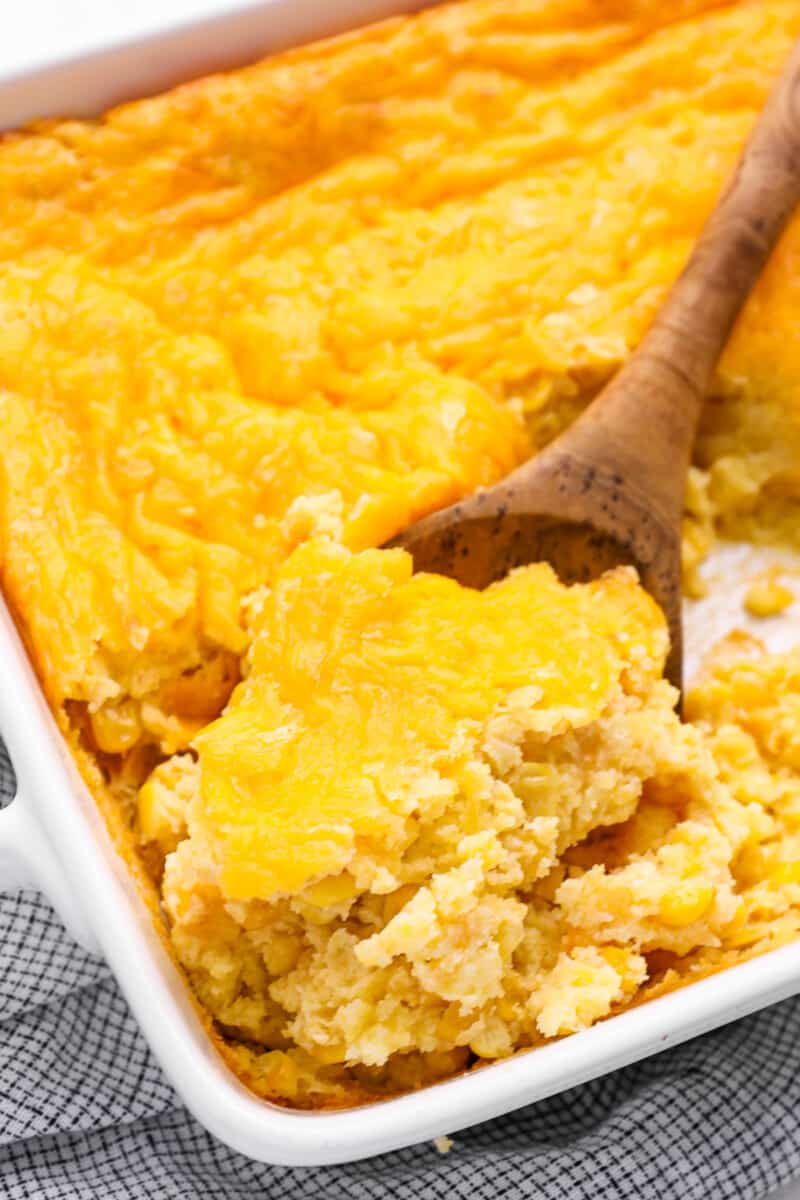
Although some people use the names interchangeably, corn casserole and corn pudding are two very different dishes. Corn casserole is more similar to an extra-gooey cornbread, while corn pudding is more like a custard.
Unfortunately, this recipe is not naturally gluten-free, as Jiffy Corn Muffin Mix is not gluten-free. To make this gluten-free, choose a gluten-free corn muffin mix and make sure that your creamed corn is also gluten-free!
Yes! You can combine all of the ingredients except for the topping cheese and place it in the prepared casserole dish. Cover it with plastic wrap and store it in the refrigerator until ready to bake. Let sit at room temperature for 30 minutes prior to baking. You can also fully bake the casserole, let it cool, cover it with plastic wrap, and store it in the refrigerator until ready to reheat. Reheat in a 350°F oven for 15-20 minutes.
Yes! Freeze corn casserole tightly wrapped in 2 layers of plastic wrap and 1 layer of aluminum foil for up to 3 months. Let thaw overnight in the refrigerator before reheating.
You sure can! Combine all of the ingredients except for the topping cheese in a greased crockpot. Cook on high for 2-3 hours or on low for 4 hours, adding the cheese in the last 20 minutes of cooking.
Recipe Tips and Tricks
- If your corn casserole comes out runny, this can easily be fixed. Try baking it a bit longer, covering your baking dish with foil to avoid burning the top.
- You can easily make this corn casserole recipe up to 2 days ahead of time. Once you’ve poured your casserole mixture into a baking dish, wrap it in plastic wrap and store it in the fridge until ready to bake. Be sure to let it warm to room temperature for about 30 minutes before popping it in the oven.
Make Ahead Instructions
You can combine all of the ingredients except for the topping cheese and place it in the prepared casserole dish. Cover it with plastic wrap and store it in the refrigerator until ready to bake. Let sit at room temperature for 30 minutes prior to baking.
You can also fully bake the casserole, let it cool, cover it with plastic wrap, and store it in the refrigerator until ready to reheat. Reheat in a 350°F oven for 15-20 minutes.
Storage Instructions
Store leftover corn casserole tightly covered with plastic wrap in the refrigerator for up to 4 days. Reheat in a 350°F oven for 15-20 minutes.
Freezing Instructions
Freeze corn casserole tightly wrapped in 2 layers of plastic wrap and 1 layer of aluminum foil for up to 3 months. Let thaw overnight in the refrigerator before reheating.
Variations
- In place of the sour cream, you can use plain or Greek yogurt.
- For gluten-free corn casserole, swap the Jiffy for a gluten-free brand of corn muffin mix, and make sure to use gluten-free creamed corn.
- If you like your corn casserole on the sweeter side, you can add up to 2 tablespoons of granulated sugar to the mix, although the cornbread mix is already sweetened.
- Feel free to add chopped onions, jalapeños, bacon, or fresh herbs to kick it up a notch.
Tips for the Best Corn Casserole
- Do NOT prepare the corn muffin mix according to the instructions on the box! Use the dry mix ONLY!
- Make sure to let your melted butter cool for a few minutes so that it doesn’t scramble the eggs!
- For extra-bubbly cheese, broil the casserole for a few minutes at the end of the baking time.
More Cheesy Casserole Recipes We Love
- Loaded Scalloped Potatoes
- Stuffed Shells with Meat and Cheese
- Parmesan Creamed Potatoes
- Pepperoni Pierogy Pizza Casserole
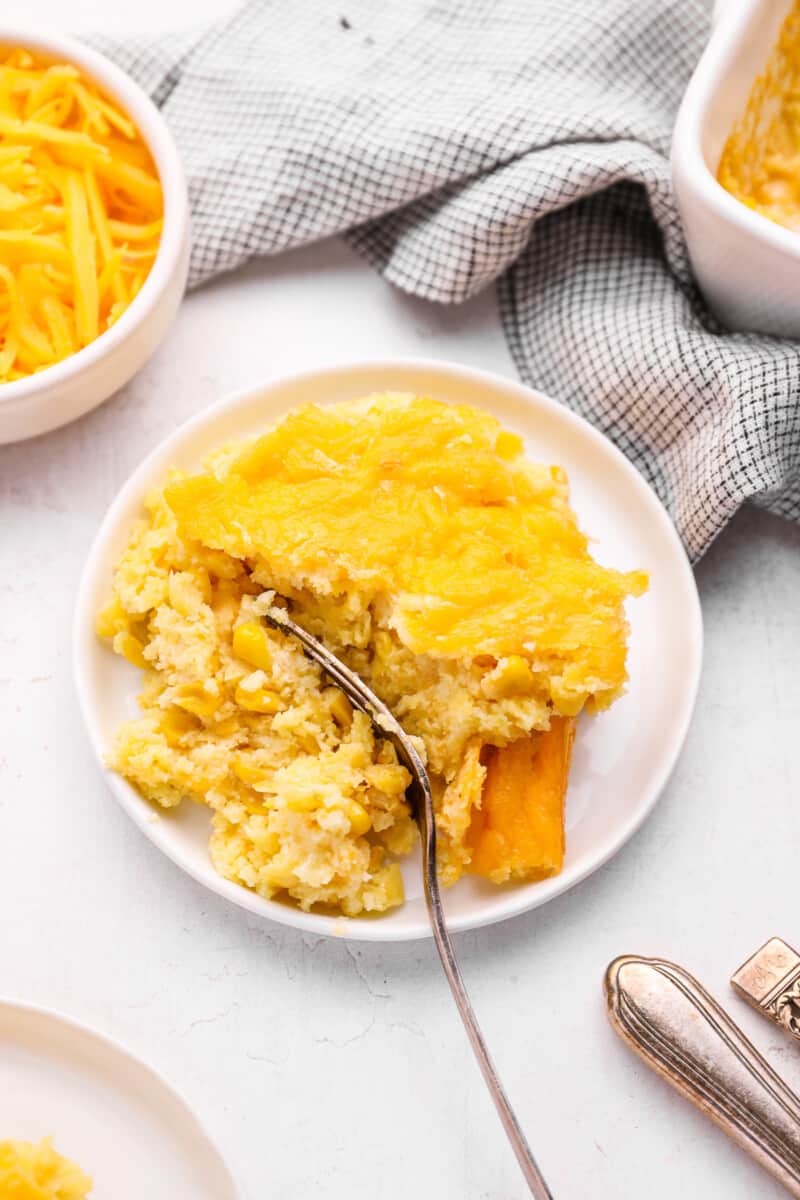
This baked corn casserole will be everyone’s favorite side dish this holiday season. But don’t let its festiveness fool you; this great side dish tastes amazing all year round. Enjoy!
More Thanksgiving Side Dishes to Try:
- Garlic Mashed Cauliflower
- Scalloped Corn
- Squash Casserole
- Homemade Crescent Rolls
- Parmesan Roasted Broccoli
- Baked Mac and Cheese
- Velveeta Broccoli Rice Casserole
- Honey Glazed Carrots
If you make this recipe be sure to upload a photo in the comment section below or leave a rating. Enjoy! You can also jump to recipe.
Corn Casserole Recipe

Equipment
- 11×7-inch Baking Pan (or any other 2-quart baking pan)
Ingredients
- ½ cup unsalted butter 1 stick, melted and slightly cooled
- 1 cup sour cream
- 2 large eggs
- 15 ounces canned corn kernels 1 can
- 15 ounces canned creamed corn 1 can
- 8.5 ounces Jiffy corn muffin mix 1 box
- 1½ cups freshly shredded cheddar cheese divided
Instructions
- Preheat oven to 350°F. Butter an 11×7 or other 2-quart baking dish. Set aside.
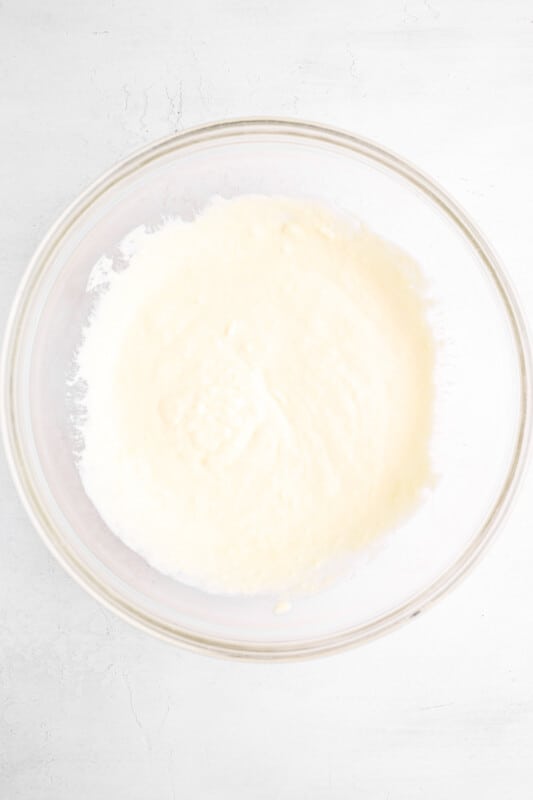
- In a large bowl, whisk the butter, sour cream, and eggs together until well combined.½ cup unsalted butter, 1 cup sour cream, 2 large eggs
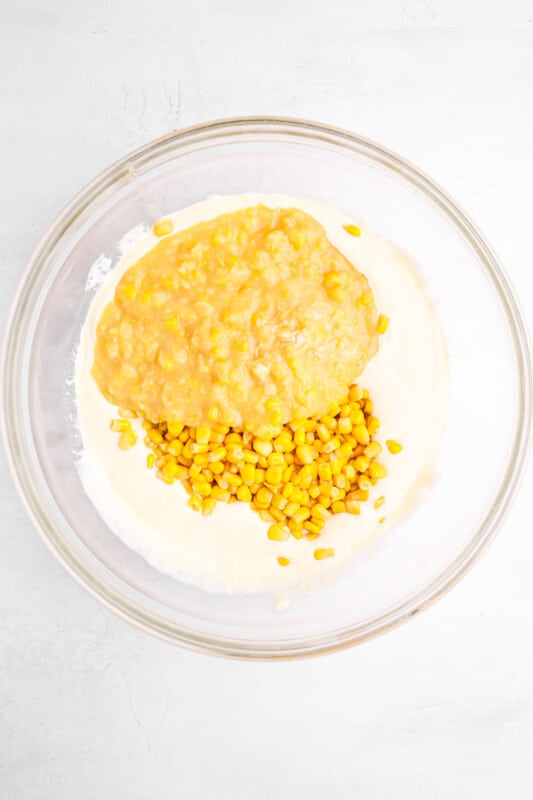
- Stir in the corn kernels and creamed corn.15 ounces canned corn kernels, 15 ounces canned creamed corn
- Add in the Jiffy and mix until just combined.8.5 ounces Jiffy corn muffin mix
- Fold in ½ cup of the cheese.1½ cups freshly shredded cheddar cheese
- Pour into the prepared pan and spread into an even layer, topping with the remaining cheese.
- Bake until the cheese is melted and the casserole is set in the center, about 40-50 minutes. Serve warm.
Video
Becky’s Tips
- In place of the sour cream, you can use plain or Greek yogurt.
- For gluten-free corn casserole, swap the Jiffy for a gluten-free brand of corn muffin mix, and make sure to use gluten-free creamed corn.
- If you like your corn casserole on the sweeter side, you can add up to 2 tablespoons of granulated sugar to the mix, although the cornbread mix is already sweetened.
- Feel free to add chopped onions, jalapeños, bacon, or fresh herbs to kick it up a notch.
- Do NOT prepare the corn muffin mix according to the instructions on the box! Use the dry mix ONLY!
- Make sure to let your melted butter cool for a few minutes so that it doesn’t scramble the eggs!
- For extra-bubbly cheese, broil the casserole for a few minutes at the end of the baking time.
Nutrition information is automatically calculated, so should only be used as an approximation.


I was a 4 star chef for 9 years. I saw this recipe and tried it for a quick side dish. I added chopped jalaoenos, bacon bits, fresh chopped parsley, sliced black olives and used Colby Jack cheese.
Delicious! I made this for a side with some oven-fried chicken. So easy and tasty.
Do you drain the 15 ounces canned corn kernels before adding to recipe or use the can, as is?
We used it as is, but you can drain if you prefer!