When I want to make an easy dinner for my family, I always turn to these baked chicken tacos. They’re a favorite with my kids, and I love that they involve minimal clean up and are super easy. Made in less than 30 minutes, the spicy shredded chicken filling bakes up in the crispy taco shells so fast. I developed this recipe in 2015 and it’s been the ultimate recipe for serving a crowd on game day, Cinco de Mayo, or taco night ever since. Over 2400 home cooks have ranked this recipe a 5-star favorite. I’m so proud of this recipe!
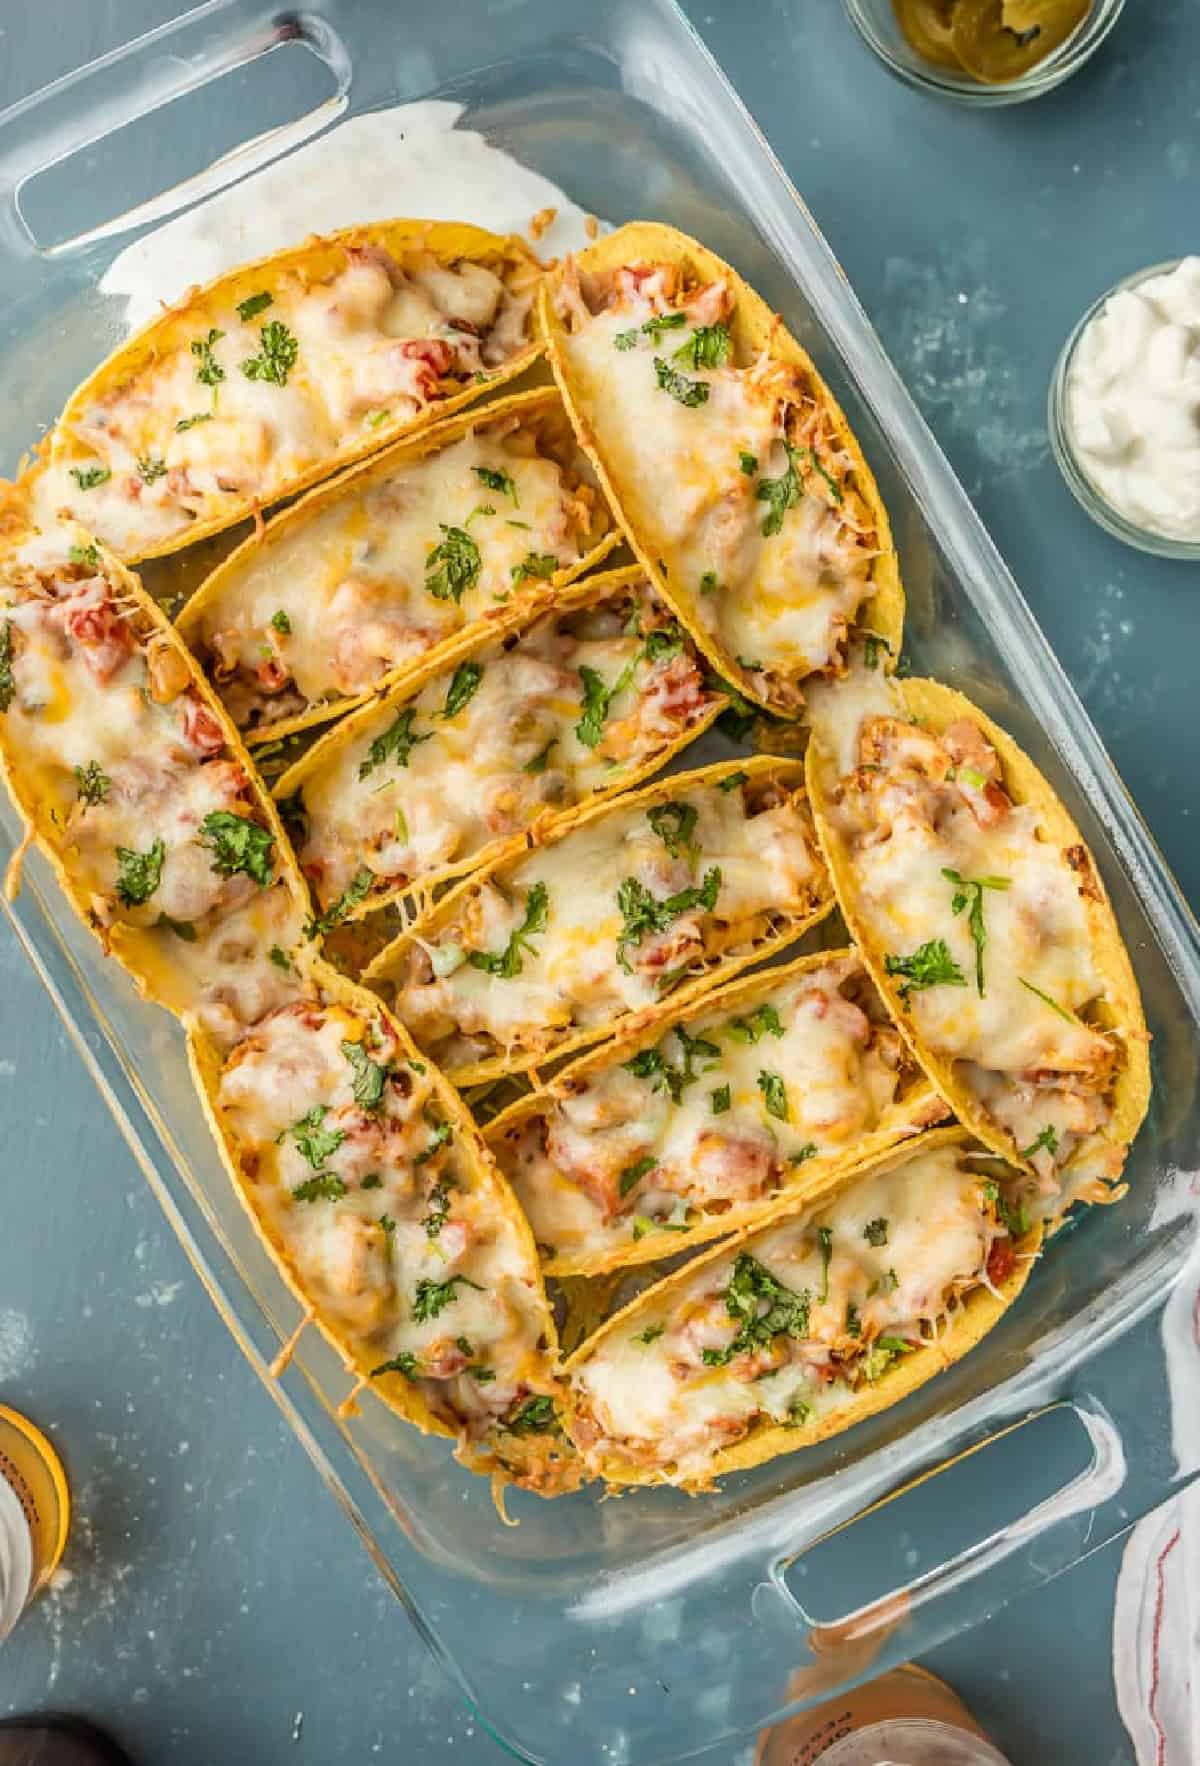
When I developed this recipe in 2015, I had no idea how many times I’d end up making it. We make it time and time again at our house, in about every flavor combination possible. I always end up coming back to this simple chicken filling, and its a favorite of my kid’s as well. This is the most popular recipe on The Cookie Rookie. It has been viewed over 6 million times and pinned over 2 million times. It’s so simple and delicious, I just know you’ll love it!
What’s in This Baked Chicken Taco Recipe?
- Shredded Chicken: Use fully cooked, shredded chicken for the taco filling. I often use rotisserie chicken for a quick and easy option.
- Taco Seasoning: This blend of spices (chili powder, paprika, garlic and onion powder, cumin, and red pepper flakes) is perfect for any taco recipe and adds so much flavor.
- Taco Shells: Use hard taco shells since they bake up nice and crispy in the oven!
- Cheese: I used Mexican blend shredded cheese, but any blend of melting cheeses will work. Freshly grated cheese gets beautifully melty!
- Green Chiles: Use a can of chopped green chiles for the chicken mixture. It adds a little bit of heat, and it’s really delicious. Just be sure to fully drain them.
- Refried Beans: The creamy texture of refried beans adds a nice layer of texture and flavor beneath the chicken. Use about half a can.
- Tomatoes: A can of diced tomatoes adds more texture to the mix. Again, be sure to fully drain these so you don’t end up with too much liquid in the chicken taco filling.
- Onion: Adds more texture and some aromatics. White, sweet, or red onions all work.
Tips for Success
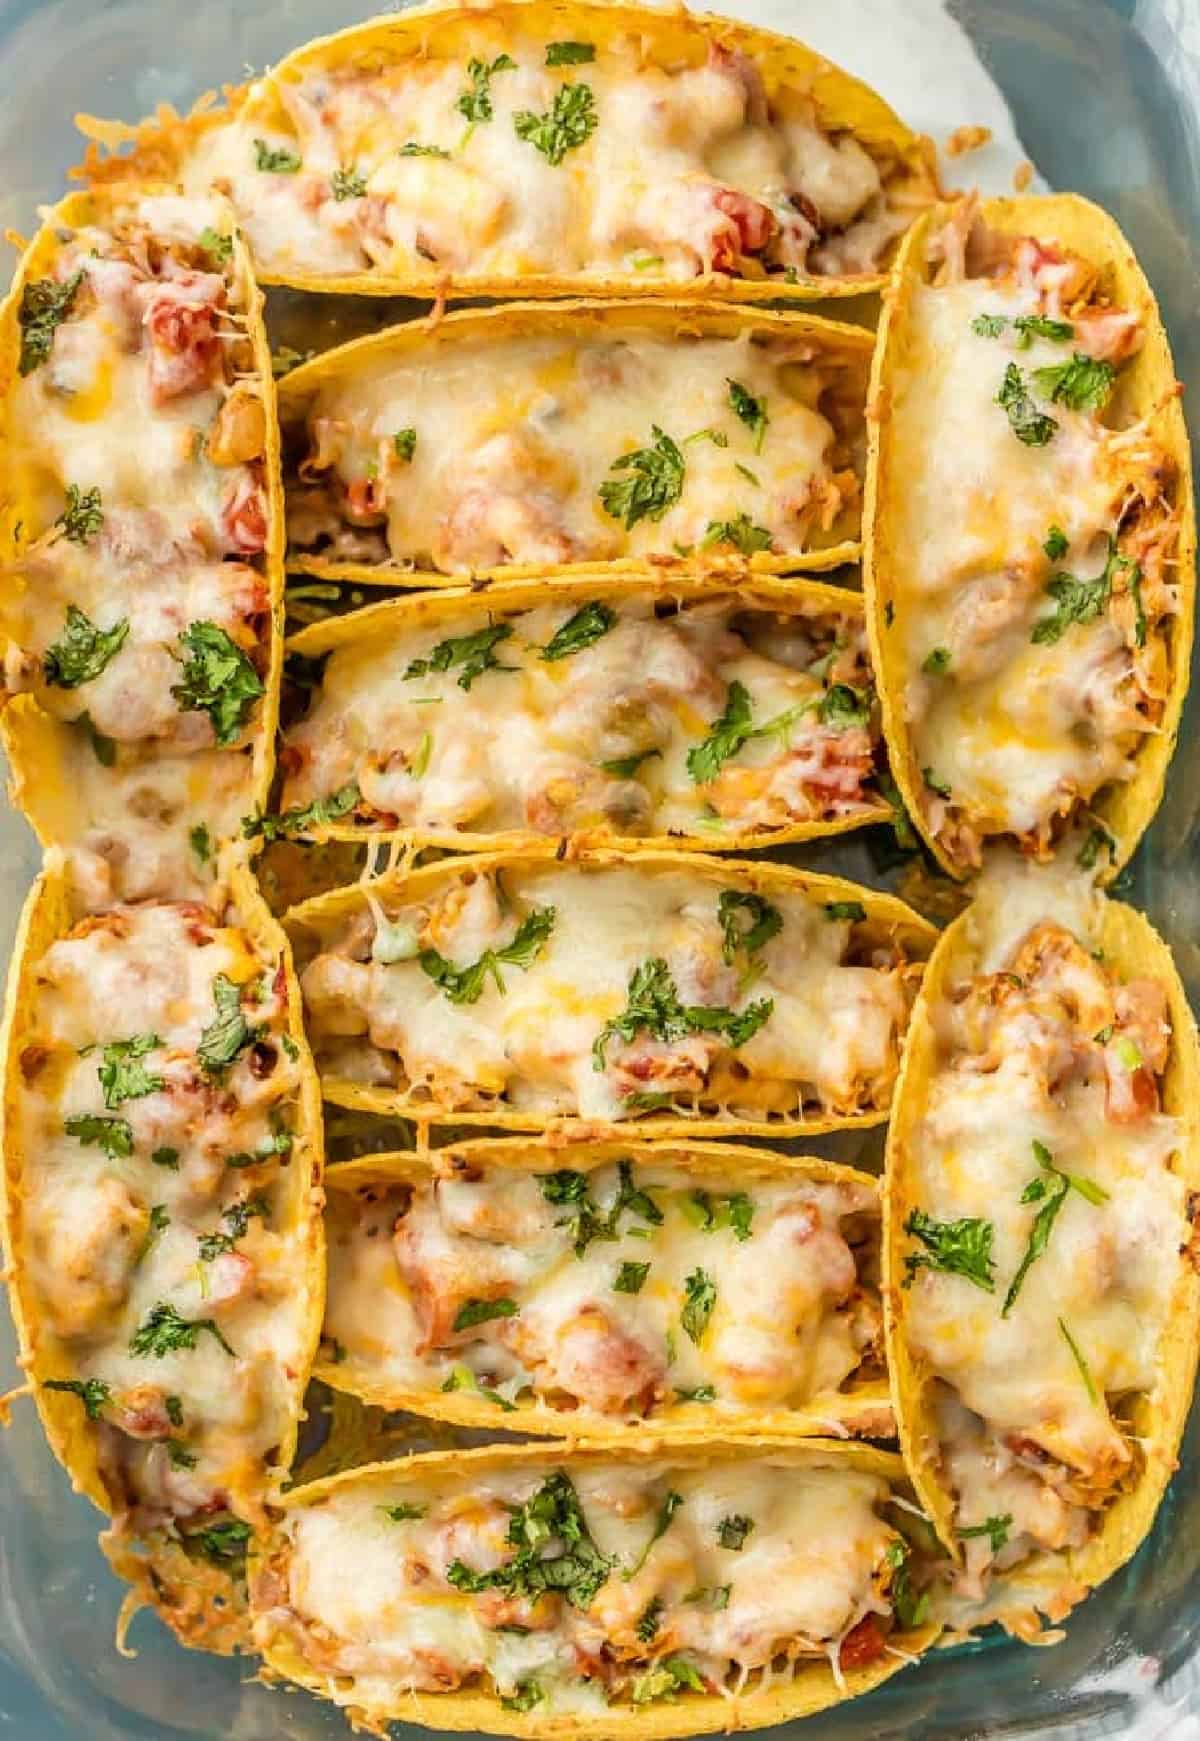
- There are a few things I do to make sure the shells don’t get soggy:
- Fully drain all canned ingredients so that there isn’t extra liquid in the filling.
- Bake the shells by themselves for about 5 minutes before filling them.
- Layer the refried beans on the bottom, and place the chicken taco meat on top. This helps them hold up better.
- If you’re making these for a crowd or a party, you can keep them warm in the oven as you serve. We usually turn the oven down to about 250°F, and keep them in a baking dish covered with foil.
How to Store and Reheat
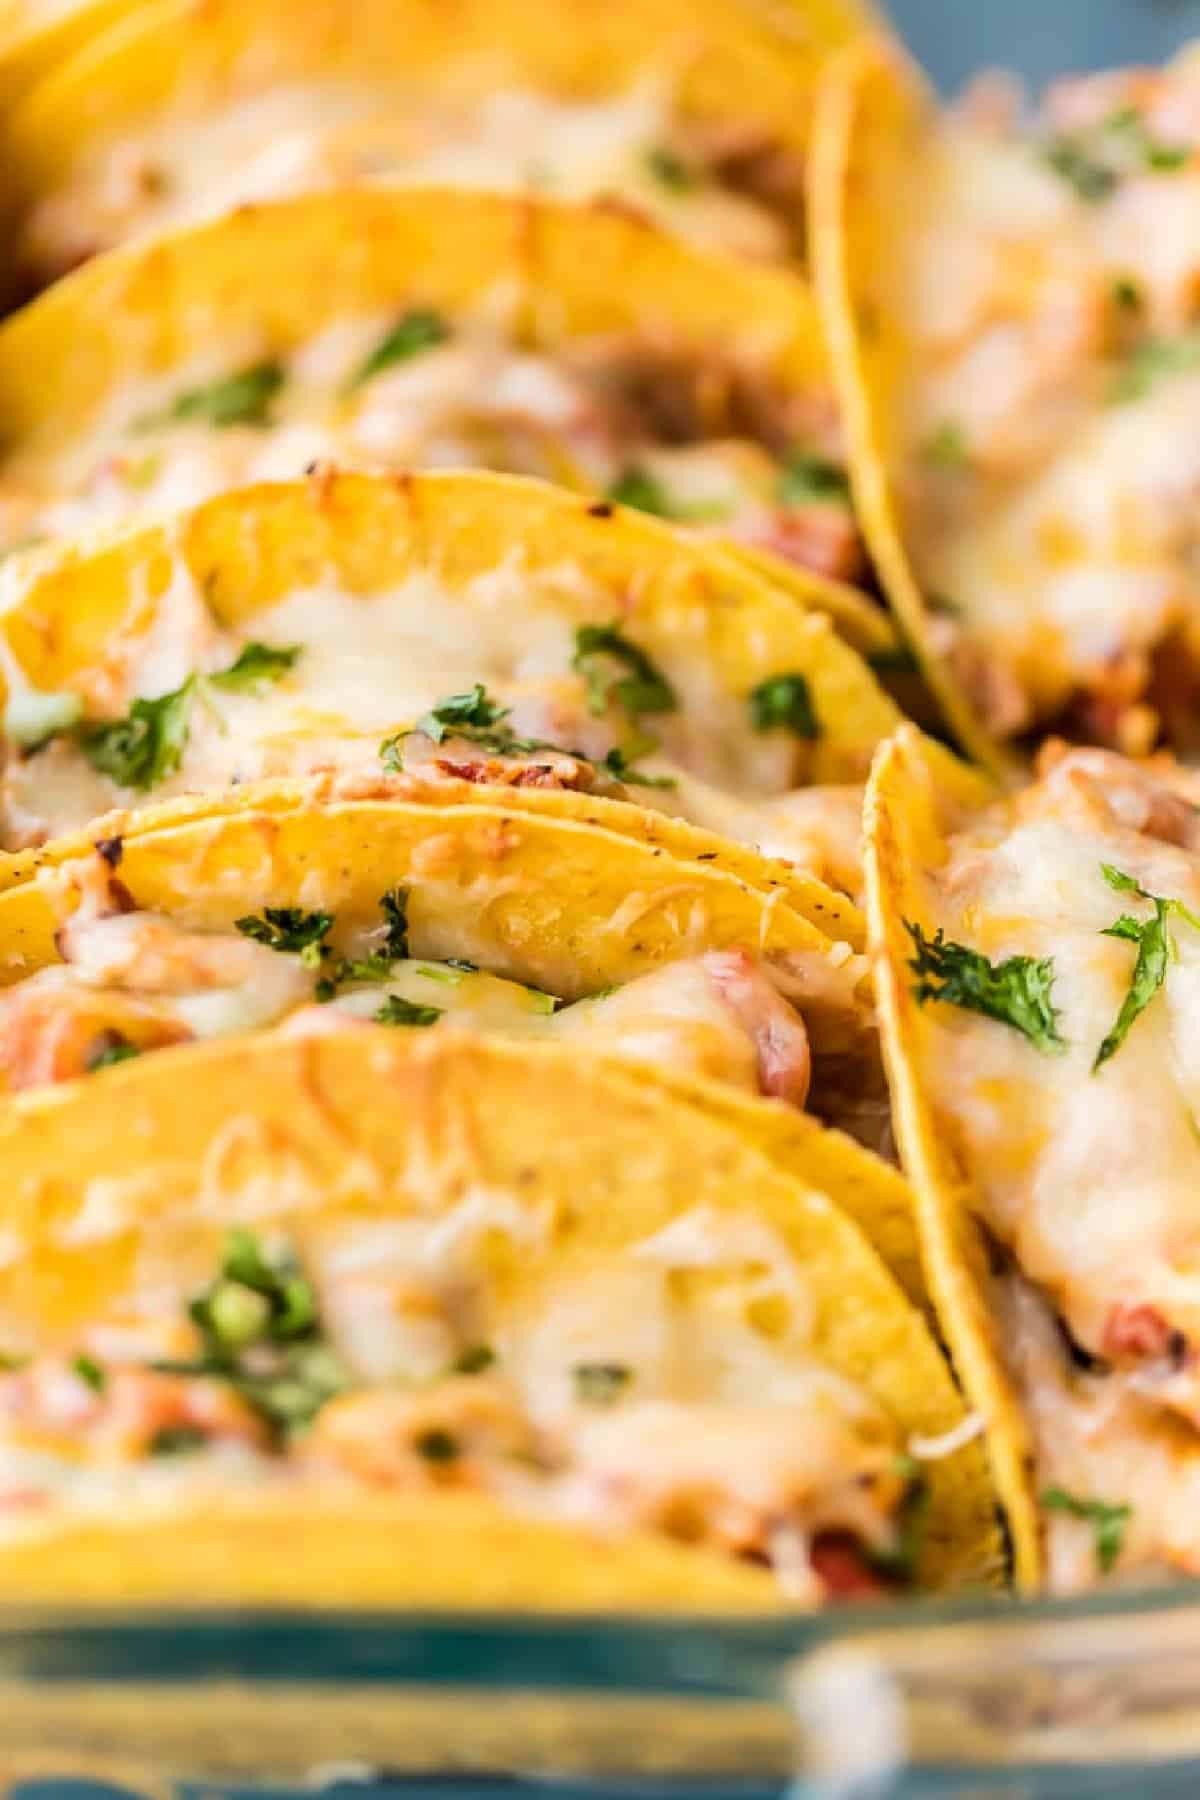
I generally recommend storing these baked chicken tacos separately rather than as whole tacos. Store the individual components in separate airtight containers in the refrigerator for up to 3 days.
If you have leftover tacos after baking everything together, wrap individual tacos in aluminum foil, and place them in a resealable bag. Keep in mind that the shells might get soggy if stored this way. To reheat, assemble tacos and bake as instructed in the recipe card, or until the chicken is fully heated through (165°F).
Serving Suggestions
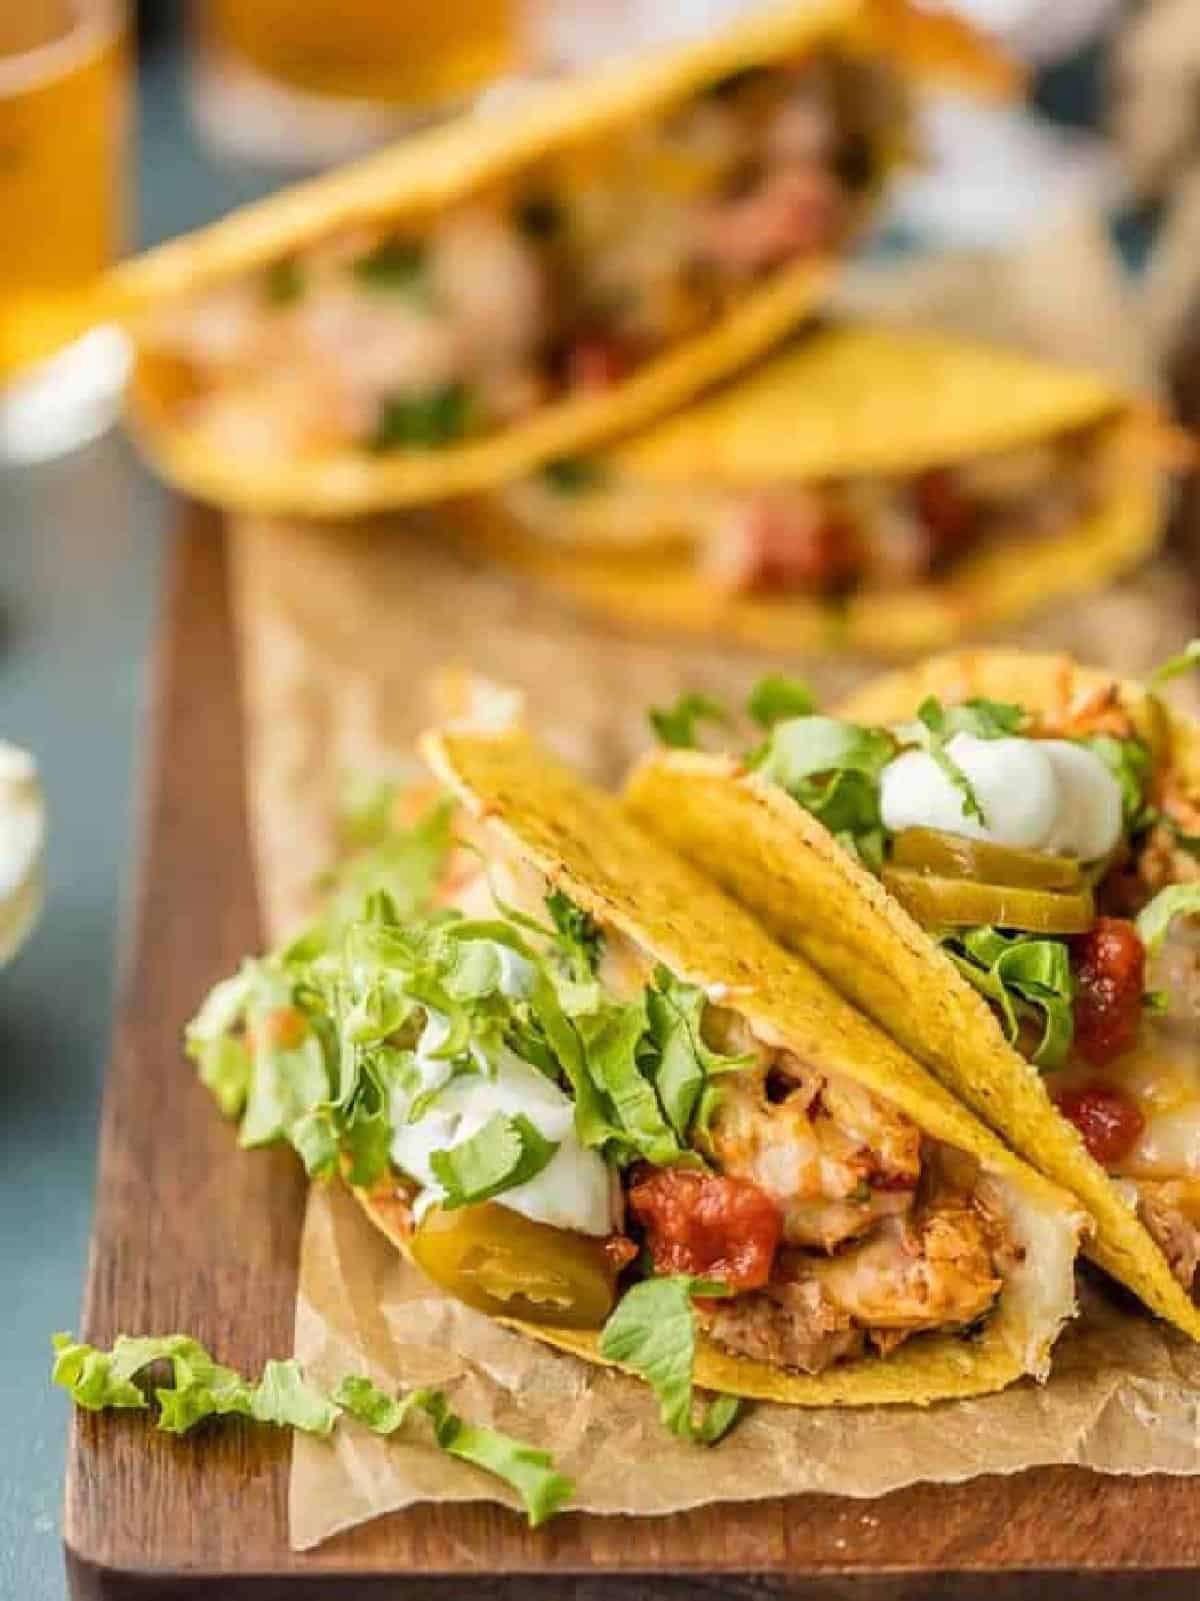
These easy chicken tacos make Taco Tuesday a snap. They’re quick to prep for a Cinco de Mayo party, and they also make delicious game-day food. Pair them with Mexican grilled corn, Mexican rice, or Esquites for a rounded meal.
This is one of our family’s favorite meals to make on busy nights, or for a celebration. We hope you love it as much as we do.
5-Star Reviews
“I rarely leave reviews for recipes, but this was SO good and so simple, I had to say thank you! So thanks for the great recipe, it’s going in the regular rotation!” – Christy
___
“We have made these several tomes snd they’re well loved! Sure go fast! I couldn’t even get a photo of them all!!!” – Melissa
___
“I use the chicken filling for so many things other than this recipe!! It’s so good for taco salads, quesadillas, soft tacos, the list goes on. I make a double batch and eat the variations throughout the week!” – Catie
___
“This is a go-to in our household. It’s so quick, simple, and delicious- and since it’s just my husband and I, we have enough for two days! :)” – Brittany
Baked Chicken Tacos Recipe

Equipment
- Equipment used for Chicken Tacos
Ingredients
- 1 tablespoon olive oil
- ½ pound shredded cooked chicken We used Rotisserie chicken
- 1 ounce taco seasoning (click for recipe!)
- ½ cup diced onion
- 14.5 ounces diced tomatoes fully drained (1 can)
- 4.5 ounces diced green chiles fully drained (1 can)
- 10 hard taco shells We used Old El Paso Stand 'N Stuff
- 8 ounces refried beans (½ can)
- 2 cups shredded Mexican blend cheese
Optional Toppings
- Sliced jalapeños
- Sour cream
- Salsa
- Shredded lettuce
- Chopped fresh cilantro
Instructions
- Preheat oven to 400°F. Spray a 9×13-inch baking dish with nonstick spray.
- Heat the olive oil over medium heat in a medium skillet.1 tablespoon olive oil
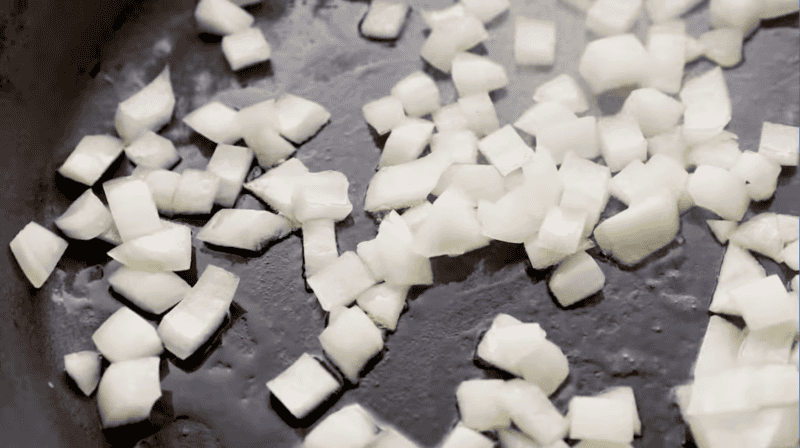
- Add onion to skillet and cook for 2-3 minutes, or until the onion is translucent and fragrant.½ cup diced onion
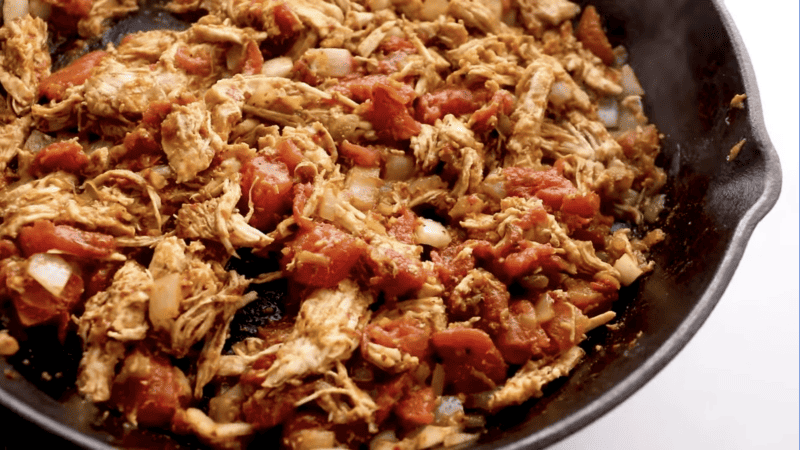
- Stir in the chicken, taco seasoning, tomatoes (fully drained), and green chiles (fully drained). Stir to combine fully. Reduce to simmer and allow to cook for 5-8 minutes.½ pound shredded cooked chicken, 1 ounce taco seasoning, 14.5 ounces diced tomatoes, 4.5 ounces diced green chiles
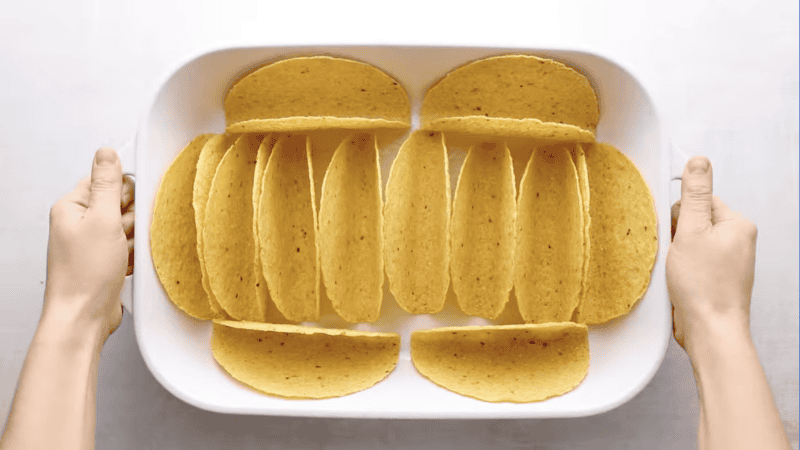
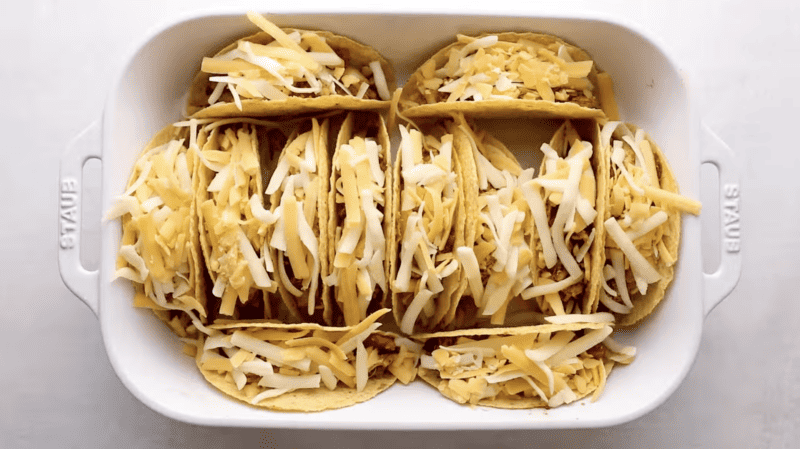
- Place the taco shells in the baking dish, standing up. We were able to fit 10 taco shells in the dish by adding 2 on each side.10 hard taco shells
- Bake the taco shells for 5 minutes by themselves to allow them to crisp up. Remove from the oven.
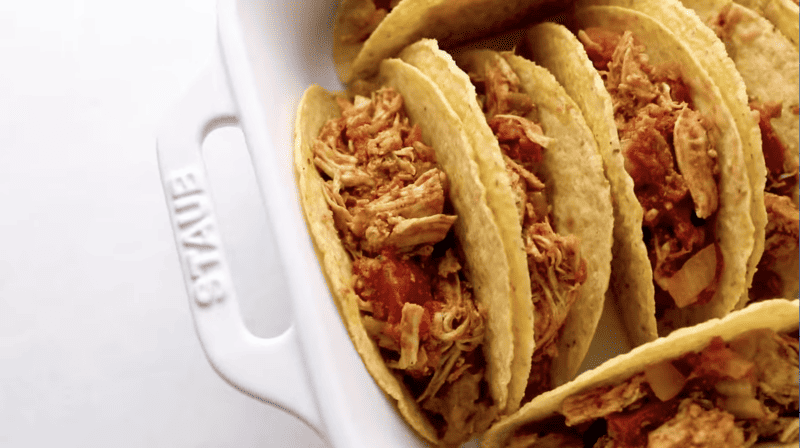
- Spoon 1 tablespoon of beans into the bottom of each taco shell. Top with the chicken mixture, almost to the top of each shell.8 ounces refried beans
- Sprinkle each shell generously with shredded cheese, the more the better!2 cups shredded Mexican blend cheese
- Bake for 7-10 minutes, or until cheese is fully melted and the edges of the shells are browned.
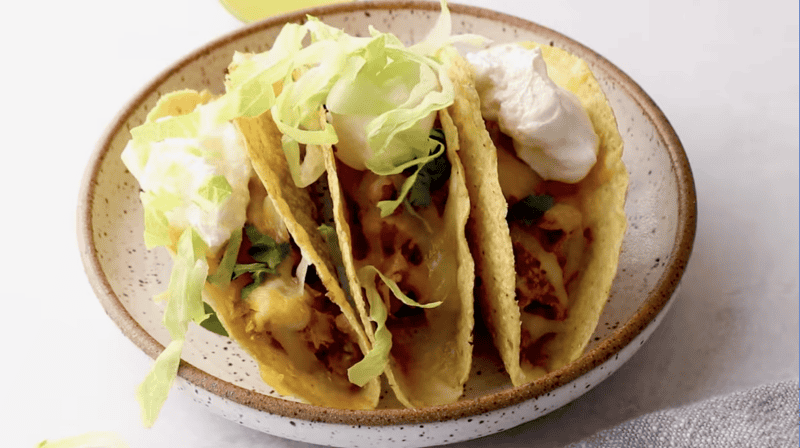
- Remove from the oven and top with your favorite items such as jalapenos, sour cream, shredded lettuce, cilantro, and salsa.Sliced jalapeños, Sour cream, Salsa, Chopped fresh cilantro, Shredded lettuce
Video
Becky’s Tips
- Between the taco seasoning, green chiles, and jalapenos (my favorite topping, though it’s completely optional), this baked chicken tacos recipe is relatively spicy, but not overwhelmingly hot.
- When I want to make them less spicy, I skip the jalapeños on top. The green chiles can be quite mild, but if you or the kids are sensitive to spice, simply skip over them when making the chicken filling.
- Nutritional information does not include optional ingredients
Nutrition information is automatically calculated, so should only be used as an approximation.
How to Make Chicken Tacos Step by Step
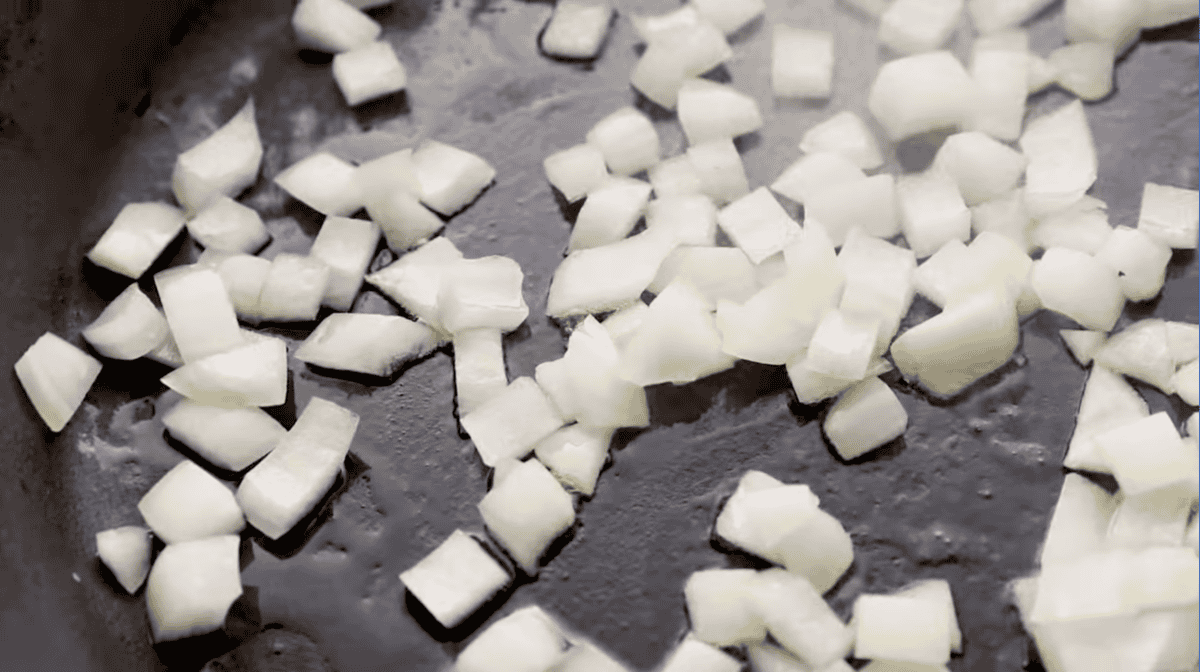
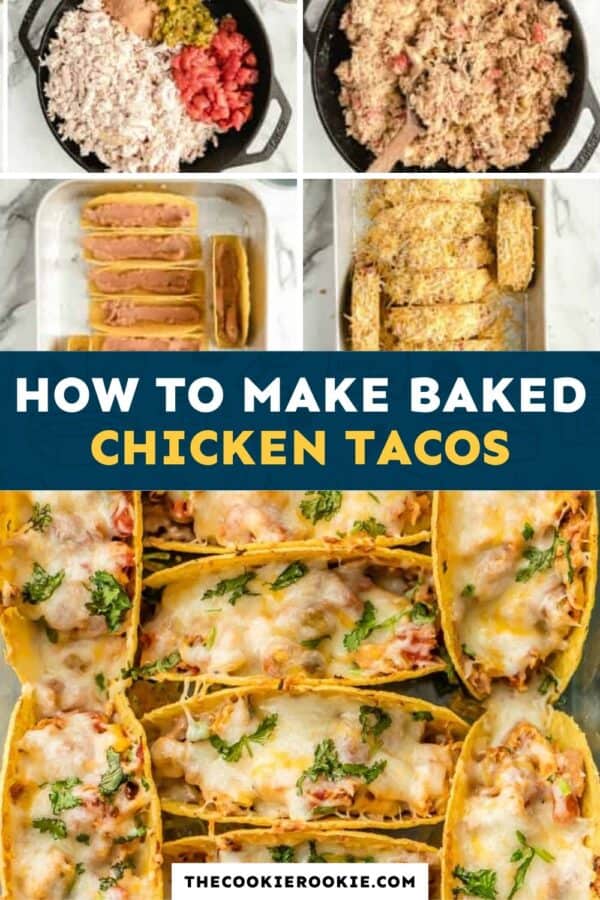
Sauté the Onion: Preheat your oven to 400°F. Spray a 9×13-inch baking dish with nonstick spray and set aside. Heat 1 tablespoon of olive oil over medium heat in a medium skillet. Add ½ cup of diced onion to the skillet and cook for 2-3 minutes, or until the onion is translucent and fragrant.
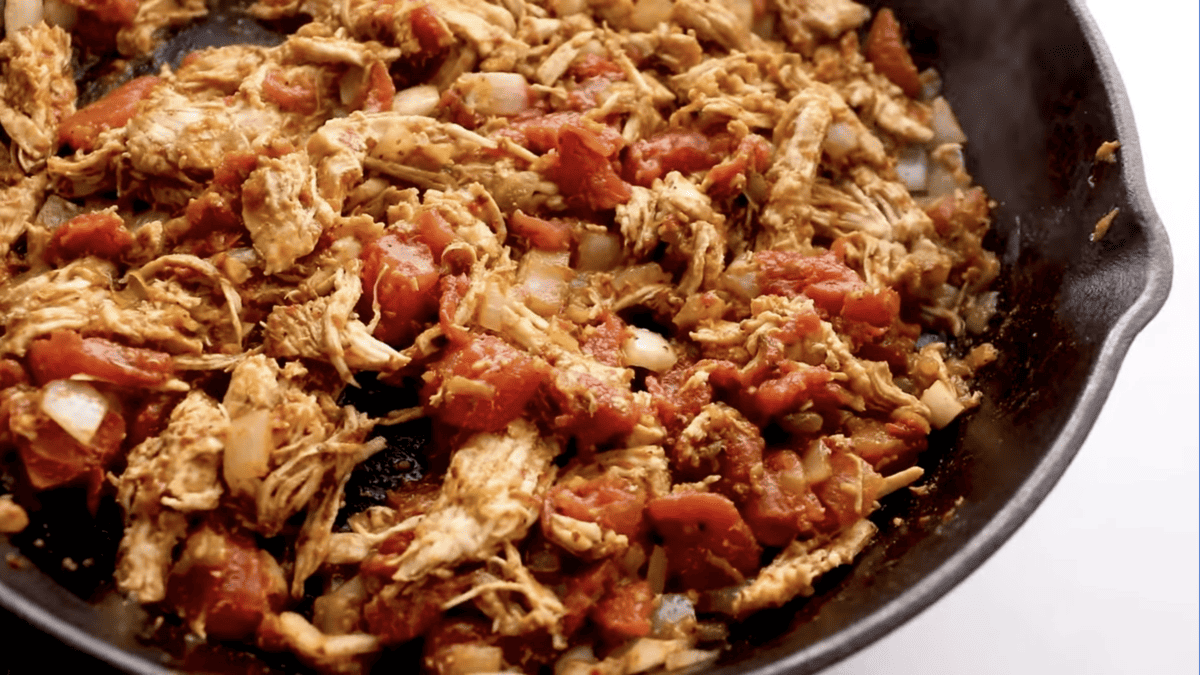
Simmer the Filling: Stir in ½ pound of shredded cooked chicken, 1 ounce of taco seasoning, 14.5 ounces (1 can) of diced tomatoes (fully drained), and 4.5 ounces (1 can) of diced green chiles (fully drained). Stir to combine fully. Reduce to simmer and allow to cook for 5-8 minutes.
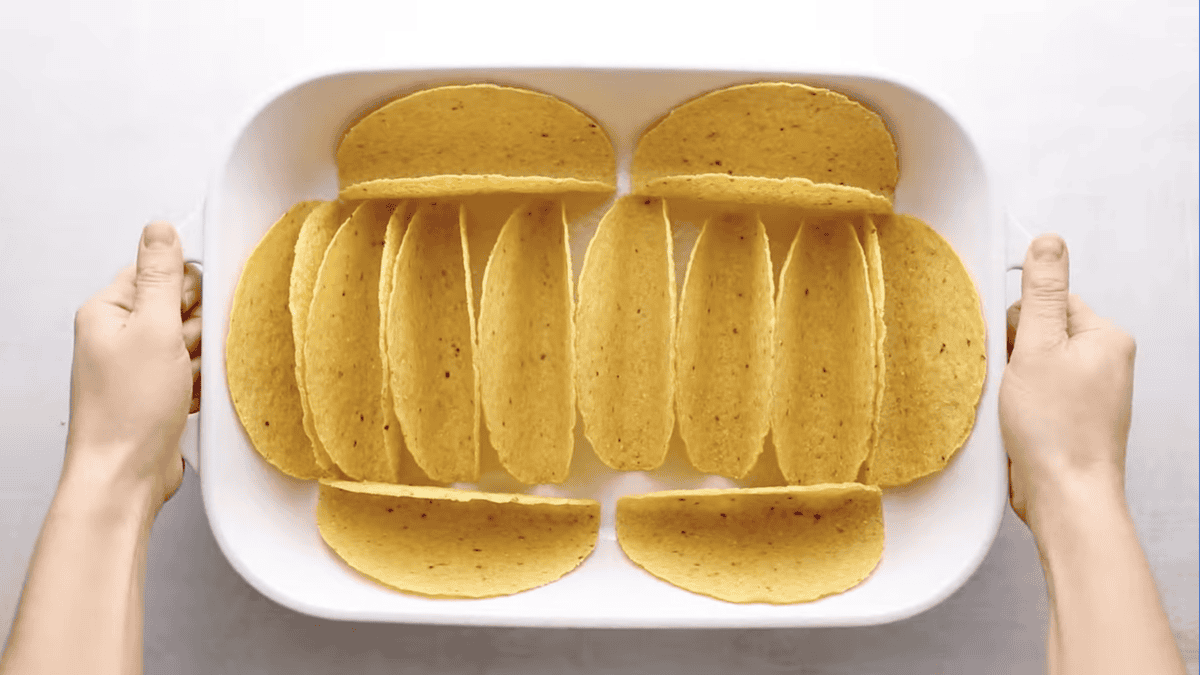
Bake the Taco Shells: Place 10 hard taco shells in the baking dish, standing up. We were able to fit 10 taco shells in the dish by adding 2 on each side. Bake the taco shells for 5 minutes by themselves to allow them to crisp up. Remove from the oven.
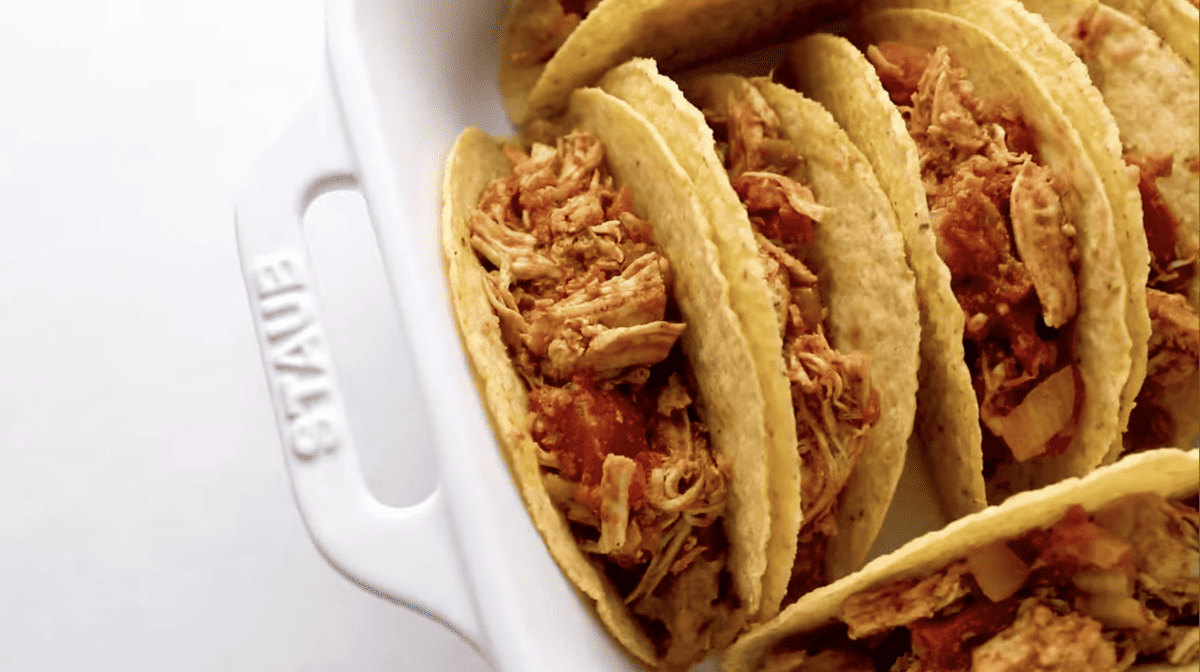
Fill the Tacos: Spoon 1 tablespoon of refried beans into the bottom of each taco shell. Top with the chicken mixture, filling almost to the top of each shell.
Top with Cheese: Sprinkle each shell generously with 2 cups of shredded Mexican blend cheese, the more the better!
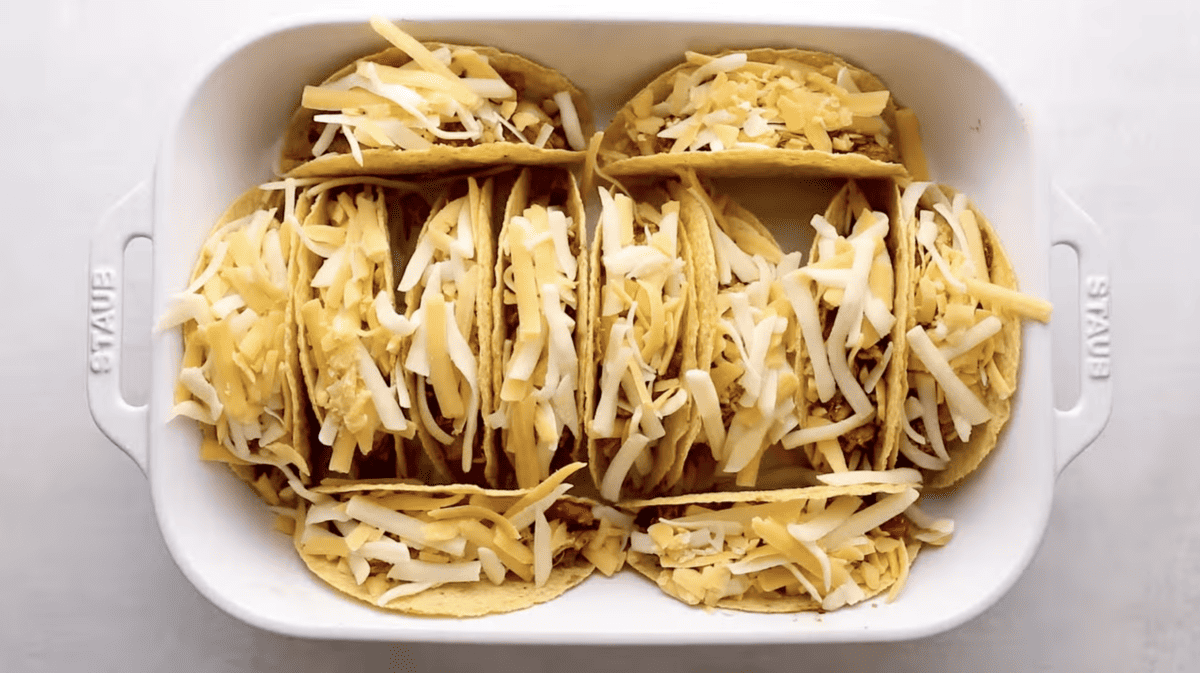
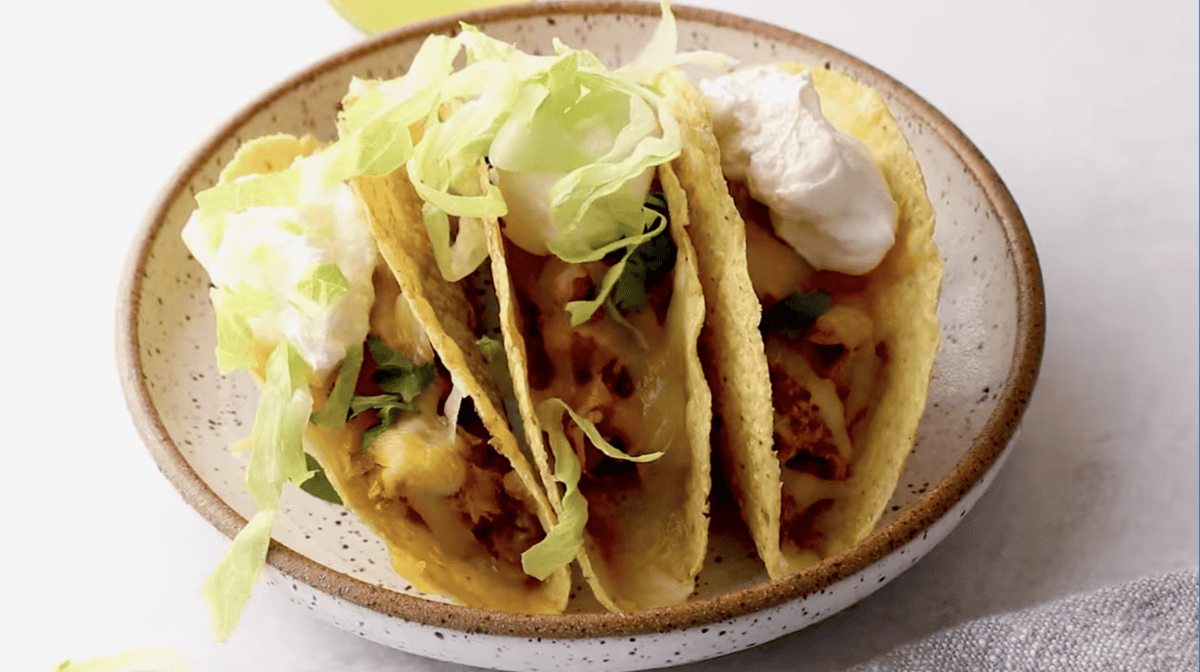
Bake and Serve: Bake for 7-10 minutes, or until the cheese is fully melted and the edges of the shells are browned. Remove from the oven and top with your favorite items such as jalapenos, sour cream, shredded lettuce, cilantro, and salsa.










Hi, Recipe states Bake at several points, but not the Temperature or Time, Could this be done in an air fryer, and finally could I replace canned Green Chiles with jarred Jalapeños instead.
Hi Richard, in step 1, you should preheat your oven to 400°F. We baked the shells for 5 minutes before filling and baking for another 7-10 minutes. And yes, you can use jalapeños if you prefer!
I have never had a recipe stress me out so much. Clearly you MUST use the very same taco shells that the author did. Oh the agony of trying to get hard tacos to stand in the dis, and let’s make it harder for absolutely no reason by instructing the use of cooking spray. In my searches for new recipies thecookierookie will forever be on my forbidden list.
Hi Jeffrey, we’re sorry to hear this recipe gave you so much trouble. It’s one of our most-beloved recipes on the whole site, so we’d love to help you make it go right! We’re not sure what you mean by making the recipe harder by using cooking spray, but we like to spray the dish before we add the taco shells just to prevent sticking. You could skip that step or line the baking dish with foil if that’s easier for you. A great tip for getting the taco shells to stand up is to start one side at a time and hold the first shell while you place the second behind it. Then, you just repeat this process moving down the row until it’s full. If any fall over, you can more easily adjust them once all of the tacos are in the pan. We hope these tips will help if you decide to give this one another go!
Picky boyfriend approved!
I especially like the addition of refried beans in this recipe. All the flavors come out warm and delicious. A great way to use left over chicken.
I invited a friend over for dinner and said we were having tacos. She got a big smile on her face. Then I asked her if she ever had chicken tacos. She said no and her face probably matched mine when I first saw the recipe. Neither one of us heard of it before. But we were willing to try it.
Long story short, we both liked it. We both thought it tasted better than with beef.
I can see why it is your number 1 recipe. Thanks so much.
HI! You used to have a recipe that included mixing tequila and sugar and them brushing the mixture on the hard taco shells or on chips? My family love it and I can’t find it anywhere. Can you help?? Thank you. :)
Hi Amber, I’ve gone through our archive and can’t find a recipe where tequila and sugar is brushed on tortillas or chips. So sorry!
These tacos are delish!!!! I did not spray the pan the second time I made them because the first time I did and the bottoms fell out!!
I would highly recommend these!!!!
What a great recipe! We topped it with avocado and salsa verde. I am always looking for a way to use rotisserie chicken.
So is the only difference between baking and not baking them once assembled is the fact that the cheese melts?
Hi Tanya, the cheese melts and the filling is nice and warm!
AND they are a bit more pliable so older and younger eaters who love tacos don’t get frustrated with their tacos falling apart. Also, my nephew with braces feels like he is getting the same experience as everyone else, because the the shells soften a bit and they are not a threat to him breaking any of his (very expensive) orthodonture.
Hello, thanks for sharing a easy go to recipe. I’m gonna try these out today but with ground beef and green pepper in sub for chicken and green chillies. Do you have any recommendations when making a beef version?
Hi Zee, we recommend draining any excess fat from the beef after cooking!
Thank you!!!! I allowed the mixture to simmer until the juices from the meat and tomatoes thickened. My kids loved them!!!!! Perfect recipe, will definitely try it in chicken next time.