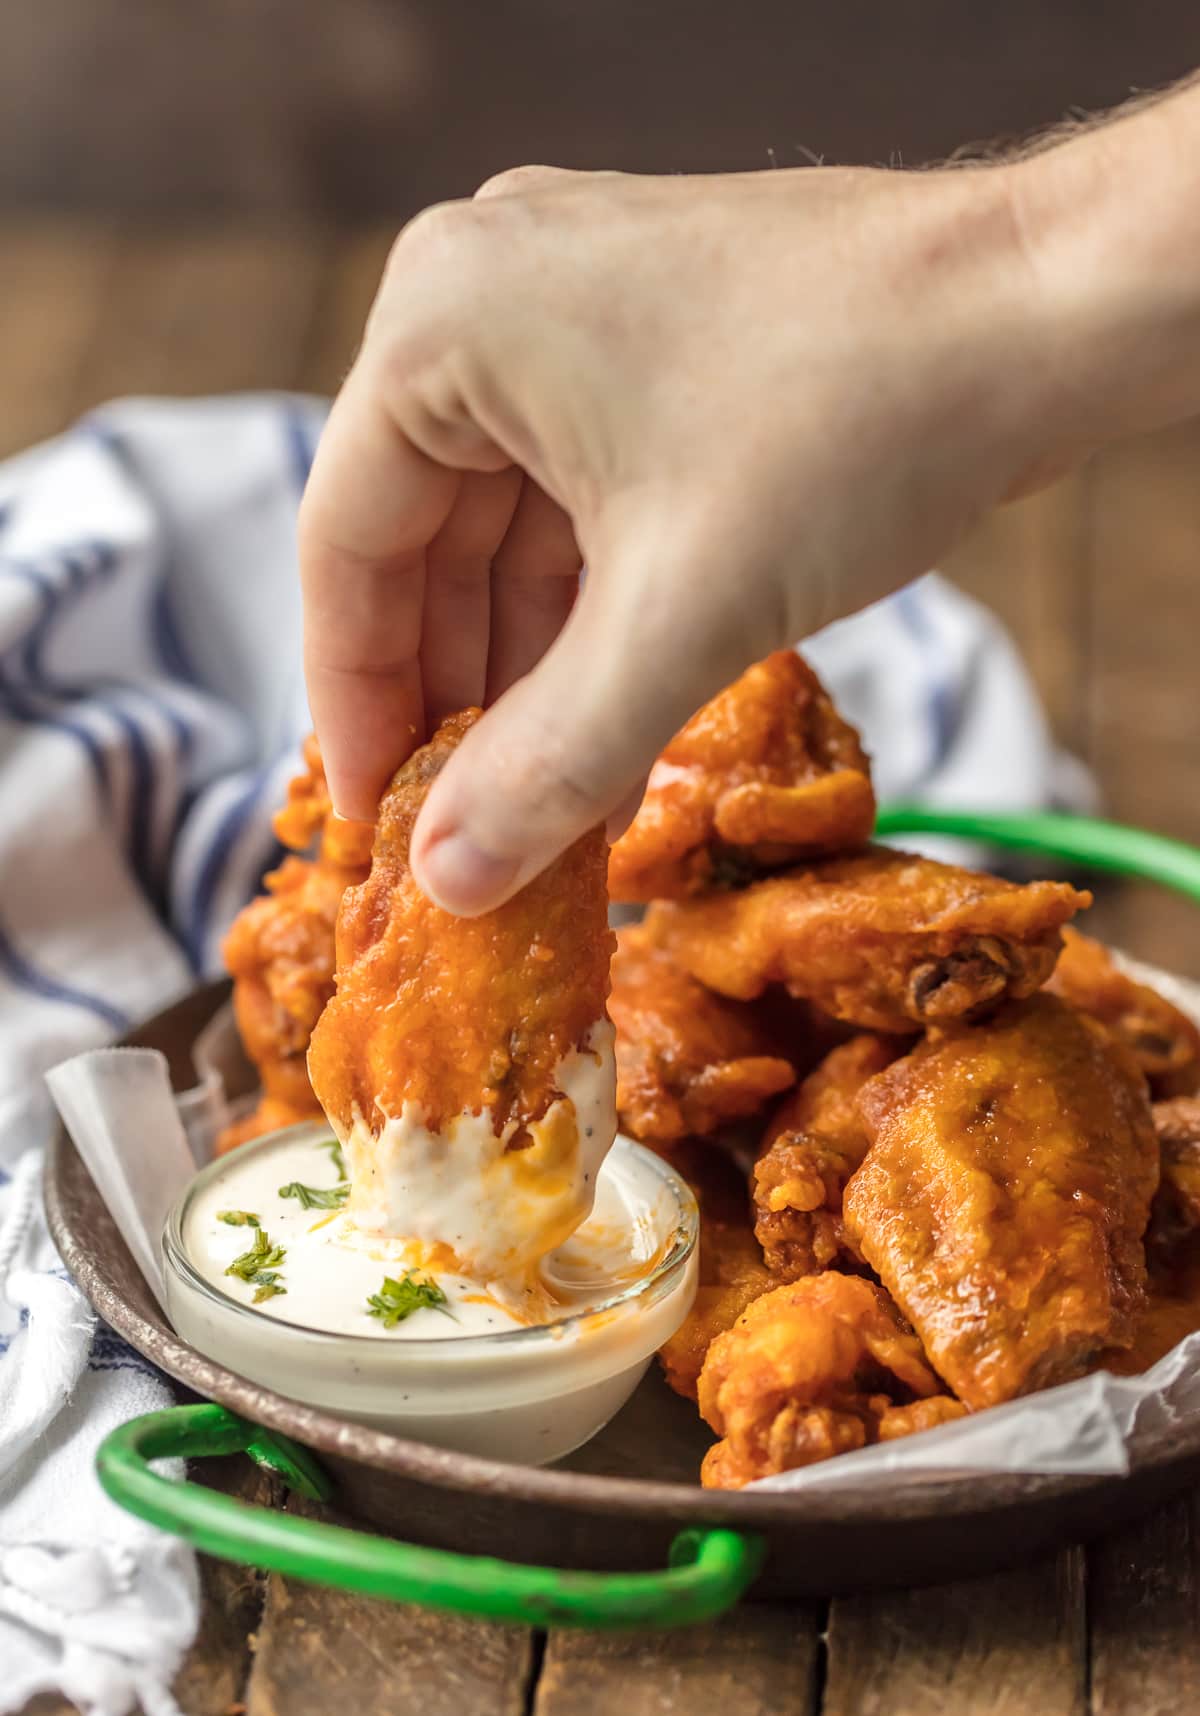
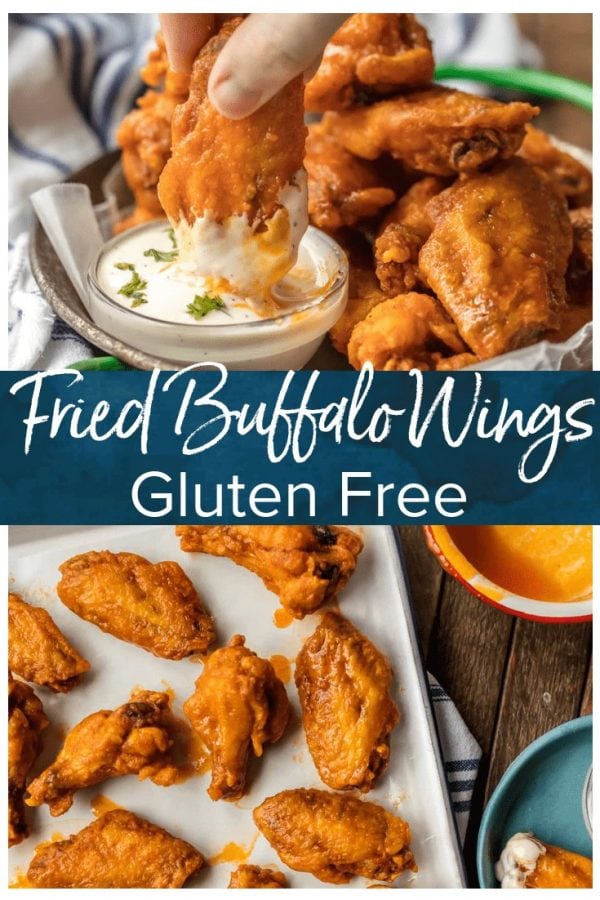
This Fried Buffalo Wings Recipe makes some of the best wings I’ve ever had. Even better, these are gluten free Buffalo wings, perfect for those who want this classic favorite without the gluten. These spicy, deep-fried chicken wings are perfect for tailgating, the Super Bowl, and every day in between!
Why We Love This Fried Buffalo Wings Recipe
This recipe is a labor of love. A labor of love to my husband, Pat. Let’s be honest, not much of what I cook is in honor of him. But today is all about Pat. Pat loves fried chicken wings. He is a man of simple tastes, and that’s okay, even if I do try to push his tastes sometimes. Today I’m keeping it simple with the absolute best gluten free Buffalo wings recipe, something everyone is sure to love.
Variations on Gluten Free Buffalo Wings
I love classic Buffalo sauce with these delicious fried chicken wings. But you can change up the flavor slightly by adding some Parmesan cheese and minced garlic, chipotle peppers in adobo sauce, lemon juice and cracked pepper, BBQ sauce, or honey to the Buffalo sauce.
How to Store and Reheat
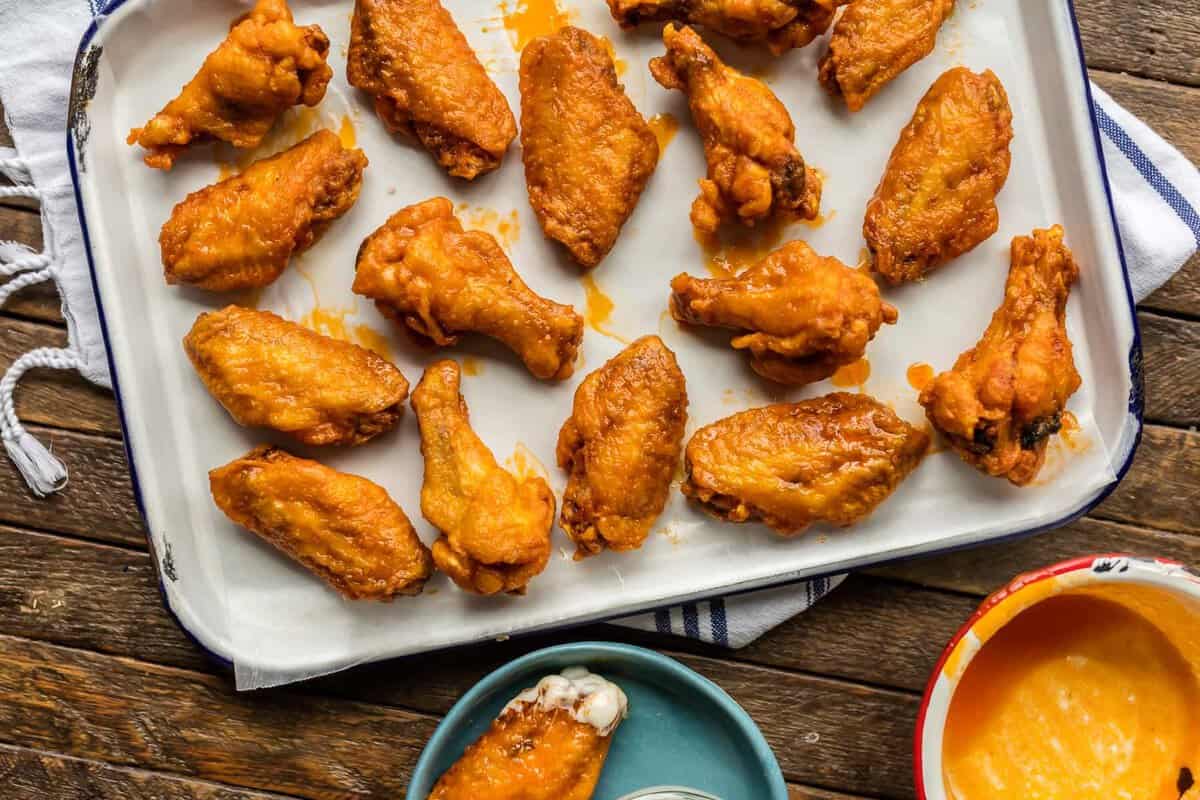
Store leftover fried Buffalo wings in an airtight container in the refrigerator for up to 3 days. Reheat in a 350°F oven for about 15 minutes, or until 165°F internally.
How to Freeze
Freeze fried Buffalo wings in a single layer on a baking sheet until solid, then transfer to a Ziplock bag for up to 3 months. Allow wings to thaw overnight in the refrigerator before reheating.
Serving Suggestions
Eat these deep-fried Buffalo wings by themselves (the sauce is so), dip them in ranch or blue cheese, and eat a little or a lot– the choices are all yours! But these better be made in your house soon, because they’re so worth it. Plus they make the Pat in your life, whoever that may be, very very happy. Sometimes the simple recipes are the best.
If you want some more substantial side dishes to serve with wings, try french fries, creamy coleslaw, fried pickles, baked avocado fries, corn on the cob, or mac and cheese.
It should take just 10-15 minutes to get these wings super crisp!
I always recommend using flour for the crispiest coating, and these gluten free Buffalo wings sacrifice none of the crunch by using gluten free 1:1 flour!
There’s no need to cool the wings before adding the sauce, but if you’re frying in batches, some of the wings will inevitably cool more than others.
For the crispiest wings, sauce them just before serving! You can keep them warm on a wire rack set in a baking sheet in a 200°F oven until you’re ready to sauce and serve.
More Buffalo Wing Recipes To Try
- Crispy Baked Buffalo Wings
- Instant Pot Buffalo Wings
- Crockpot Buffalo Wings
- Air Fryer Buffalo Wings
- Buffalo Cauliflower Wings
5-Star Review
“I’d never made buffalo wings myself and honestly could take ’em or leave ’em as far as food goes. I tried this recipe on a whim and now buffalo wings are my FAVE – well, THESE buffalo wings! So crispy and the perfect amount of sweet & hot. And best of all, GF! Thank you so much for sharing, Becky!” -Valerie
Fried Buffalo Wings Recipe

Ingredients
- 1 cup Gluten Free Flour
- 1 tablespoon ground paprika
- 1 teaspoon ground cayenne pepper less if you don’t love spicy
- 1½ teaspoons garlic powder
- Kosher salt and freshly ground black pepper to taste
- 3 pounds chicken wingettes or chicken wings, with joints removed
- Vegetable oil for frying
- ½ cup salted butter (1 stick)
- 1 cup Buffalo Sauce (store-bought or click for recipe)
- 3 tablespoons honey
Instructions
- In a large ziplock bag, combine the flour, paprika, cayenne pepper, garlic powder, and salt and pepper to taste. Stir to fully combine.1 cup Gluten Free Flour, 1 tablespoon ground paprika, 1 teaspoon ground cayenne pepper, 1½ teaspoons garlic powder, Kosher salt and freshly ground black pepper
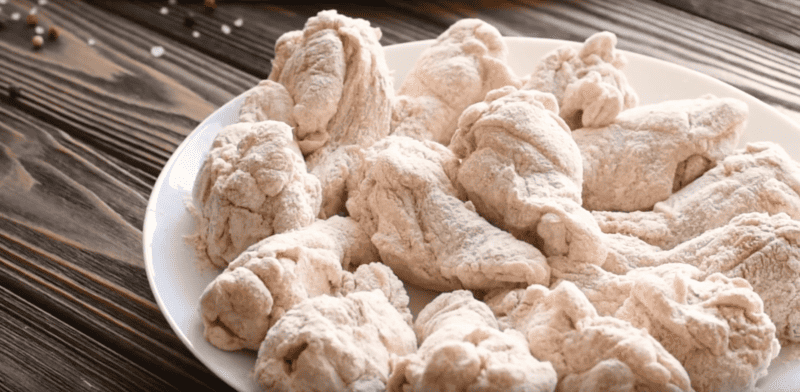
- Add in the chicken wings about 10 at a time, sealing and shaking to fully coat the wings in the flour mixture. Remove wings from the mixture and place on a paper plate. Repeat with all the wings until they are all fully coated in the flour mixture. Place wings in the fridge for 10-30 minutes; this will help the flour to fully adhere to the wings.3 pounds chicken wingettes
- While the wings chill in the fridge, heat 3 inches of oil in a large stock pot or Dutch oven to 360°F.Vegetable oil
- Fry the wings in batches of 10 for 10-15 minutes, or until the wings are crispy, browned, and fully cooked through. Remove from the oil with a slotted spoon and place on a paper towel lined plate to drain.
- When you start frying your last batch of wings, start your sauce. Heat the butter, hot sauce, and honey or medium/high heat in a small sauce pan. Stir while you cook. Once bubbling, reduce to simmer and continue cooking.1 cup Buffalo Sauce, ½ cup salted butter, 3 tablespoons honey
- Use a whisk to stir the sauce often while cooking, about 10-15 minutes.
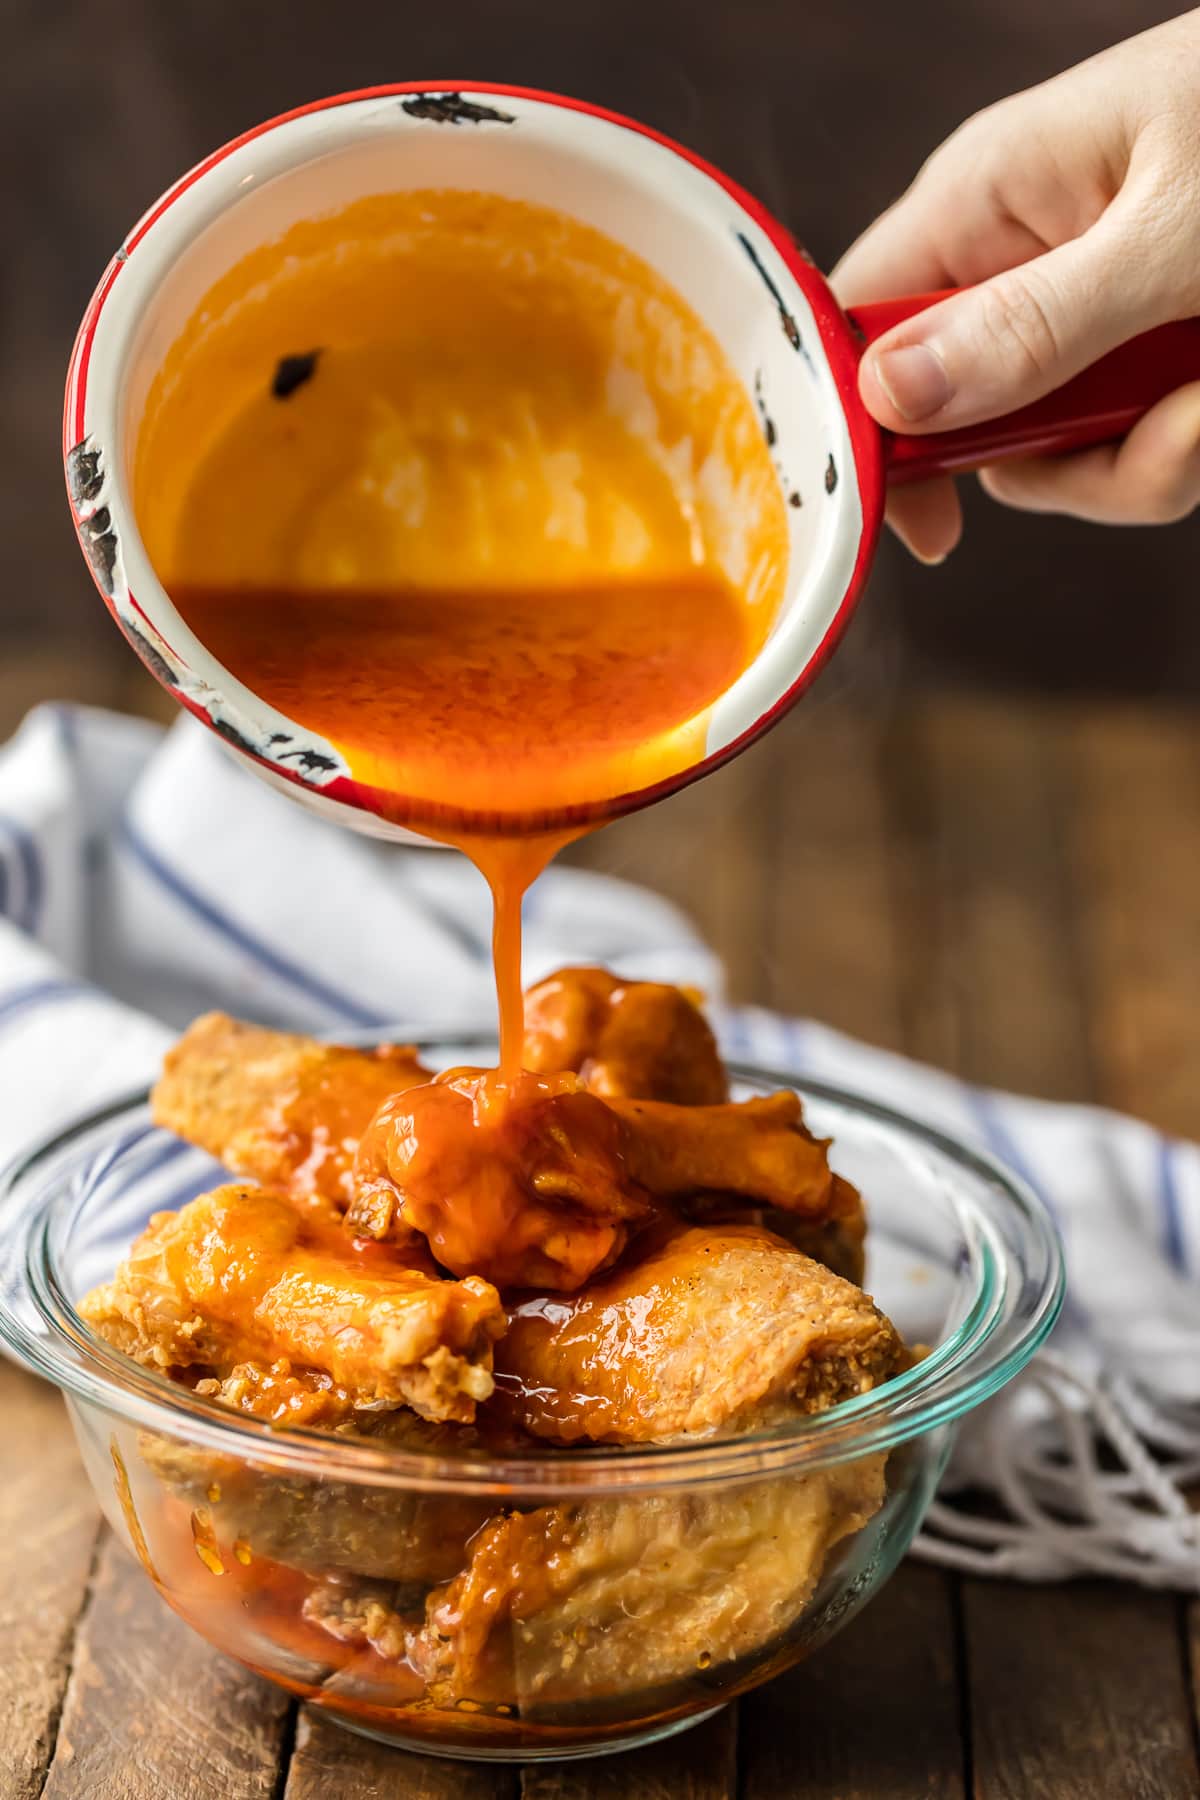
- Once all the wings are done and drained of oil, add them all to a large bowl and toss in the hot sauce.
- Serve immediately, with ranch or blue cheese dressing for dipping.
Nutrition information is automatically calculated, so should only be used as an approximation.
How to Fry Buffalo Wings Step by Step
Make the Breading: In a large ziplock bag, combine 1 cup of Bob’s Red Mill 1:1 Gluten Free Flour, 1 tablespoon of ground paprika, 1 teaspoon of ground cayenne pepper, 1½ teaspoons of garlic powder, and kosher salt and freshly ground black pepper to taste. Stir to fully combine.

Coat the Wings: Add in 3 pounds of chicken wingettes about 10 at a time, sealing and shaking to fully coat the wings in the flour mixture. Remove wings from the mixture and place on a paper plate. Repeat with all the wings until they are all fully coated in the flour mixture. Place wings in the fridge for 10-30 minutes; this will help the flour to fully adhere to the wings.
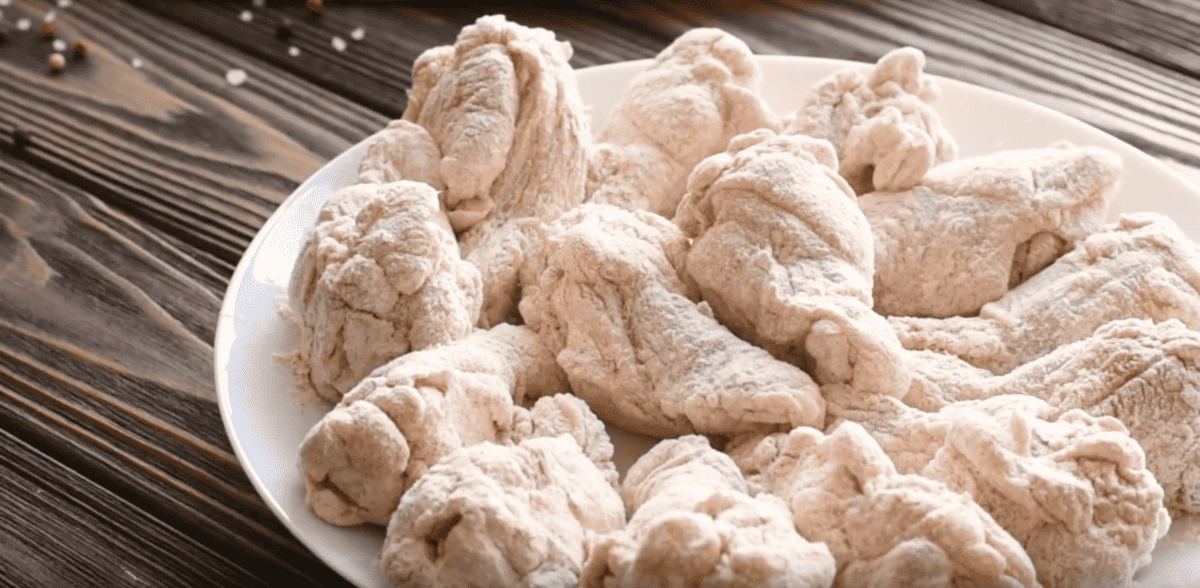
Fry The Wings: While the wings chill in the fridge, heat 3 inches of vegetable oil in a large stock pot or Dutch oven to 360°F. Fry the wings in batches of 10 for 10-15 minutes, or until the wings are crispy, browned, and fully cooked through. Remove from the oil with a slotted spoon and place on a paper towel lined plate to drain.

Make the Sauce: When you start frying your last batch of wings, start your sauce. Heat ½ cup of salted butter, 1 cup of Buffalo sauce, and 3 tablespoons of honey or medium-high heat in a small sauce pan. Stir while you cook. Once bubbling, reduce to simmer and continue cooking. Use a whisk to stir the sauce often while cooking, about 10-15 minutes.

Toss the Wings: Once all the wings are done and drained of oil, add them all to a large bowl and toss in the hot sauce. Serve immediately, with ranch or blue cheese dressing for dipping.







These are the only wings we make! They are perfect. The seasoning and flour makes for the most amazing crust, the fry time is spot on, and we cannot get enough. We make them for large gatherings or just the two of us. The only thing I do a little different sometimes is the sauce, just to mix things up a bit. Otherwise, the recipe is our go to!
Made this without the cayenne (we have lots of hot sauces to make up for it!), and they were great! First time using Bob’s Red Mill one to one, and very happy with the results. Great recipe in a house where someone’s allergic to wheat!
Is it ok for the wings to stay in the fridge longer? While I prep other items
Yes!
Oh my, these were the best wings ever! I followed the recipe exactly as written. At first I was afraid the 10 minute cooking time would be too long but it was spot on! The only downside was how fast my family scarfed the wings down! I highly recommend using a high quality thermometer to keep the temperature consistent, I use the Chef Alarm by Thermoworks.
Definitely double up next time!
Your book and your blog has truly blessed my life and my family. My husband and I listened to your audio book during a family trip and had a really good discussion that will change the way we do things. Thank you for this wonderful material.Home
You’re welcome!! I’m so happy I could help make a difference!
To tell you the truth, up until last week I’d never baked with puff pastry before. I usually do as much of my baking as possible from scratch, but the idea of making homemade puff pastry is fairly intimidating – I’ve seen them do it on the Great British Baking Show and someone always makes a giant mess of it. So I figured I might as well give the frozen kind a try, and it worked like a dream.jeftine karte
I’m so happy it worked so well for you!!
I’d never made buffalo wings myself and honestly could take ’em or leave ’em as far as food goes. I tried this recipe on a whim and now buffalo wings are my FAVE – well, THESE buffalo wings! So crispy and the perfect amount of sweet & hot. And best of all, GF! Thank you so much for sharing, Becky!
I love hearing that! I’m so glad you loved these!! Thanks, Valerie!
I made these wings for my mom and I. Honestly, the BEST WINGS I’ve ever had. Never would have dawned on me to coat the wings and then add the sauce. Huge difference! Thanks for the marvelous recipe and especially the tip about refrigerating which made them crisp up so well. All gone! Great party!
YAY!!!!
Fantastic! Had them last night for the sixth time. This is our new go-to wing recipe.
Thank you so much for sharing
So good. I’ve made these several times. They always turn out well. People rave about them.
Thanks, Lisa!