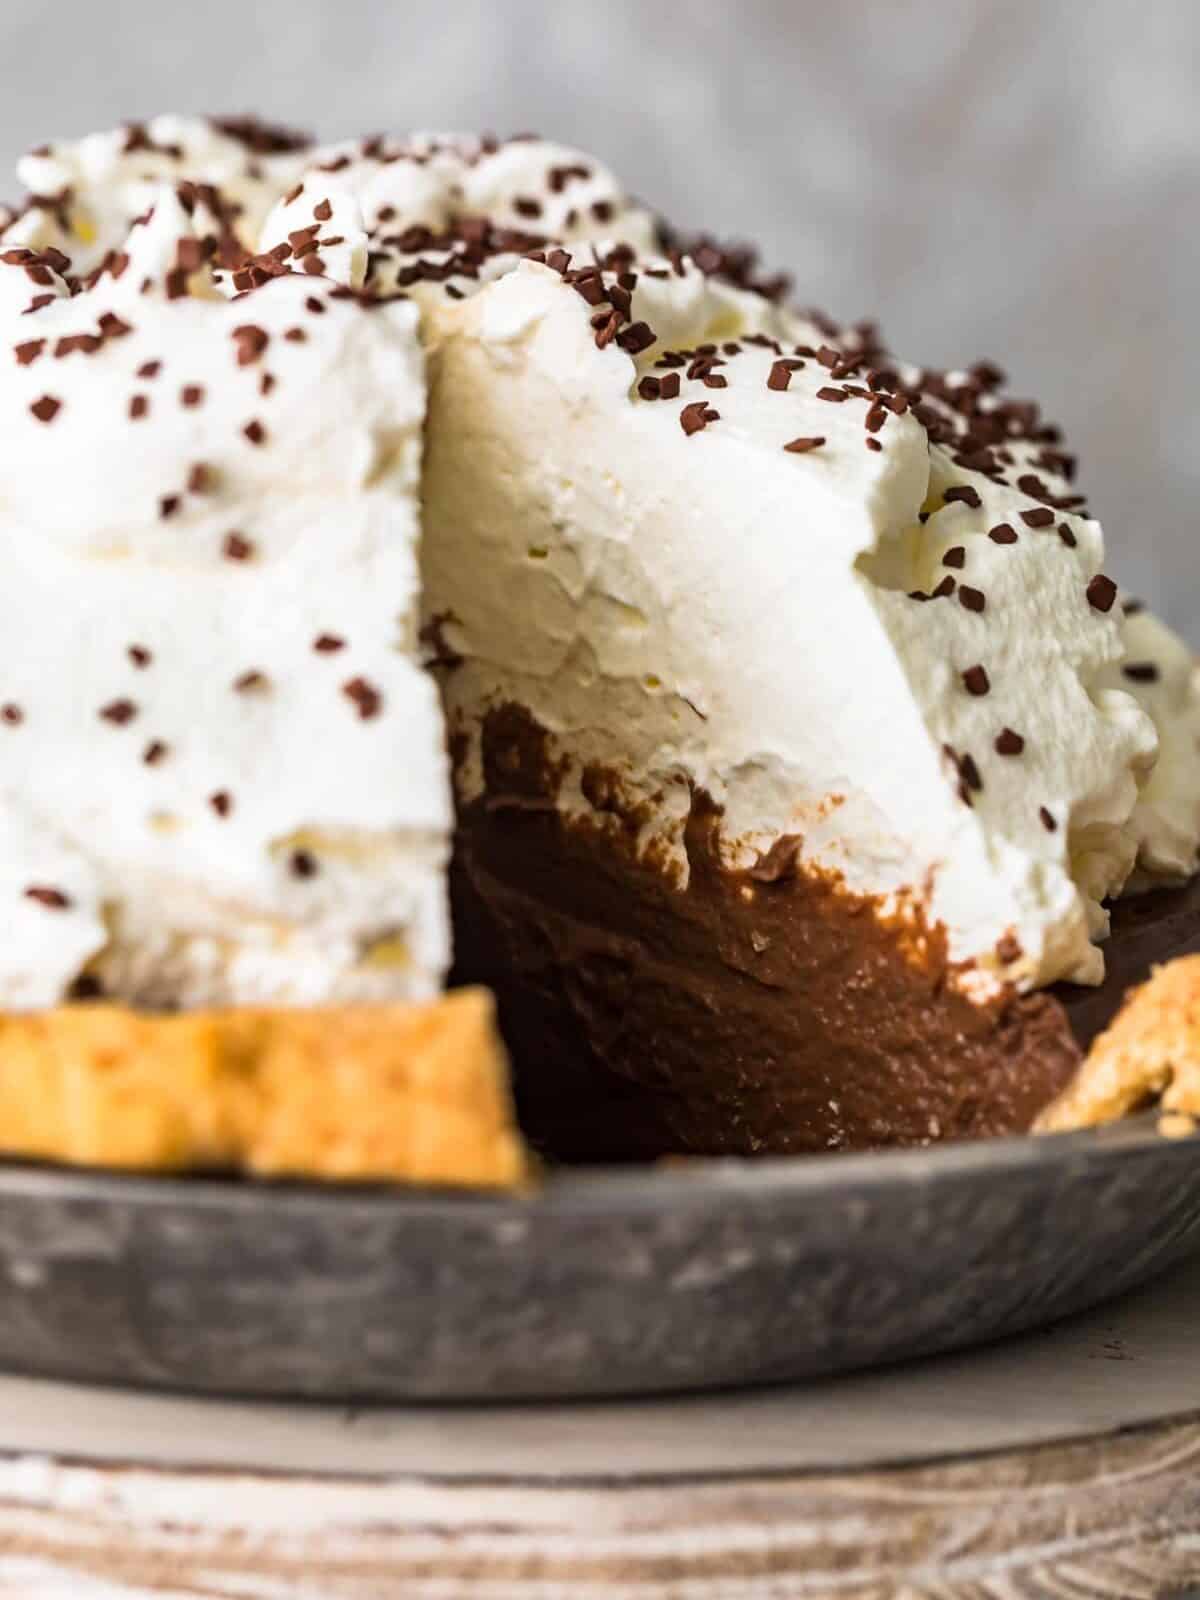
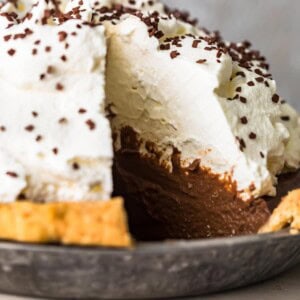
This classic Chocolate Cream Pie recipe features a sweet, smooth, decadent chocolatey pie filling topped with fluffy whipped cream. It only takes about 10 minutes to prep, so it’s perfect for busy holidays like Thanksgiving and Christmas. Easy and impressive – the best of both worlds!
This post may include affiliate links that earn us a small commission from your purchases at no extra cost to you.
What’s in this Chocolate Cream Pie Recipe
This holiday must make dessert is whipped up with simple and inexpensive ingredients!
- Pie Crust: Use your favorite pre-made pie crust for this recipe, or make your own.
- White Granulated Sugar: This creates the best touch of sweetness for the chocolate pie filling.
- Cornstarch: The thick consistency of the pie filling is achieved with the use of cornstarch.
- Unsweetened Cocoa Powder: You’ll need this AND the chopped chocolate to work together to create the very best rich flavor.
- Kosher Salt: Just a little bit is used to help enhance the other ingredients in the filling.
- Whole Milk: You can use half-and-half in place of part or all of the whole milk for a richer pie.
- Chocolate: Ghirardelli Bittersweet and Semisweet Chocolate Premium Baking Bars work well.
- Butter: Unsalted butter is used to help get the best smooth texture for the chocolate.
- Pure Vanilla Extract: You can use homemade (my personal preference for the best flavor) or store-bought.
- Heavy Cream: You’ll need this for the whipped topping. I don’t recommend using any other dairy product.
- Powdered Sugar: This creates the best sweetness for the whipped topping and can’t be substituted with any other sugar.
PRO TIP: Allow four hours for the pie to completely cool and chill before serving.
How do I garnish chocolate cream pie?
Chocolate shavings always look pretty when dusted on top of the whipped cream! However, you can also make it more holiday specific by adding crushed candy canes for Christmas or red and pink sprinkles for Valentine’s Day. Have fun with it!
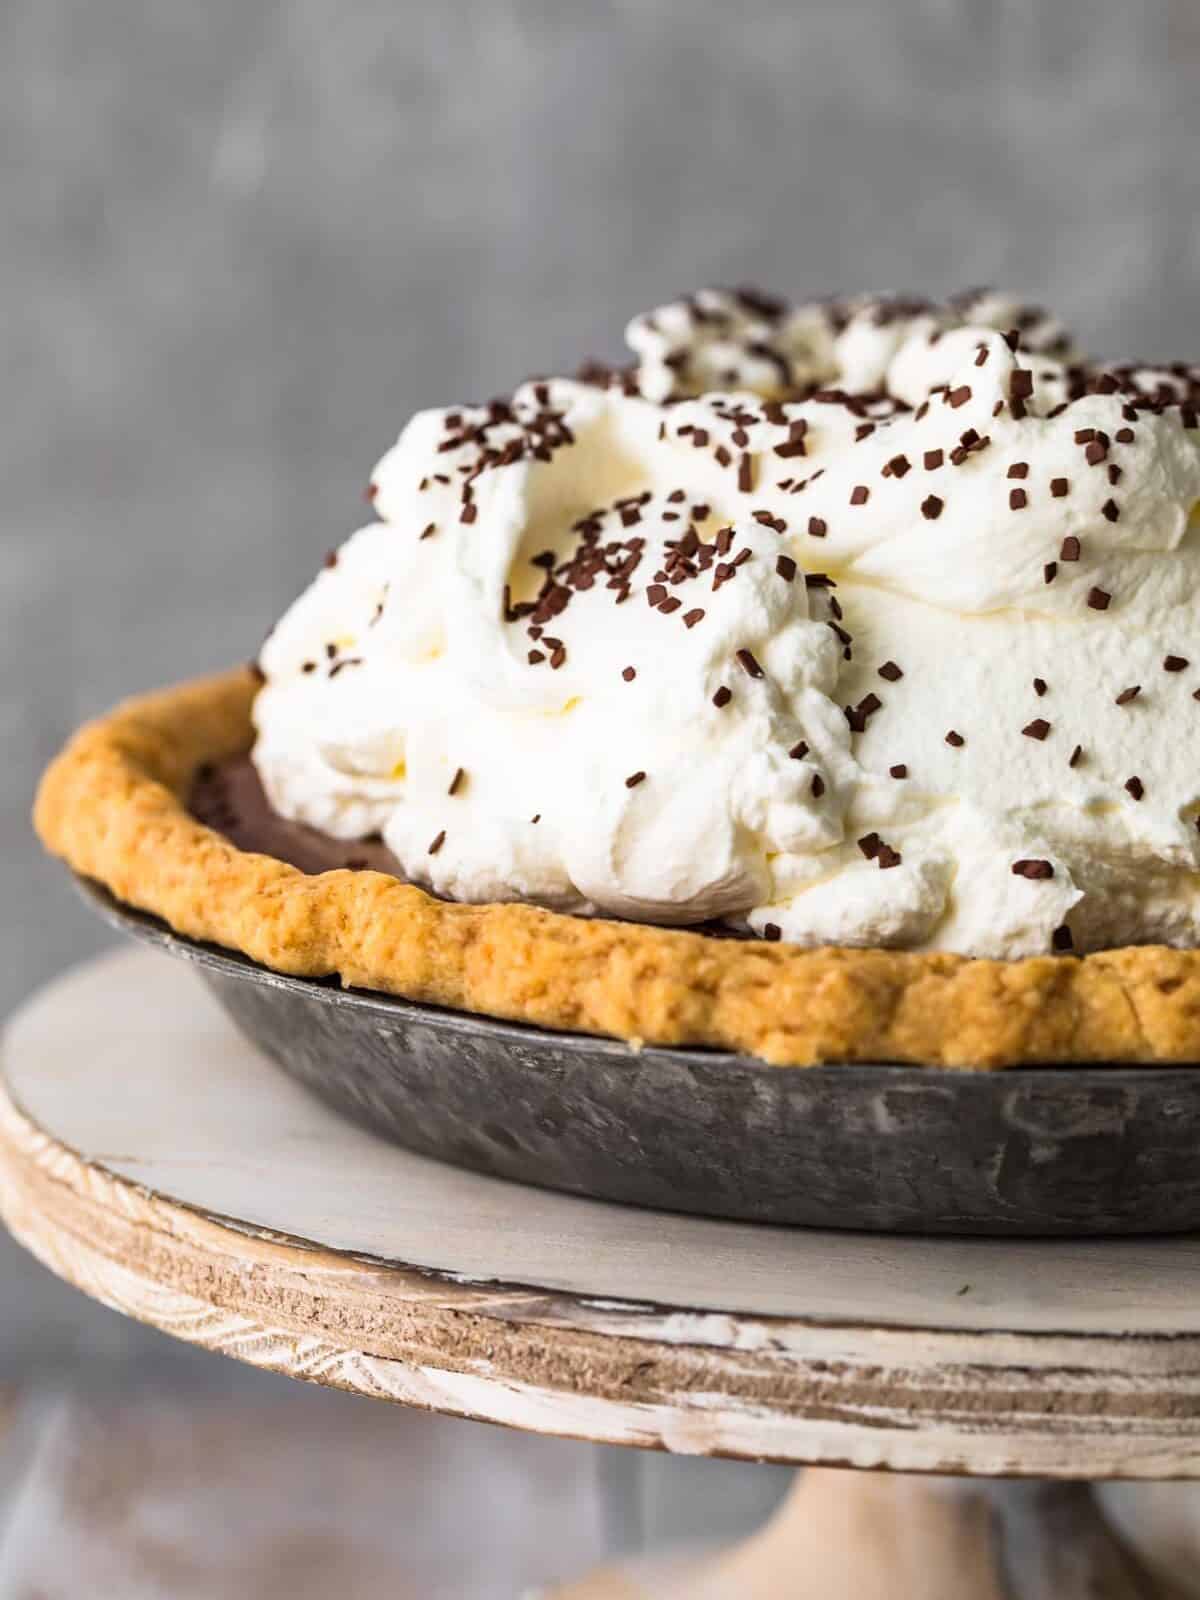
Yes! The pie can be made up to 24 hours ahead of time, so it’s perfect for easy entertaining. Add the whipped cream no more than 2 hours before serving though, so it doesn’t become flat.
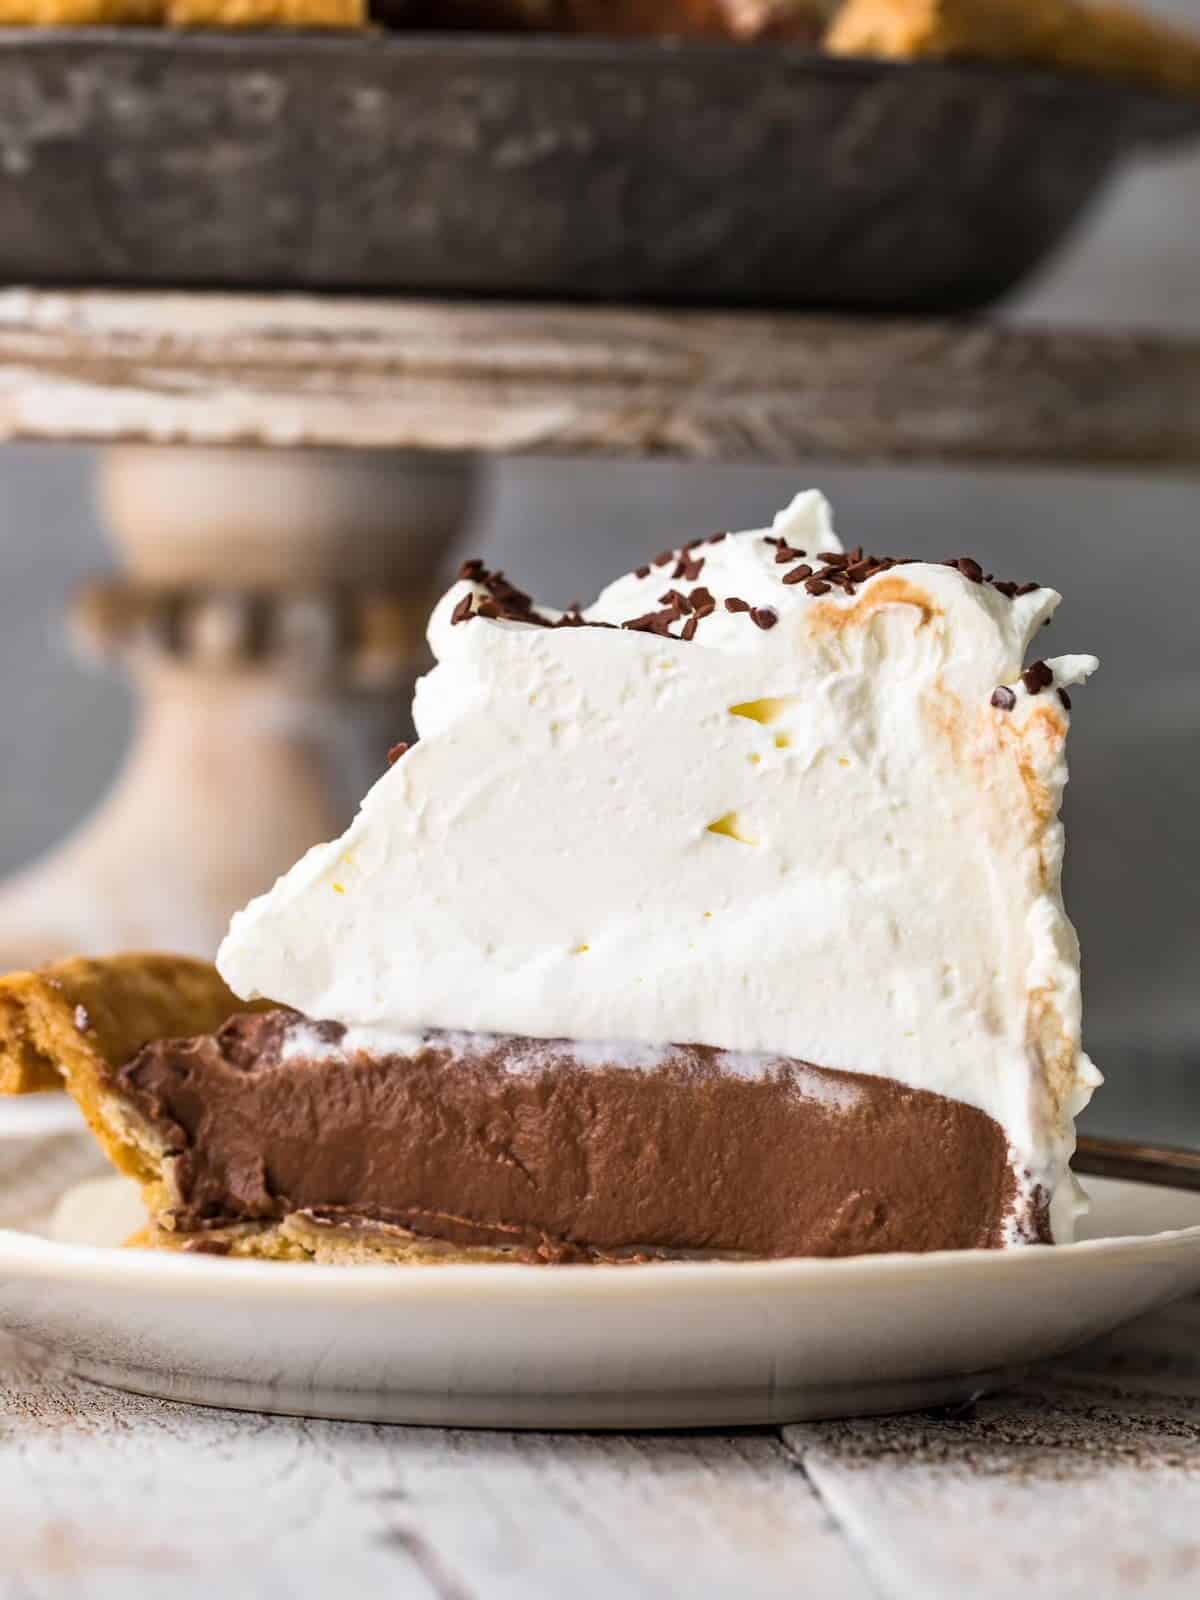
Make sure to avoid a runny pie by measuring all of the ingredients carefully. If there is not enough cornstarch or too much milk, it won’t set right. Also, be sure to let the filling cook long enough to actually thicken.
Cornstarch is what thickens the chocolate cream pie filling to the very best consistency.
How to Store
In an airtight container in the fridge, chocolate cream pie will stay good for up to 3 days.
How to Freeze
I like to make a couple of pies and then freeze one for later. Let the pie cool to room temperature and cover it completely in either plastic wrap or an air tight freezer bag. Defrost the pie overnight in the refrigerator.
Serving Suggestions
We love to make this chocolate cream pie recipe for Thanksgiving, Christmas, Valentine’s Day, and even as a substitute birthday cake!
5-Star Review
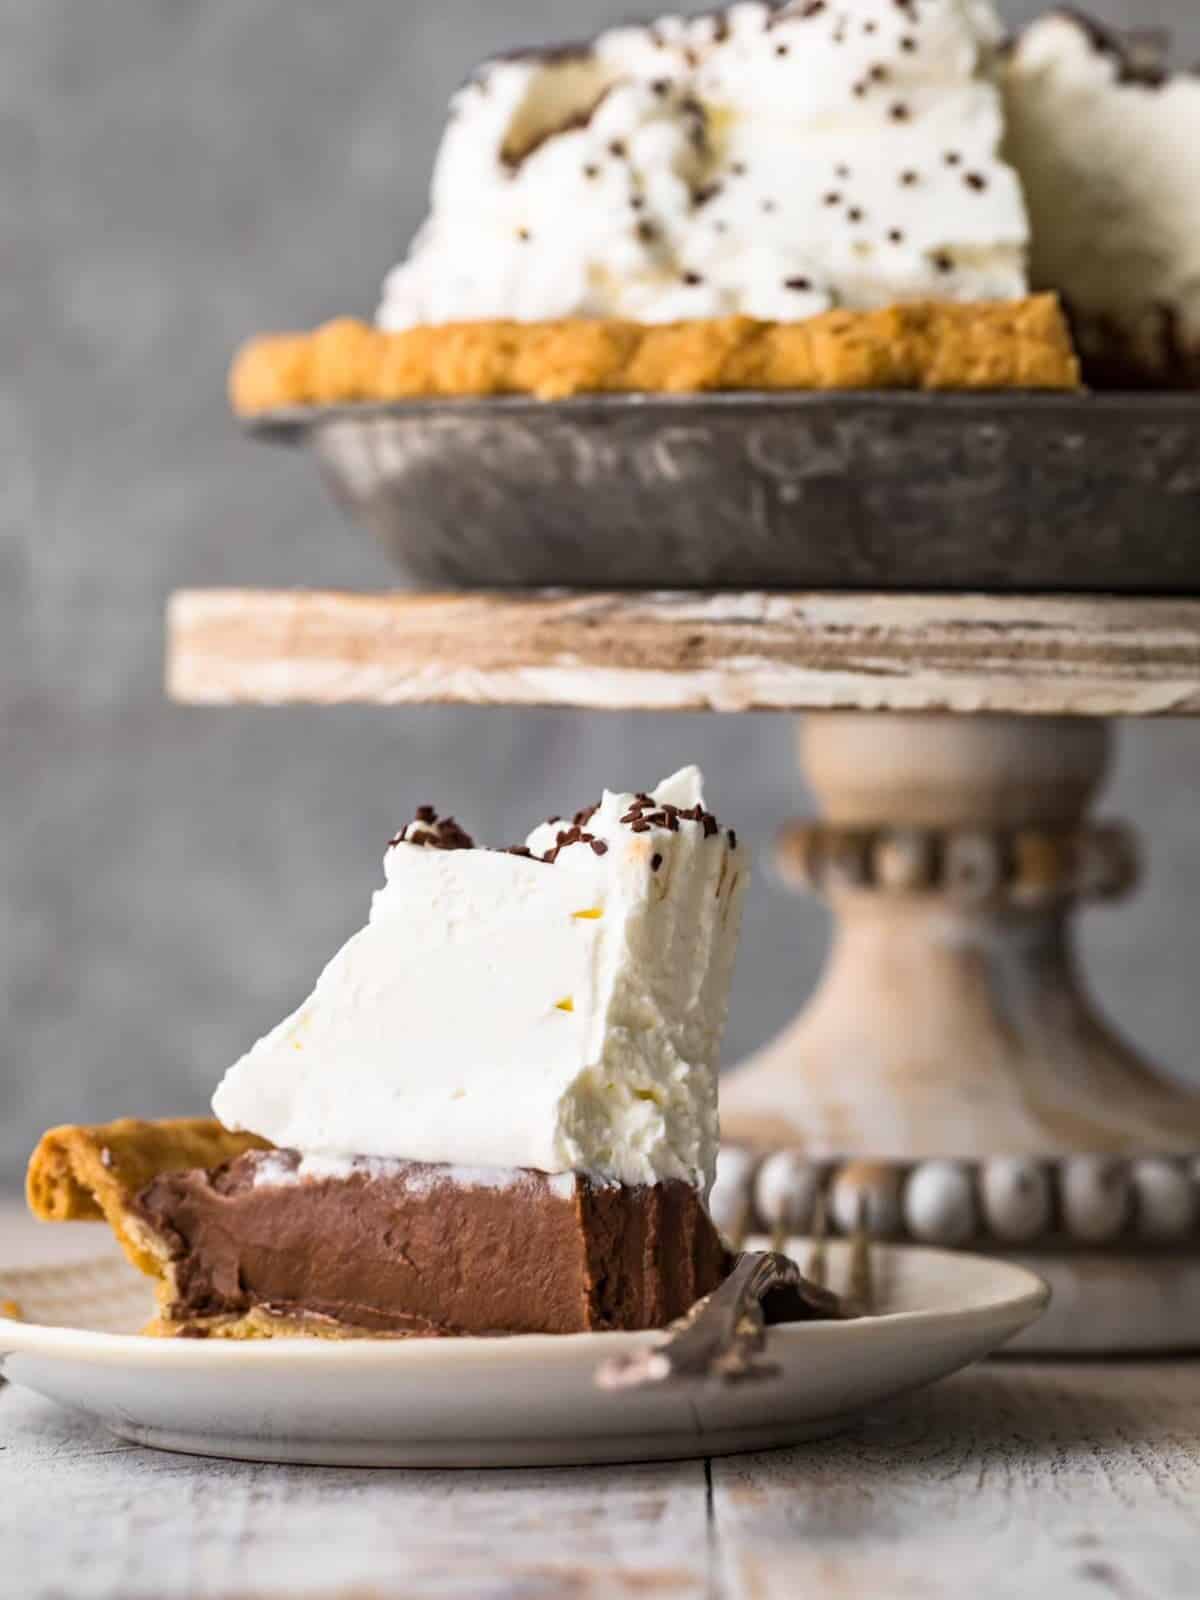
“I’m not a huge fan of chocolate cream pie. It has to be a really excellent pie for me to enjoy it. However, my daughter is a big fan of chocolate cream pie. So, for the last 20-25 years, I’ve used a different recipe every year, trying to find one that I like. This year I tried yours & I’m done looking. Easy to make. Looks beautiful. Great taste. Great recipe. Thank you.” – Tess K.
More Easy Pie Recipes We Love
- Homemade Apple Pie
- Shoofly Pie
- Sweet Potato Pie
- Grasshopper Pie
- Pumpkin Pie
- Caramel Pie
- Chocolate Peanut Butter No Bake Cheesecake
Chocolate Cream Pie Recipe
Equipment
- Kitchen Scale (optional)
Ingredients
- 1 9-inch refrigerated pie crust 213 grams, fully baked and cooled (½ package)
For the Filling
- ⅓ cup granulated sugar 67 grams
- ¼ cup cornstarch 28 grams
- 2 tablespoons unsweetened cocoa powder 11 grams
- ½ teaspoon kosher salt
- 3 cups whole milk 681 grams
- 4 ounces semisweet chocolate 113 grams, finely chopped
- 2 ounces bittersweet chocolate 57 grams, finely chopped
- 3 tablespoons unsalted butter 42 grams, cut into 3 pieces
- 2 teaspoons pure vanilla extract 8 grams
For the Topping
- 1 cup heavy cream 227 grams
- 1½ tablespoons powdered sugar 11 grams
- Chocolate Flakes or chocolate shavings optional
Instructions
- Set the cooked pie crust aside until ready to fill.1 9-inch refrigerated pie crust
- Cut a piece of parchment paper or waxed paper the size of the pie plate, and spray it lightly with nonstick cooking spray. Set aside.
For the Filling
- In a large saucepan, whisk the sugar, cornstarch, cocoa, and salt together.⅓ cup granulated sugar, ¼ cup cornstarch, 2 tablespoons unsweetened cocoa powder, ½ teaspoon kosher salt
- Add the milk and whisk, scraping the sides until fully incorporated.3 cups whole milk
- Set the saucepan over medium to medium-low heat. Cook and whisk continuously for 8-10 minutes, or until bubbly over the entire surface and thickened.
- Cook an additional 30 seconds and remove from the heat.
- Add the chocolate and butter and whisk until melted and smooth. Add the vanilla and whisk until incorporated.4 ounces semisweet chocolate, 2 ounces bittersweet chocolate, 3 tablespoons unsalted butter, 2 teaspoons pure vanilla extract
- Pour the filling into the cooled pie crust and cover with the prepared parchment. Lightly press the parchment against the surface of the filling.
- Cool the pie on the countertop 45-60 minutes then refrigerate until filling is set and firm, about 3 hours. The pie can be made up to 24 hours ahead, but add the whipped cream not more than 2 hours before serving.
For the Topping
- In the bowl of a stand mixer fitted with the whisk attachment, whip the cream and powdered sugar on MEDIUM-HIGH until foamy, about 1 minute.1 cup heavy cream, 1½ tablespoons powdered sugar
- Set the speed to HIGH and whisk until stiff peaks form, about 1-2 minutes.
- Spread to whipped cream over the pie and serve.
- Garnish with chocolate flakes or shavings.Chocolate Flakes or chocolate shavings
Video
Becky’s Tips
- NOTE: Ghirardelli Bittersweet and Semisweet Chocolate Premium Baking Bars work well.
- Use your favorite pre-made pie crust for this recipe, or make your own.
- Line the pie tin with parchment for easy removal.
- You can use half-and-half in place of part or all of the whole milk for a richer pie.
- Allow four hours for the pie to completely cool and chill before serving.
Nutrition information is automatically calculated, so should only be used as an approximation.




Made it yesterday and it came out perfect! Made my own pie crust. It was my first time making chocolate cream pie and my son loved it. Said better than cafe pies!
I’m going to try this again because mine did not set. It’s runny. I’m not new to baking I actually bake for others when they need things. The only thing I can think to change would be more cornstarch or less milk but I’ll come back and change the review if it sets.
We’re sorry you had trouble with this recipe, Kristin! We hope it goes better next time!
This was my second year making this pie. Last year I added the chips too soon and while delicious wasn’t as firm. This year I made sure to turn up the heat and make sure the half and half mixture was nice and thick before adding the chips and the rest of the ingredients (10 min just like the recipe said). It turned out perfect. I gave a pie to my mom and she can’t stop eating it 😂. This pie is amazingly divine.
It’s dangerous!
I’m not a huge fan of chocolate cream pie. It has to be a really excellent pie for me to enjoy it. However, my daughter is a big fan of chocolate cream pie. So, for the last 20-25 years, I’ve used a different recipe every year, trying to find one that I like. This year I tried yours & I’m done looking. Easy to make. Looks beautiful. Great taste. Great recipe. Thank you.
Thanks for sharing, Tess!
Made this chocolate pie tonight for dessert and my husband & mom just loved it. Said it was the best chocolate pie they have had.
What a success!
My family loves this pie. Admittedly, I love this pie too. I’ve made it many times and the only time it came out soupy is when I didn’t get it to the proper temperature and thickness while cooking. The recommendation to cook on low for 8-10 minutes has never worked for me– probably something to do with my saucepan and it’s ability to insulate heat. I cook it a bit higher and make sure it gets bubbly and thickens. It takes longer than what the recipes says but so worth the wait! Good luck!
Thanks for sharing, Laura!
this recipe isnt suppose to have egg yolks, right? just wondering if that is why some of the pies didnt set up?
No eggs here!