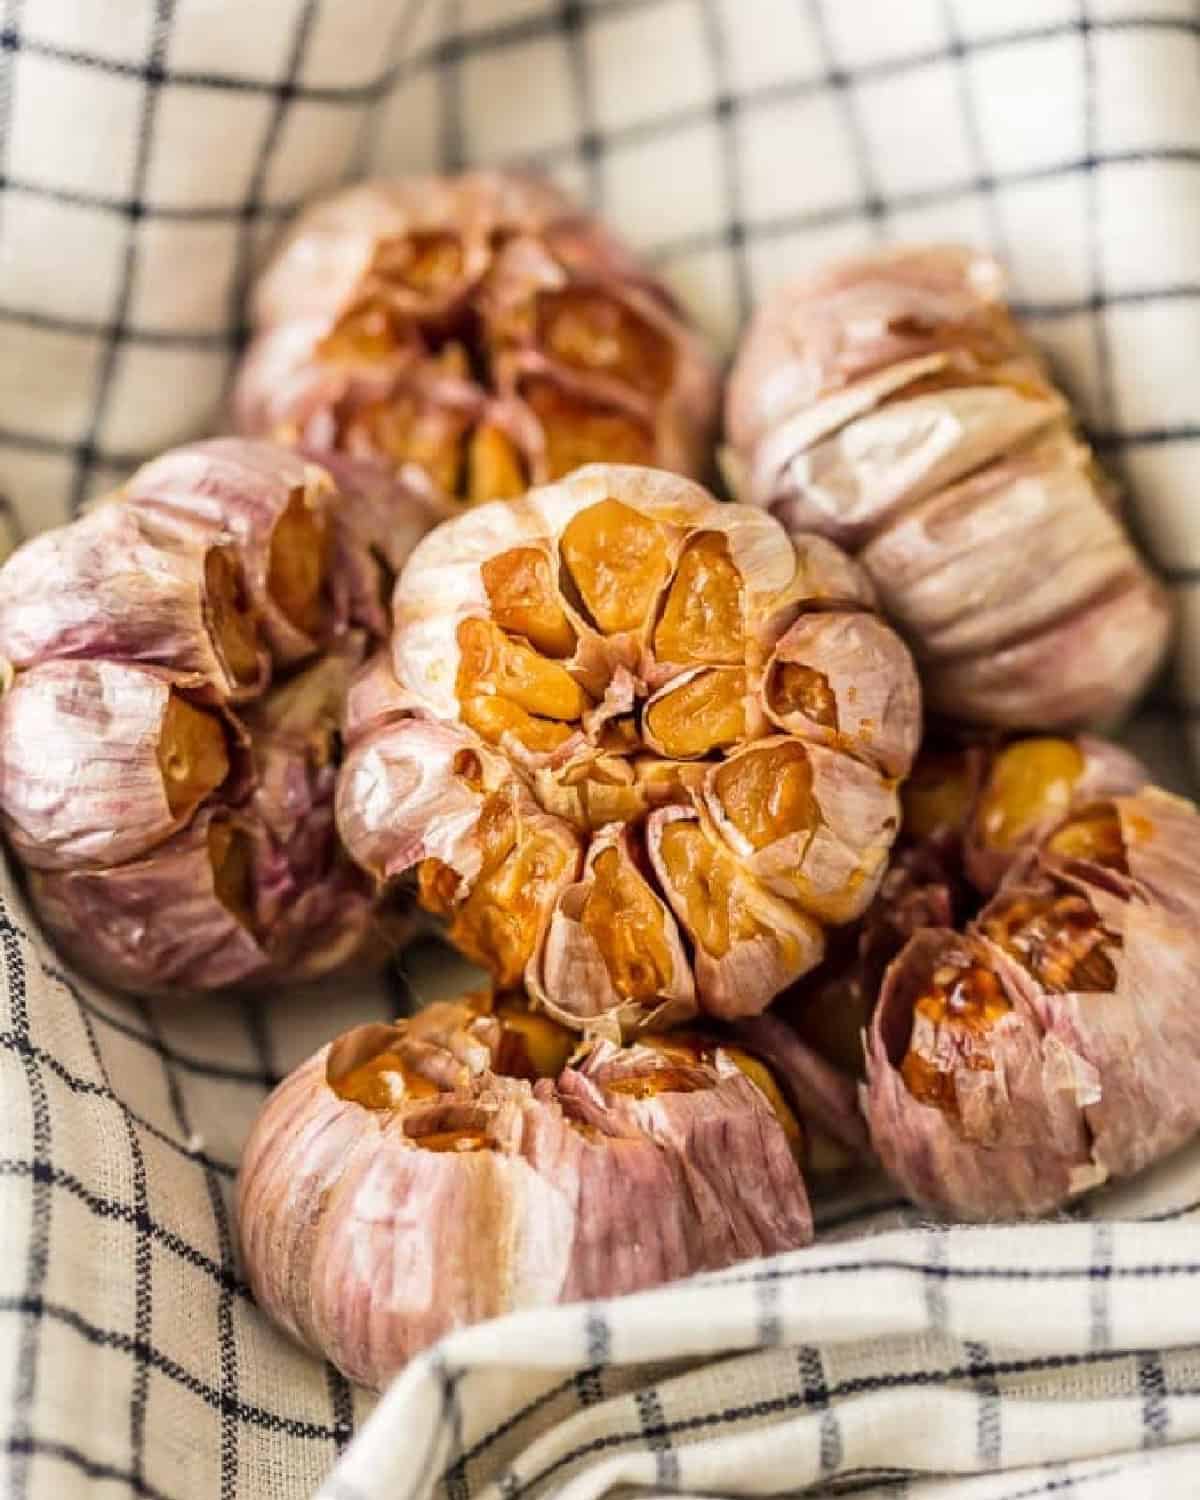
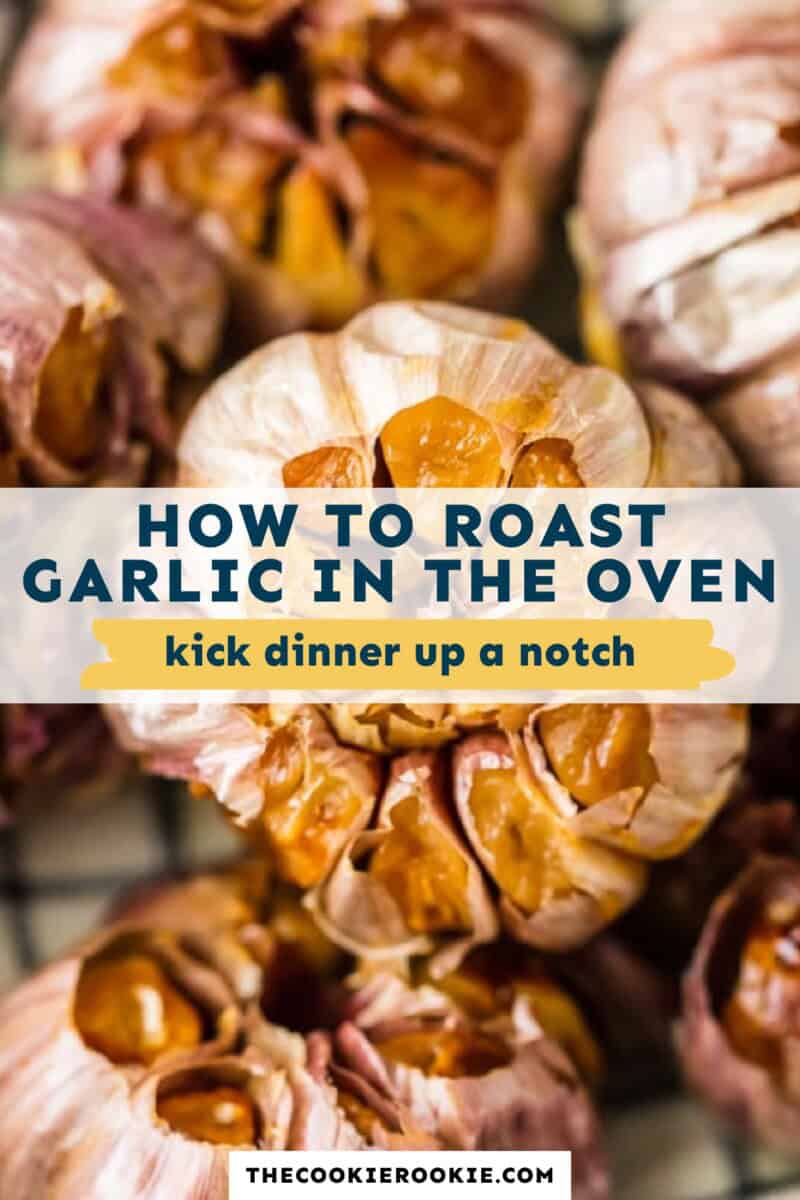
Ever since Pat and I tried it at a fancy steakhouse, I’ve been wanting to learn how to roast garlic. Well, I’m happy to report that it’s just as easy as it sounds! This oven roasted garlic recipe is made with just 2 ingredients and less than 5 minutes of prep– the rest is all hands-off roasting. The flavor of roasting is intensified and a little bit sweet. I can’t get enough of it! It is such a great thing to eat along with steak, and of course, it tastes amazing with pasta and all kinds of other foods too!
This post may include affiliate links that earn us a small commission from your purchases at no extra cost to you.
I have always been a fan of garlic, but I had no idea how to roast garlic like this. I didn’t even know it was a thing. We first had oven roasted like this at one of our favorite Valentine’s destinations last year, and I’ve been wanting to make it ever since. Roasting the garlic really brings out its sweet flavors in the most perfect way. Like I said, you have to try it!
What’s in This Roasted Garlic Recipe?
- Garlic: A garlic bulb is also known as a head of garlic. It’s the entire thing, whereas a clove is the individual piece that you pull out of a head.
- Olive Oil: It’s important to coat the heads of garlic with oil so they soften and turn tender as they cook. Without this source of moisture, they will just be dry.
Tips for Success
- Don’t cut too far down the bulb or the cloves will naturally separate and fall apart.
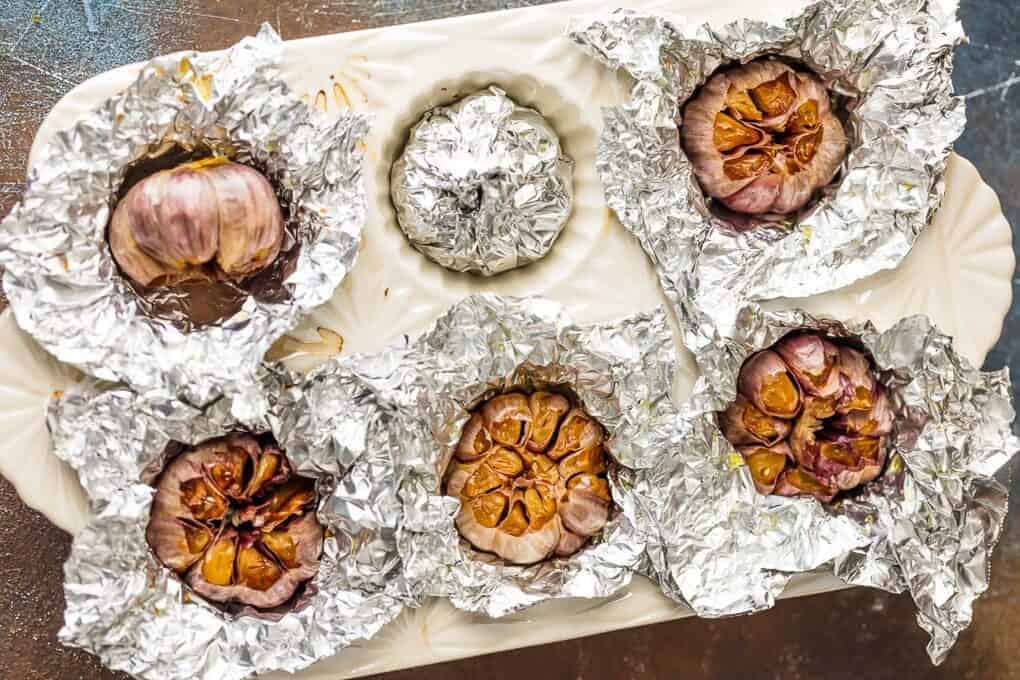
- For a low-waste option, place the garlic bulbs in the muffin tin and cover with an inverted baking sheet– no foil required!
- Oven temperatures can vary greatly, as can the sizes of individual heads of garlic. Feel free to adjust the roasting time of the garlic until it reaches the desired texture.
- To easily squeeze out the garlic cloves while the heads are still hot, grip the sides with kitchen tongs and squeeze!
- For an easy garlic paste, blitz the roasted garlic in a food processor, pour it into an ice cube tray, and freeze!
How to Store
Store leftover roasted garlic in an airtight container in the refrigerator for up to 4 days. I love to roast garlic in bulk and keep it in the freezer to use throughout the year. It keeps well for up to 6 months– just toss individual cloves into a hot pan to defrost.
Serving Suggestions
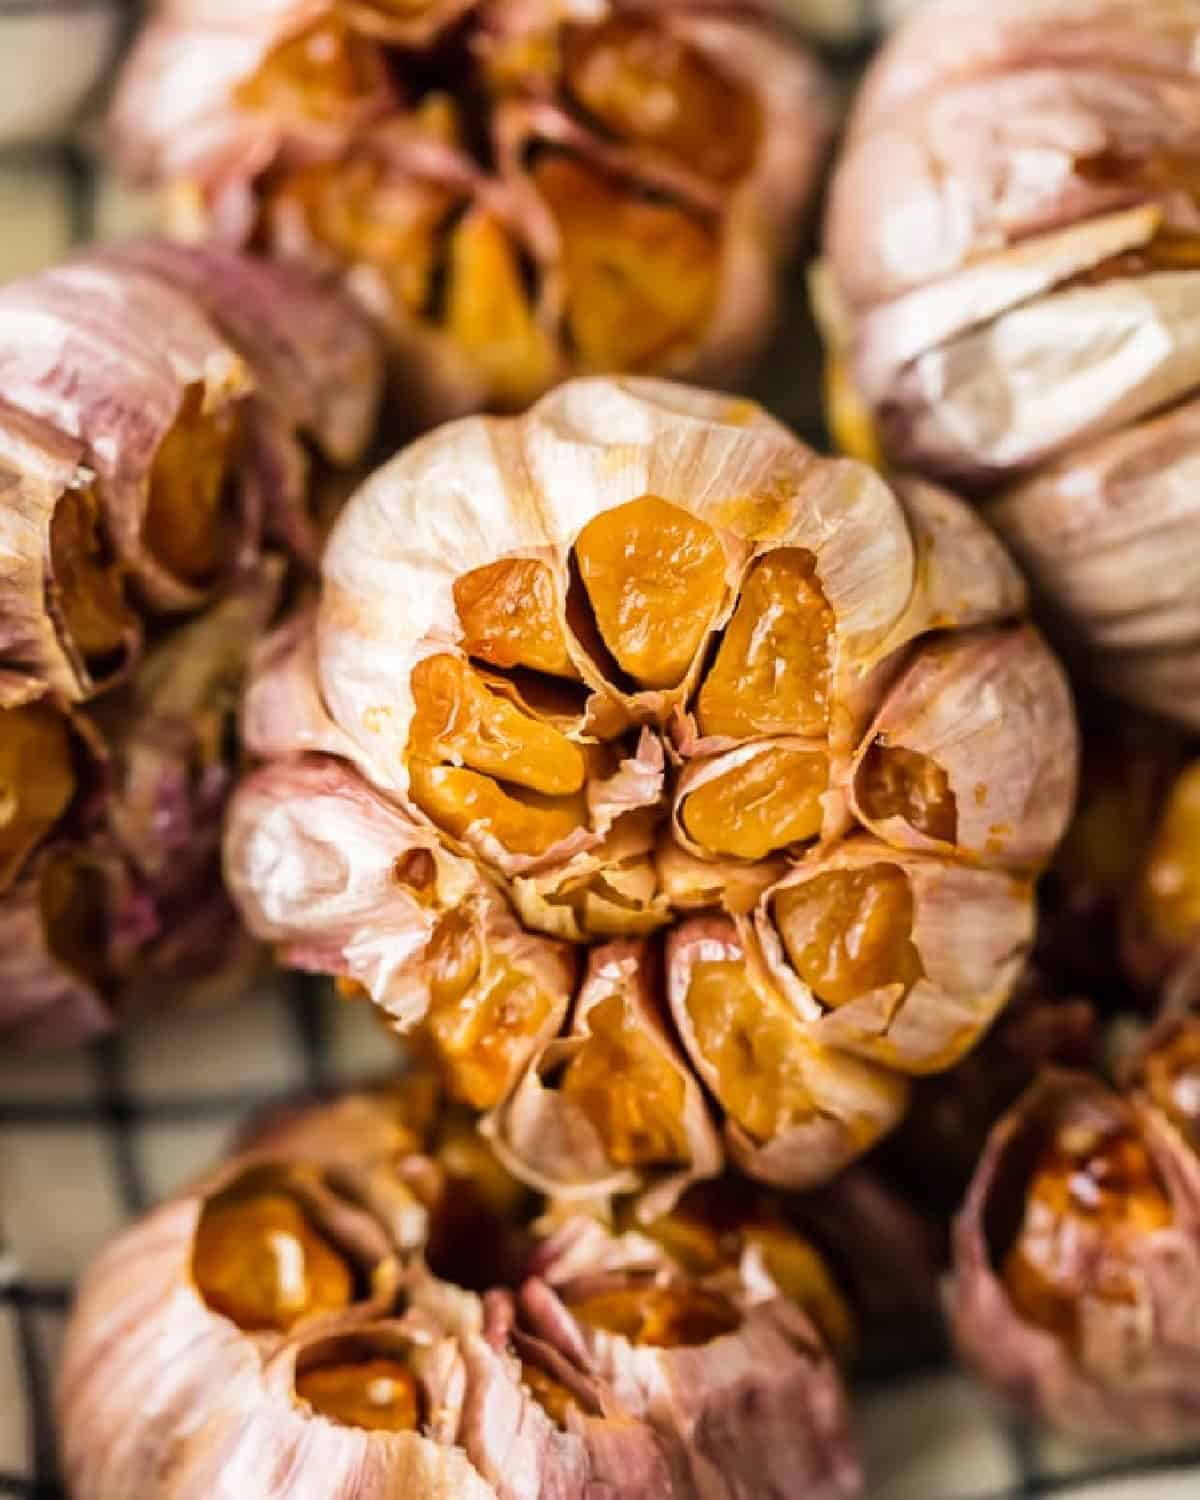
This roasted garlic recipe actually makes for an awesome (and unexpected) side dish that goes well with all kinds of meals. Like I said earlier, I made this to go along with steak, and I think that’s one of the best things to pair it with. But I’d just as quickly eat this along with an easy chicken recipe (like this Spinach Stuffed Chicken Breast) or a pork dish (like this Pork Tenderloin recipe). And of course, it would be perfect with any Italian pasta dish too.
5-Star Review
“I’ve roasted garlic in foil before but never thought of putting the bulbs wrapped in foil in a muffin tin. Great idea! Keeps the bulbs from tipping over and possibly having olive oil drip in your oven. Thank you!” -Jil
Roasted Garlic Recipe
Equipment
Ingredients
- 4 heads garlic
- 1 tablespoons olive oil
Instructions
- Preheat oven to 400°F.
- With your hands, peel the paper outside of the garlic, to expose the cloves. Take care to keep the bulbs together and not break them apart while you're peeling4 heads garlic
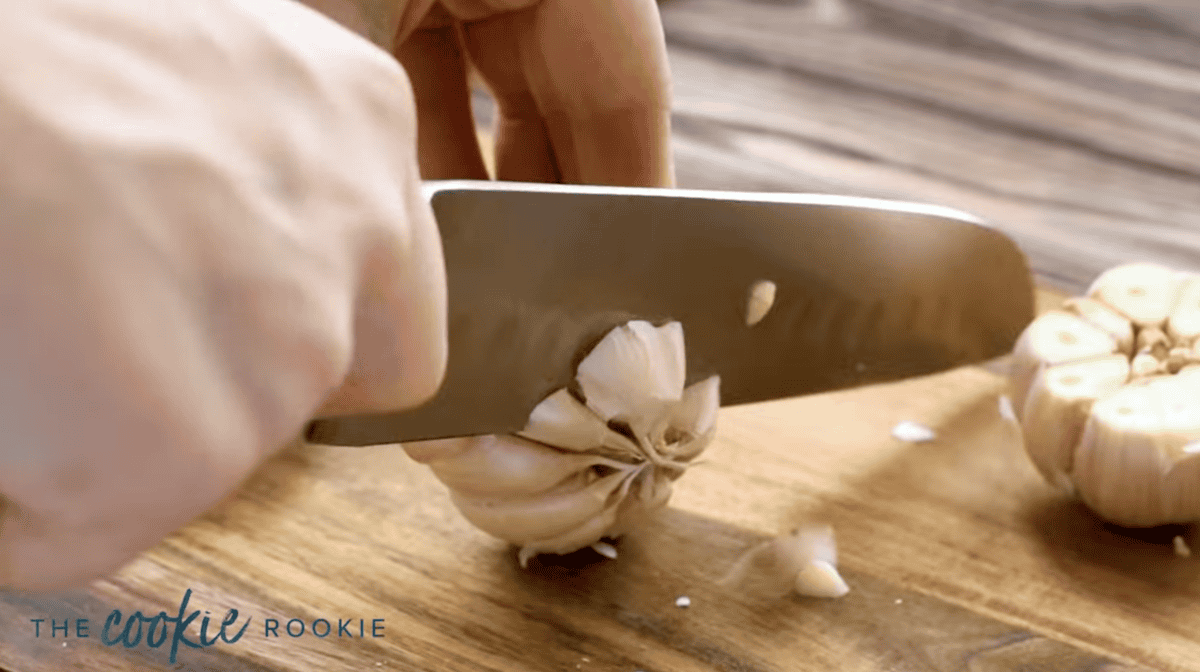
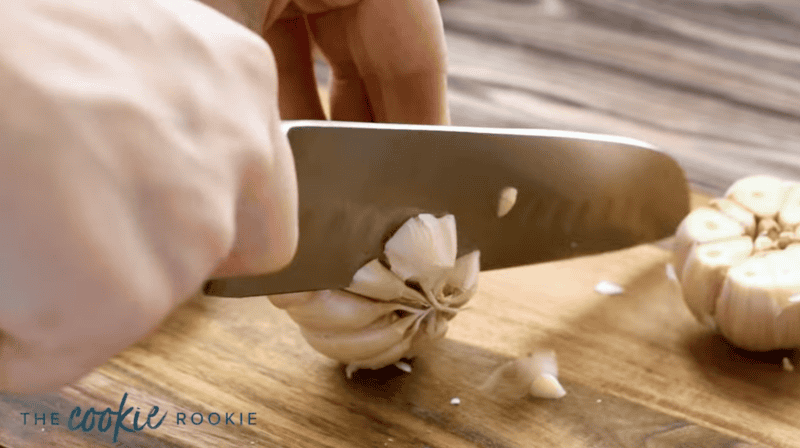
- Taking a sharp knife, cut the top of each garlic bulb straight off, about ½ inch down from the top. This should cut into most of the cloves to expose the interior.
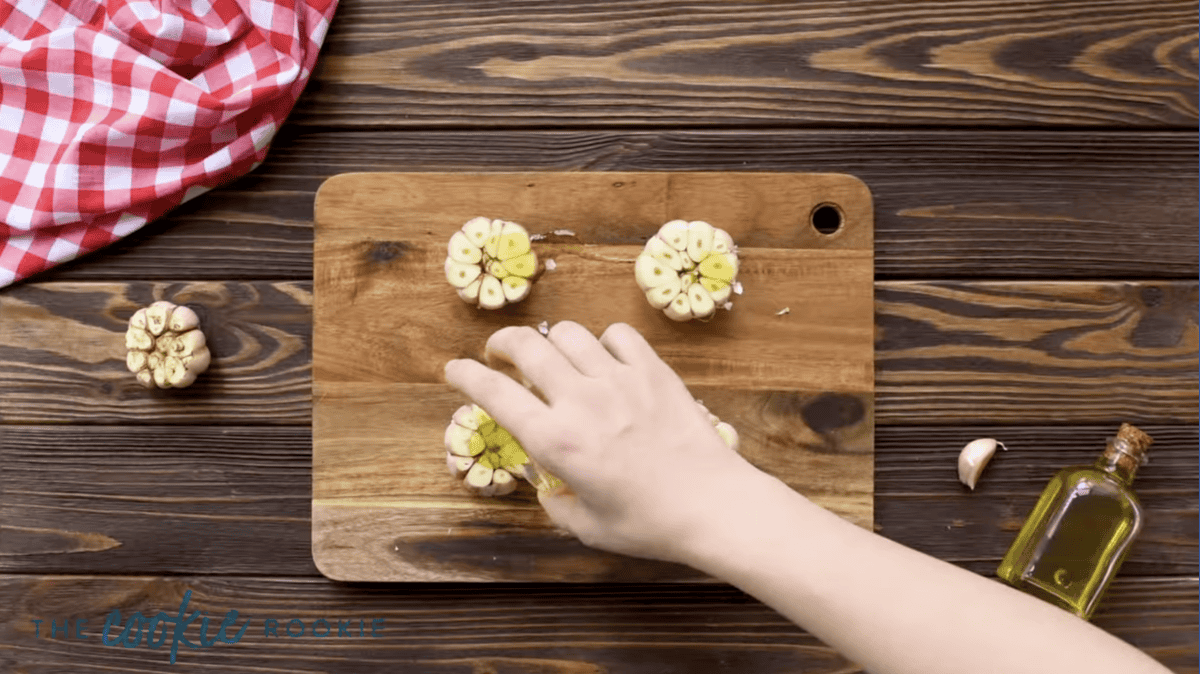
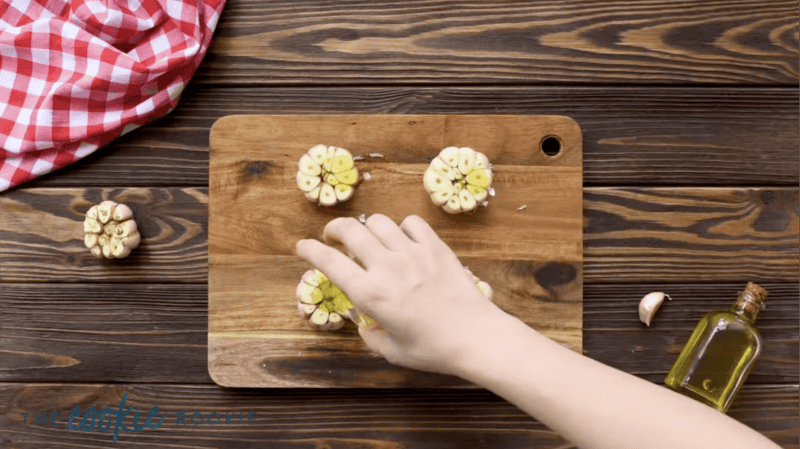
- Top each bulb with ¼ tablespoon of olive oil and massage into the cut side of each bulb.1 tablespoons olive oil
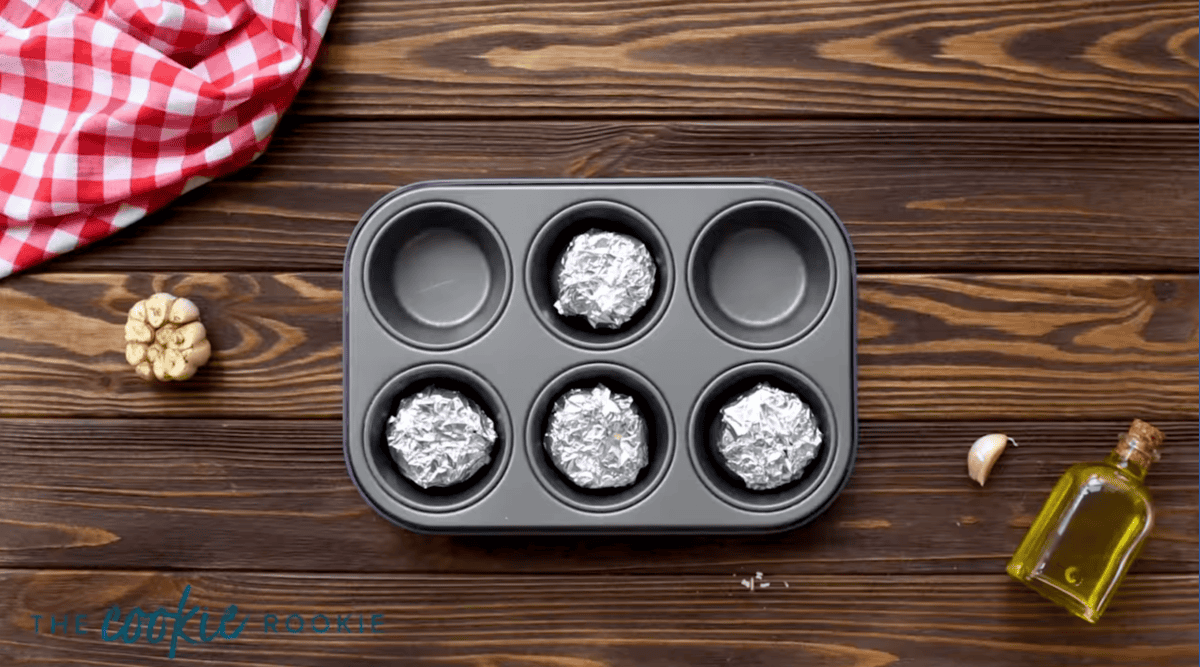
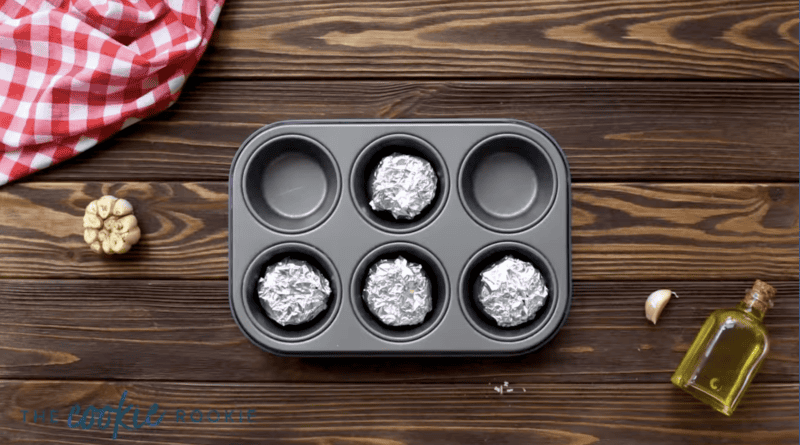
- Wrap each bulb in aluminum foil and place them into the wells of a muffin tin, cut sides up.
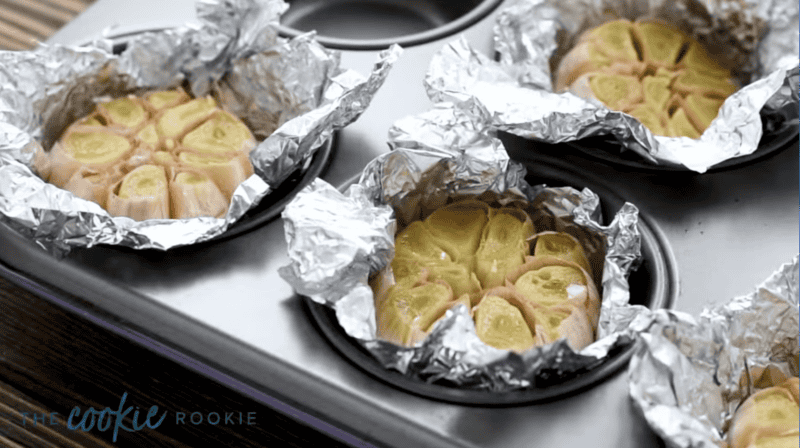
- Bake for 35-40 minutes, or until each clove is tender.
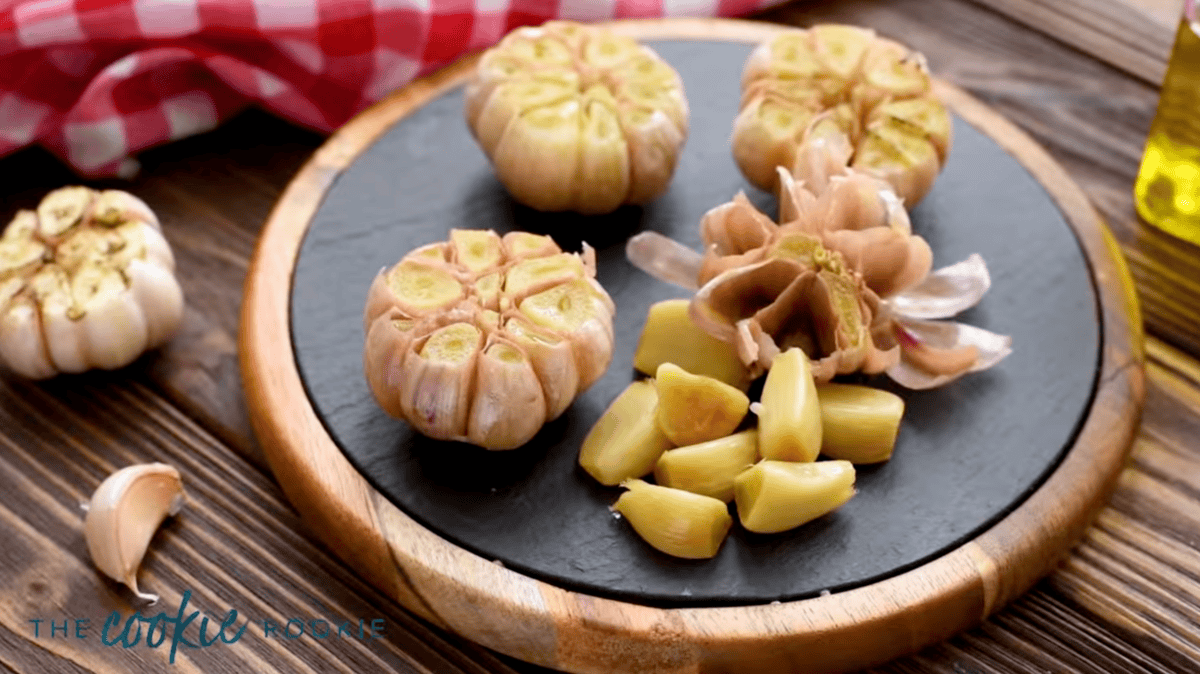
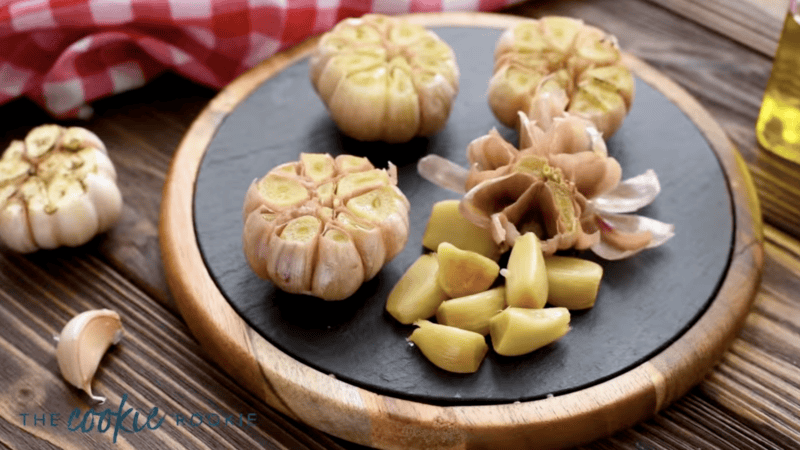
- To eat, pinch from the outside and the clove should come easily out of the skin.
Video
Becky’s Tips
Nutrition information is automatically calculated, so should only be used as an approximation.
How to Roast Garlic Step by Step
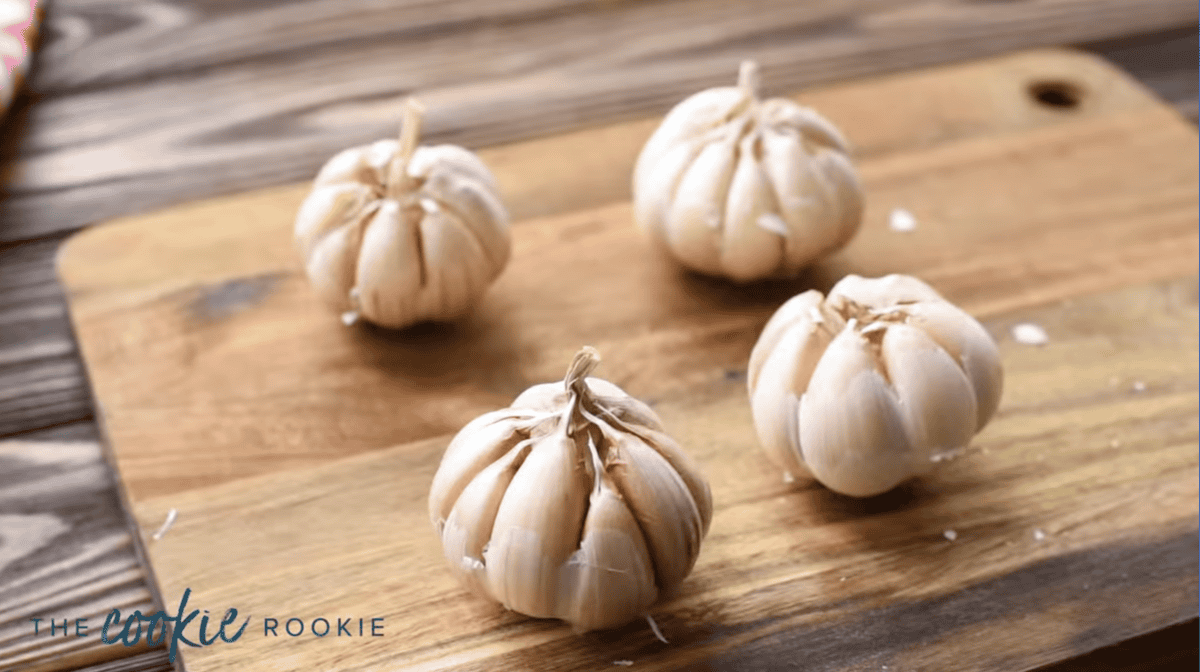
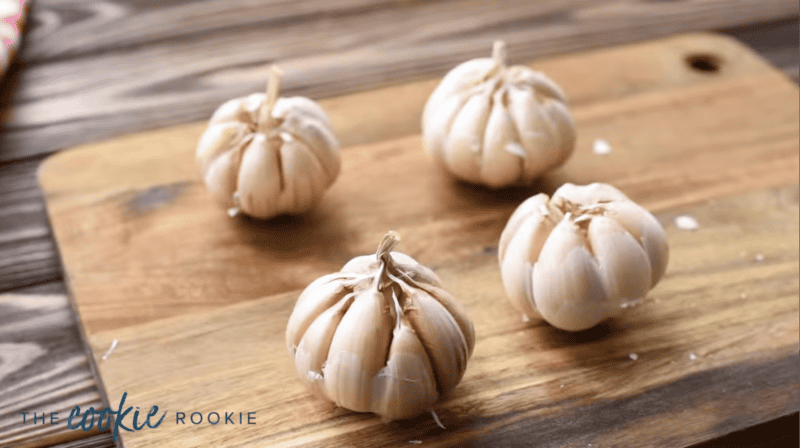
Peel the Garlic: Preheat your oven to 400°F. With your hands, peel the paper outside of 4 heads of garlic, to expose the cloves. Take care to keep the bulbs together and not break them apart while you’re peeling.
Cut the Garlic: Taking a sharp knife, cut the top of each garlic bulb straight off, about ½ inch down from the top. This should cut into most of the cloves to expose the interior.
Oil the Garlic: Top each bulb with ¼ tablespoon of olive oil and massage into the cut side of each bulb.
Wrap the Garlic: Wrap each bulb in aluminum foil and place them into the wells of a muffin tin, cut sides up.
Roast the Garlic: Bake for 35-40 minutes, or until each clove is tender.
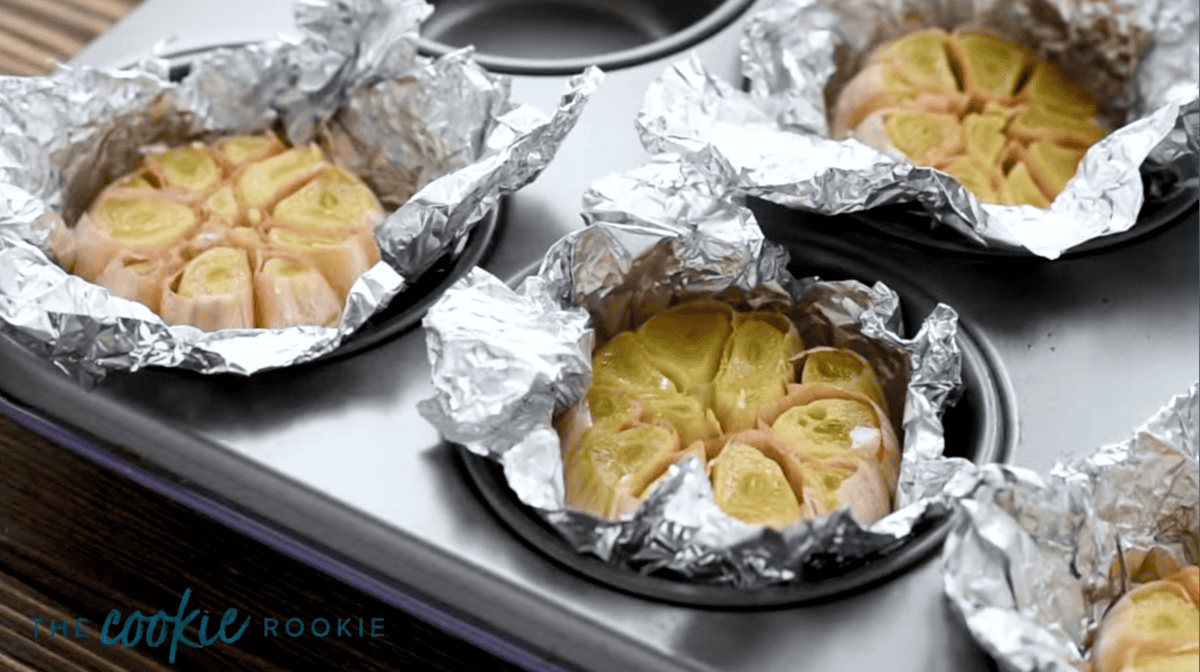
Pinch the Garlic: To eat, pinch from the outside and the clove should come easily out of the skin.


Love this recipe. Instead of muffin tin, I use a escargot plate. Perfect for six cloves, less to clean up too.
I’ve roasted garlic in foil before but never thought of putting the bulbs wrapped in foil in a muffin tin. Great idea! Keeps the bulbs from tipping over and possibly having olive oil drip in your oven. Thank you!
Thanks, Jill!
Roasted garlic is also great spread on some crostini bread slices with some chopped tomatoes.
Your dinner looks fabulous.
Omg I love that idea. Must try!
Going to bake some! I love roasted garlic with steak and in salads!
Yay!
Roasted garlic is so wonderful with dinner and your dinner looks incredible. Those are great pictures!
Thanks so much!! Means a lot :)