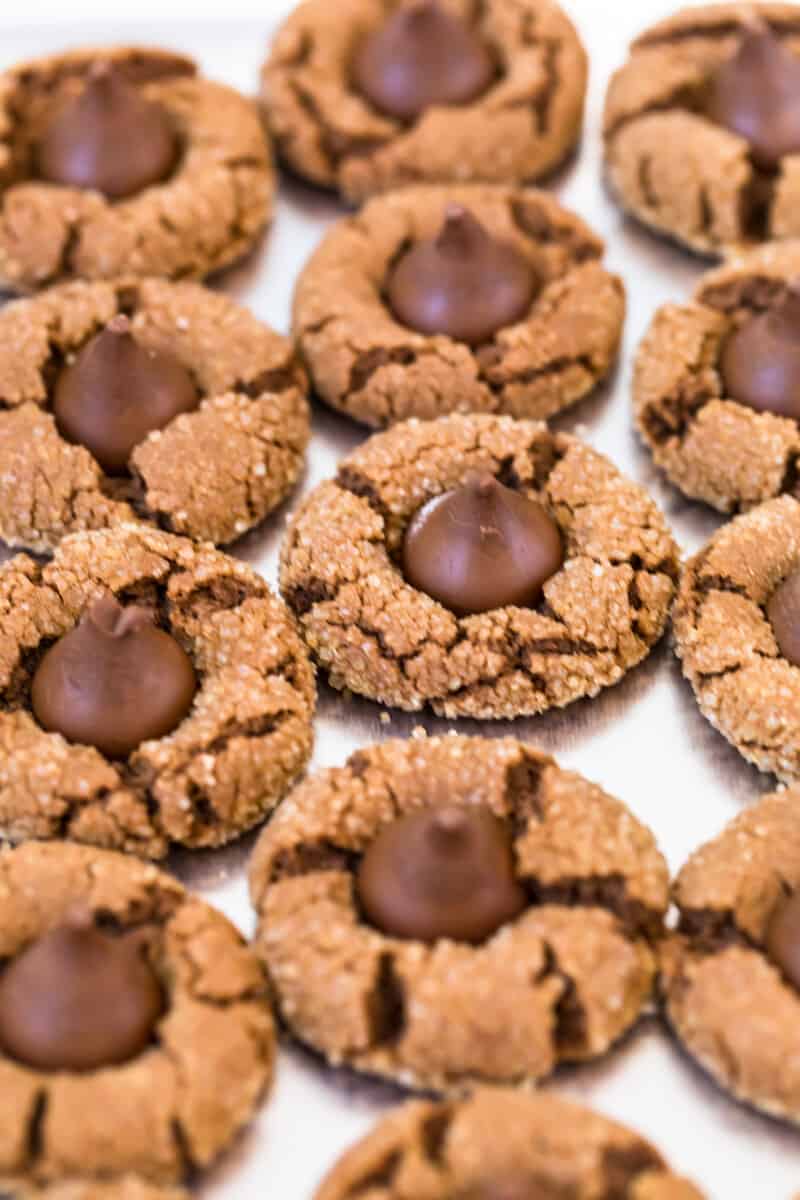
These delicious double chocolate peanut butter blossoms are a must have! Easy to make, these chocolate kiss cookies are wonderfully rich and sweet and are made for snacking!
This post may include affiliate links that earn us a small commission from your purchases at no extra cost to you.
Chocolate Peanut Butter Blossoms
If I’ve said it once, I’ve said it a million time, Christmas means cookies! These chocolate peanut butter blossoms are a must have this festive season! It’s super easy to make a really large batch too!
Traditional Peanut Butter Kiss Cookies have always been a favorite for Christmas, and now I can add this double chocolate version to my go-to holiday baking list!
A chocolate and peanut butter cookie is finished with a chocolate kiss for the most perfect double chocolate cookie.
If you need more chocolate cookies in your life, be sure to check out my Chocolate Thumbprint Cookies and Loaded Chocolate Chip Giant Cookies.
Why you’ll love this Chocolate Peanut Butter Blossoms recipe:
- Easy: It’s super simple to make a big batch of these cookies, they are a great option for a cookie exchange during the holidays.
- Perfect for a crowd: This recipe makes enough for 50 of these mini cookies! They’re great to have on hand!
- So chocolatey! These double chocolate kiss cookies are a chocolate lovers dream! I dare you to stop at one!
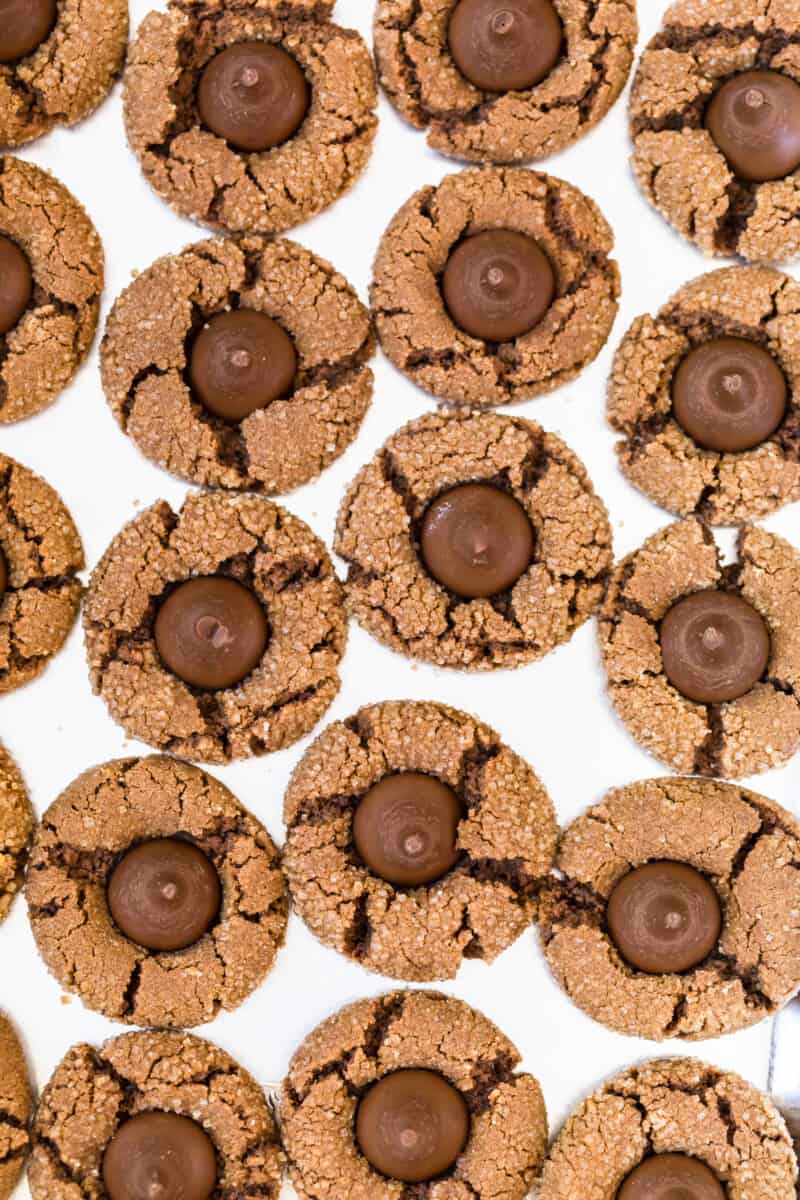
How to make chocolate peanut butter blossoms
You can jump to the recipe card for full ingredients & instructions!
- Pre heat your oven and line baking sheets with parchment.
- Beat together the sugars.
- Cream in the butter, peanut butter and vanilla.
- Incorporate the egg.
- Whisk together the dry ingredients in another bowl.
- Add the dry ingredients to the wet.
- Roll the dough into balls, roll in sugar and place on a baking sheet.
- Bake.
- Press a chocolate kiss into the center of each cookie.
- Let cool.
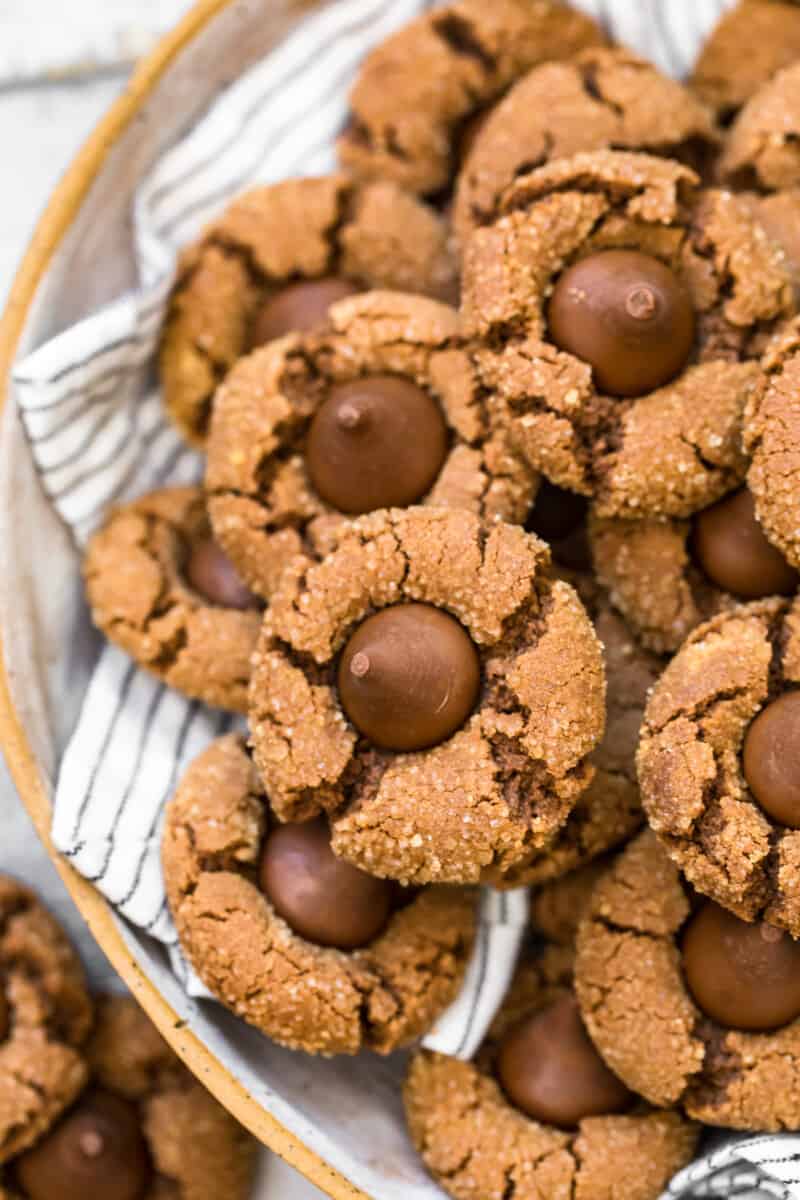
How long do chocolate peanut butter blossoms keep?
Once the cookies have completely cooled, place them in an airtight container. They will keep well at room temperature for 4 days and in the fridge for up to a week.
Can you freeze these cookies?
Yes, you can freeze these cookies. Once cooled, freeze them solid on a baking sheet and then transfer to a freezer bag or safe container. The chocolate kisses may develop a line across them when frozen, but they are still good to eat.
Thaw the frozen cookie at room temperature for 30 minutes before enjoying.
The most delicious kiss cookies!
I can’t start to tell you how yummy these chocolate peanut butter blossoms are! They are perfectly sweet with just the right amount of salt to balance the flavor.
This recipe makes a large amount of the cookies, so be sure to bag some up to give to neighbors and friends for the holidays. They’ll love you for it!
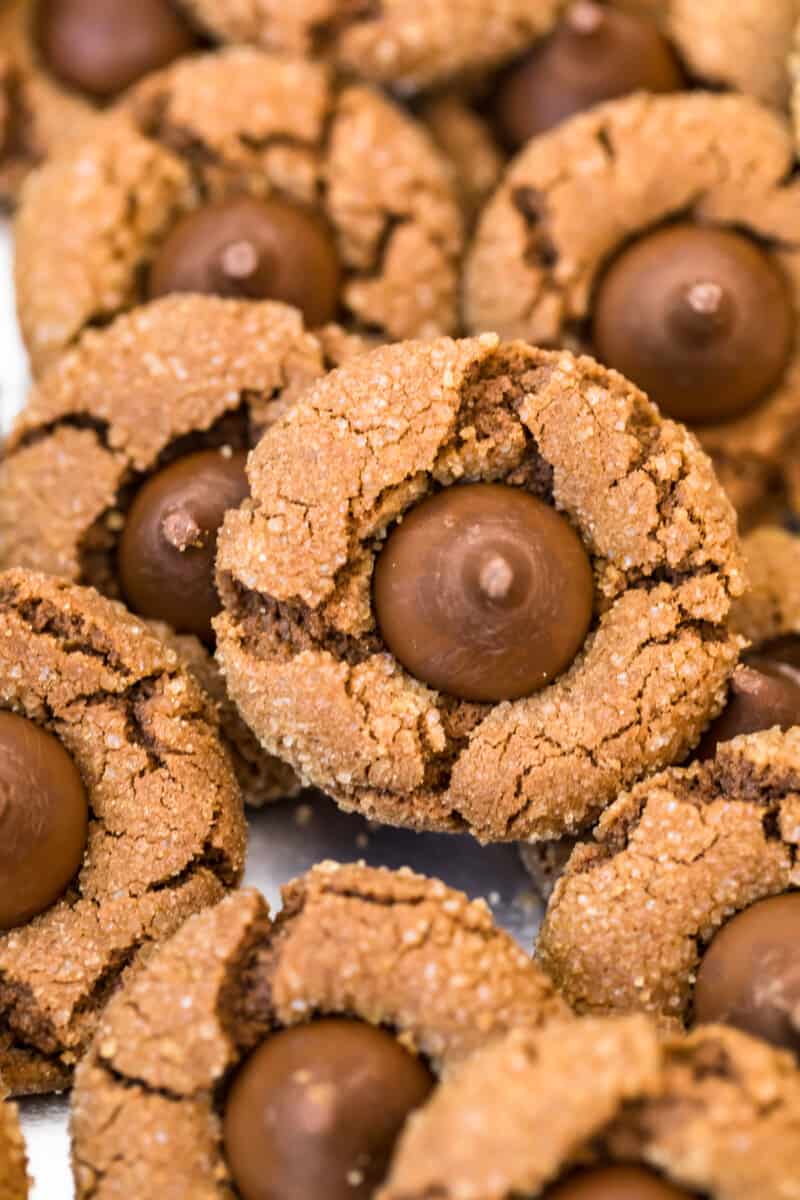
Tips!
- Don’t over mix the cookie dough. The dry ingredients should just be combined into the wet.
- Use a cookie scoop to make the balls so they are uniformed in size so that they bake evenly.
- All of your ingredients should be at room temperature other than the butter, which should be cool but softened.
- Let the cookies cool completely before storing.
All the Holiday Cookies
25+ Favorite Christmas Cookies
Baking and Christmas go hand in hand. See our guide for our fave recipes + tips and tricks for perfect cookies.
See Guide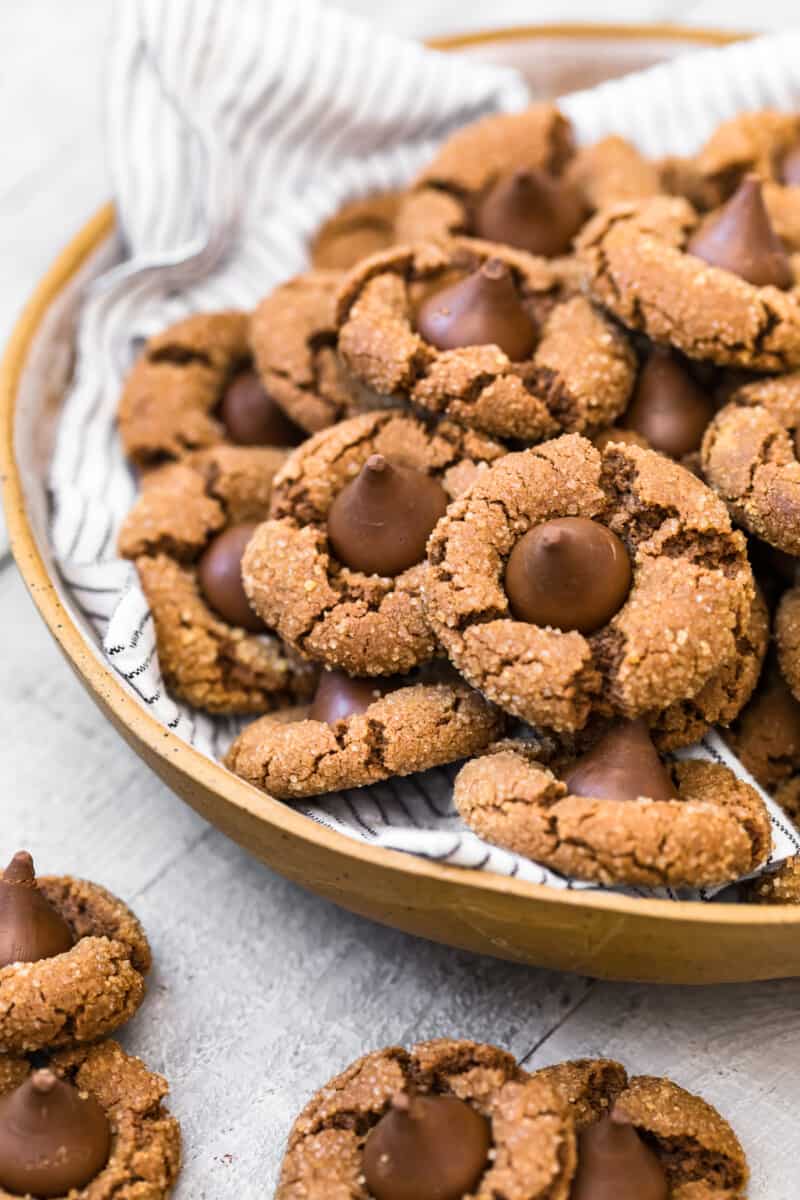
More Hershey’s Kiss Cookies to Try
If you make this recipe be sure to upload a photo in the comment section below or leave a rating. Enjoy! You can also jump to recipe.
Chocolate Peanut Butter Blossoms

Equipment
- Kitchen Scale (optional)
Ingredients
- ½ cup granulated sugar 100 grams
- ⅓ cup light brown sugar 71 grams
- 10 tablespoons unsalted butter 141 grams, cool(ish) but softened (1¼ sticks)
- 10 tablespoons creamy peanut butter 169 grams
- 2 teaspoons pure vanilla extract 8 grams (or vanilla bean paste)
- 1 large egg 50 grams, room temperature
- 1¼ cups all-purpose flour 150 grams
- ¼ cup unsweetened cocoa powder 21 grams
- ¾ teaspoon baking soda
- ½ teaspoon baking powder 2 grams
- ¾ teaspoon kosher salt
- Raw or Turbinado sugar for coating the cookies, optional
- 55 Chocolate Kisses 312 grams (11 ounces), unwrapped
Instructions
- Preheat oven to 375°F and adjust 2 oven racks to upper-middle and lower-middle positions. Line 3 (if possible) baking sheets with parchment paper. Set aside.
- In the bowl of a stand mixer fitted with the paddle attachment, beat the granulated sugar and brown sugar together for 15 seconds on low speed.½ cup granulated sugar, ⅓ cup light brown sugar
- Add butter, peanut butter, and vanilla. Cream together until light, smooth, and fluffy, about 3 minutes.10 tablespoons unsalted butter, 10 tablespoons creamy peanut butter, 2 teaspoons pure vanilla extract
- Add the egg and beat together until incorporated, about 30 seconds.1 large egg
- In a different large bowl, whisk together flour, cocoa, baking soda, baking powder, and salt. Add the flour mixture to the butter mixture (in the mixer bowl) and mix just until incorporated.1¼ cups all-purpose flour, ¼ cup unsweetened cocoa powder, ¾ teaspoon baking soda, ½ teaspoon baking powder, ¾ teaspoon kosher salt
- The mixture should be firm enough to roll into balls, but if the dough is a little soft, cover and refrigerate for 1 hour.
- Roll the dough into 1-inch balls (I use a 1½-inch scoop and pull the ball of dough in half to form 2 balls.)
- Roll the dough balls in coarse sugar, if desired, and place on the prepared baking sheets about 2-inches apart.Raw or Turbinado sugar
- Bake 9-10 minutes, or until cookies are just starting to firm around the edges.
- Remove the cookies from the oven and press 1 chocolate kiss gently but firmly into the middle of each cookie – the cookies will begin to crack around the edges.55 Chocolate Kisses
- Let cool 2 minutes on the baking sheet then transfer the cookies to a cooling rack to completely cool.
Becky’s Tips
- Don’t over mix the cookie dough. The dry ingredients should just be combined into the wet.
- Use a cookie scoop to make the balls so they are uniformed in size so that they bake evenly.
- All of your ingredients should be at room temperature other than the butter, which should be cool but softened.
- Let the cookies cool completely before storing.
Nutrition information is automatically calculated, so should only be used as an approximation.


We’re sorry to hear these turned out dry! It’s that time of year when it tends to be dry inside, so we recommend adding a bit more butter to the dough to make up for the moisture loss if you notice the dough looks dry.