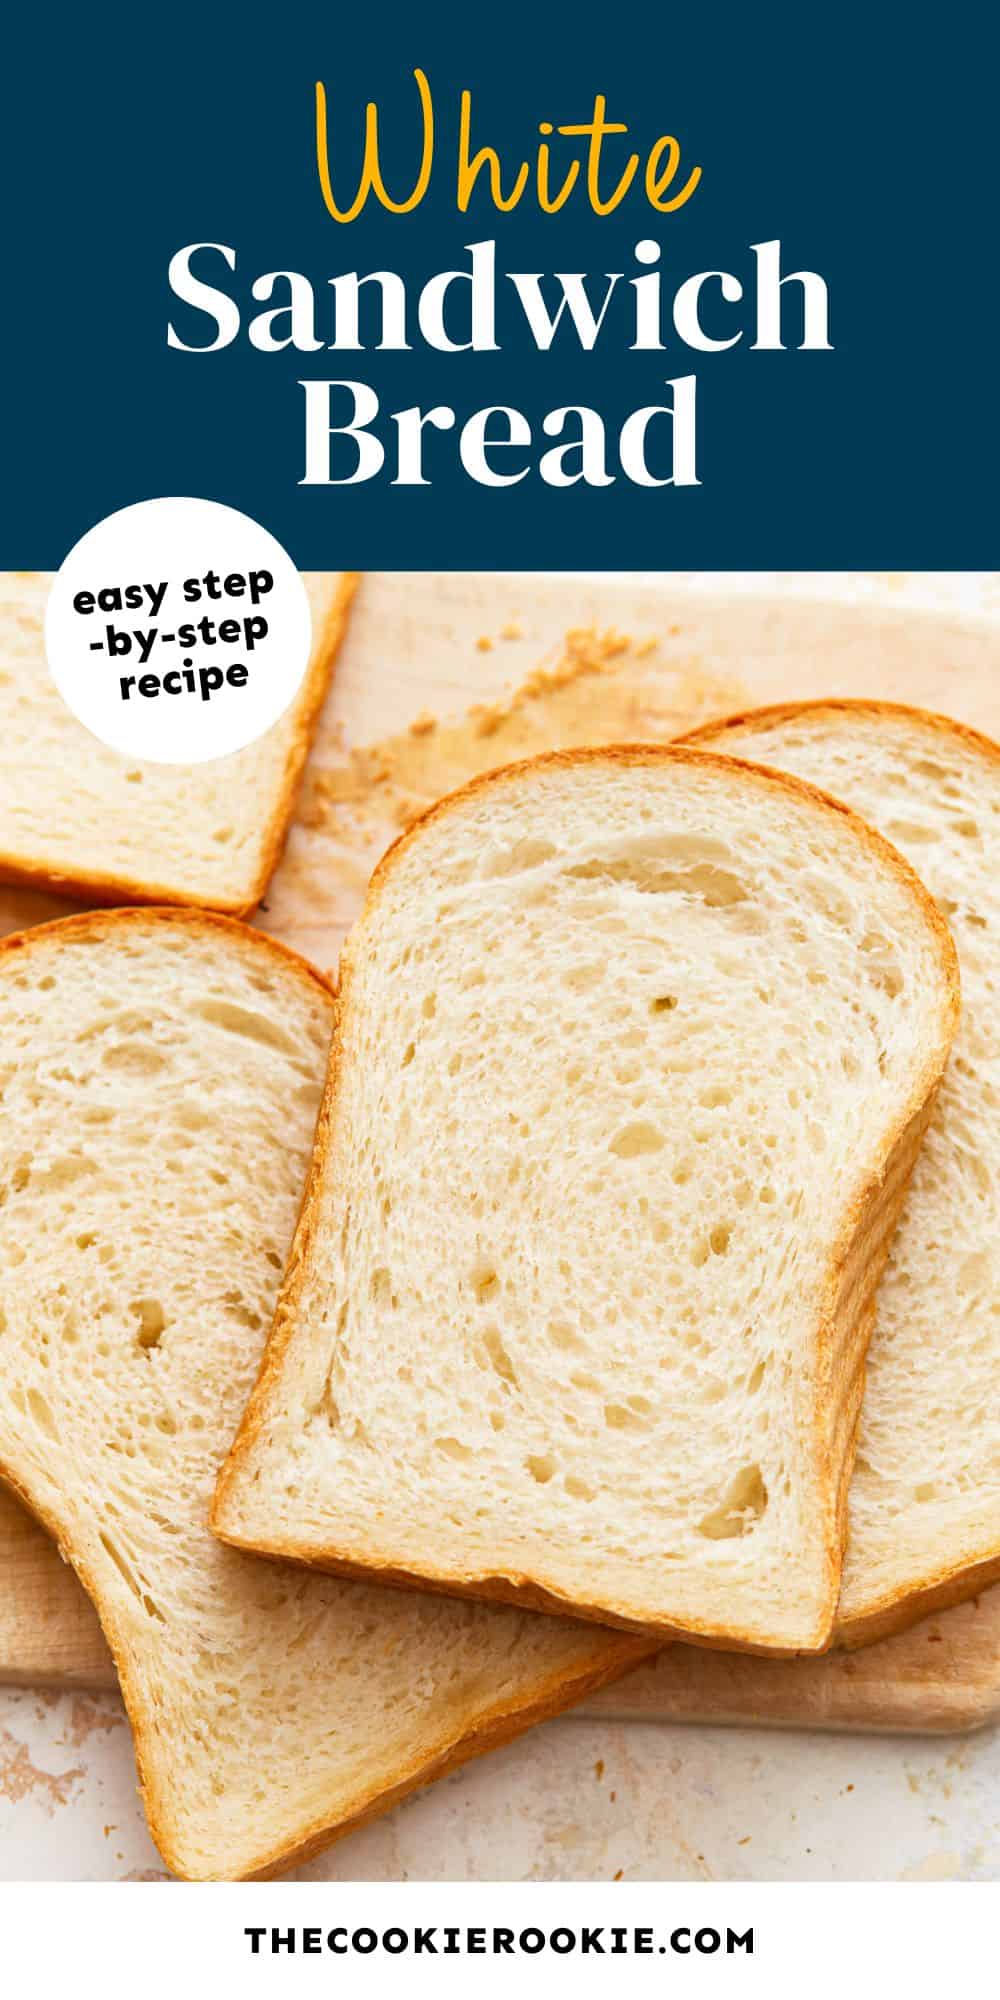
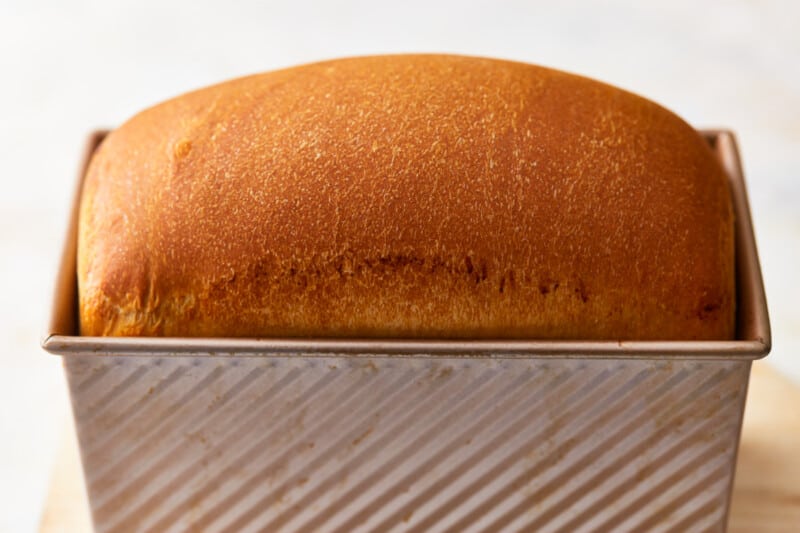
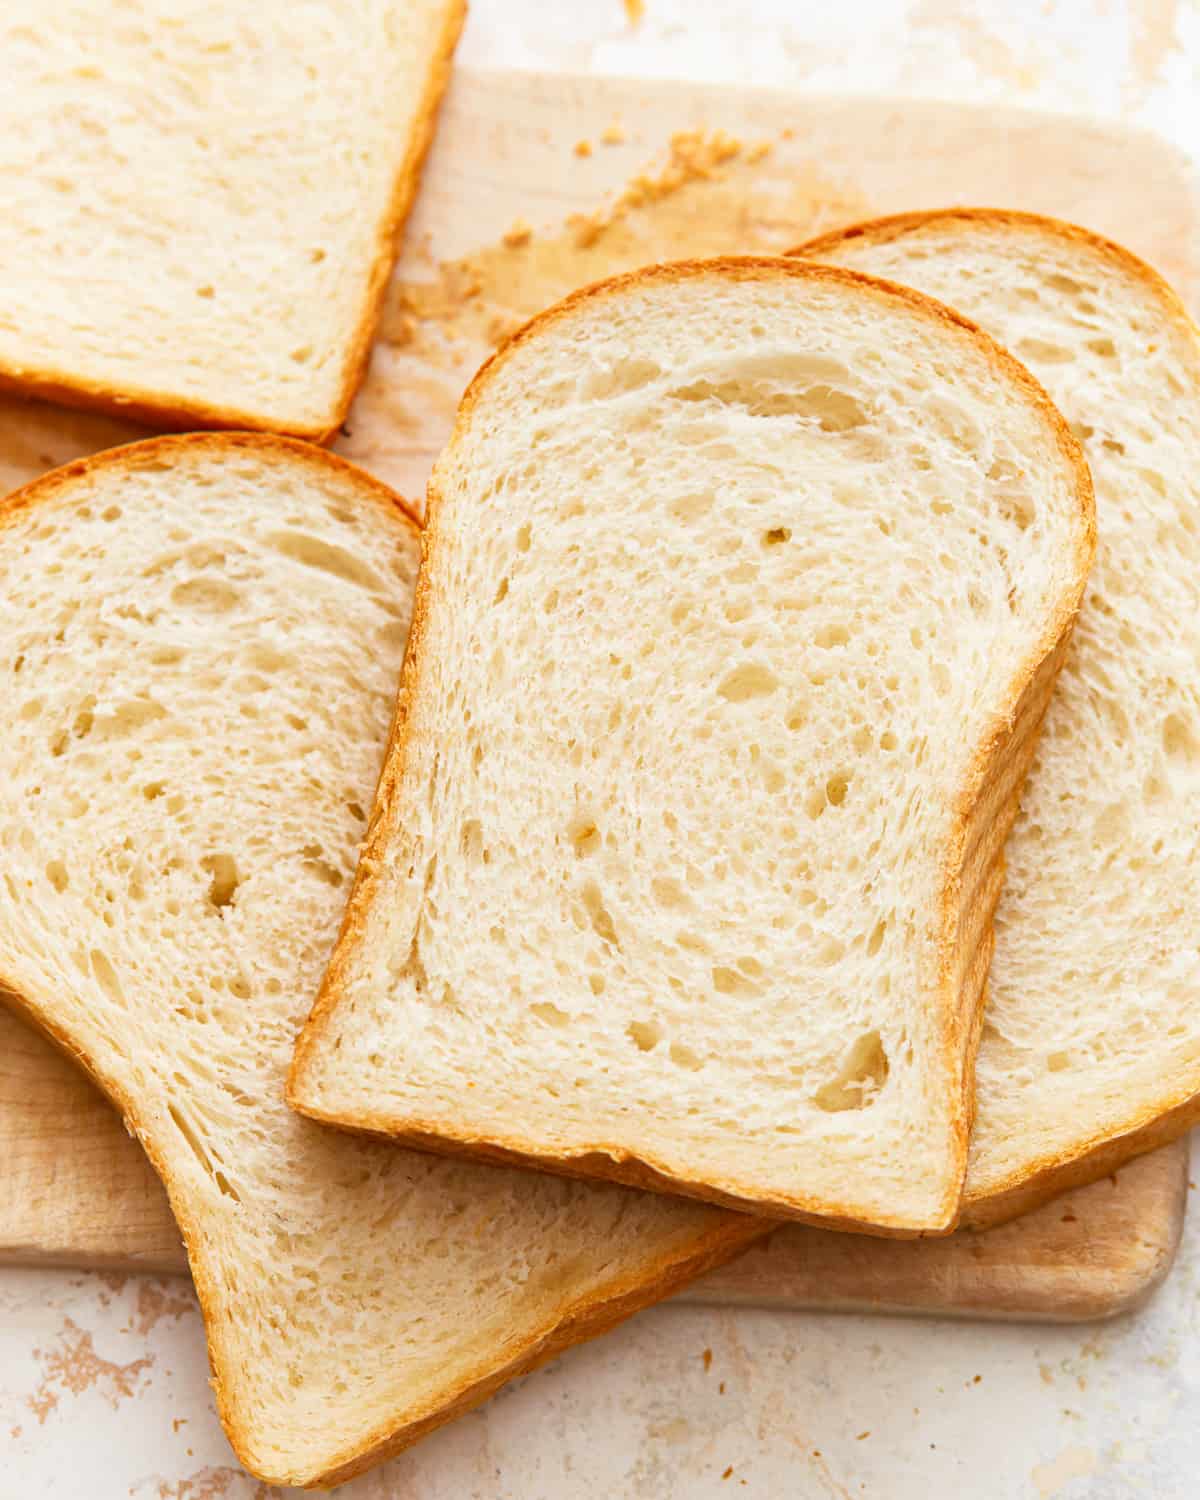
I love making sandwiches, but with the rising costs of groceries, I felt like it was time to develop my own white sandwich bread recipe. This white sandwich bread is soft, fluffy, and super flavorful. It’s everything I want in a loaf, and it’s about a hundred times tastier than anything I can buy at the store.
This post may include affiliate links that earn us a small commission from your purchases at no extra cost to you.
This white bread is the perfect bread for just about any sandwich you can think of. Made with simple ingredients and a foolproof method, this sandwich bread is sure to be a household staple!
What’s in This White Sandwich Bread Recipe?
- Flour: Bread flour is higher in gluten than all-purpose flour, so it helps to create a chewier bread. You can use all-purpose flour, but the final texture of the bread will be different.
- Sugar: Granulated sugar feeds the yeast to help the bread rise nice and tall.
- Yeast: Instant yeast helps the bread rise to create a light crumb structure. I have made this recipe using both instant and active dry yeast, and while I prefer to use instant, active dry also works. Just give the dough a little extra time to rise.
- Salt: Kosher salt enhances the natural flavor of the bread.
- Water: Hydrates the dough. Make sure to use warm (not hot!) water. It should be about 105-110°F. If it is too cold, the yeast won’t activate, and if it is too hot, it will kill the yeast.
- Butter: Unsalted butter improves the structure, texture, and flavor of this bread. It makes it super soft, rich, and fluffy. In a pinch, you can use the same amount (by weight) of vegetable oil.
Tips for Success
- If you don’t have a stand mixer, don’t panic! You can make this sandwich bread recipe with a hand mixer or your own two hands. The instructions are the same using a hand mixer, but if you do it by hand, I recommend mixing everything together well with a wooden spoon and then kneading the dough with your hands on a clean work surface.
- If you don’t have a loaf pan, you can shape the dough into a free-form loaf and place it on a baking sheet. Ensure it has enough space to expand during baking.
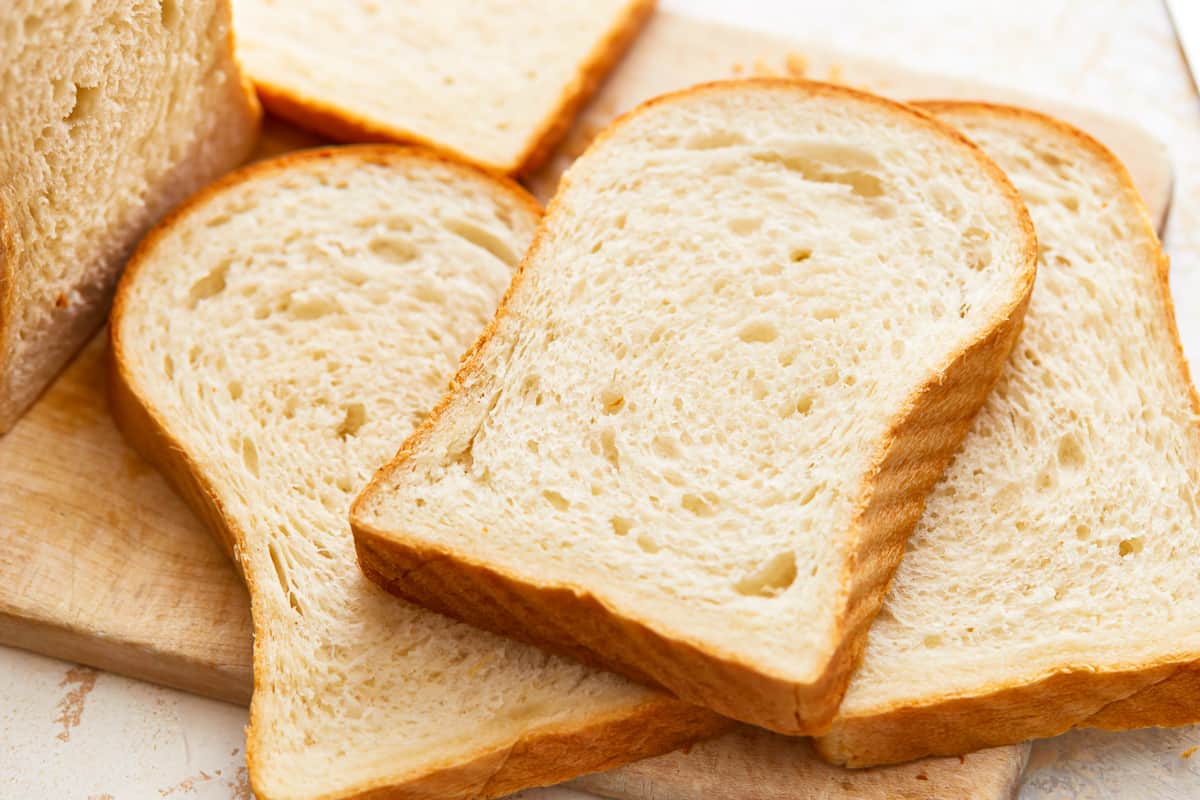
- For even slices, use a sharp serrated bread knife. Let the bread cool completely before slicing for cleaner cuts.
How to Store
Store cooled white bread in an airtight container or Ziplock bag at room temperature for up to 3 days. It will keep for up to a week in the refrigerator, but the texture will suffer. I recommend toasting it if you place it in the fridge.
For longer storage, I recommend freezing this white bread sliced in an airtight container or Ziplock bag for up to 3 months. Defrost individual slices as needed.
You can also freeze the sandwich bread dough after shaping it but before the second rise. When you’re ready to bake, thaw it in the refrigerator, let it rise, and then bake as directed.
Serving Suggestions
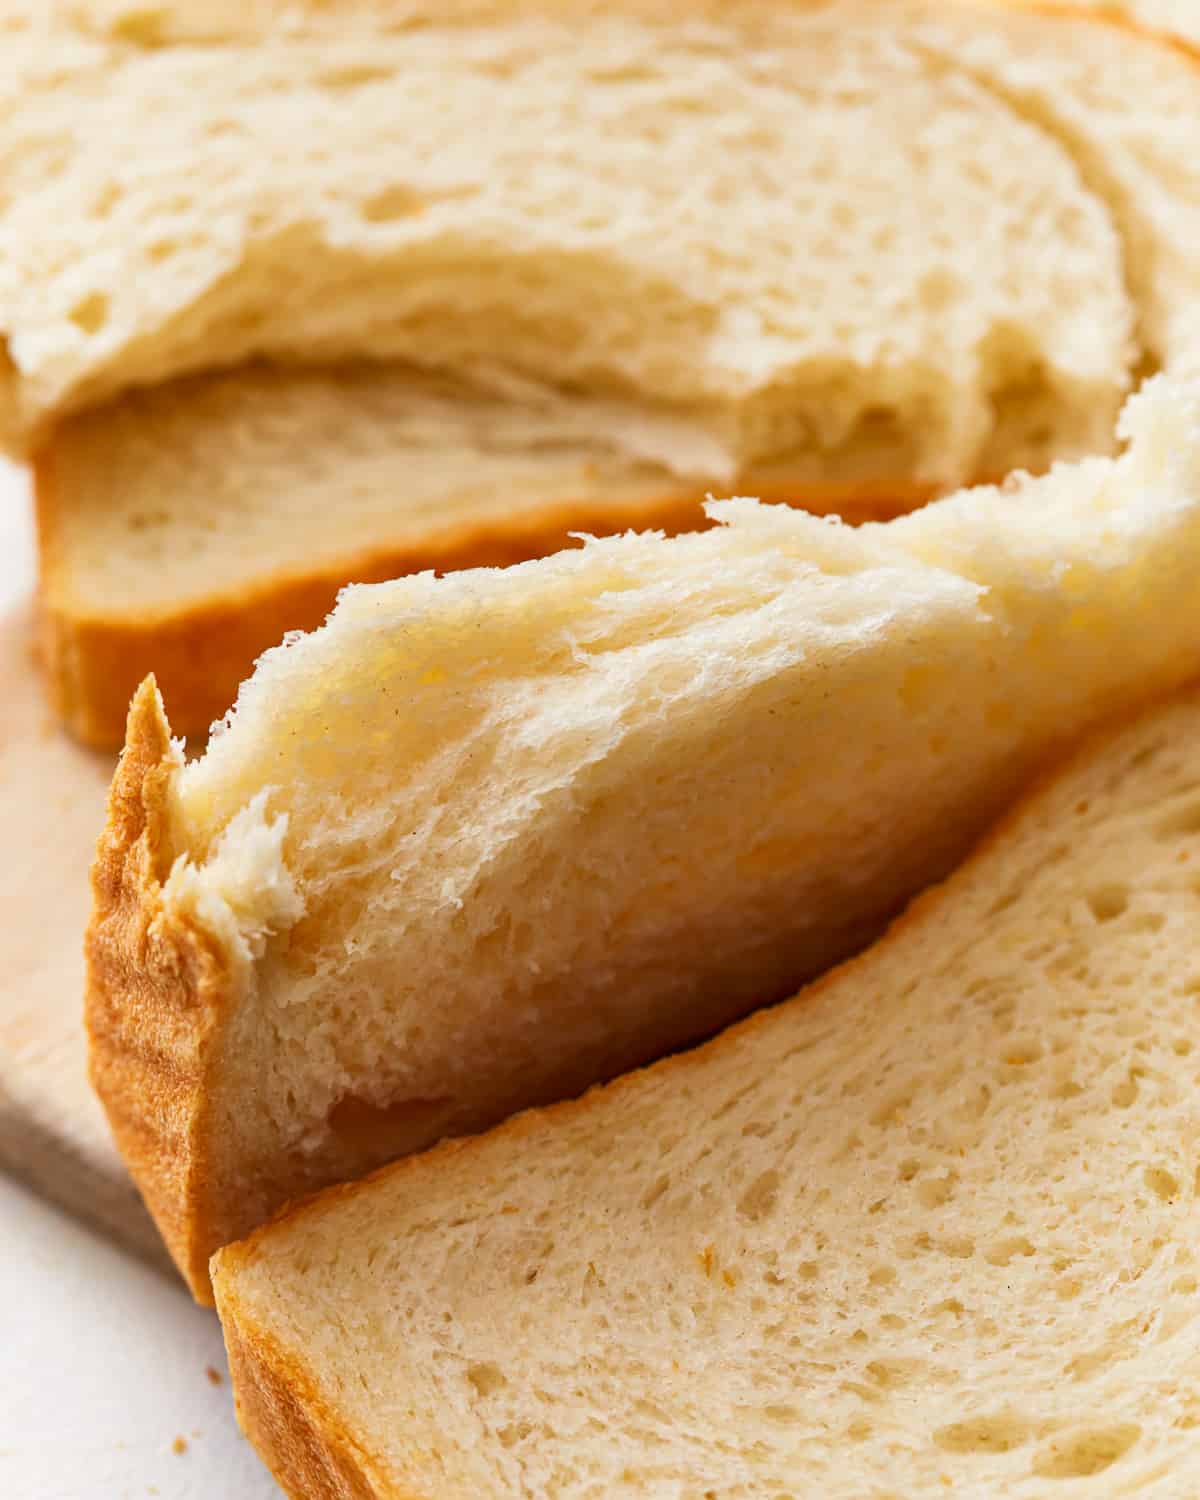
This white bread is my absolute favorite bread to use for sandwiches. It has the perfect light and fluffy texture and rich flavor. I especially love to use it for a classic grilled cheese. The buttery flavor makes the best cucumber sandwiches, too.
I like to use it to make a classic egg salad or a BLT for a quick lunch, and my kids love it in these cheesy garlic butter sandwich skewers for a fun meal.
White Sandwich Bread Recipe

Equipment
- Kitchen Scale (optional)
- Stand Mixer
- Rolling Pin
- 9×5-inch loaf pan
Ingredients
- 3½ cups bread flour 420 grams, spooned and leveled
- 2 tablespoons granulated sugar 25 grams
- 1½ teaspoons instant yeast 5 grams
- 1¼ teaspoons kosher salt 4 grams
- 1¼ cups warm water 284 grams (105-110°F)
- ¼ cup unsalted butter 57 grams, room temperature (½ stick); plus more for greasing the pan
Instructions
- In the bowl of a stand mixer fitted with the dough hook, combine the bread flour, sugar, instant yeast, and salt. With the mixer on low speed, gradually add the warm water to the dry ingredients. Let the mixer run until a dough forms.3½ cups bread flour, 2 tablespoons granulated sugar, 1½ teaspoons instant yeast, 1¼ cups warm water, 1¼ teaspoons kosher salt
- Add the softened butter gradually while continuing to mix on low speed. Once all the butter is added, increase the mixer speed to medium-high.¼ cup unsalted butter
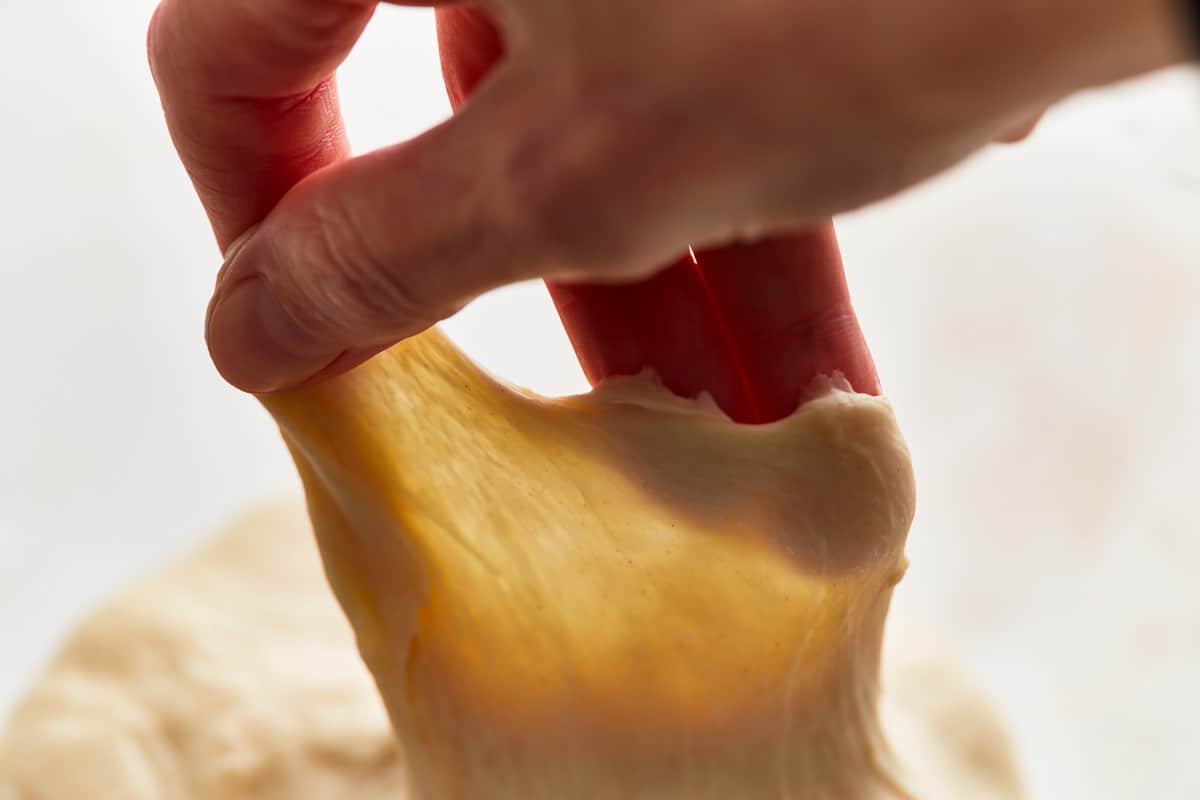
- Knead the dough in the mixer for approximately 6-7 minutes or until it becomes smooth, elastic, and passes the windowpane test. The dough should stretch thin without tearing when pulled apart.
- Transfer the kneaded dough to an oiled bowl, cover it with a clean kitchen towel or plastic wrap, and let it rise at room temperature for 1-2 hours or until it has doubled in size.
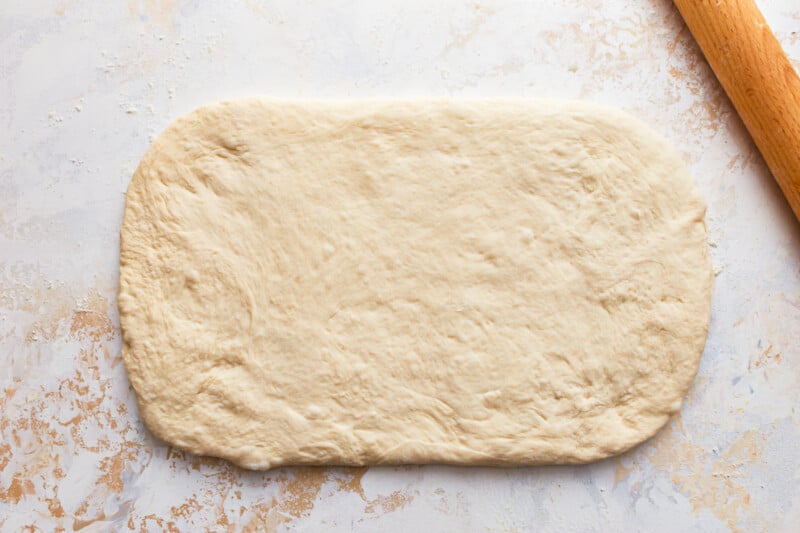
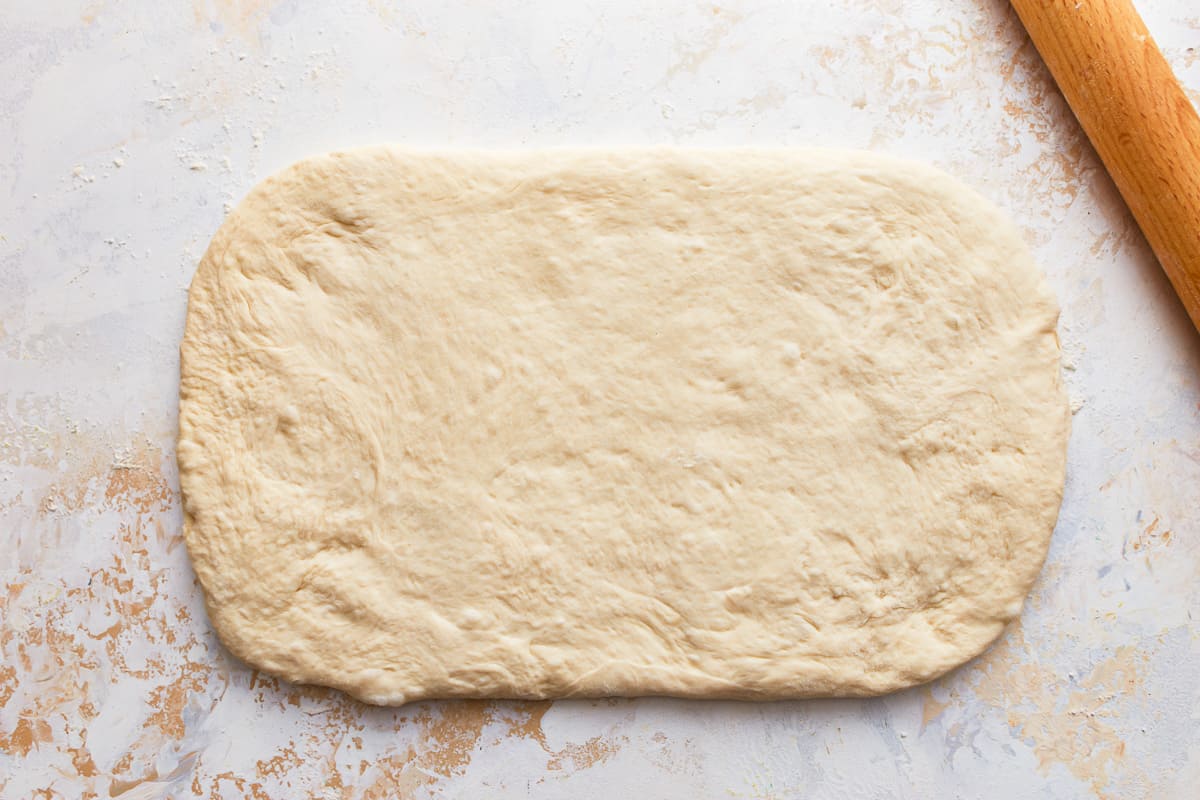
- After the dough has risen, gently deflate it and roll it out into a rectangle about 8 inches wide and 1 inch thick.
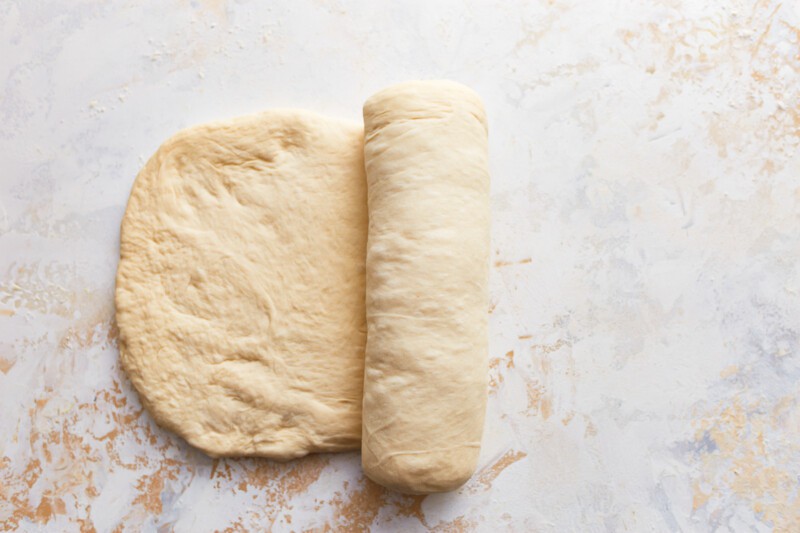
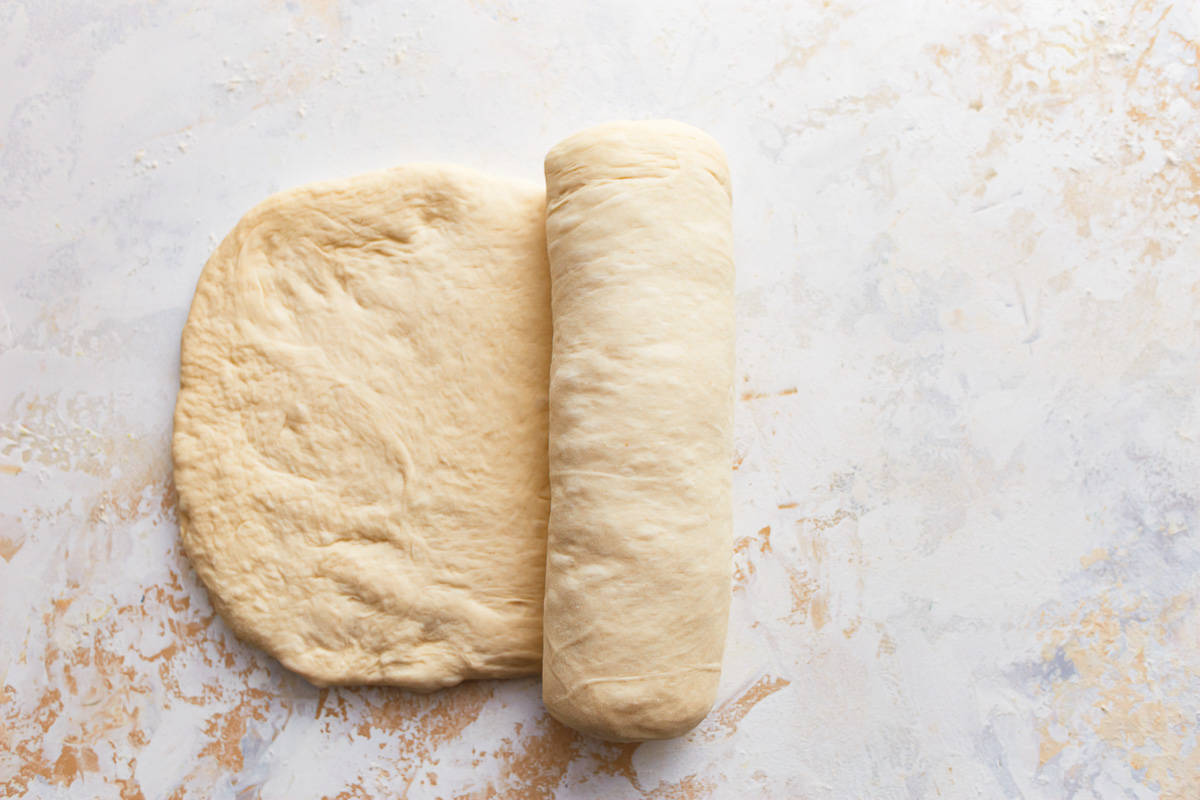
- Roll up the dough tightly, similar to how you would roll a cinnamon roll.
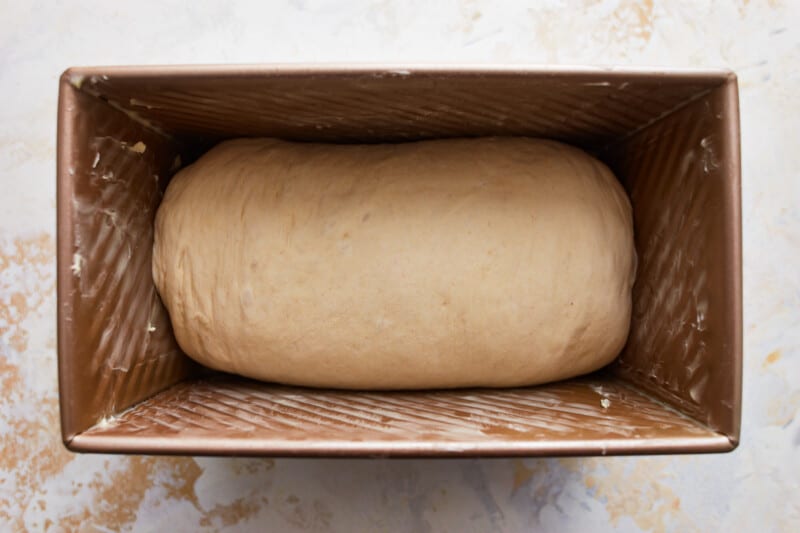
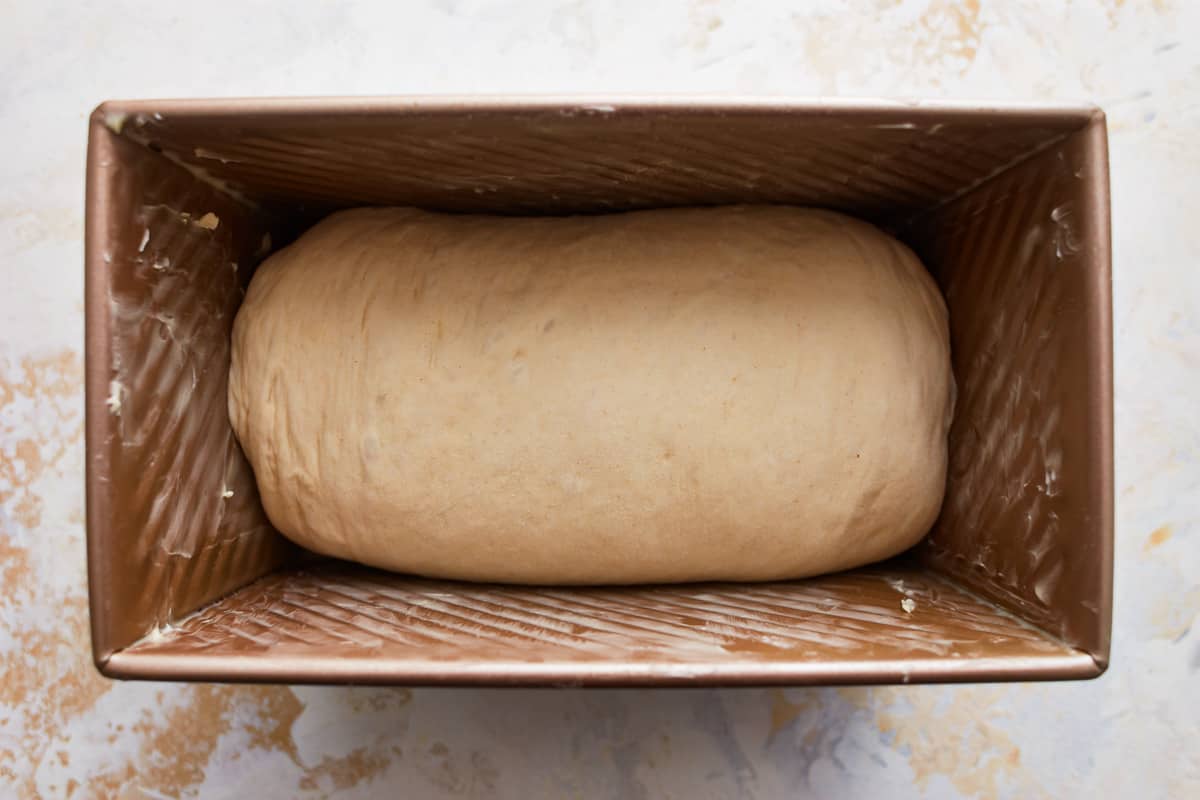
- Place the rolled dough into a buttered loaf pan, seam side down.
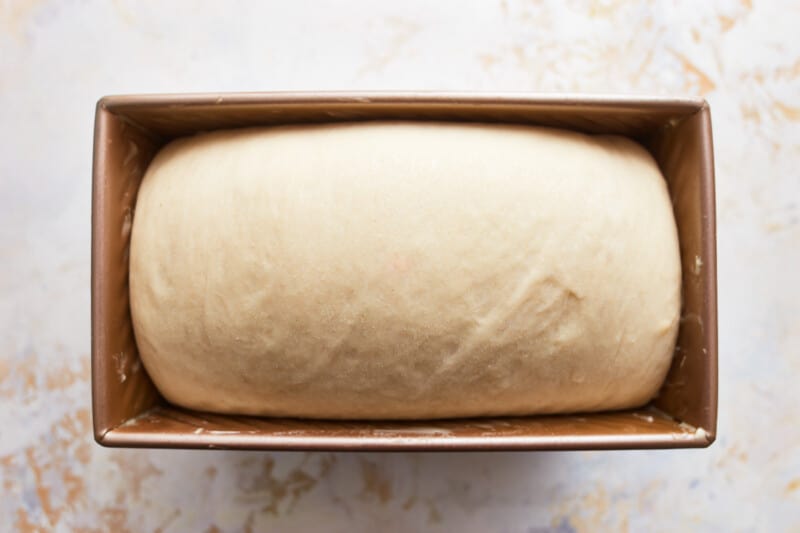
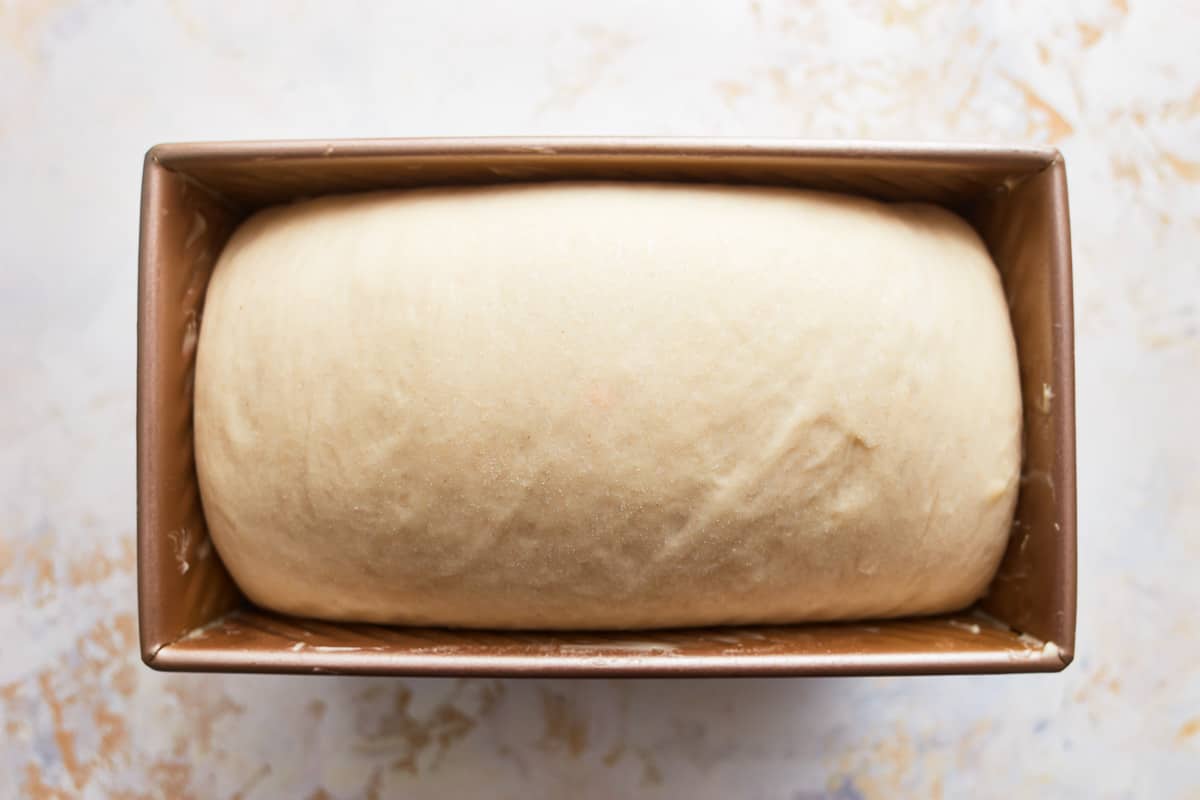
- Cover the loaf pan with a clean kitchen towel or plastic wrap and let the dough rise again until it reaches the top of the pan, about 45 minutes. While the dough rises, preheat the oven to 400°F.
- Place the loaf pan in the preheated oven and bake for 30-35 minutes. After 20 minutes, turn the pan 180 degrees to ensure even baking. The bread is done when it's golden brown and sounds hollow when tapped on the bottom.
- Remove the pan from the oven and cover with a clean kitchen towel. This ensures a soft crust. After 20 minutes, remove the bread from the pan and let it cool on a wire rack. Once it's completely cool, slice and enjoy your homemade white sandwich toast bread.
Becky’s Tips
Nutrition information is automatically calculated, so should only be used as an approximation.
How to Make White Sandwich Bread Step by Step
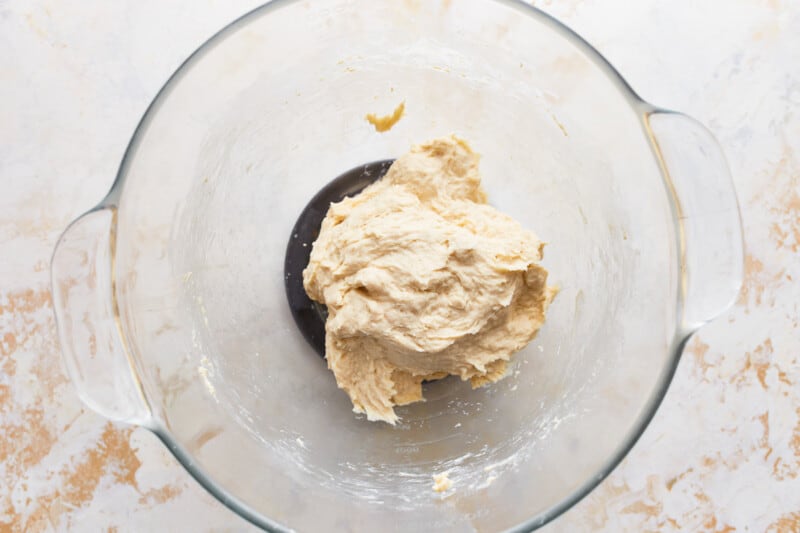
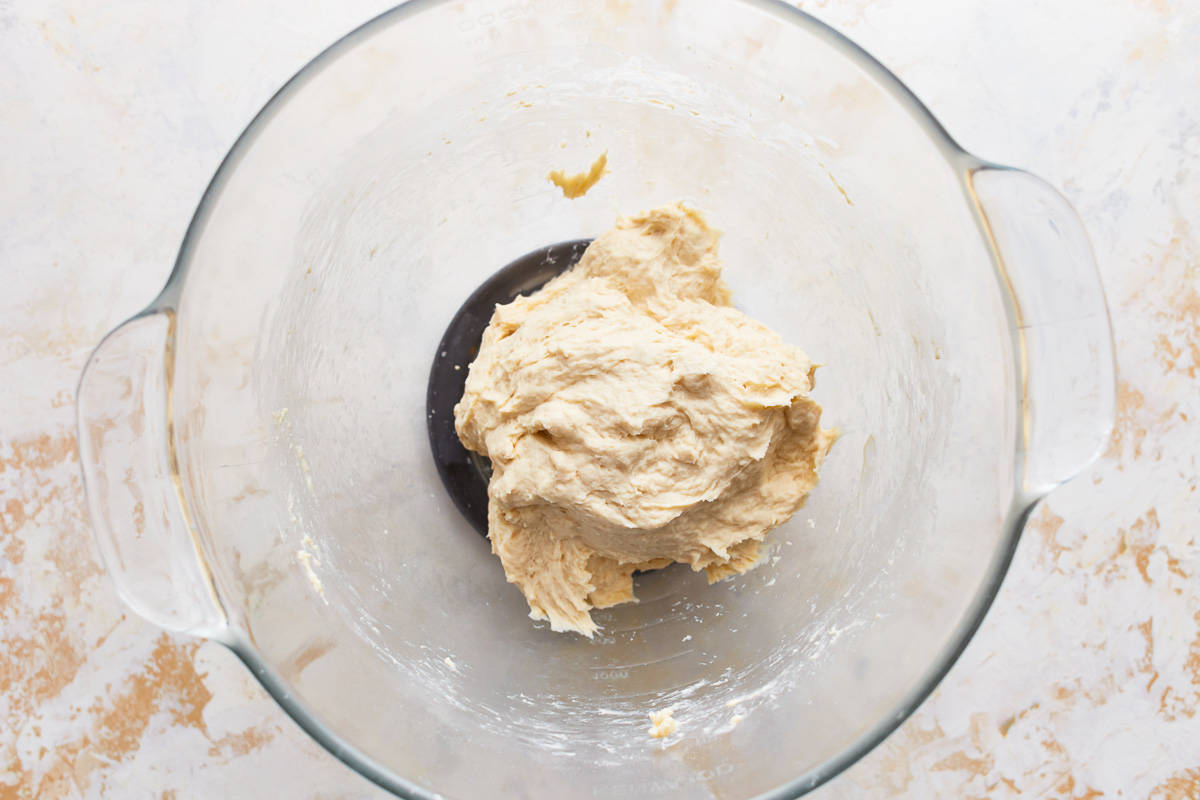
Make the Dough: In the bowl of a stand mixer fitted with the dough hook, combine 3½ cups of bread flour, 2 tablespoons of granulated sugar, 1½ teaspoons of instant yeast, and 1¼ teaspoons of kosher salt. With the mixer on low speed, gradually add 1¼ cups of warm water to the dry ingredients. Let the mixer run until a dough forms.
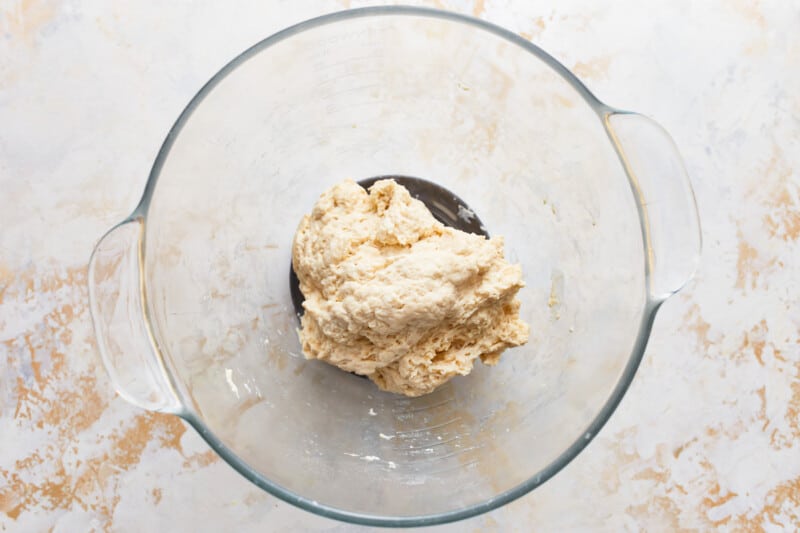
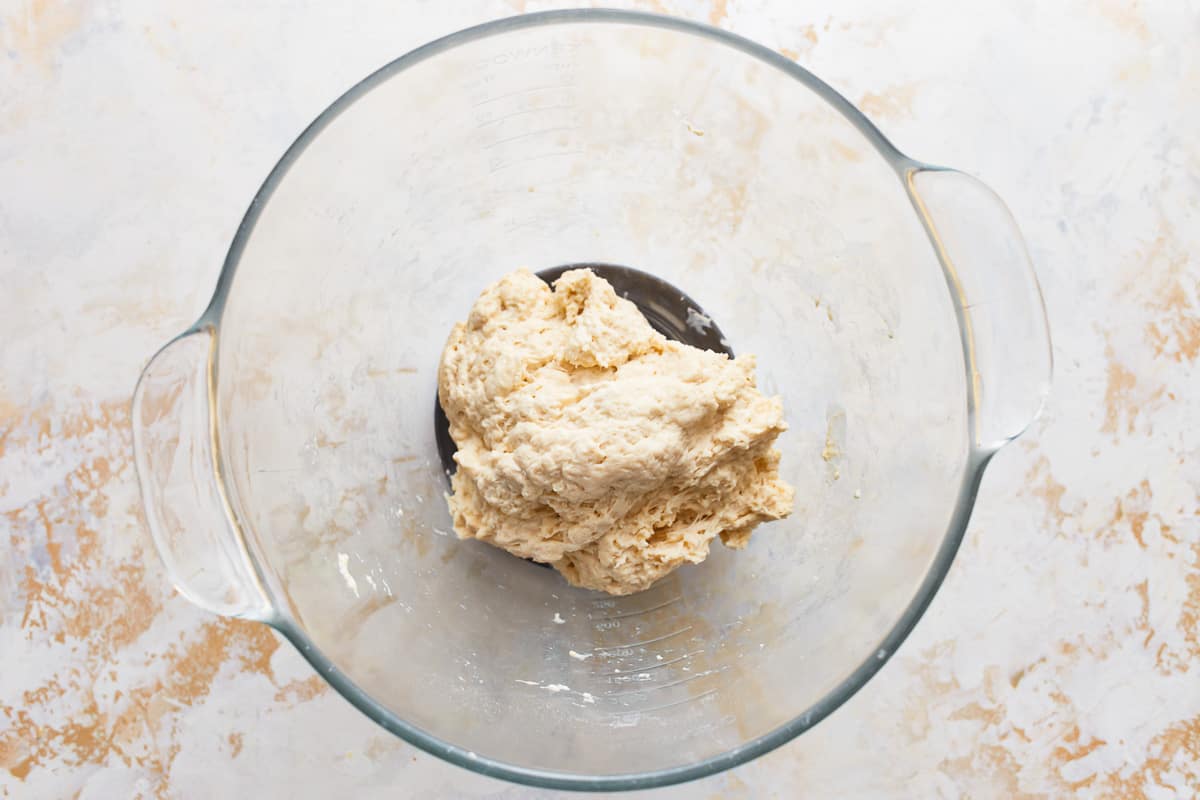
Add the Butter: Add ¼ cup of softened unsalted butter gradually while continuing to mix on low speed. Once all the butter is added, increase the mixer speed to medium-high.
Knead the Dough: Knead the dough in the mixer for approximately 6-7 minutes or until it becomes smooth, elastic, and passes the windowpane test. The dough should stretch thin without tearing when pulled apart.
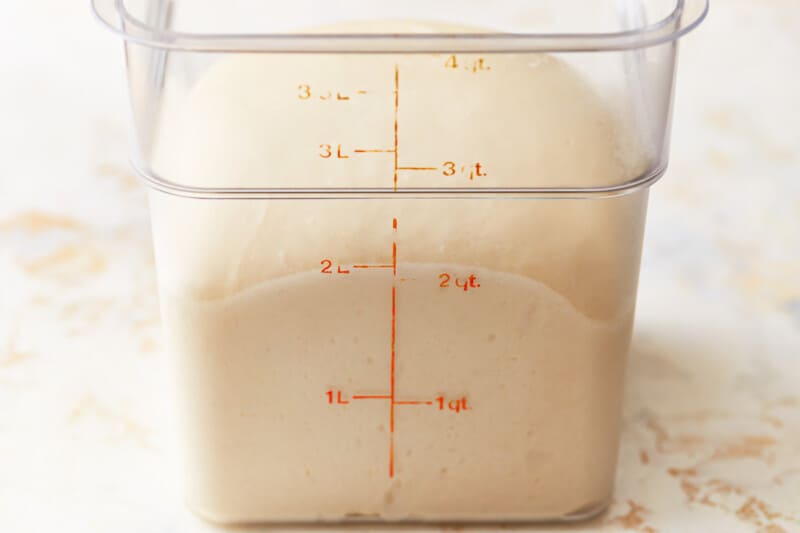
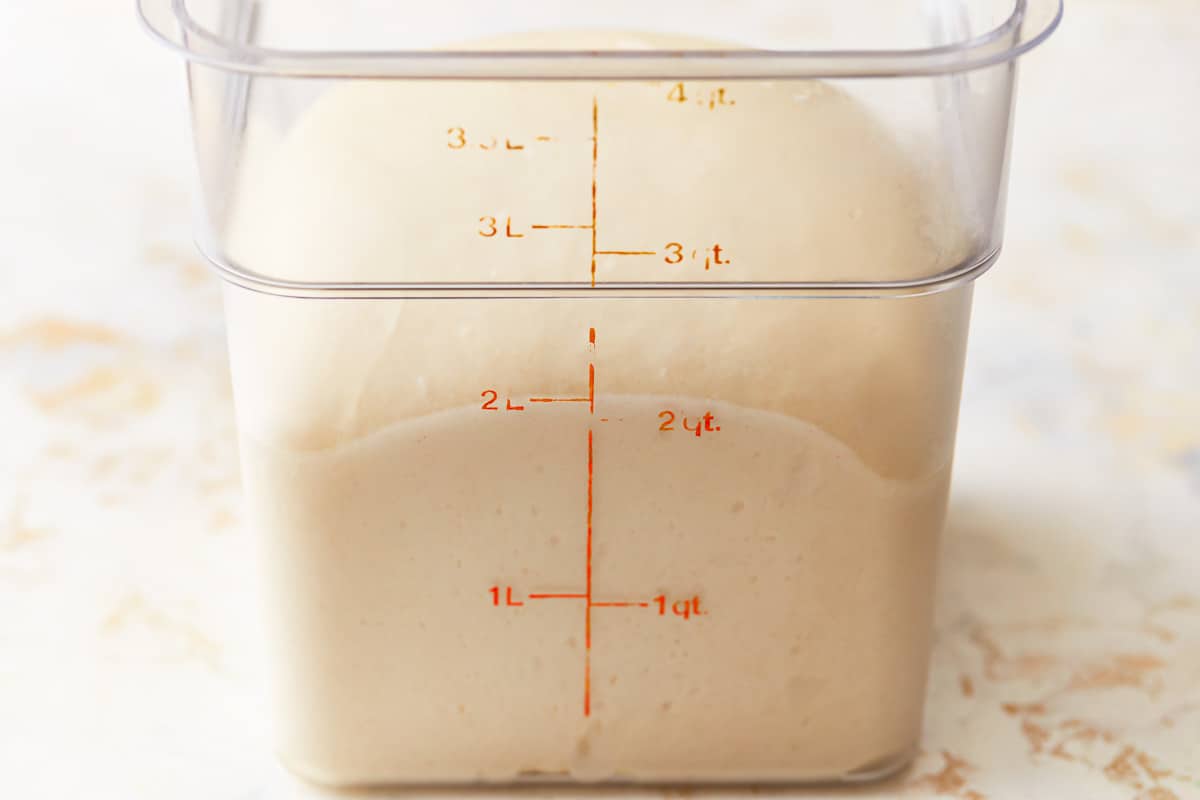
Proof the Dough: Transfer the kneaded dough to an oiled bowl, cover it with a clean kitchen towel or plastic wrap, and let it rise at room temperature for 1-2 hours or until it has doubled in size.
Roll the Dough: After the dough has risen, gently deflate it and roll it out into a rectangle about 8 inches wide and 1 inch thick.
Shape the Dough: Roll up the dough tightly, similar to how you would roll a cinnamon roll.
Place the Dough: Place the rolled dough into a buttered loaf pan, seam side down.
Proof Again: Cover the loaf pan with a clean kitchen towel or plastic wrap and let the dough rise again until it reaches the top of the pan, about 45 minutes. While the dough rises, preheat the oven to 400°F.
Bake the Loaf: Place the loaf pan in the preheated oven and bake for 30-35 minutes. After 20 minutes, turn the pan 180 degrees to ensure even baking. The bread is done when it’s golden brown and sounds hollow when tapped on the bottom.
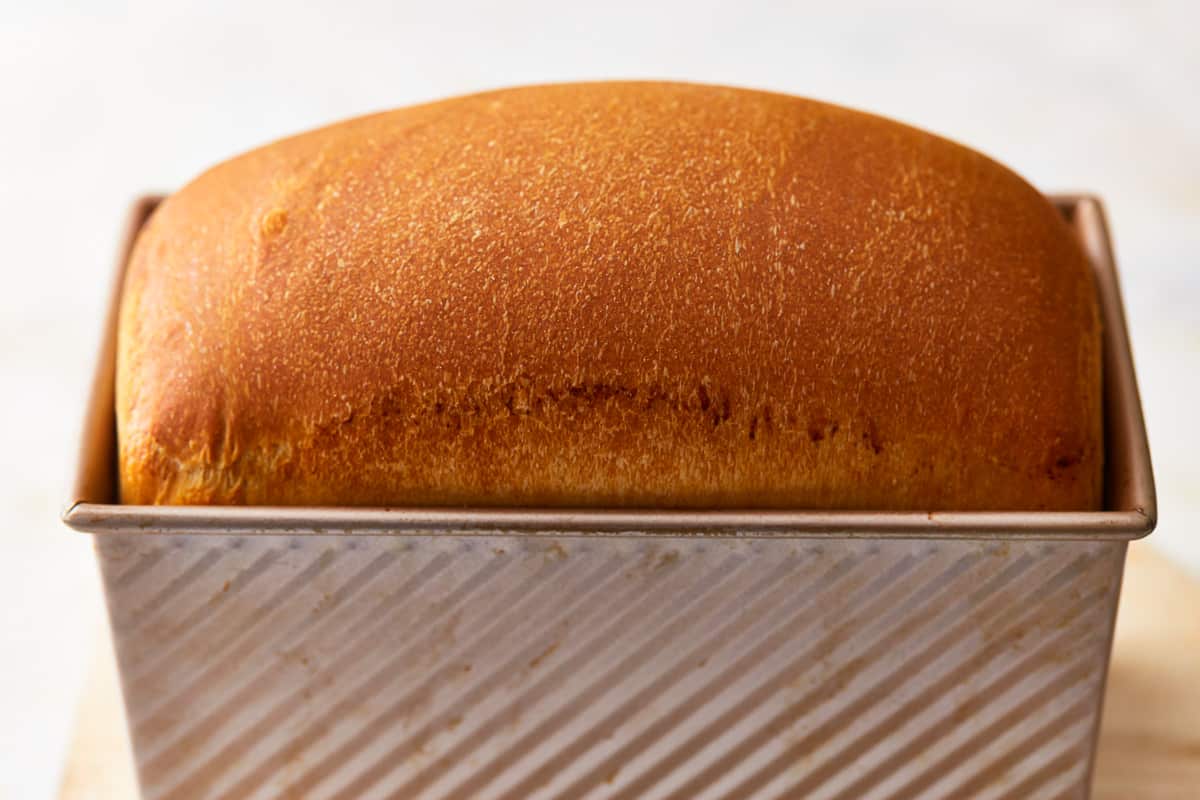
Cover the Loaf: Remove the pan from the oven and cover with a clean kitchen towel. This ensures a soft crust. After 20 minutes, remove the bread from the pan and let it cool on a wire rack. Once it’s completely cool, slice and enjoy your homemade white sandwich toast bread.
