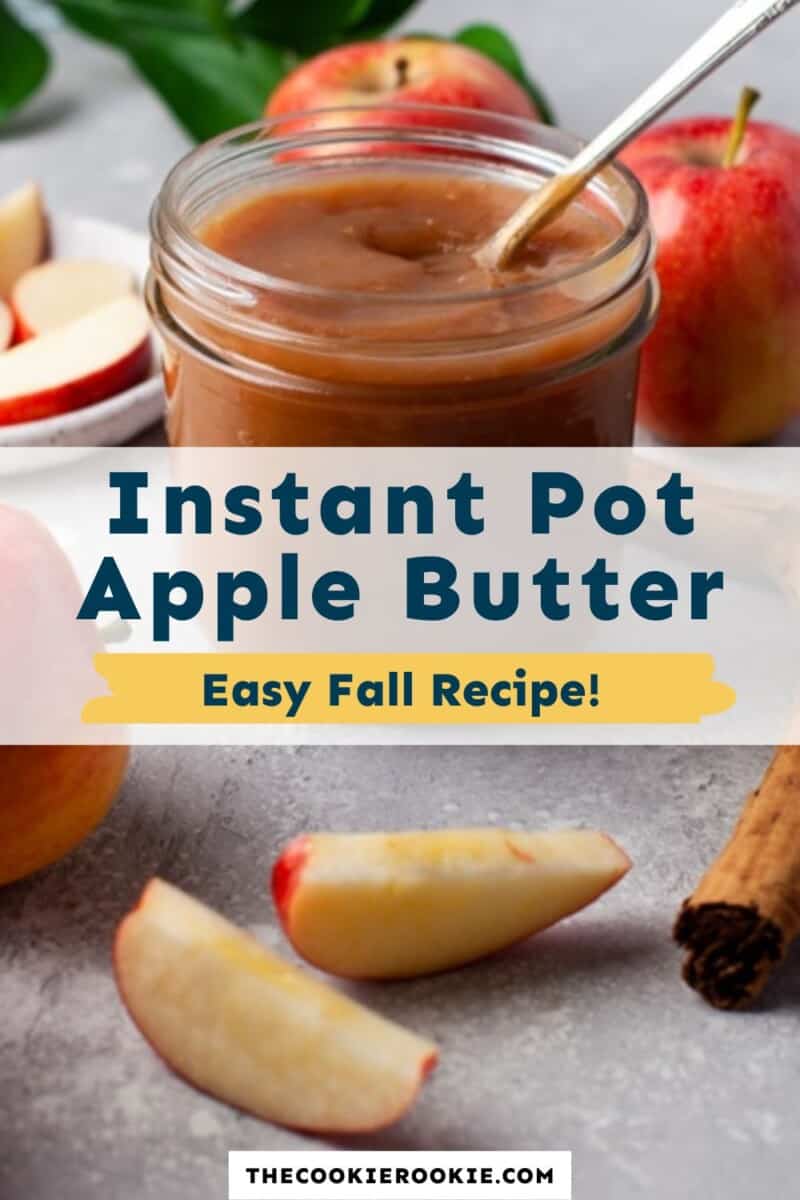
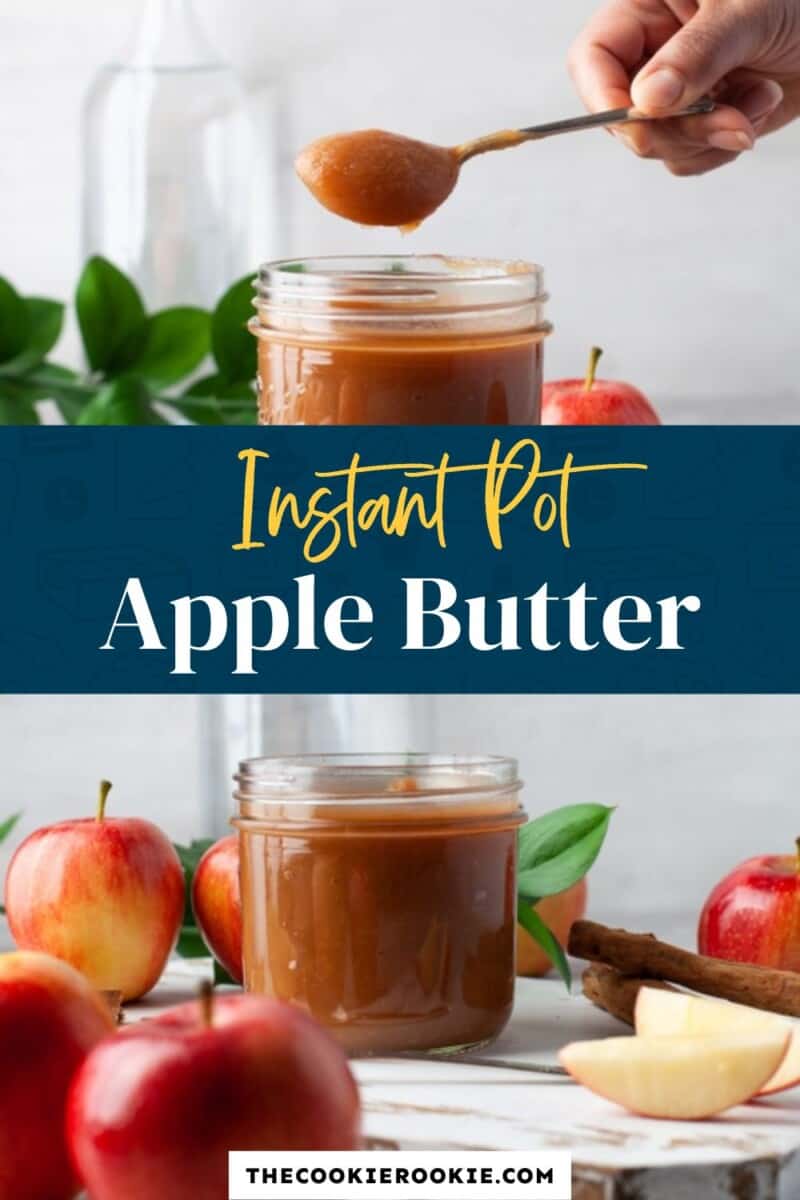
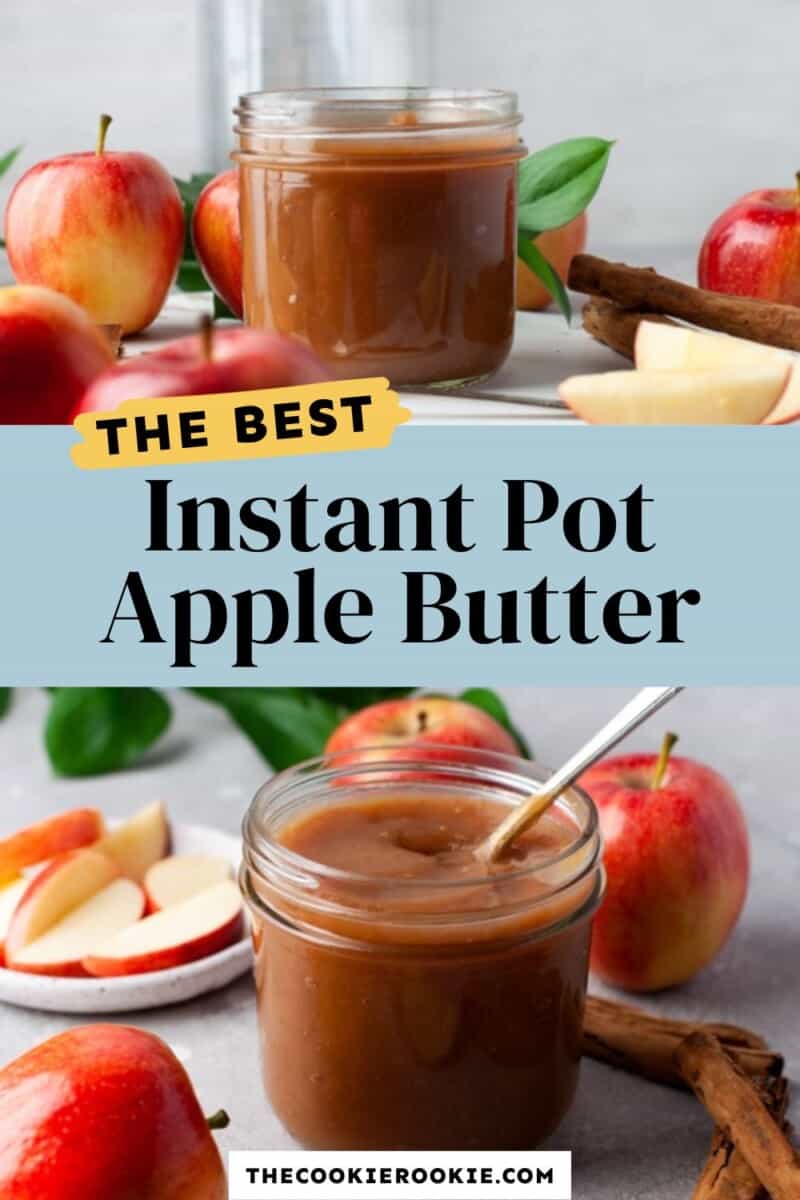
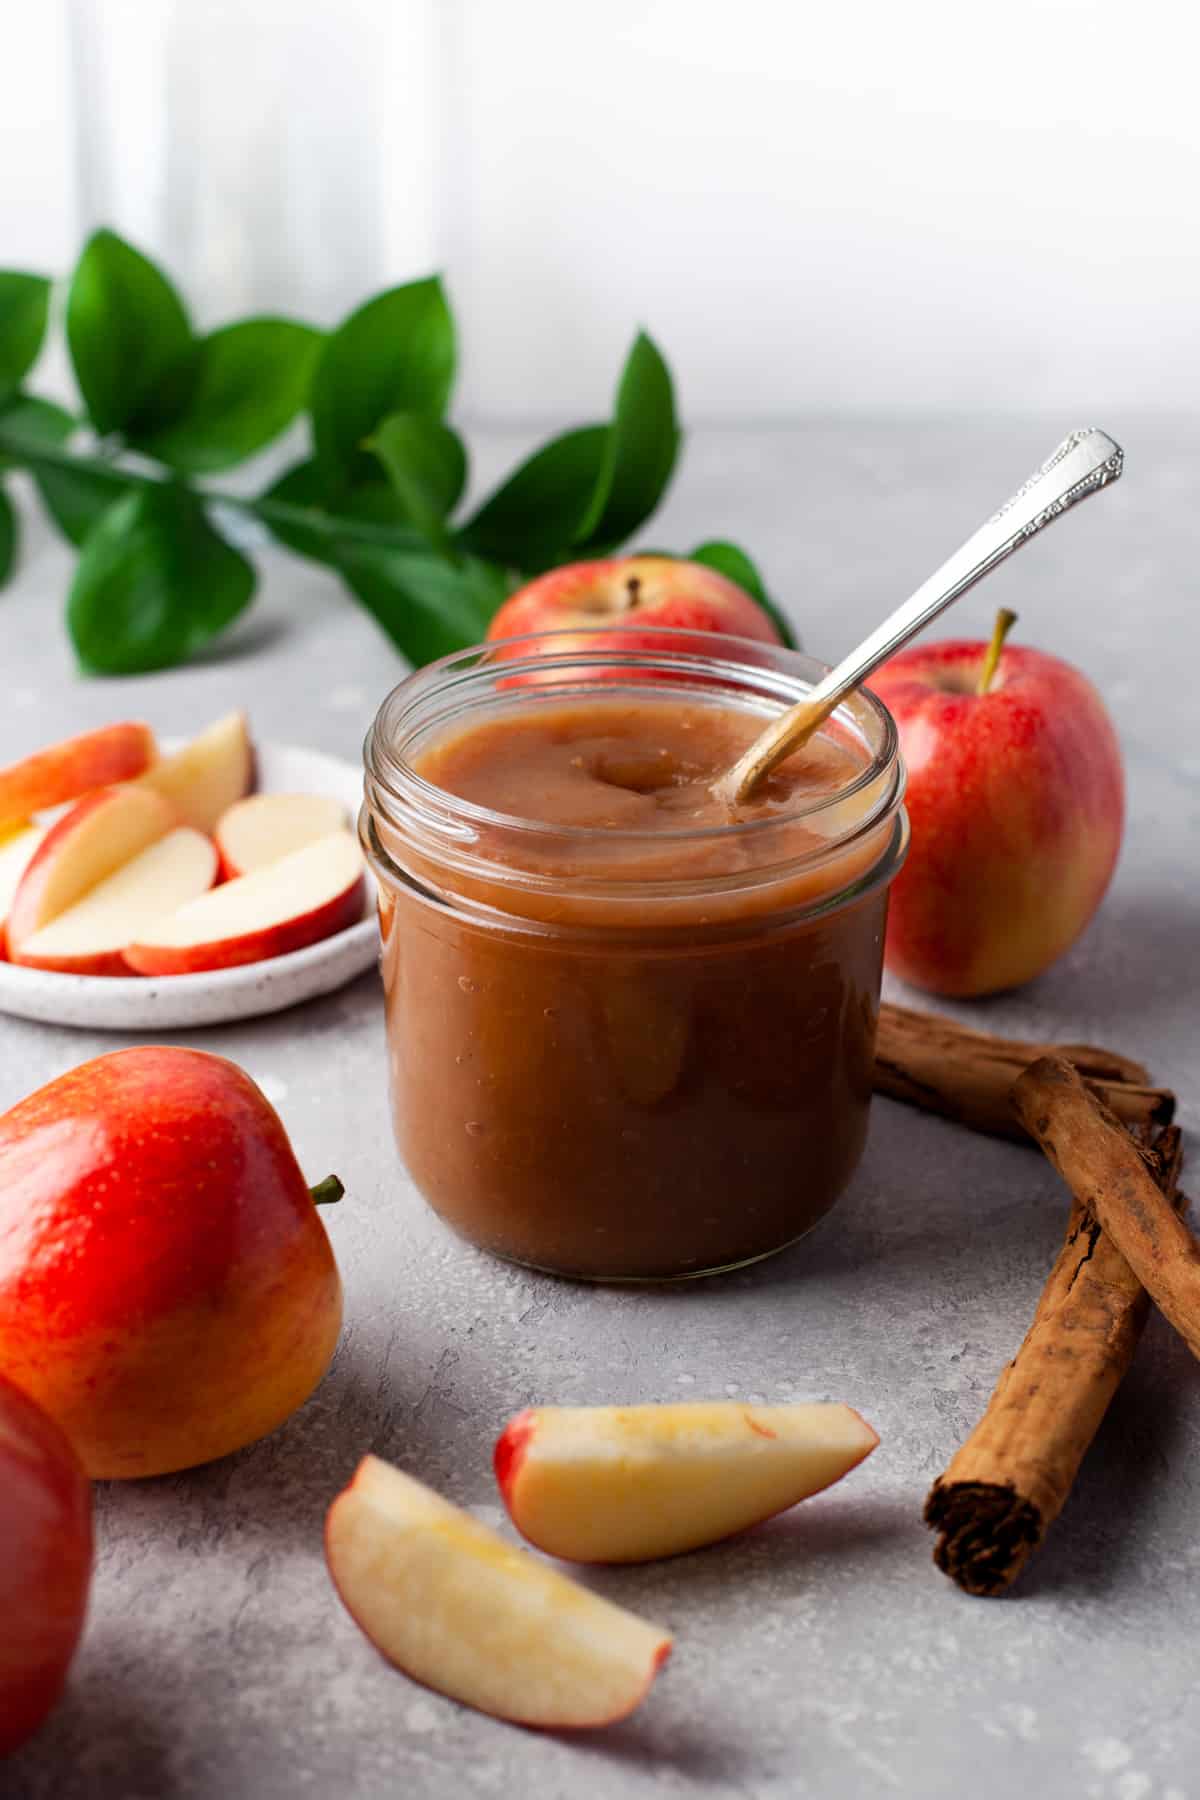
Instant Pot Apple Butter is rich, warming and utterly delicious! Use it as a spread, filling, side dish or even as a lovely homemade gift. It’s easy to make and packed with flavor!
This post may include affiliate links that earn us a small commission from your purchases at no extra cost to you.
Homemade Apple Butter
Homemade Apple Butter is just so tasty and versatile, and now you can make it in an Instant Pot! Spiced with cinnamon, this dreamy, fruity, gluten free sauce is perfect for baking, sides or just spread on bread. This thanksgiving, dodge the store bought and make this easy Instant Pot apple butter recipe instead – you won’t regret it!
Looking for thanksgiving recipe ideas? Why not also try my Best Sausage Stuffing Recipe and my Make Ahead Mashed Potatoes.
Why You’ll Love this Easy Apple Butter Recipe:
- Flavorful: Made with cinnamon for a lovely spiced flavor, as well orange juice for a zesty hit, this butter is just so tasty.
- Versatile: It’s so good, you’ll want to use this on everything! Use it as a spread, a dip, a filling, or any other way you like.
- Easy: Made with pantry staples, this apple butter comes together in the Instant Pot so easily.
Want to amp up some basic pancakes? Spread on this easy apple butter!
How to Make Instant Pot Apple Butter
You can jump to the recipe card for full ingredients & instructions!
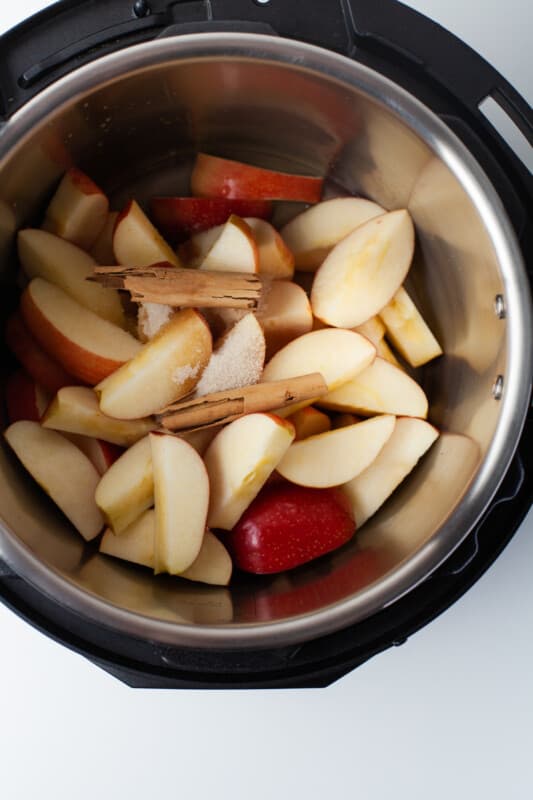
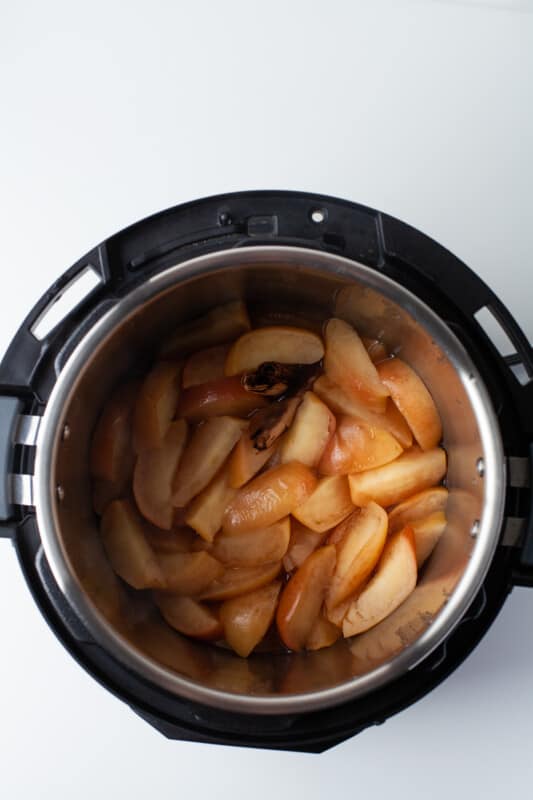
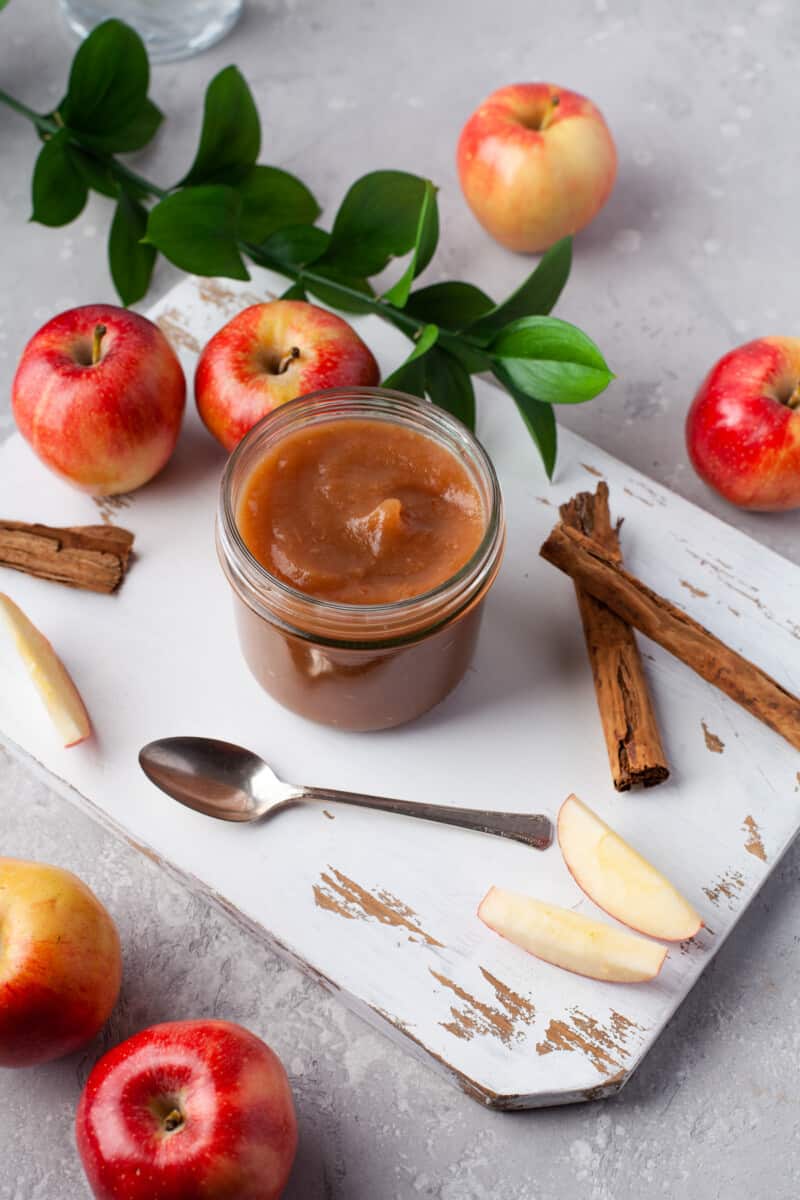
- Place sliced apples and other ingredients in the Instant Pot, and cook on high.
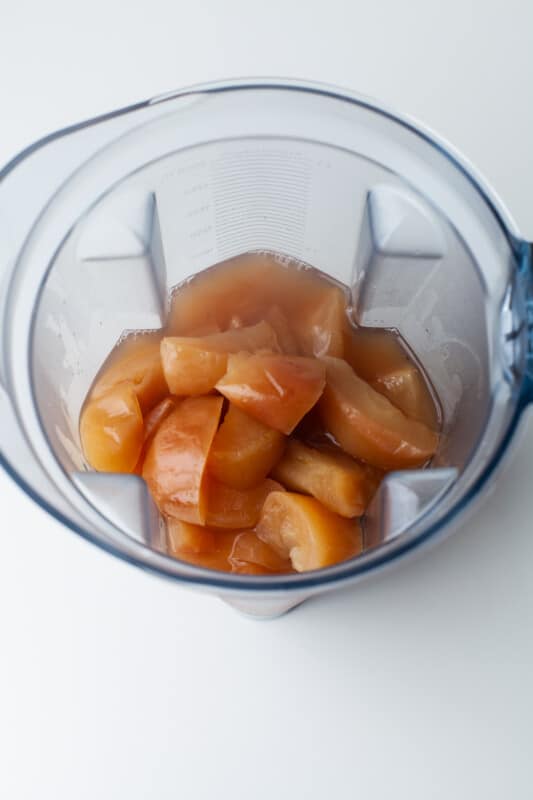
- Remove the cinnamon stick and blend the mixture in a blender until smooth.
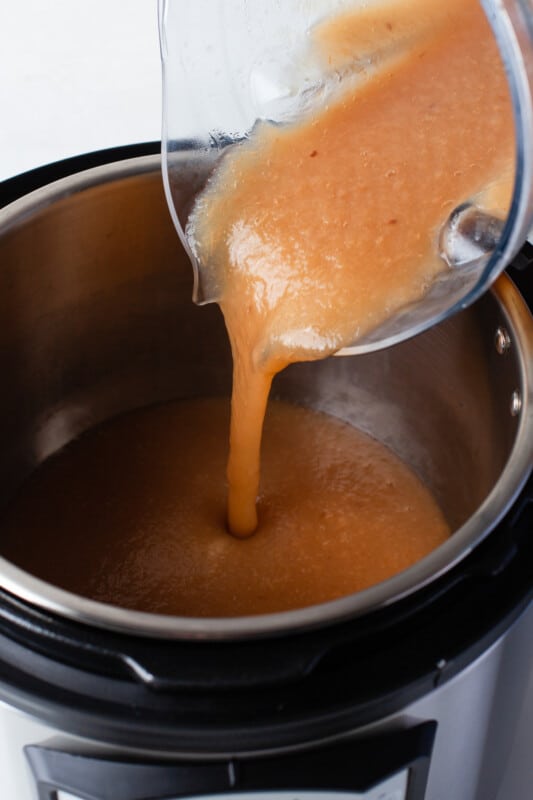
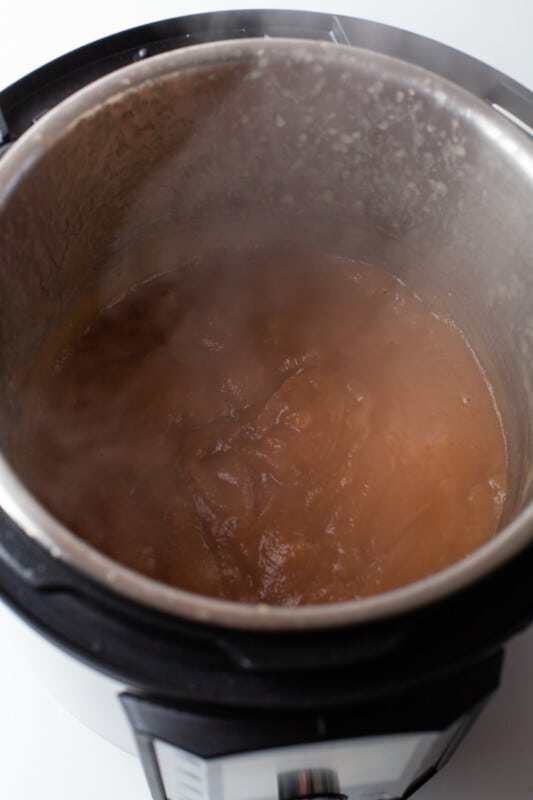
- Return the smooth mixture to the instant pot and saute.
- Allow to cool, transfer to a jar and enjoy!
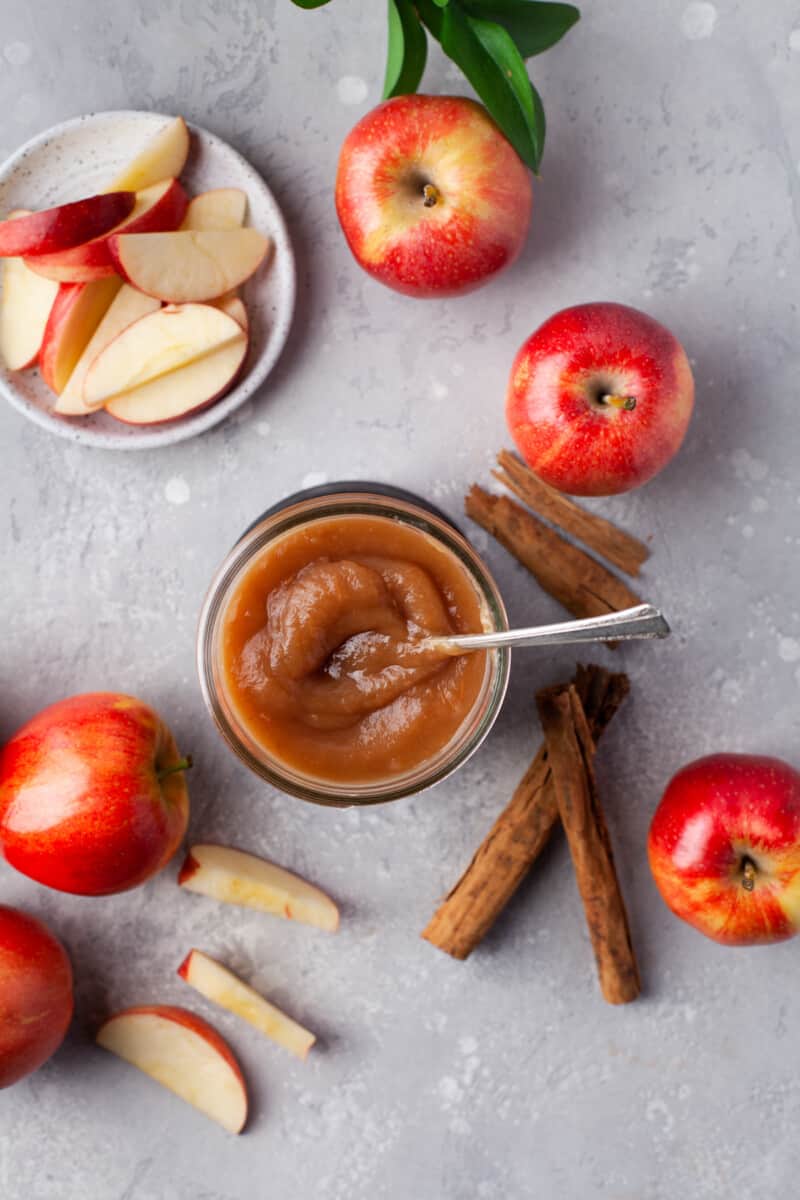
Apple butter is a highly concentrated form of applesauce made by cooking apples low and slow with liquid until the sugar in the apples caramelizes. This concentration of sugar gives apple butter a longer shelf life than traditional applesauce.
Apple butter is cooked and caramelized to bring out its natural sugars, while applesauce is not. Apple butter is also always spiced, whereas applesauce can be plain or spiced.
Softer varieties, such as Fuji, McIntosh, Golden Delicious, or Jonagold, tend to work better because they cook down faster. Adding in a more tart variety, such as Granny Smith or Gala, can help balance the flavor. Ultimately, you should use a variety of apple that you love!
You can definitely leave the peels on, or you can remove them if you prefer.
When the apple butter is thick enough to coat the back of a wooden spoon and leaves a trail when you wipe your finger through it, it is finished. Keep in mind that it will continue to thicken as it cools.
Yes! Place the apples in a crockpot and cook on low for 6-8 hours. Blend the apples with an immersion blender (or add to a high-speed blender, blend, and add back to the crockpot). Add the remaining ingredients (you do not need to add the water when cooking in a crockpot). Prop the lid slightly open with a wooden spoon and cook on low for 5-6 more hours, until the desired consistency is reached.
To make apple butter on the stovetop, place all of the ingredients in a large saucepan or Dutch oven. Bring to a boil, turn down to low, and simmer (with the lid on) for about 2 hours, stirring every 15 minutes to prevent burning. Remove the lid and simmer for an additional 20 minutes, then blend with an immersion blender (or add to a high-speed blender).
Serving Suggestions
Apple butter is so versatile, both as a baking ingredient or as a spread. Here are some ideas:
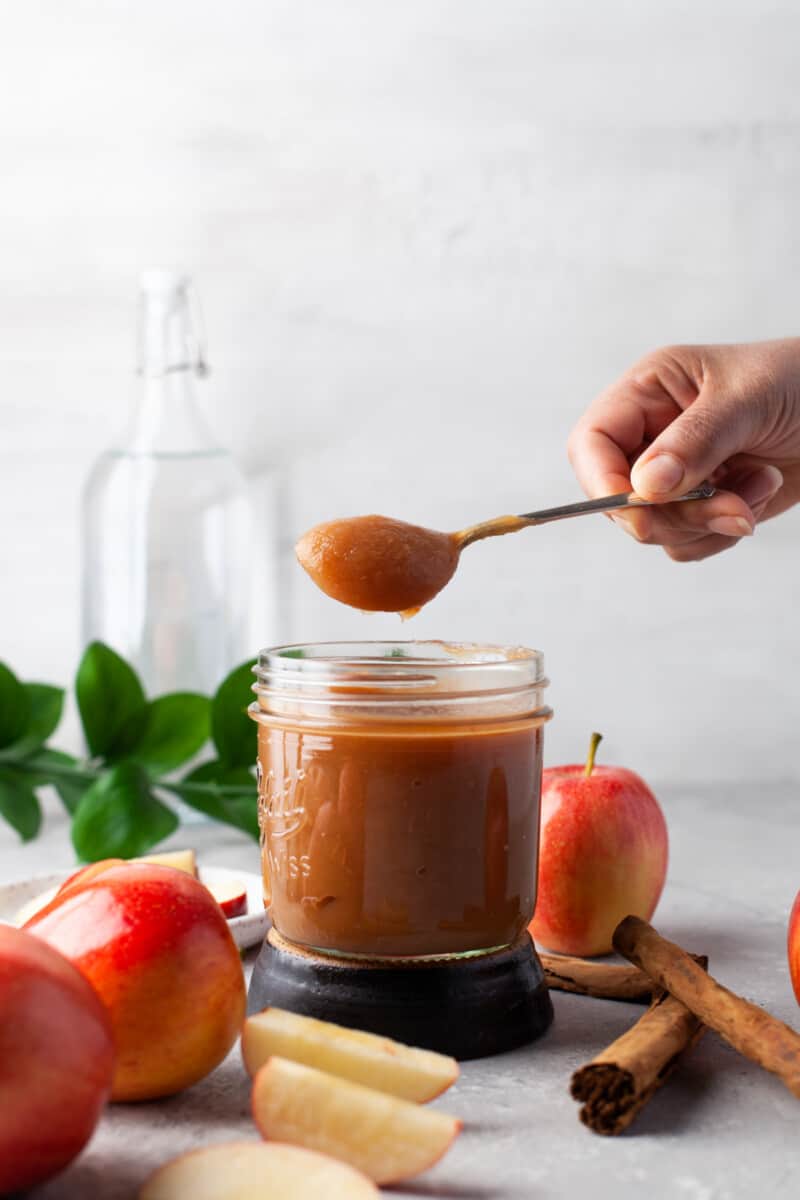
Instant pot apple butter elevates anything it touches, warming rich and fruity – yes please!
Make Ahead Instructions
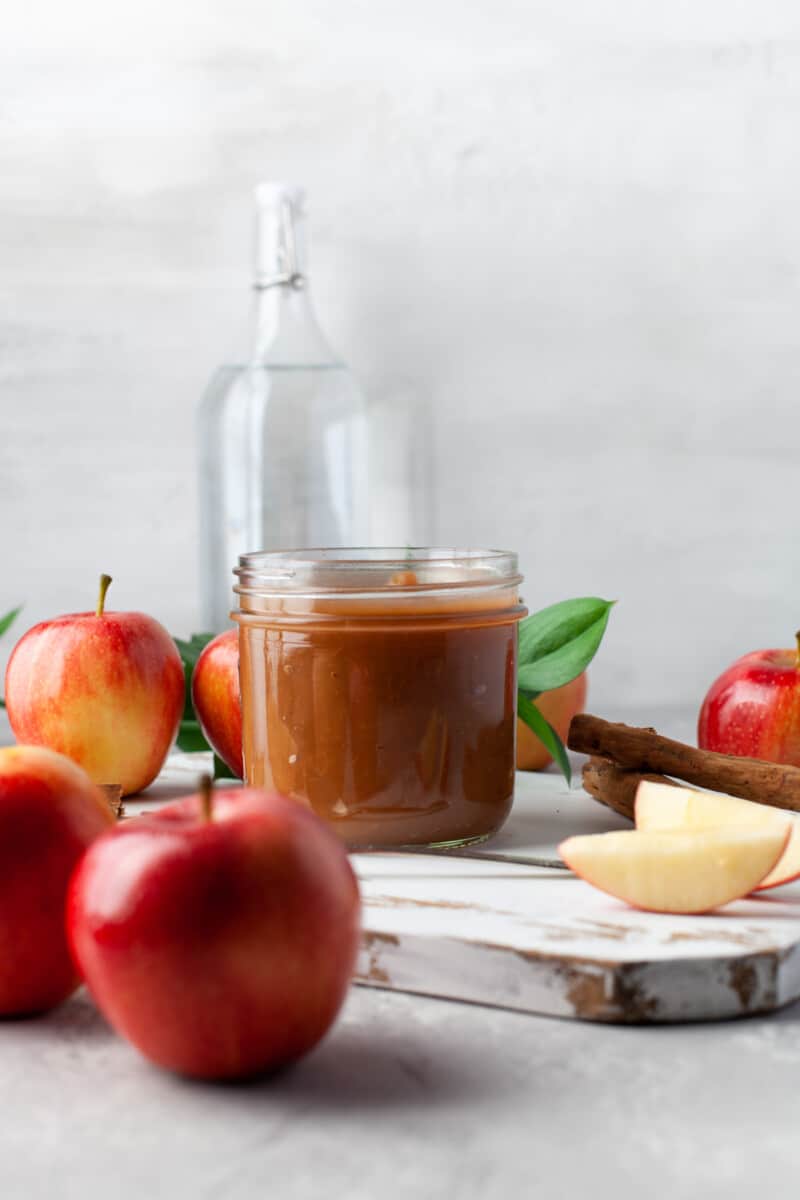
Apple butter is a great pantry staple. Depending on how you plan to store it, it keeps for an exceptionally long time. In the refrigerator, it will last for up to 2 weeks, and in the freezer it will last for up to 3 months. If you can it, it will last at room temperature for up to 1 year.
Storage Instructions
Store apple butter in a clean glass jar with an airtight lid in the refrigerator for up to 2 weeks. For longer-term storage, follow the Ball Canning Guide instructions here. Canned apple butter will keep at room temperature (away from light and heat) for up to 1 year.
Freezing Instructions
To freeze apple butter, leave a bit of headspace for expansion before sealing. It will last for up to 3 months in the freezer. Let thaw overnight in the refrigerator before using.
Scaling Up
If you plan to gift this recipe (or can it for longer storage), you can easily double (or even triple!) the recipe.
Make It A Meal
Apple butter is incredibly versatile and a great ingredient to keep in your arsenal all year long!
- Spread it on toast, english muffins, muffins, biscuits, pancakes, waffles for an autumnal breakfast.
- Stir it into oatmeal to naturally sweeten it, or use it in this apple oatmeal bake in place of the applesauce.
- Use it in place of applesauce in cookies or cakes for a richer flavor.
- Try it in an old-fashioned cocktail.
- Spread it on sandwiches for a sweet and salty lunch.
- Serve it on a holiday cheese platter with brie.
- Spoon it over pork chops for a delicious weeknight meal.
More Naturally Gluten-Free Recipes We Love
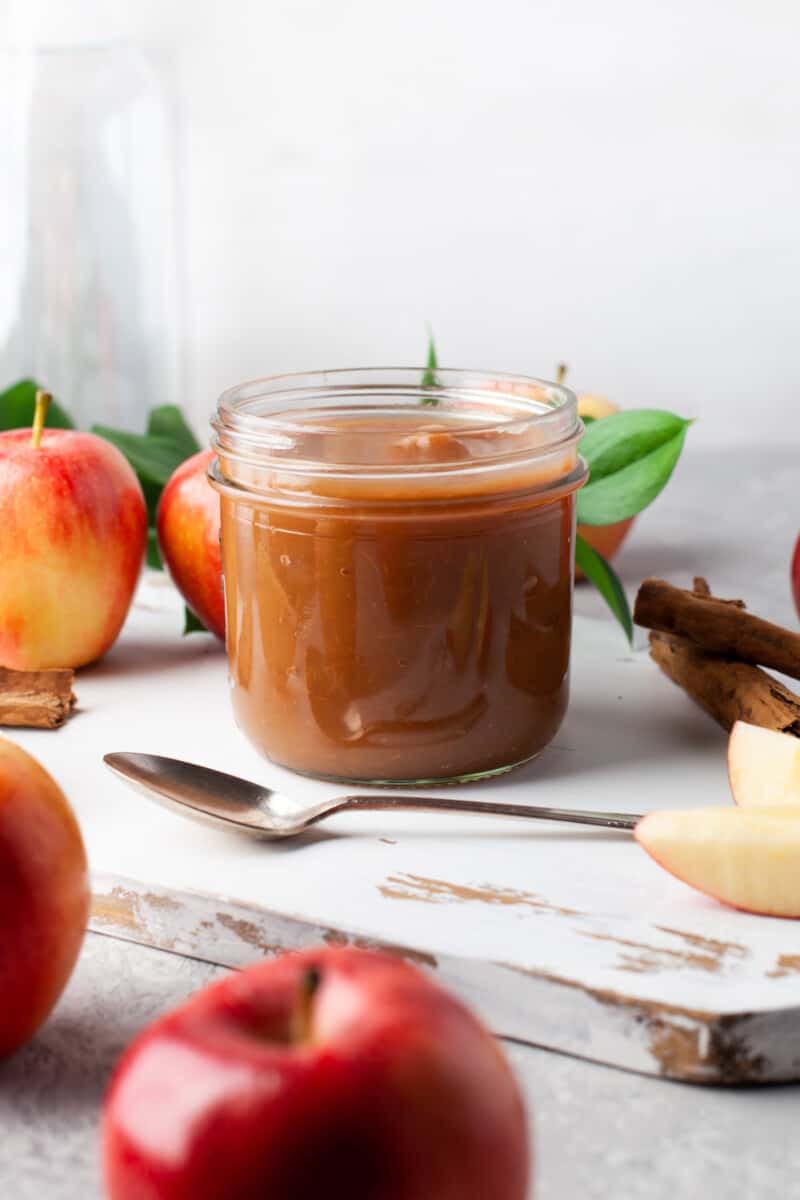
Instant pot apple butter is flavorful, healthy and super versatile! Whip this up using pantry staples and use it as a spread, filling, side dish or baking ingredient. It even makes for a lovely DIY holiday gift!
More Fruity Recipes to Try:
- Instant Pot Apple Cider
- Grilled Salmon Fillet with Peach Salsa
- The Best Homemade Cherry Pie
- Strawberry Avocado Pasta Salad
- Apple Cinnamon Breakfast Cookies
- Peaches and Cream Overnight French Toast
If you make this recipe be sure to upload a photo in the comment section below or leave a rating. Enjoy! You can also jump to recipe.
Instant Pot Apple Butter Recipe
Equipment
- Kitchen Scale (optional)
Ingredients
- 6 apples I used Gala apples
- ¼ cup water 57 grams
- 2 tablespoons freshly squeezed orange juice 28 grams, from ½ orange
- 2 tablespoons unsulphured molasses 43 grams
- 1 teaspoon pure vanilla extract 4 grams
- 2 tablespoons granulated sugar 25 grams
- 1 cinnamon stick
Instructions
- Wash and cut the apples into 4 pieces and remove the core.6 apples
- Place the apples into your Instant Pot and add the water, juice, molasses, vanilla, sugar, and cinnamon.¼ cup water, 2 tablespoons freshly squeezed orange juice, 2 tablespoons unsulphured molasses, 1 teaspoon pure vanilla extract, 2 tablespoons granulated sugar, 1 cinnamon stick
- Close and secure the lid to the locked position. Press MANUAL and set the timer for 20 minutes on high. Press START to begin cooking.
- Once the apples are ready, let them sit and naturally allow the pressure to release, about 10-20 minutes.
- Carefully turn the dial to the venting position and let the steam escape. Carefully open your Instant Pot.
- Remove the cinnamon stick. Take your mixture and transfer it to a blender. Blend until the apple butter is smooth. Once it’s all smooth, transfer it back into your Instant Pot.
- Select SAUTE and on low temperature leave it for 25 minutes uncovered so it thickens. Stir occasionally so it doesn't burn. If you want it thicker, try adding 10-15 minutes.
- Once you are done with this, turn off your IP and let the butter cool to room temperature.
- Pour your apple butter into your jar and enjoy!
Becky’s Tips
- This recipe makes approximately 2 cups. A standard serving is 2 tablespoons.
- Use any variety of apples you like.
- Keep or remove the apple peels; it’s up to you.
- If you plan to gift this recipe (or can it for longer storage), you can easily double (or even triple!) the recipe.
- Crockpot Instructions: Place the apples in a crockpot and cook on low for 6-8 hours. Blend the apples with an immersion blender (or add to a high-speed blender, blend, and add back to the crockpot). Add the remaining ingredients (you do not need to add the water when cooking in a crockpot). Prop the lid slightly open with a wooden spoon and cook on low for 5-6 more hours, until the desired consistency is reached.
- Stovetop Instructions: Place all of the ingredients in a large saucepan or Dutch oven. Bring to a boil, turn down to low, and simmer (with the lid on) for about 2 hours, stirring every 15 minutes to prevent burning. Remove the lid and simmer for an additional 20 minutes, then blend with an immersion blender (or add to a high-speed blender).
Nutrition information is automatically calculated, so should only be used as an approximation.
