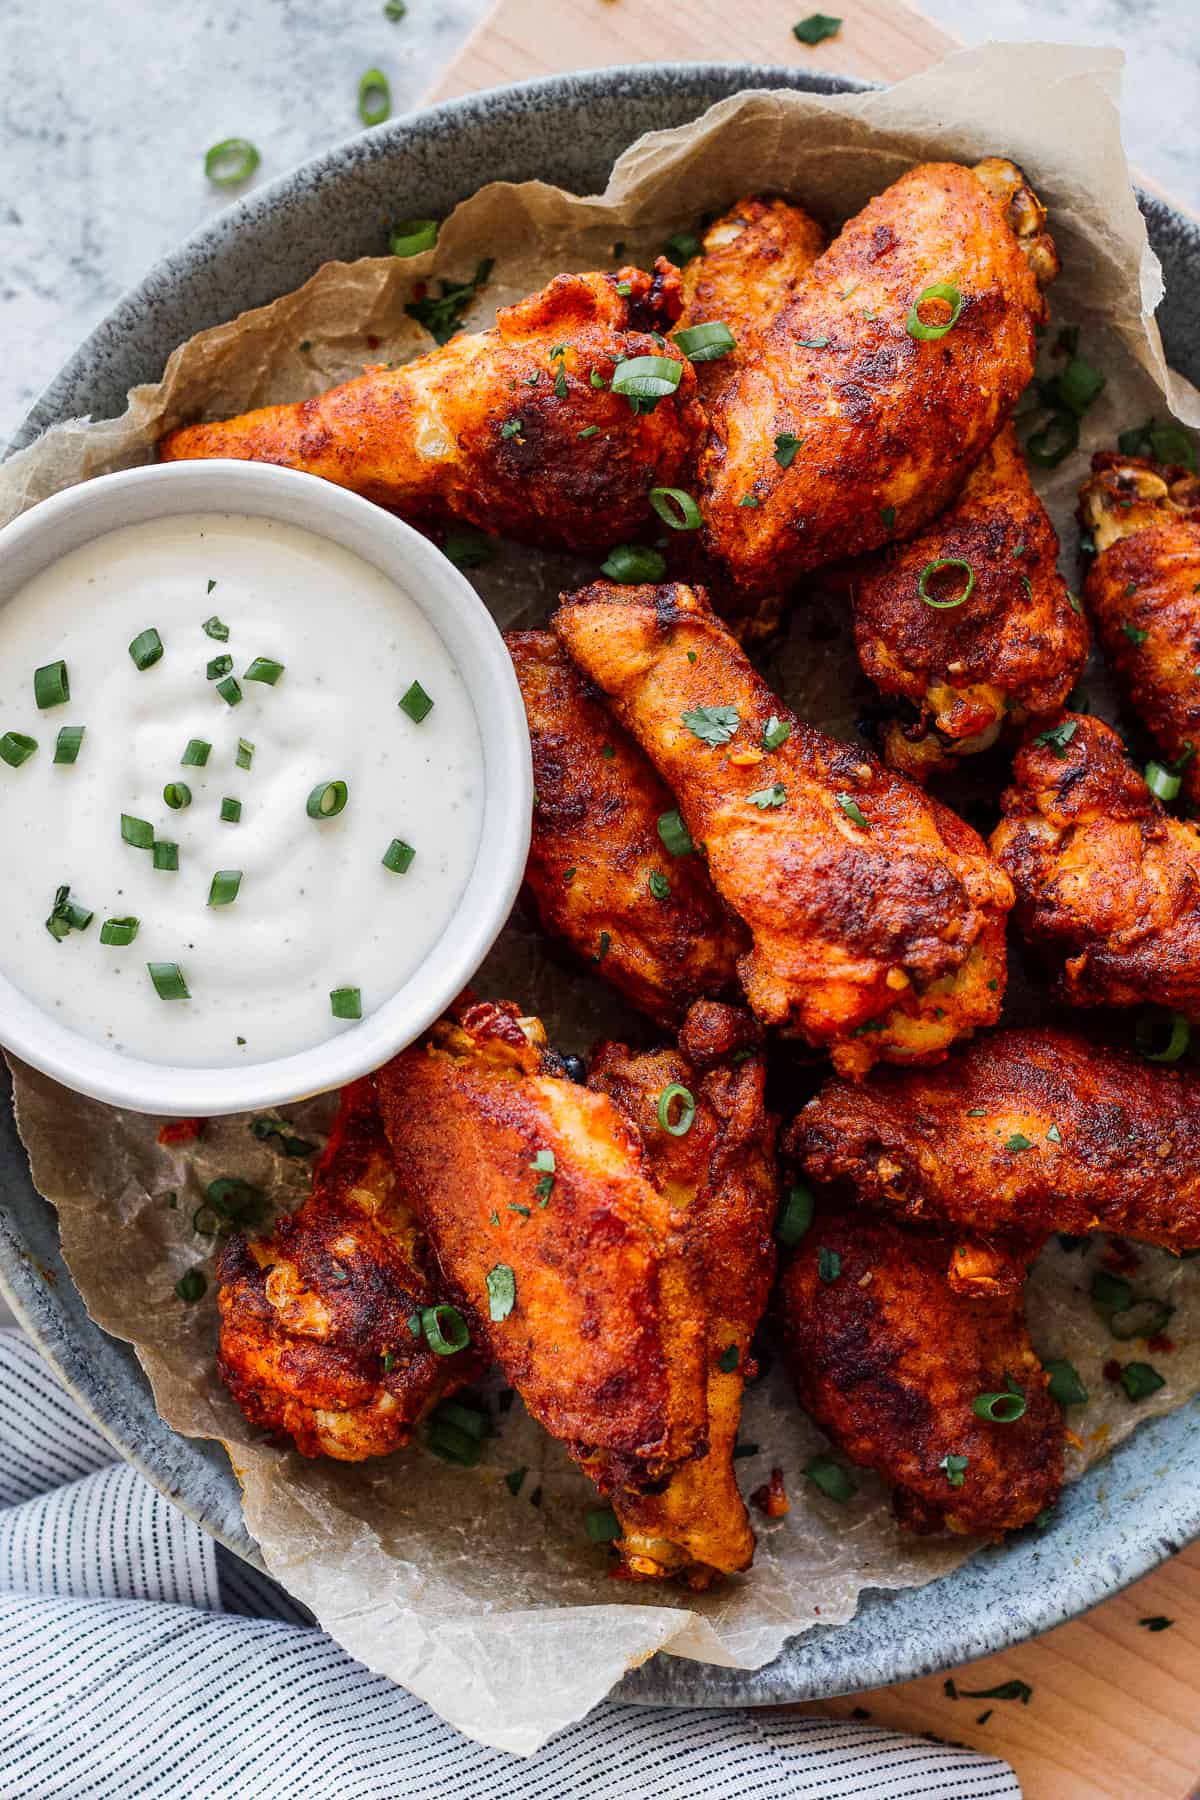
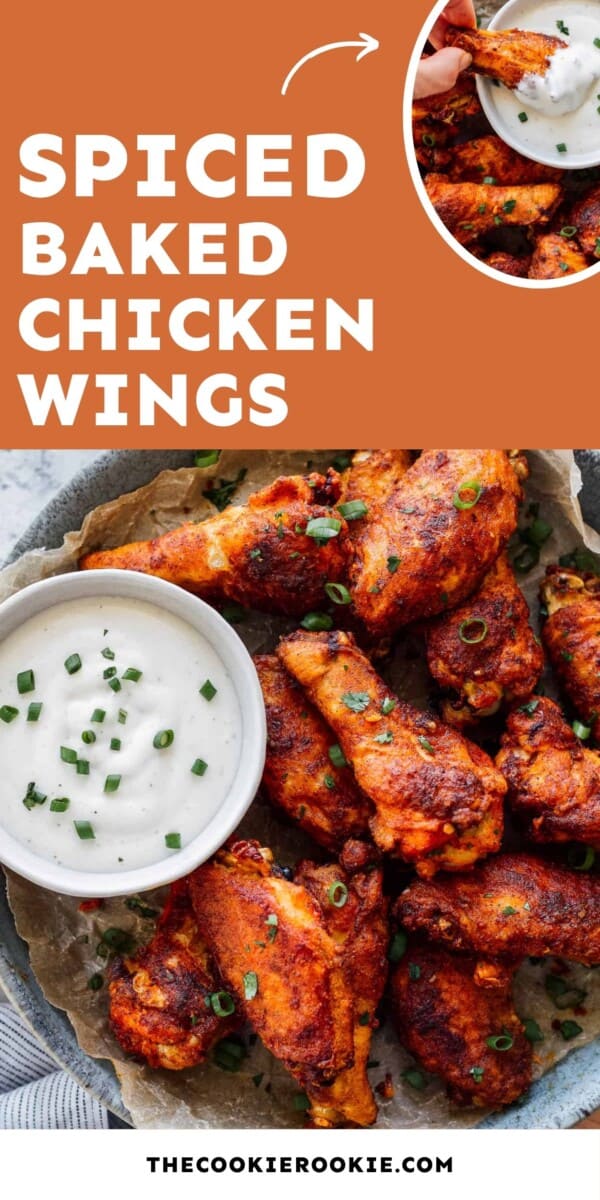
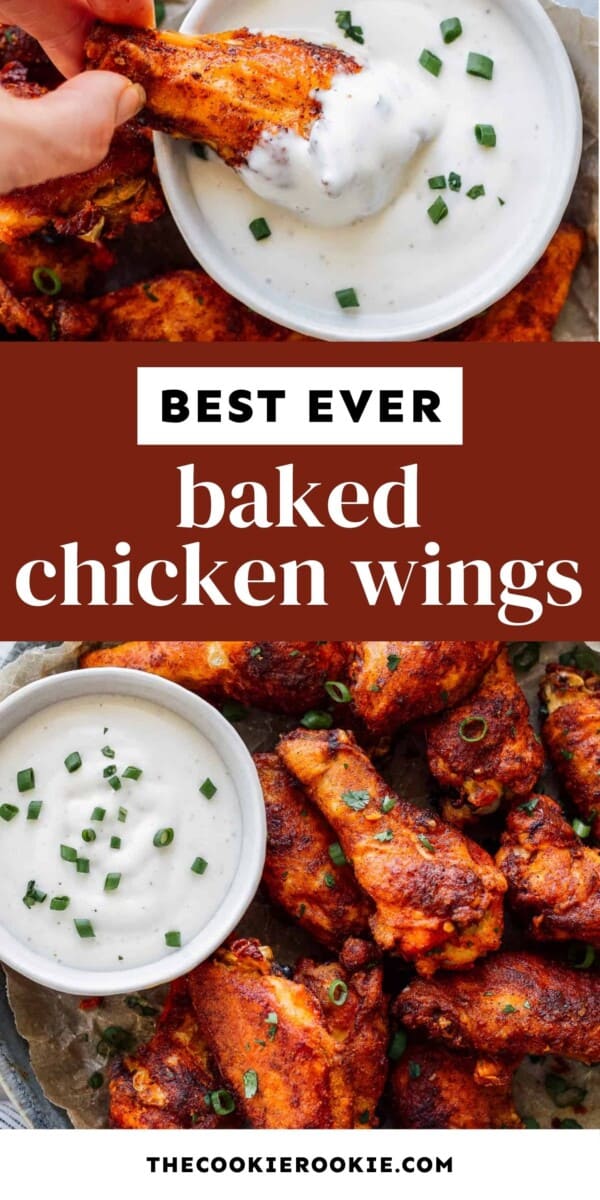
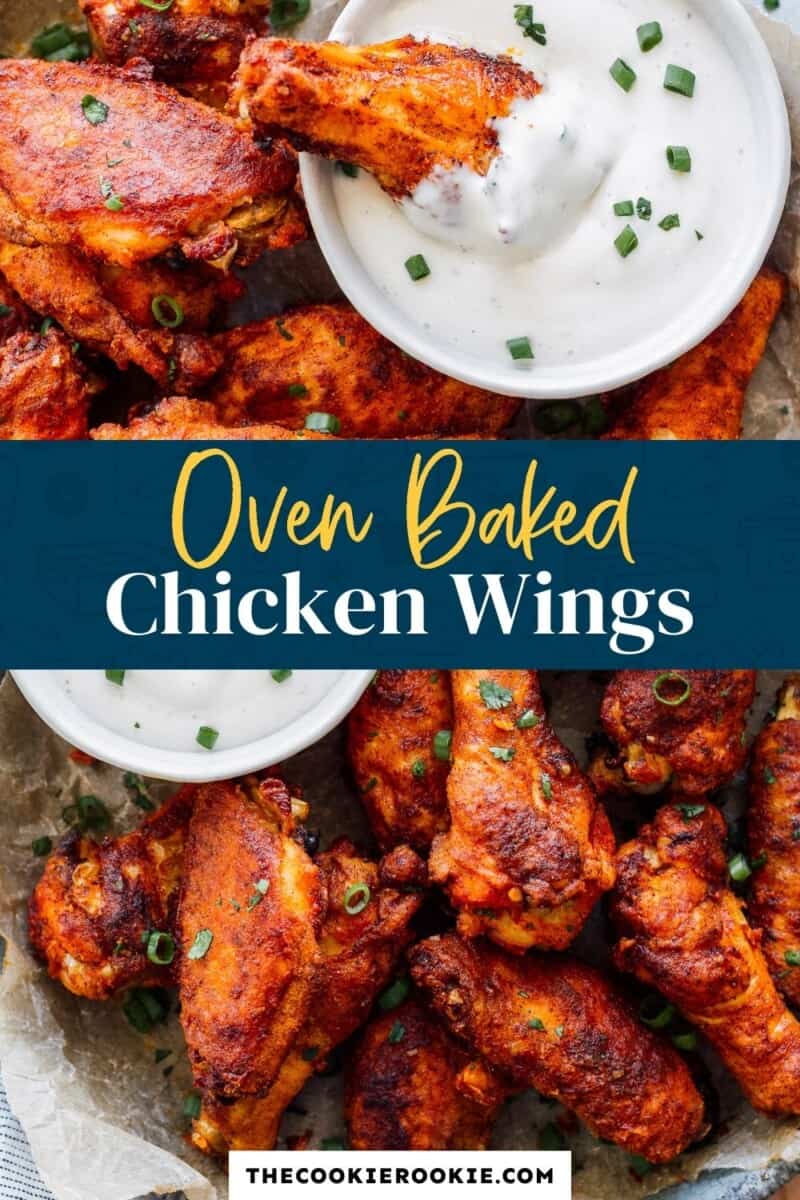
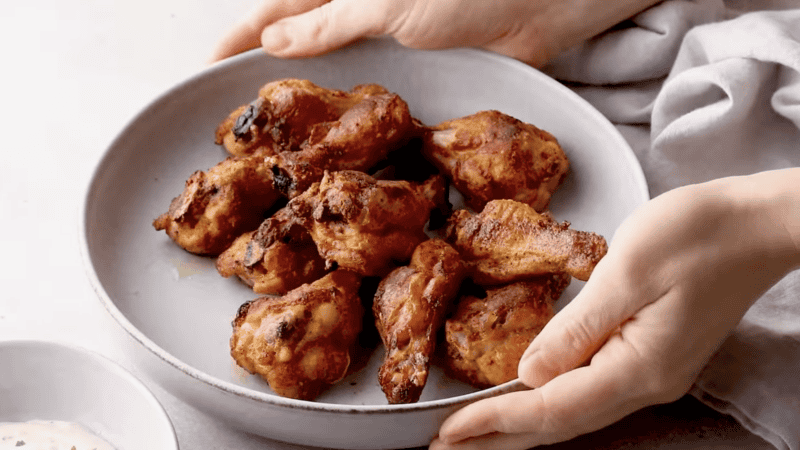
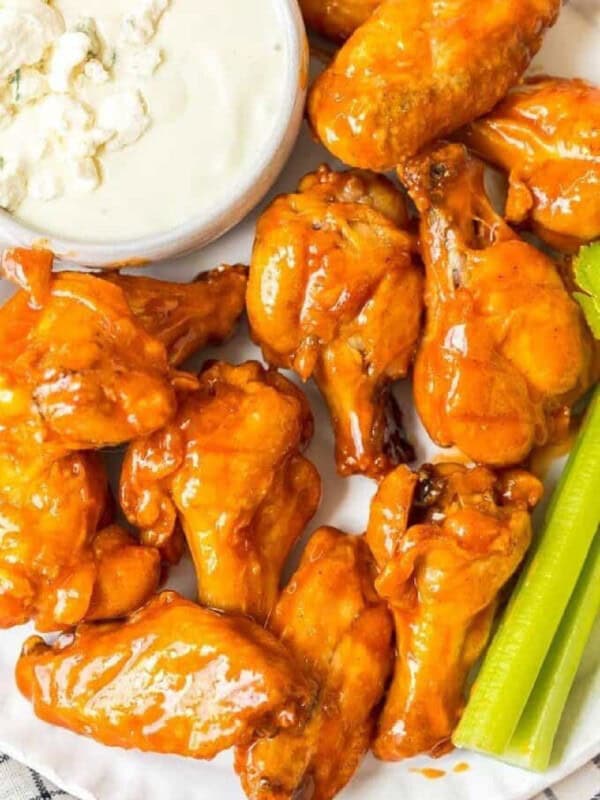
This baked chicken wings recipe is my absolute favorite. It’s less messy and, in my opinion, more flavorful than frying. We are a family that loves a game day celebration, and it’s never complete unless I make a batch of my famous baked chicken wings. In fact, I usually have to make a double batch just to be safe. I’m so proud that over 2000 home cooks have rated these wings a 5-star success.
This post may include affiliate links that earn us a small commission from your purchases at no extra cost to you.
Don’t get me wrong, I love fried wings– but cooking chicken wings in the oven creates incredible flavor, juicy chicken, and crispy skin, without the hassle and oil required for deep-frying. After I developed this recipe, I’ve made them this way, baked instead of fried, more times than I can count. This recipe is on my list of favorite best Super Bowl appetizers, so don’t forget to make a batch!
What’s in This Chicken Wings Recipe?
- Chicken Wings: I prefer to use chicken wingettes (the middle part of the wing, sometimes called the ‘flat’) for this recipe. Not only are they easier to cook and eat, but they get really nice and crispy in the oven. You can bake any part(s) of the chicken wing in the oven with this seasoning rub. Just keep in mind that cooking different parts may require different cooking times.
- Flour: When combined with the spices listed below, this becomes a flavorful seasoned coating. It helps the seasoning stick to the wings, and it creates a crispy skin.
- Butter: Dot the baking sheet with pats of unsalted butter– it melts while the wings are in the oven, helping to add moisture and flavor. Plus, it crisps up the skin.
- Seasoning Blend: The dry rub is what makes these baked wings so irresistible! It’s a simple mix of paprika, garlic powder, and salt and pepper, and it tastes amazing.
The Secret To Crispy Baked Wings
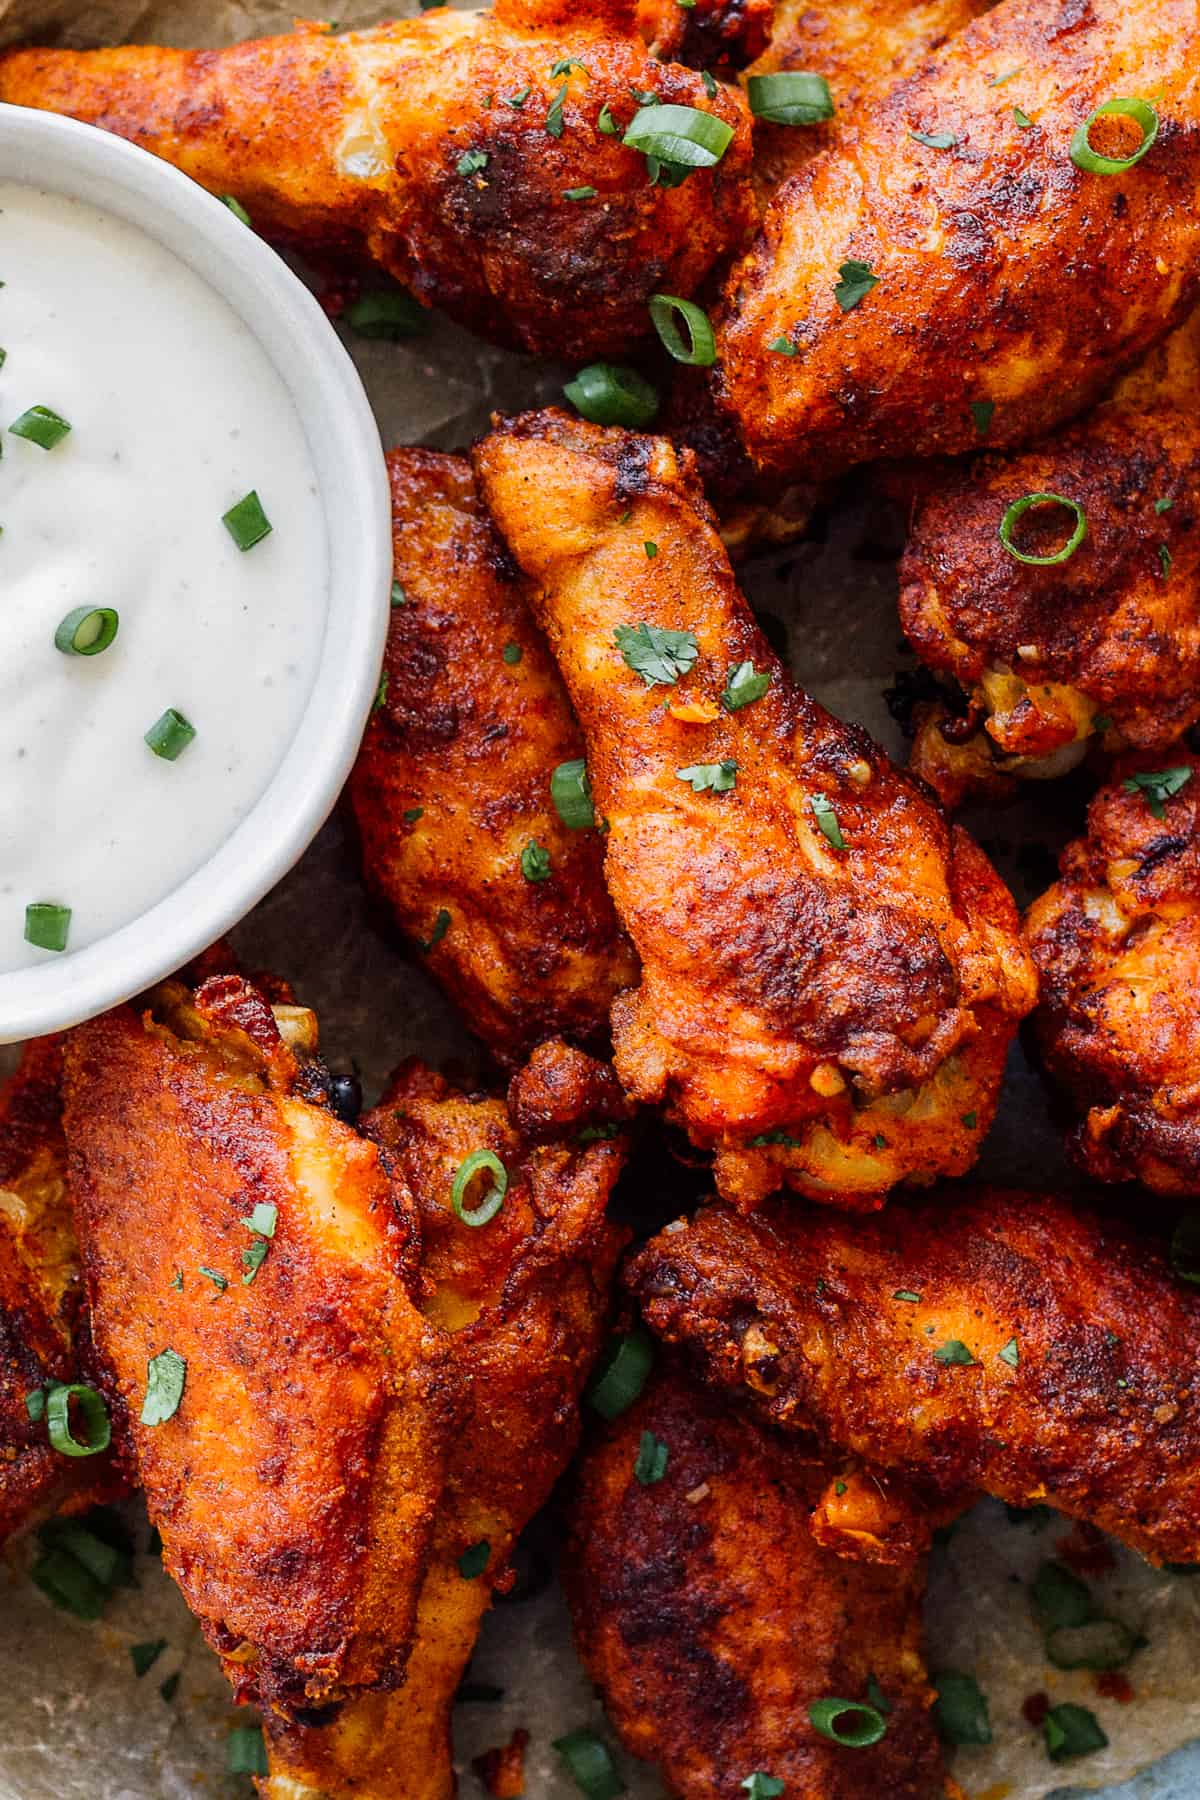
There are two ingredients I use to make sure the skin gets nice and crispy on my wings:
- Coating them with flour helps build texture.
- Cooking them on a tray with butter helps them brown, and lends more crispiness.
How to Store and Reheat
If you manage to have any of these baked chicken wings leftover, store them in an airtight container in the refrigerator for up to 3 days. I usually freeze chicken wings in a single layer on a baking sheet until solid, then transfer to a Ziplock bag for up to 3 months. Always allow wings to thaw overnight in the refrigerator before reheating in the oven.
To reheat, place them back in the oven at 350°F, for about 15 minutes, or until 165°F internally.
Serving Suggestions
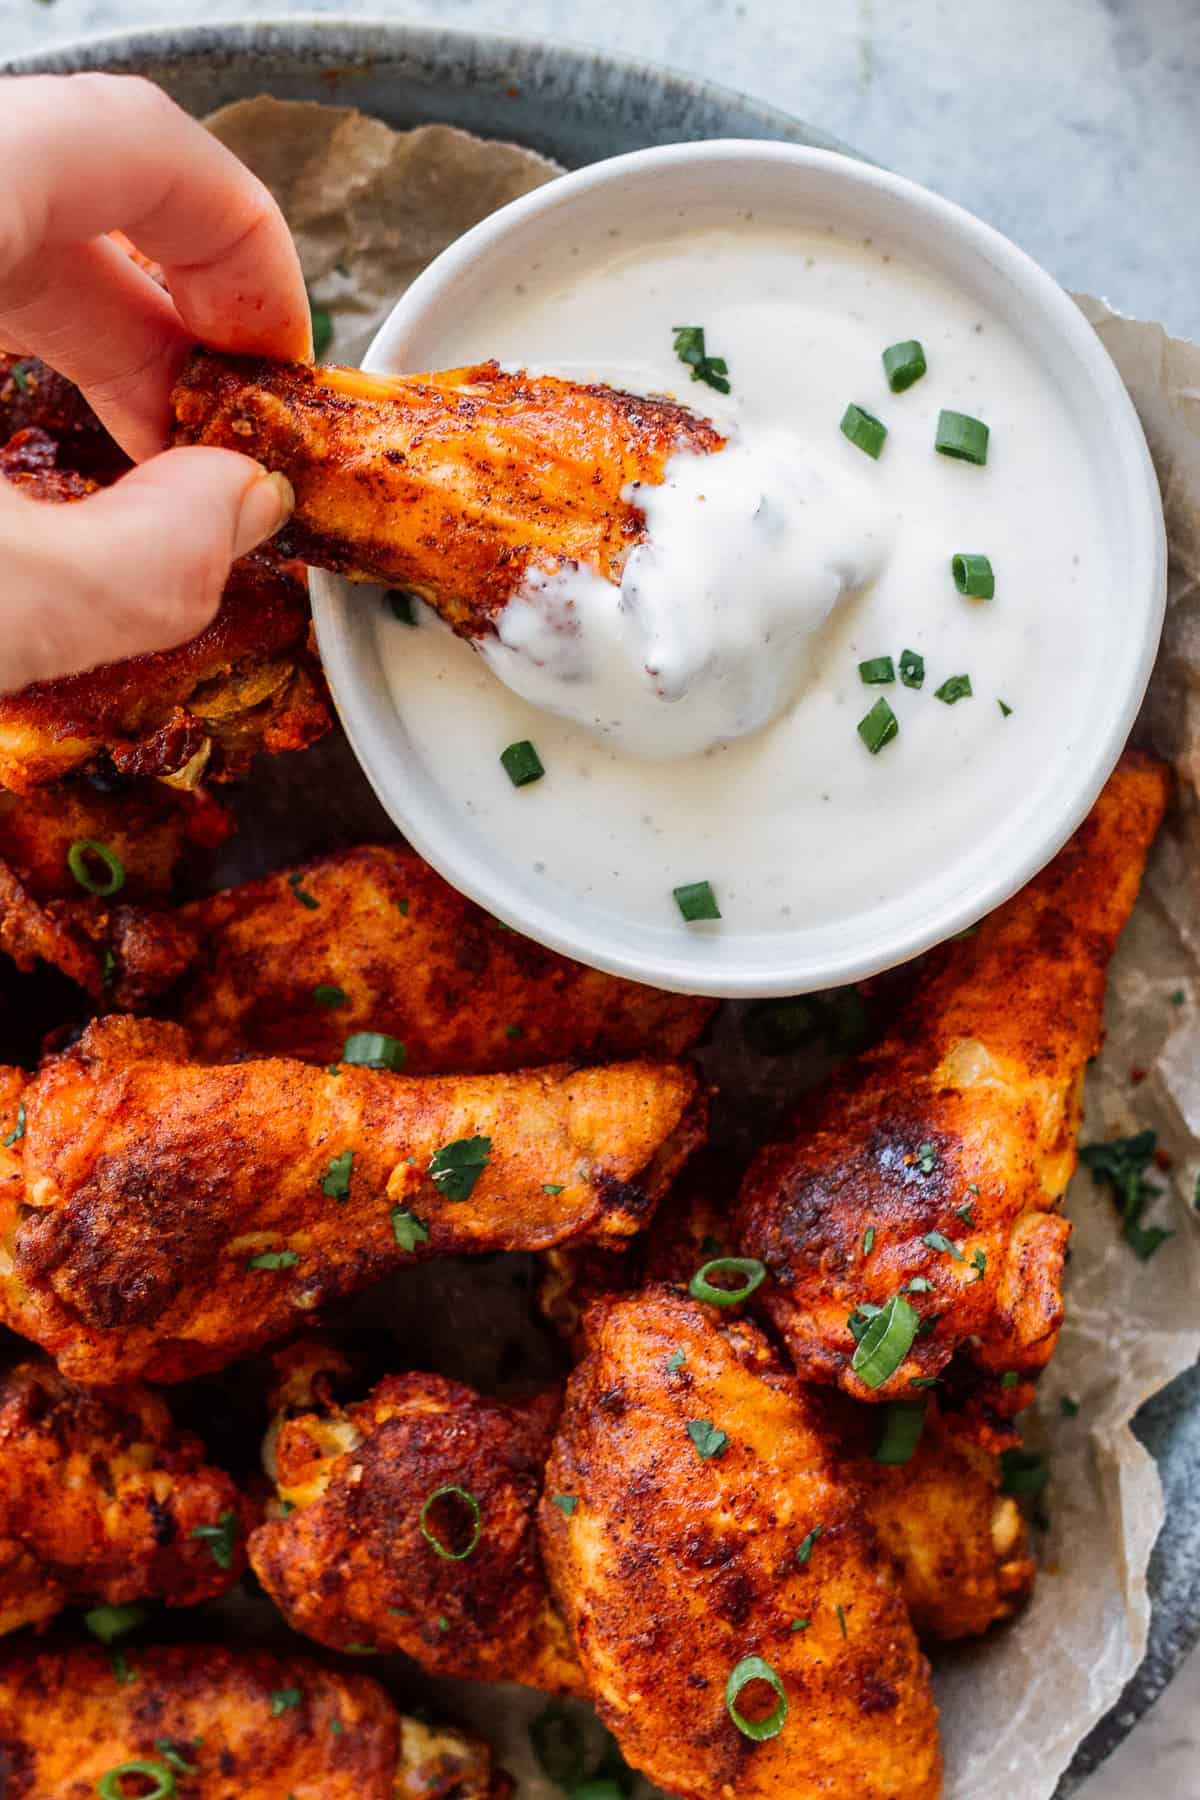
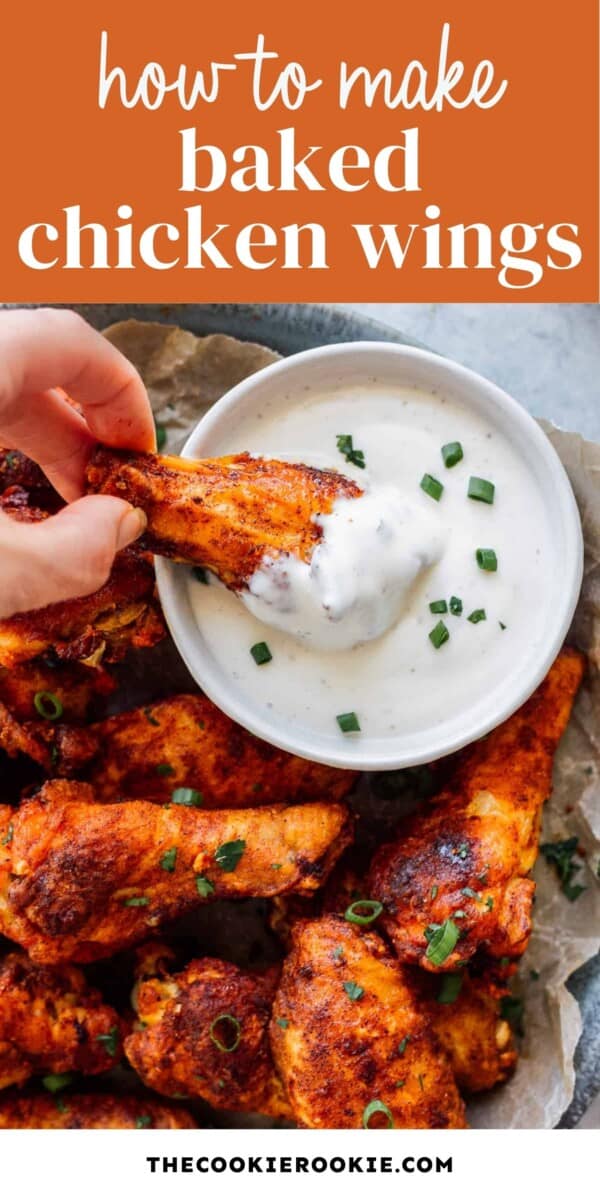
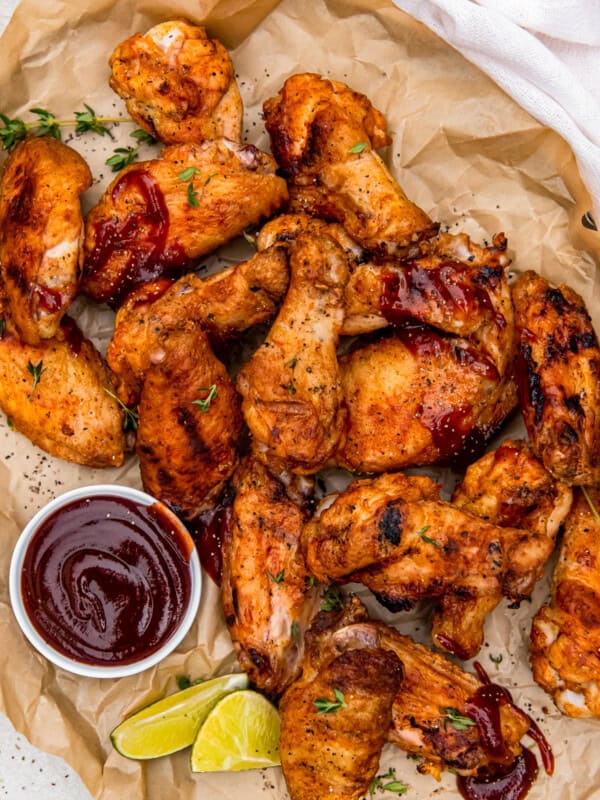
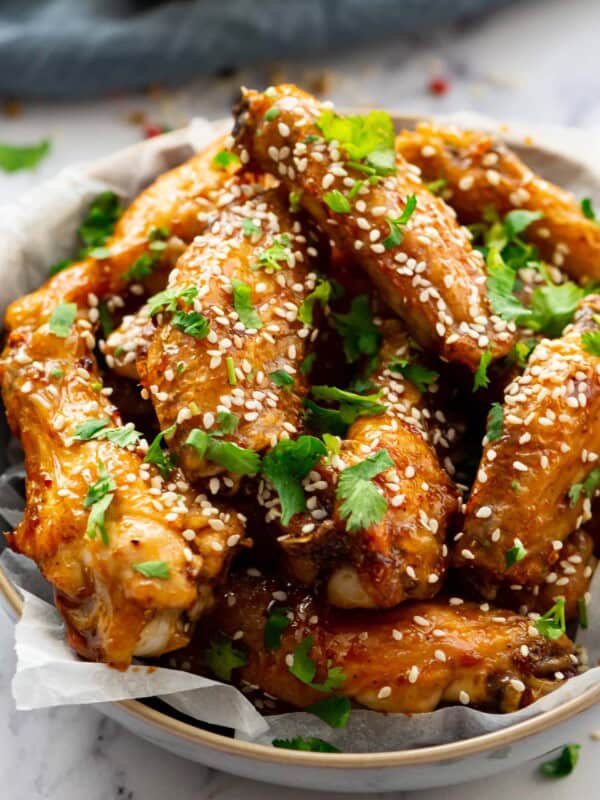
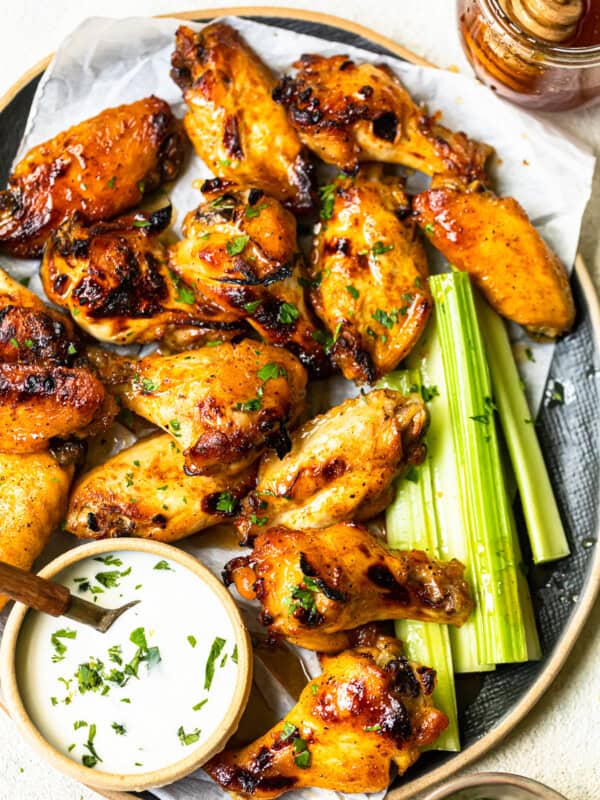
No matter how good the chicken wings are (and trust me, these seasoned baked wings are finger-lickin’ good!), I always feel that a few tasty dipping sauces are a must. The flavor of the spice rub goes well with literally any type of dipping sauce you love. I love to dip them in buffalo sauce, ranch dressing, or Chick fil A sauce, but the possibilities are endless!
On game day, I like to serve them with french fries or potato wedges, veggie sticks, and other dippable items. When I want to go the comfort food route, I’ll whip up some creamy coleslaw, mashed potatoes, or mac and cheese casserole.
5-Star Review
“Came across this recipe a while back and decided to give it a try and it is the best! I had only cooked wings a few times before this recipe and now we have them at least once a month. Everyone raves about how good they are every time I make them. Thanks for sharing the recipe!” – Jill W.
Baked Chicken Wings Recipe

Ingredients
- 3 tablespoons unsalted butter (⅜ stick)
- ⅓ cup all-purpose flour
- 2 tablespoons ground paprika
- 1 teaspoon garlic powder
- 1 teaspoon kosher salt
- 1 teaspoon ground black pepper
- 10-12 chicken wingettes just means tips removed; thawed if frozen
Instructions
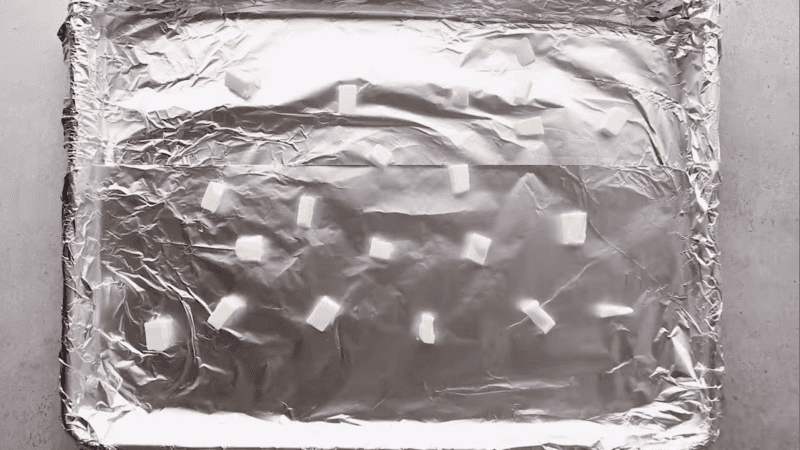
- Preheat oven to 425°F. Line a baking sheet with foil. Dot the foil with the butter, there is no need to melt it ahead of time but you can if you would like.3 tablespoons unsalted butter
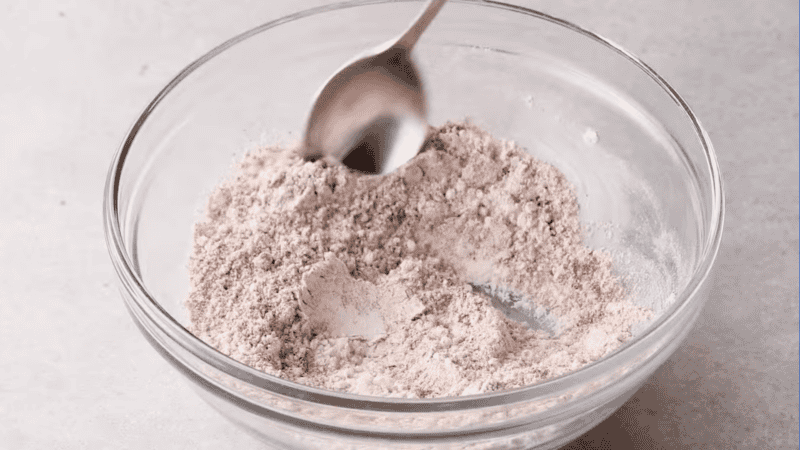
- In a medium-sized bowl, combine the flour, paprika, garlic powder, and salt and pepper.⅓ cup all-purpose flour, 2 tablespoons ground paprika, 1 teaspoon garlic powder, 1 teaspoon ground black pepper, 1 teaspoon kosher salt
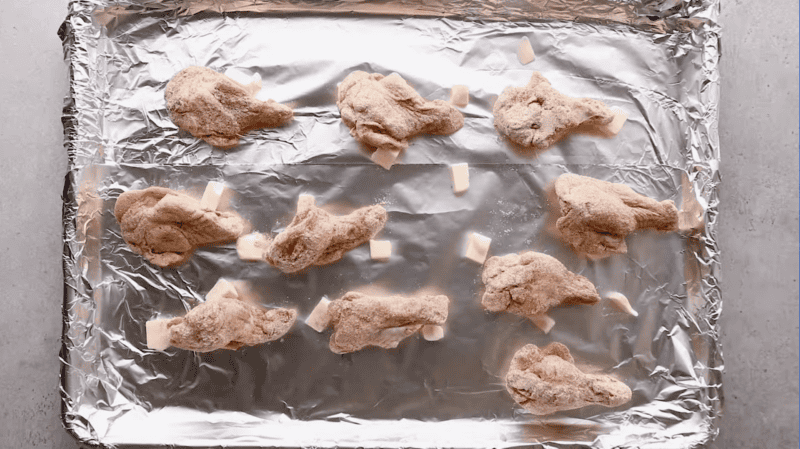
- Coat both sides of each wing fully in the flour mixture and place on the baking sheet. Make sure the butter pieces are evenly spaced out among the wings.10-12 chicken wingettes
- Bake the wings for 30 minutes.
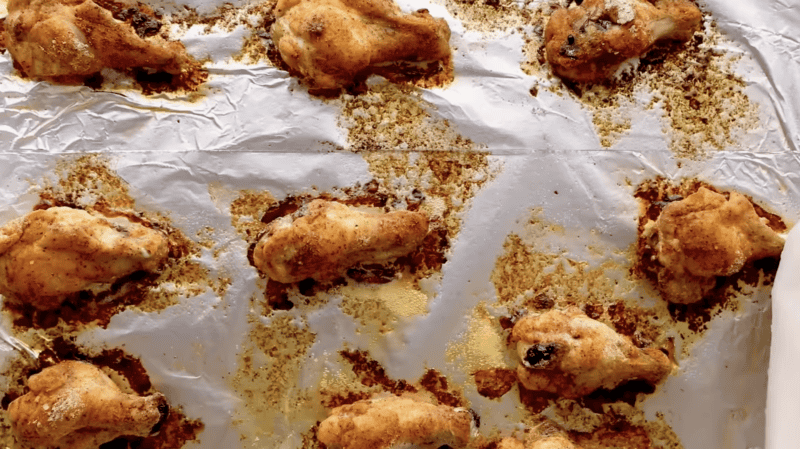
- Flip the wings over and bake for an additional 15 minutes, or until crispy and fully cooked.
- Serve with your favorite dipping sauce and sprinkle with fresh parsley if desired.
Video
Becky’s Tips
- Feel free to change up the seasoning rub for your wings with some different herbs and spices. I like to add chili powder or cayenne pepper for more heat. I’ve also used a dry ranch mix to switch things up a bit.
- The safe-to-eat temperature for all chicken is 165°F. However, for wings, you might consider cooking them up to 190°F for tender, melt-in-your-mouth meat.
Nutrition information is automatically calculated, so should only be used as an approximation.
How to Make Chicken Wings Step by Step
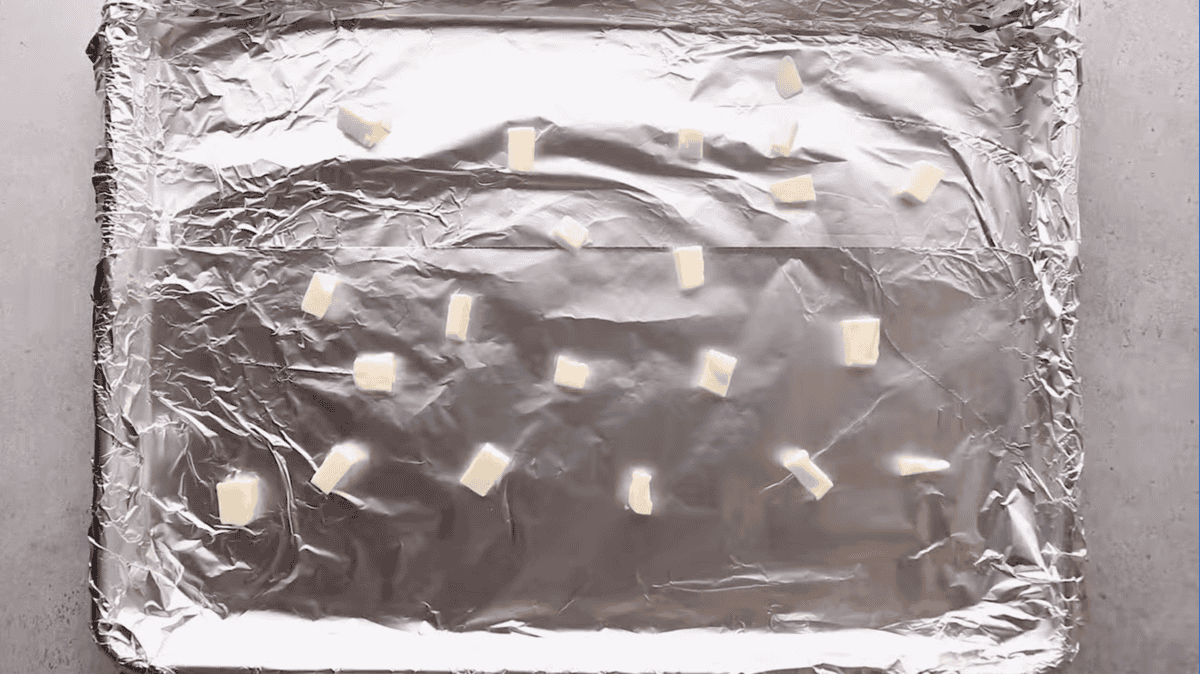
Prep the Baking Sheet: Preheat oven to 425°F. Line a baking sheet with foil. Dot the foil with the 3 tablespoons of unsalted butter, there is no need to melt it ahead of time but you can if you would like.
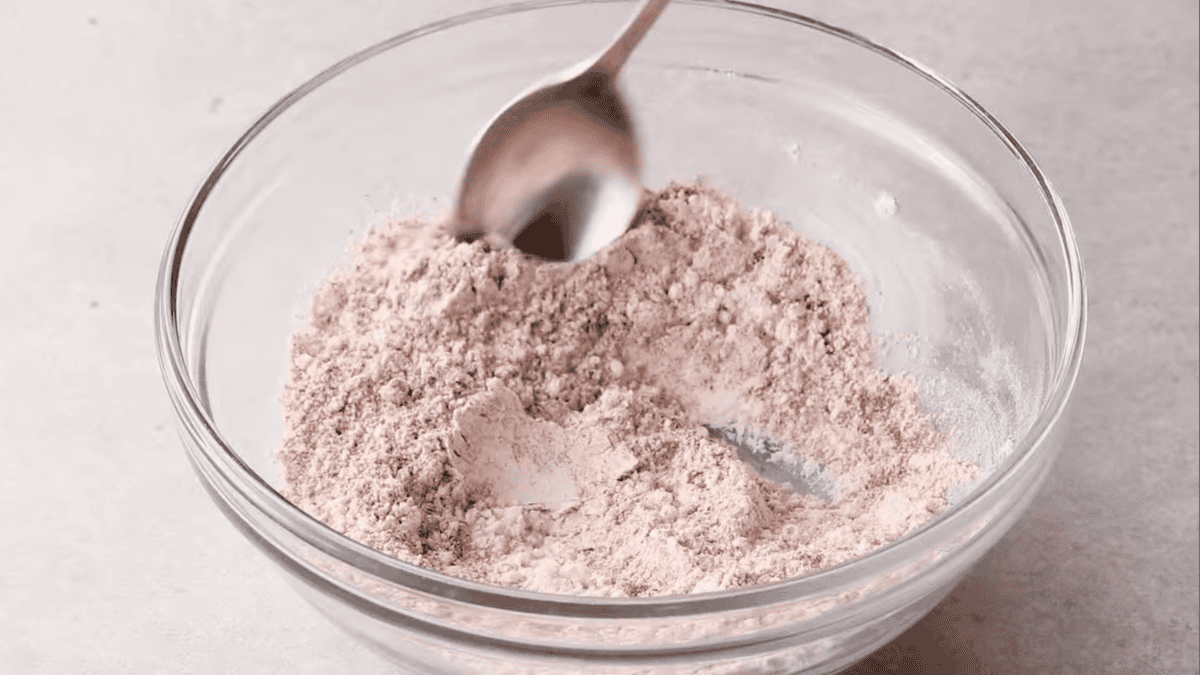
Mix the Spices:In a medium-sized bowl, combine ⅓ cup of all-purpose flour, 2 tablespoons of ground paprika, 1 teaspoon of garlic powder, 1 teaspoon of kosher salt, and 1 teaspoon of ground black pepper.
Coat the Wings: Coat both sides of 12 chicken wingettes fully in the flour mixture and place on the baking sheet. Make sure the butter pieces are evenly spaced out among the wings.
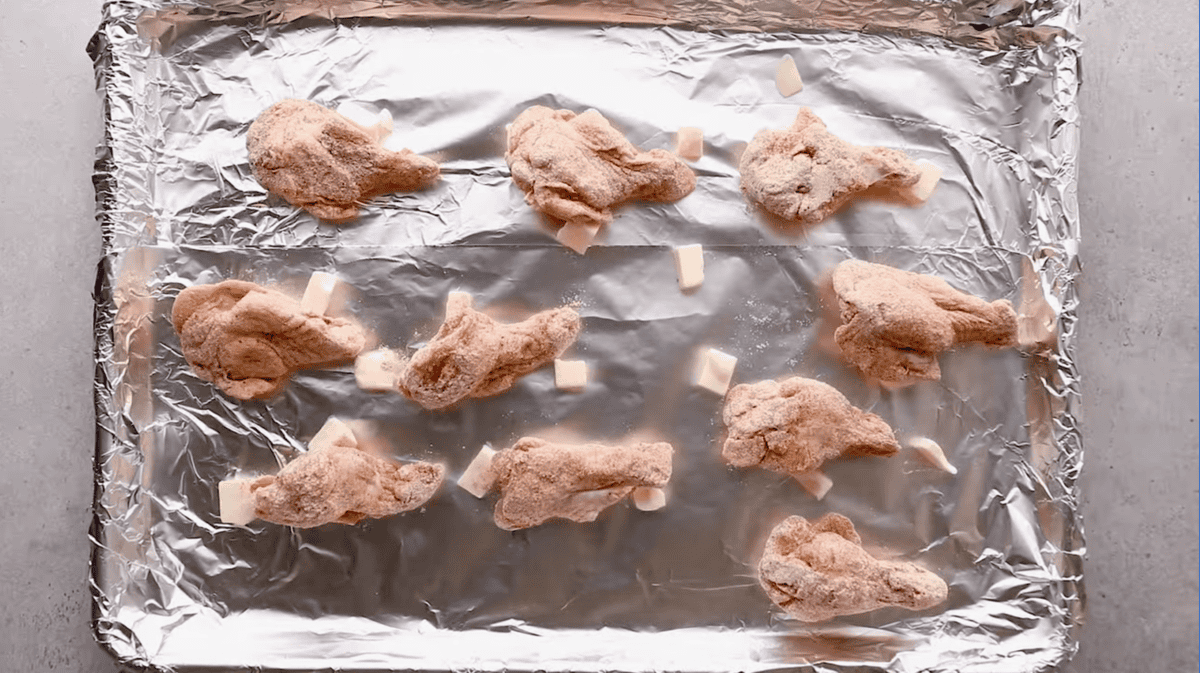
Bake the Wings: Bake the wings for 30 minutes.
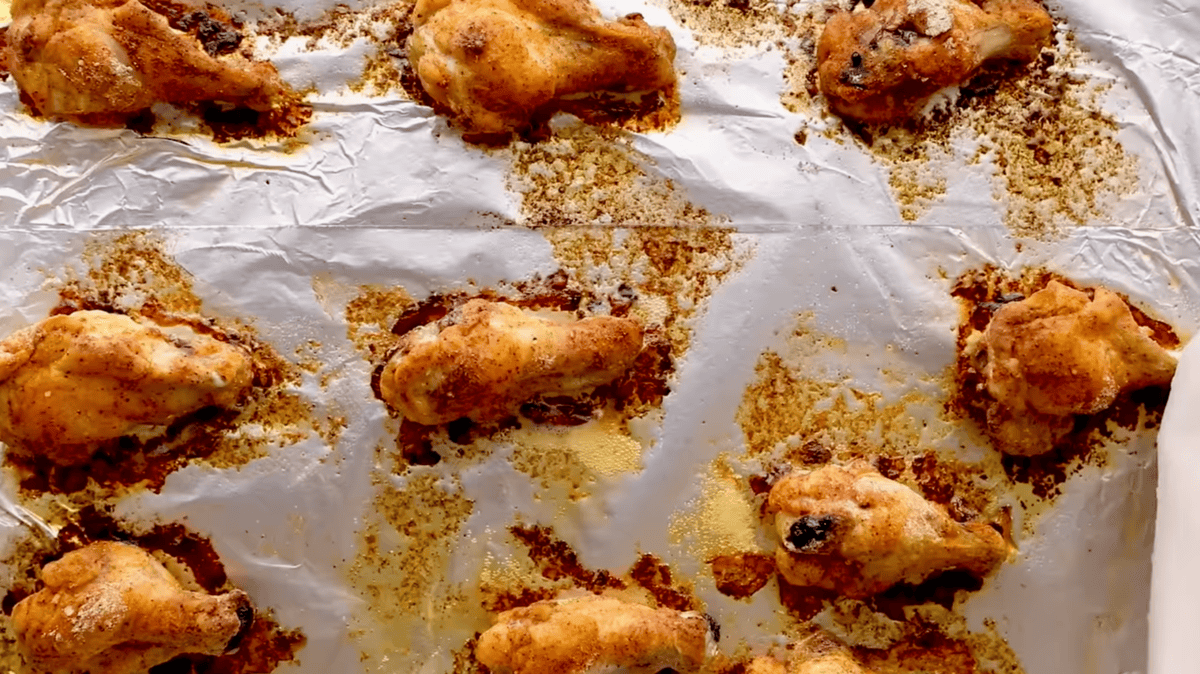
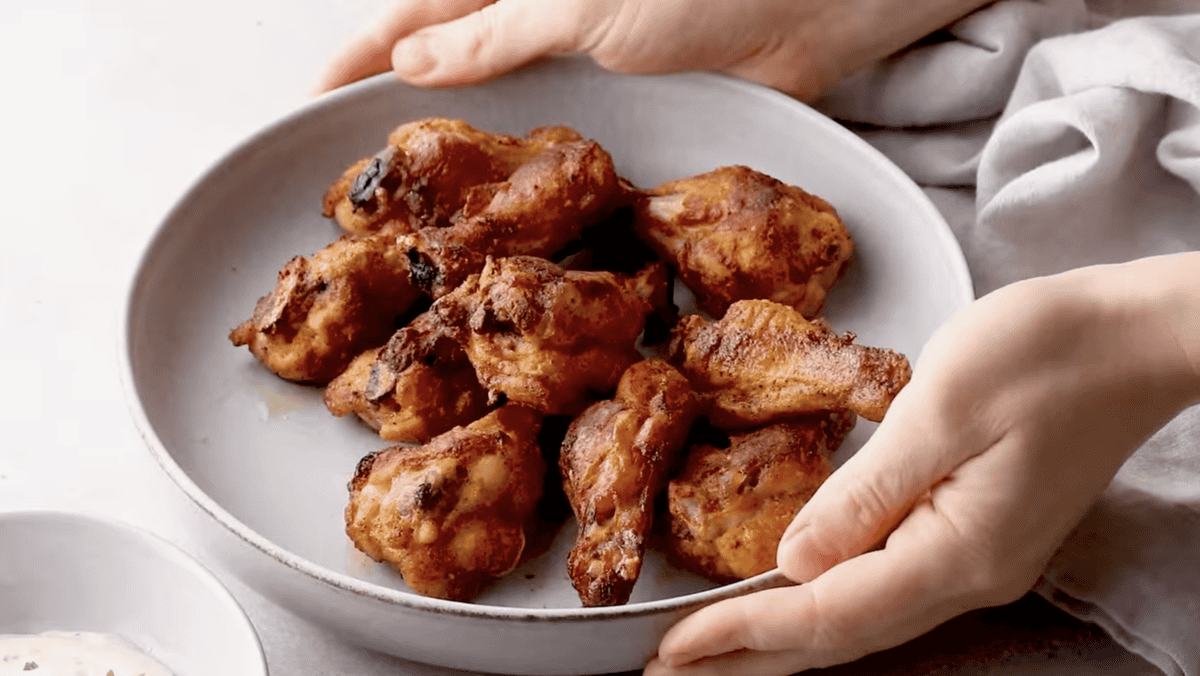
Flip the Wings: Flip the wings over and bake for an additional 15 minutes, or until crispy and fully cooked. Serve with your favorite dipping sauce and sprinkle with fresh parsley if desired.





I just made these wings they were a hit with my husband. I like mine heated or hotter, but I am glad it works for my husband, because I tried the mixes with chilli pepper, and Cheyenne pepper and he did not like it. I loved the hot taste. Now tonight’s were breaded and that was different and very good. I put oil in a baggy put all my wings in it and they coated well, then in the second baggy I put the spice and coated wings shake it up sort on tray pan. They didn’t stick I put just a little butter on pan. Thank you for sharing…..
Hi Becky, I just found your site and wing recipe. Will put it to taste today and post the result later. I like the simplicity of the recipe. Thanks for providing this info.
An easy way to keep them from sticking to the foil, is to use parchment paper on top.
I have worked with foil and parchment paper, and the parchment paper tends to work best.
Wings were hard & dried out even after coating in the sauce.
Small issue. I am not sure what the butter is supposed to do but what it does not do is travel under the wings as it melts. The wings will stick to the tinfoil and the skin will be torn off when you try to turn them. Otherwise rub seemed tasty (at least what was left on the wings)
Hi Steve, we’re sorry to hear this recipe didn’t work out for you as expected. The butter is, indeed, supposed to travel under the wings as it melts! We recommend spraying with nonstick spray or rubbing the butter around the foil next time!
These were the best wings that I have ever had!!! I added purchased BBQ sauce for my husband but I never cared for the wetter wings so we were both happy..
I followed this recipe. The wings turned out amazing. They were so tender and moist and crispy on the outside. The best ever.
Great recipe i added a little bit of heat to mine @alphagrills
This is a fantastic chicken wing recipe! I’ve tried so many baked chicken wing recipes over the years with ok to disappointing results. These are not like the others! To me, these are just as good as fried and I will make them weekly this football season!
OMG! These are The Best! I’m 75 years old and I have never had better chicken wings than these. Thank you so much! I rave about them constantly.